Rebuilding a 1977 Ouachita

TinBoats.net

Help Support TinBoats.net:

This site may earn a commission from merchant affiliate links, including eBay, Amazon, and others.

brewfish

Well-known member
Joined
Jun 15, 2008
Messages
107
Reaction score
0
Location
NE Central FL
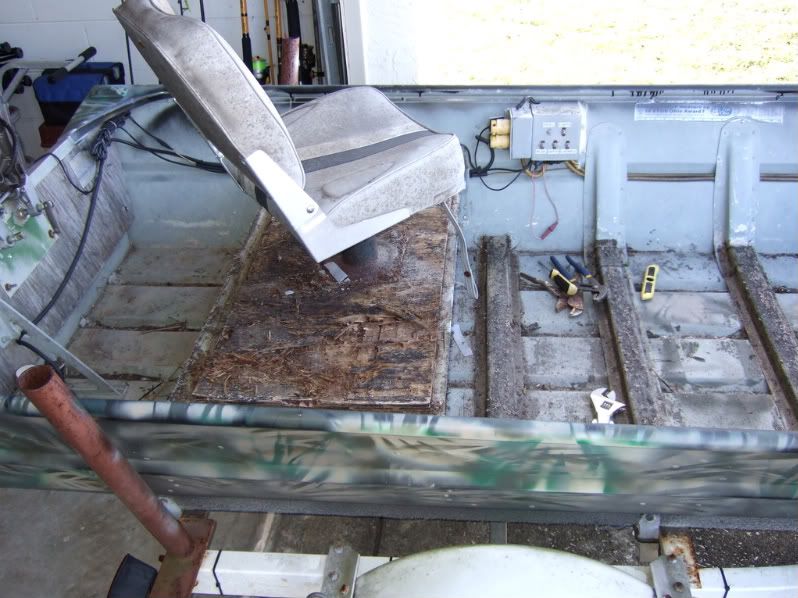
Here's what I started with:

DSCF1507.jpg

before2.jpg


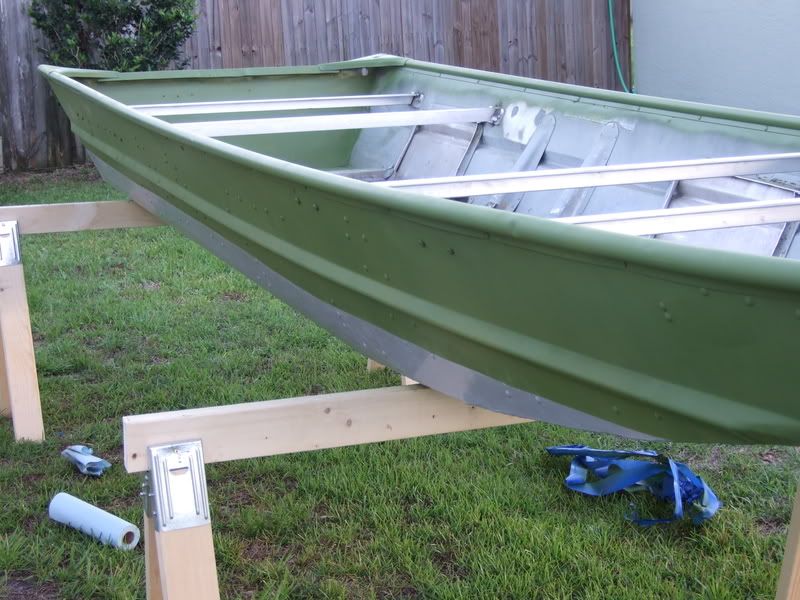
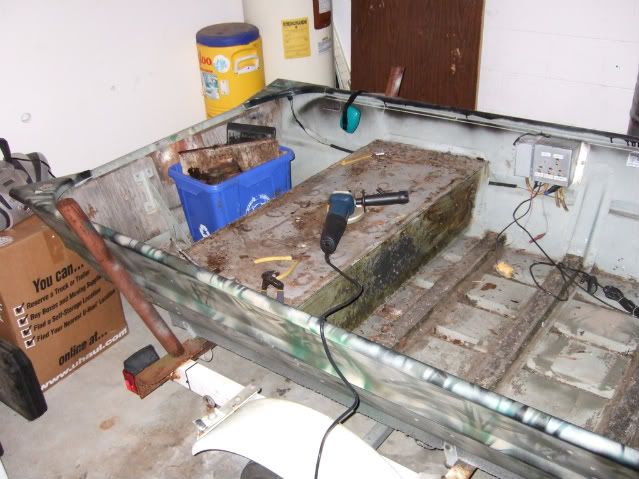
I decided to totally gut the boat leaving nothing but the hull. Between the rotten wood and the back bench seat having more holes than swiss cheese i decided it all had to go.

DSCF1511.jpg

DSCF1521.jpg


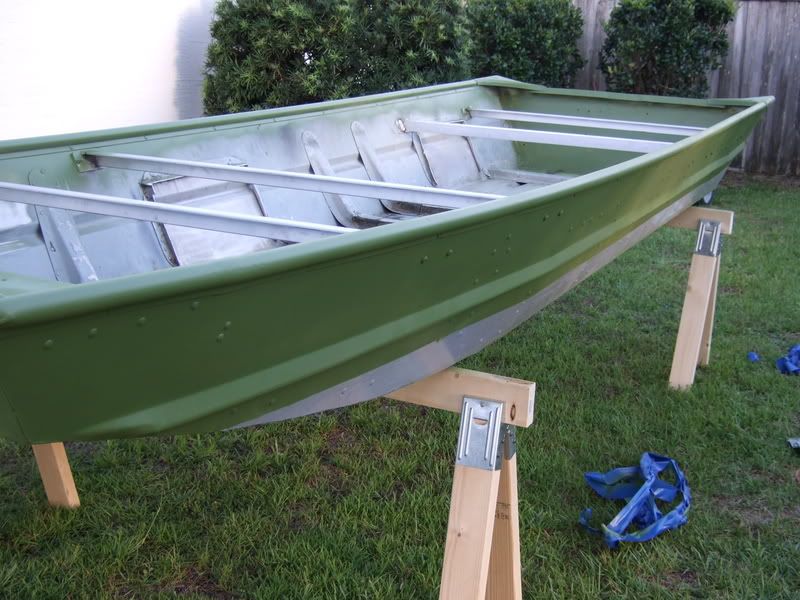
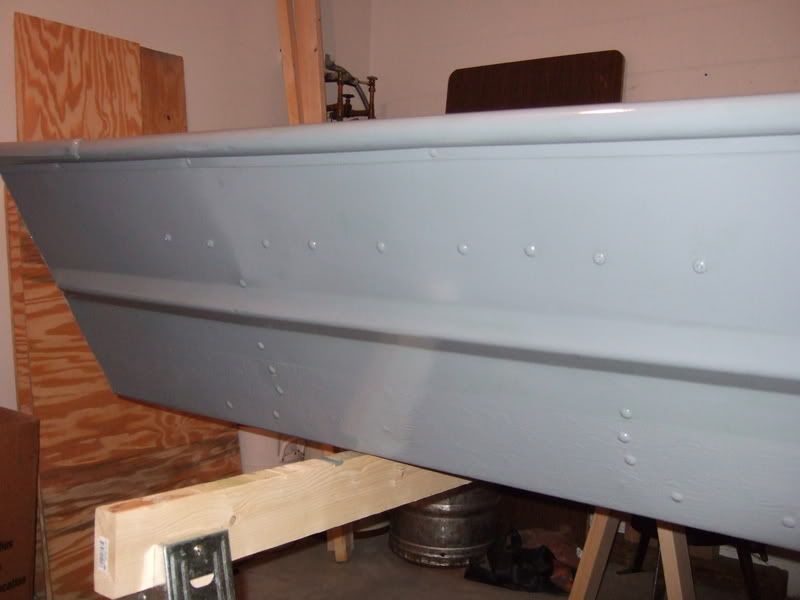
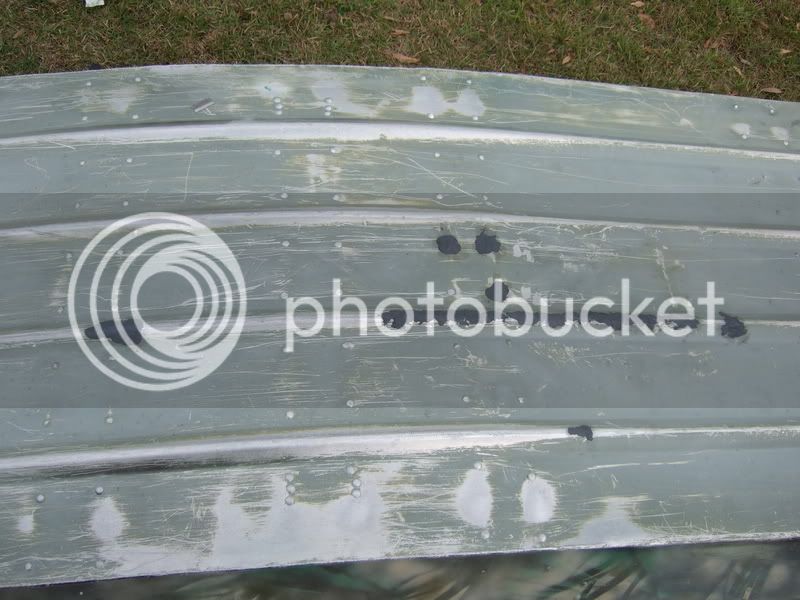
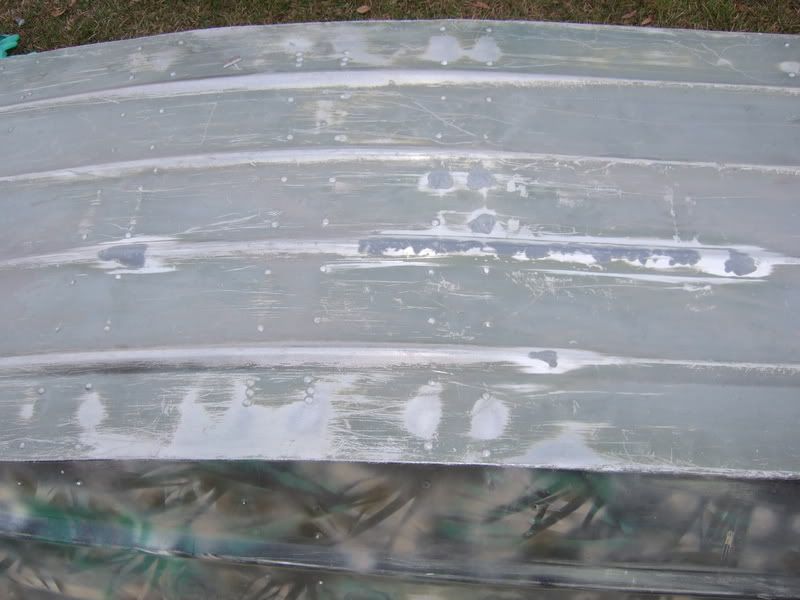
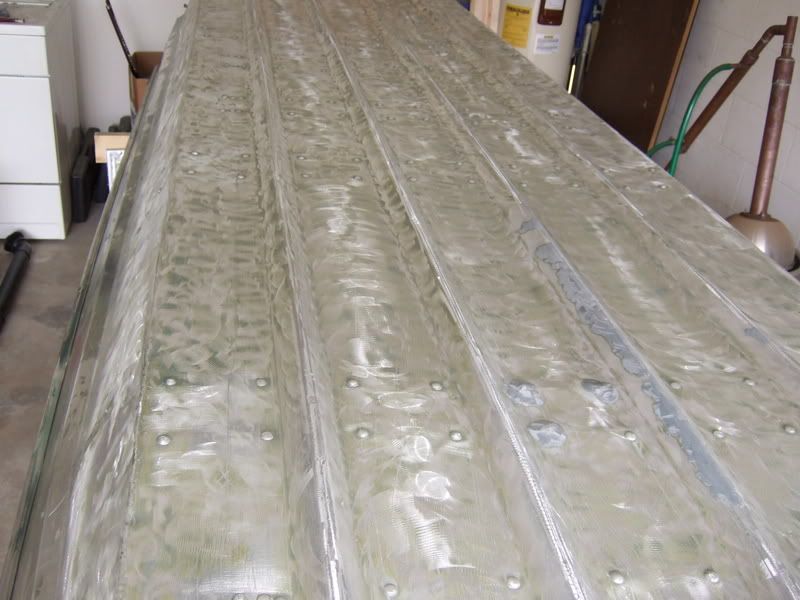
A couple of the rivets looked suspect not to mention some gnarly scratches so I put some epoxy putty on them and sanded it smooth.

Picture121.jpg

Picture128.jpg


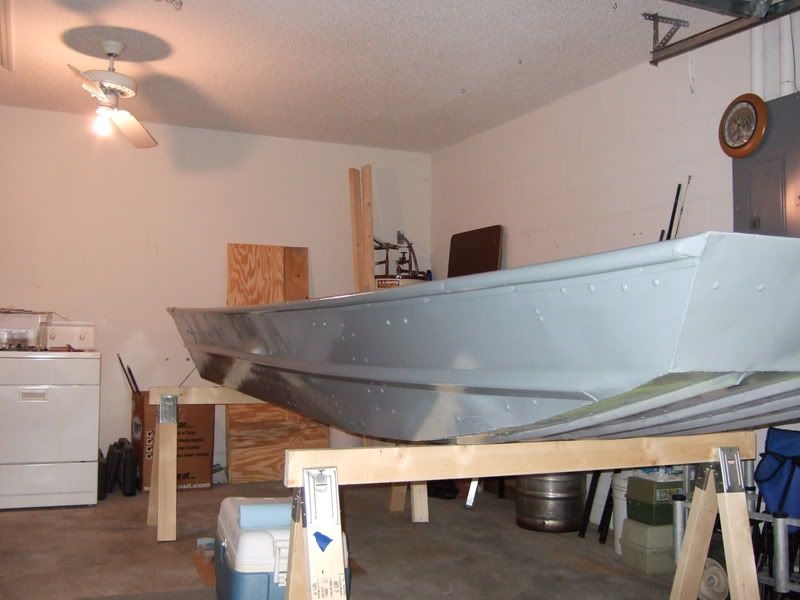
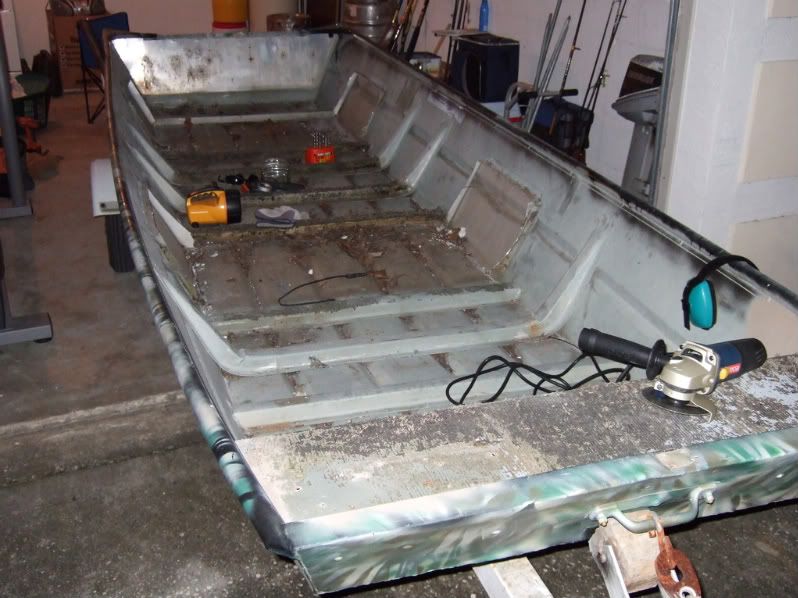
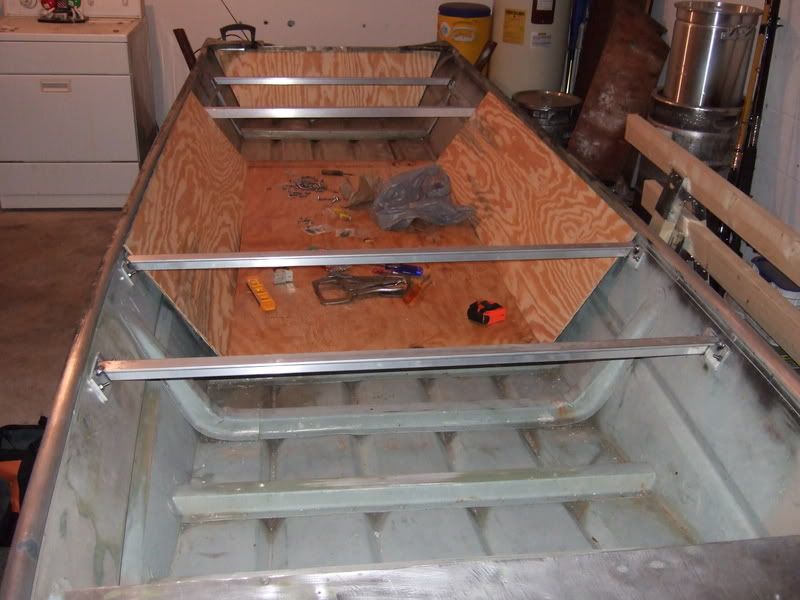
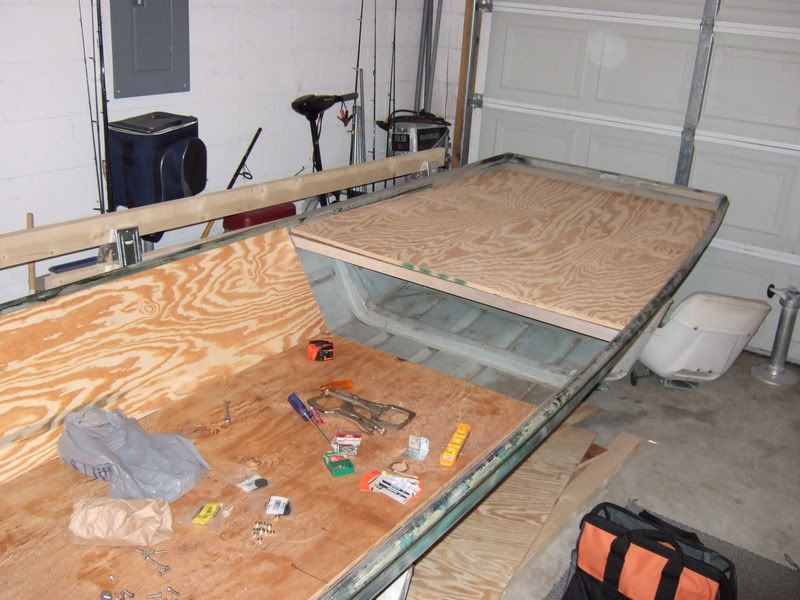
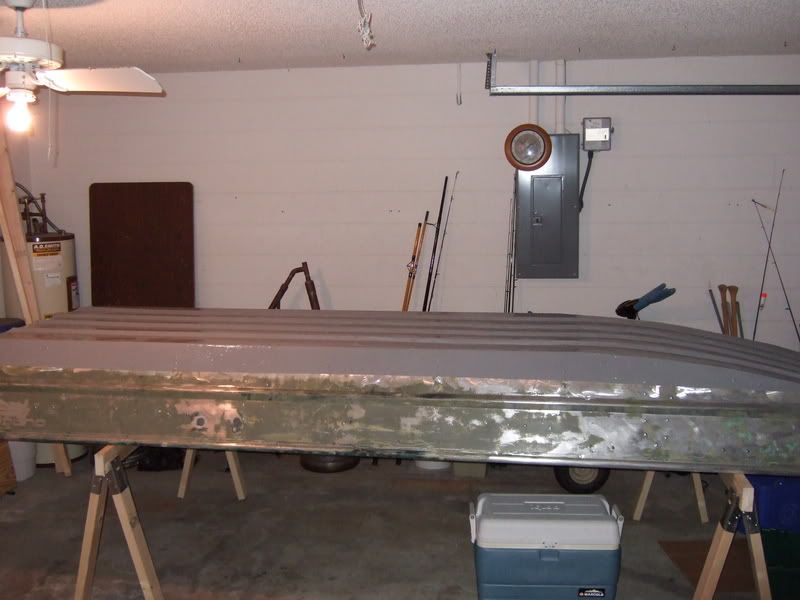
Since I cut the seats out I had a 4 - 1/4" angle aluminum braces welded up and bolted in. These should keep the hull stiff and provide plenty of support for the front and back decks. I have 1/4" plywood on the sides and 5/8" on the decks and 1/2" on the floor. I plan on carpeting the decks and floor and all vertical pieces will just get a coat of paint.

DSCF1731.jpg

DSCF1733.jpg

DSCF1738.jpg


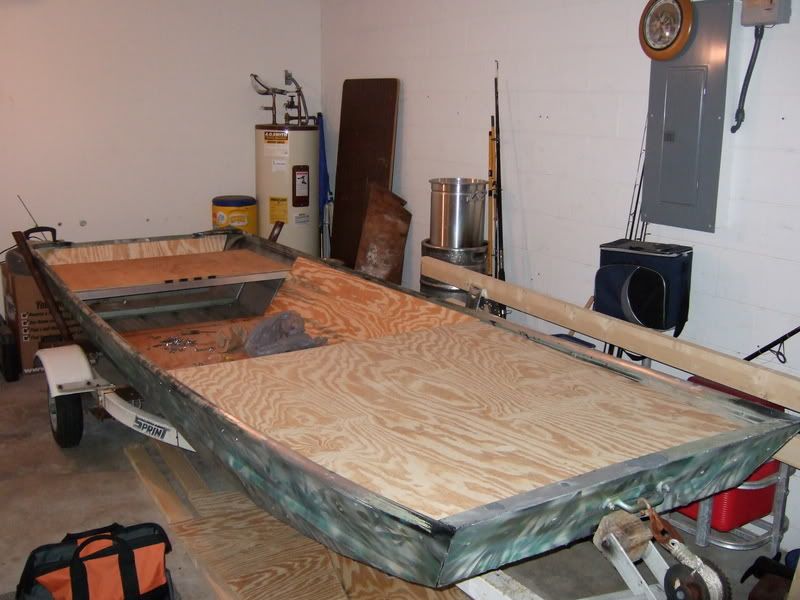
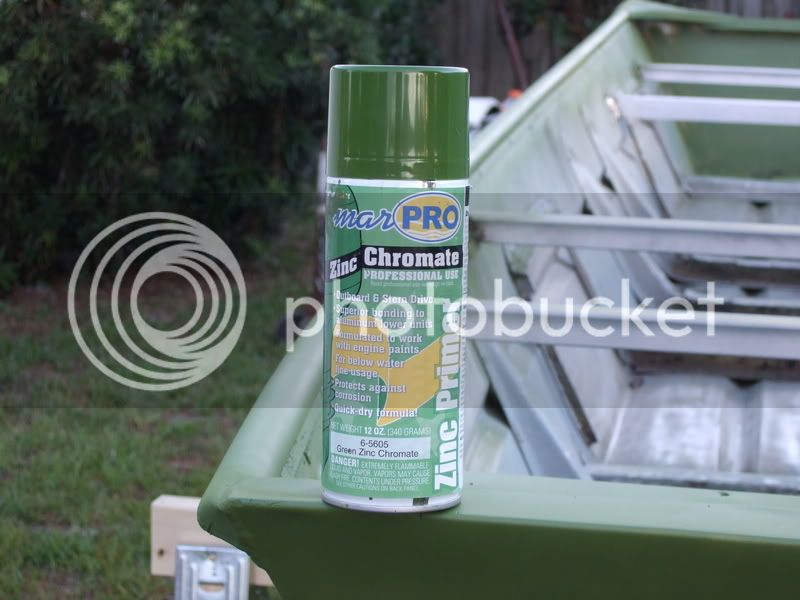
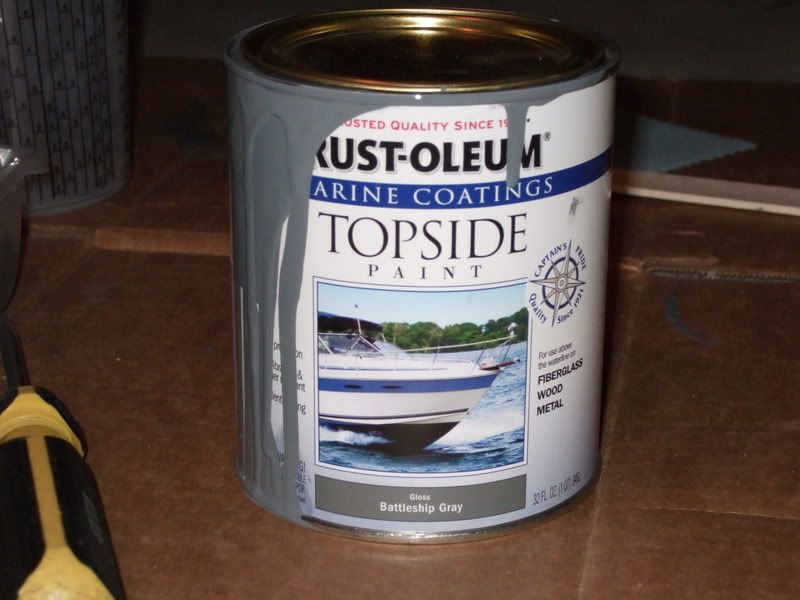
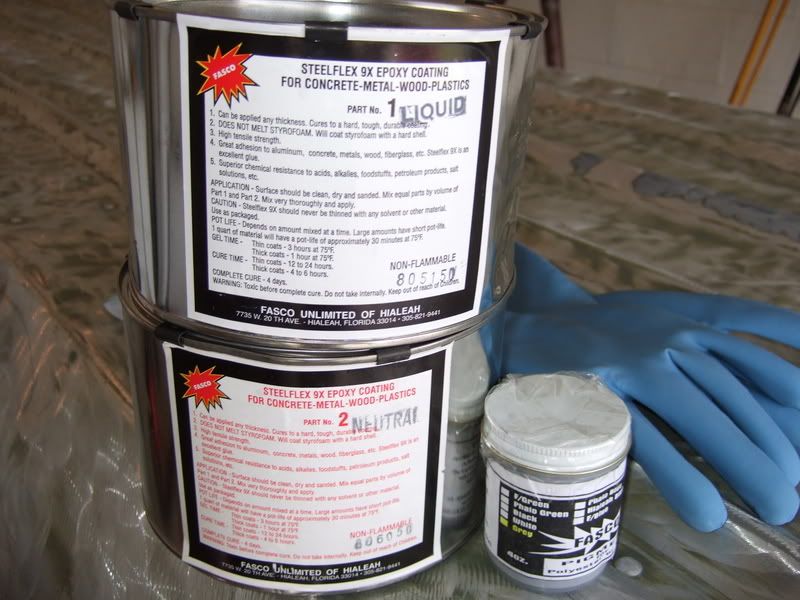
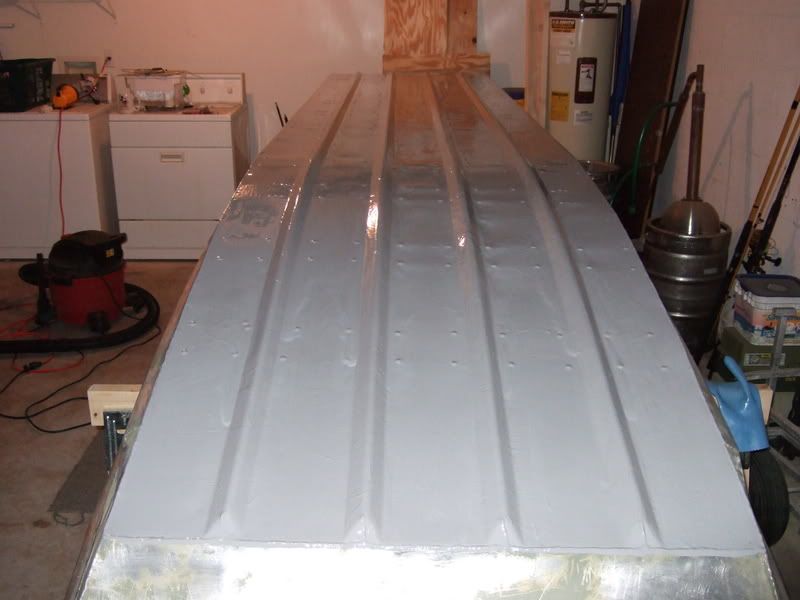
I've just about got all of the paint striped off the sides and am torn on which way to go now. I have been planning on just priming the whole boat and shooting it with a couple of coats of Pettit Easypoxy. Then I see where one of the other members here used a 2 part epoxy from Fasco called Steelflex. I am really on the fence as to which way to go. I plan on using the boat in saltwater 95% of the time. I know the hull stands a good chance of taking some abuse but ain't sure if it really warrants the steelflex or if a good paint job would be sufficient. I would think either would do a good job of sealing up any leaky rivets, though it might be worth the extra $$ just to go ahead and use the Steelflex because there is no way anything could possibly leaking with a thick coating of that stuff.

Anyone with care to chime in on the subject?
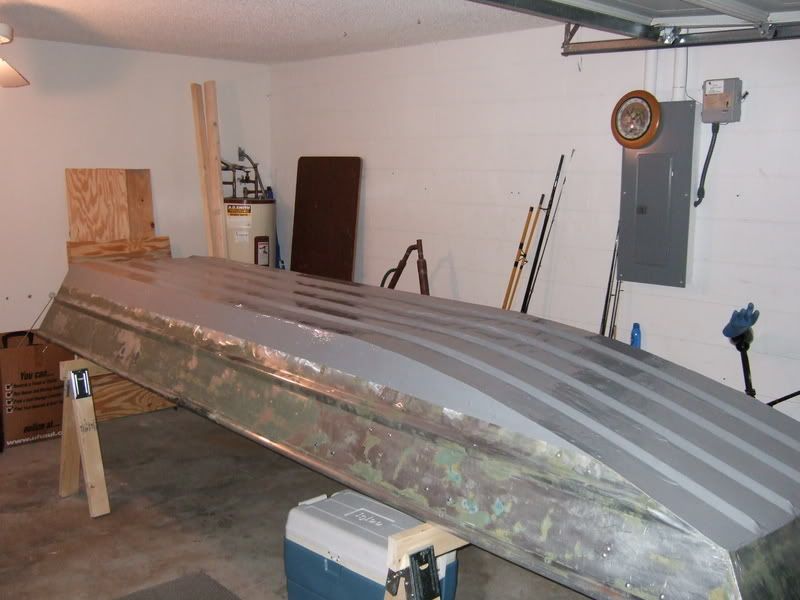
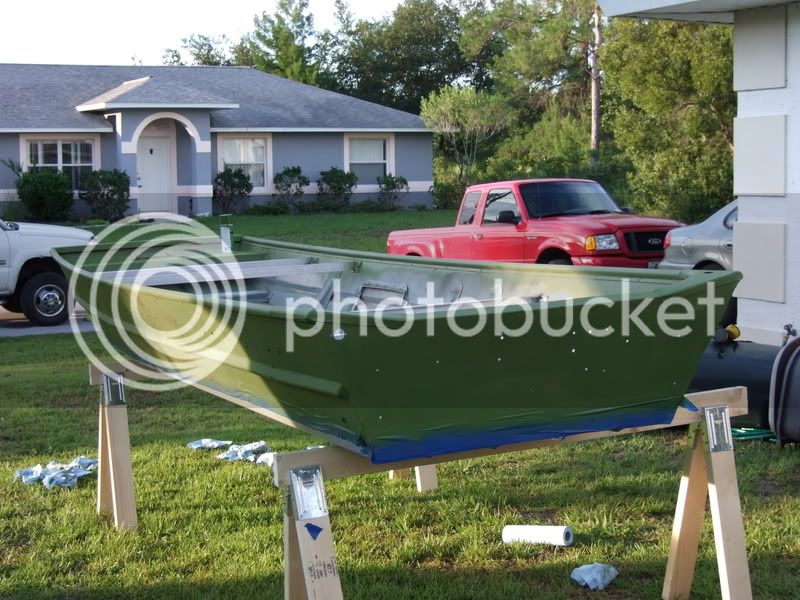
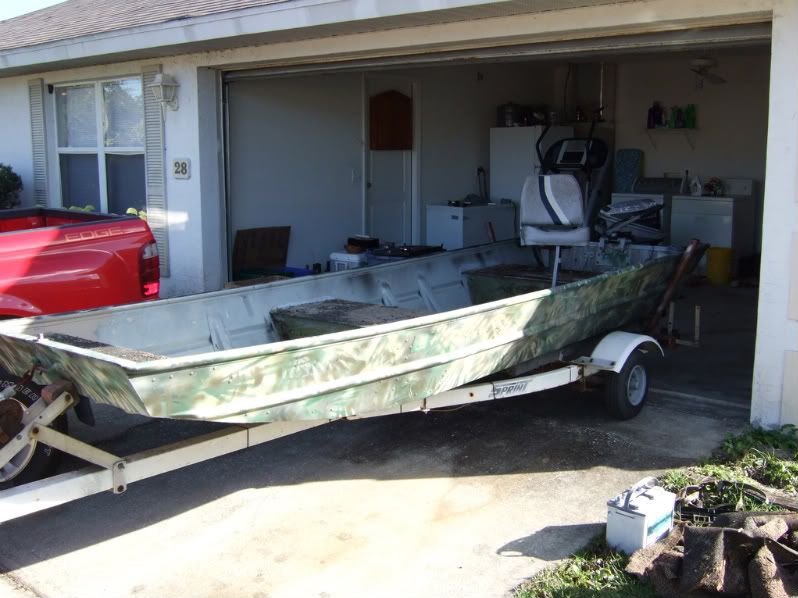
 
Hi Brewfish!

Thanks for joining! :beer:

Having no experience with the paint subject at all. The Steel flex really caught my eye from Member Ouachitas jon boat build.

https://www.tinboats.net/forum/viewtopic.php?f=21&t=1745
 
Thanks for the welcome everyone!

I had read through member Ouachitas jon boat build and saw where he used it and was actually persuaded when I was able to see how it looked once applied to the bottom of a boat. I had been thinking about Gluvit but was hesitant since I've never seen it used. Steelflex OTOH has apparently been used for years on aluminum airboat hulls. I can only imagine what type of abuse their hulls take so i would think that this has to be a pretty tough stuff.

That being said i'm sure my 30 year old 14' jon could stand to have a coat of this stuff. I just don't want to get the boat assembled only to find a mystery leak somewhere in the hull. Or say run up on a oyster bar full tilt late at night pushing that almost leaking rivet over the edge......not that i've ever done that or anything. :-
 
brewfish said:
Thanks for the welcome everyone!

I had read through member Ouachitas jon boat build and saw where he used it and was actually persuaded when I was able to see how it looked once applied to the bottom of a boat. I had been thinking about Gluvit but was hesitant since I've never seen it used. Steelflex OTOH has apparently been used for years on aluminum airboat hulls. I can only imagine what type of abuse their hulls take so i would think that this has to be a pretty tough stuff.

That being said i'm sure my 30 year old 14' jon could stand to have a coat of this stuff. I just don't want to get the boat assembled only to find a mystery leak somewhere in the hull. Or say run up on a oyster bar full tilt late at night pushing that almost leaking rivet over the edge......not that i've ever done that or anything. :-
So far the steelflex has worked great to seal up my 1971 Ouachita jon boat. I actually found the stuff first talked about on a duck hunting forum. A lot of guys running mud motor boats put that or a product called Frog-Spit on the bottom of their boats to protect the hulls from the logs, gravel bars and whatever else they are running across. They use Super Steelflex which is loaded with teflon type stuff that makes it super slick. The kind that I used is the original type that has been used since the 60's. I didn't see the need for my fishing boat to be that slick. I had even read about people having their boats slide off the trailer onto the ramp when they unhooked the winch. :lol:
 
Thanks for the kind words. :beer: I just made an order today for a gallon of Steelflex and some gray pigment. I didn't go with the super slick Steelflex since it was twice as expensive as the regular and I can't imagine it making a huge difference in speed when i'll only be using a 9.9hp motor anyways. :lol: Hopefully this stuff is relatively easy and to make cure properly.
 
I had a chance to do some work on the boat today. I bought some steelflex and gray pigment and oh what a fun experience this stuff was. Here's how the day went. I got the boat on saw horses this morning and started the sanding. I hand sanded on and around all of the rivets on the bottom and sides of the boat with some 50 grit sand paper. I didn't bother stripping the paint off the bottom since I was going to be using a grinder with 50 grit as well. This should really help make sure that the epoxy has something to grip on to.

Picture009.jpg

Picture012.jpg


After quite a few fun filled hours of sanding I was almost done. I gave the whole bottom a good wipe down with acetone able to start painting on the steelfex.

Picture013.jpg

Picture015.jpg


And now the fun begins. To start with the cheap *** one size that does not fit all gloves decided to tear on me as i was wiping the boat down with the acetone, a open cut on my hand was nice enough to bring this fact to my attention. ](*,) I highly recommend that if you need gloves to skip the crap-ola disposables and get the reusable ones that won't actually fall apart at the worst possible moment. I mixed the pigment with the second part of the epoxy, no problems there. Then I decide to mix up a small batch. I had two 8 oz cups that i planned to fill with each part and then mix in a quart size cup. I decided that i would try and pour this thicker than molasseses liquid into a little 8 oz cup. :LMFAO: Oh that was greaaaat idea. I only ended up having a huge blob of the 1st part pour all over the place except where i wanted it. I ended up using two wooden paint stirrers to dip this mess out. A messy proposition but the best way i could think of. I just made sure that i kept wiping my gloves off with paper towels to keep the mess to a minimum. I made sure that I mixed well and started pouring it on the hull. The best thing I did was buy a couple of plastic bondo paddles to help spread this stuff around. After I got it spread out I used a 4" roller with a 1/4" nap to roll the rest of it out.

Picture018.jpg

Picture022.jpg

Picture020.jpg


It went on pretty well except for a couple of runs in the bow of the boat. No big deal, I am more concerned with it sealing any potential leaks which I have no doubt this stuff has done in spades. I'm going to prime the sides with zinc chromate primer and then top it off with some cheap rustoleum topside paint (only 10$ a qt).
 
It's funny because we all have been there;acetone in cuts always feels great:)
Looks like it turned out great,hope it does what you wanted.
 
The weather finally cut me a break this afternoon so I was able to prime most the boat. I'm only going to prime and paint a few areas inside the boat because most of it is going to be decked over. I have come to the conclusion that rattle can paint sucks! My finger couldn't even push the button down by the time i was done with the 3rd can, not to mention having paint all over me & the cans. If I'd have know how much a pain it was going to be I would have just bought a quart of primer and fired up the HVLP gun and been done with it. For some crazy reason I thought it would be easier just to use the cans over messing with a real spray gun. #-o At last I'm done with the scraping, sanding and acetone wipe downs and can finally lay down some paint and get past the worst part of the build!! \:D/

Picture018-1.jpg


Picture007.jpg


Picture004-1.jpg


Picture019.jpg


Picture014.jpg
 
I got to say that this painting experience was much nicer than the rattle can experience. Heck dare I say it was even enjoyable. :D I used a 4" foam roller and a 2" paint brush for cutting in all the angles and tight areas. I gave the prime coat a quick wipe off with a tack rag and went to it. The paint went on nice, any brush strokes leveled right out. I only had a couple of runs before I figured out what I was doing wrong and from there on it was smooth sailing. I'll put on at least one more coat and maybe even a third. I didn't plan on painting the epoxy on the sides but of course it and battle ship gray are different shades so I painted it as well.

Picture023.jpg


Picture026.jpg


Picture027.jpg


Picture021.jpg
 

Latest posts

Top