Transom & Epoxy questions

TinBoats.net

Help Support TinBoats.net:

This site may earn a commission from merchant affiliate links, including eBay, Amazon, and others.

BigTerp

Well-known member
TinBoats Supporter
Joined
Jun 20, 2012
Messages
2,062
Reaction score
0
Location
Falling Waters, WV
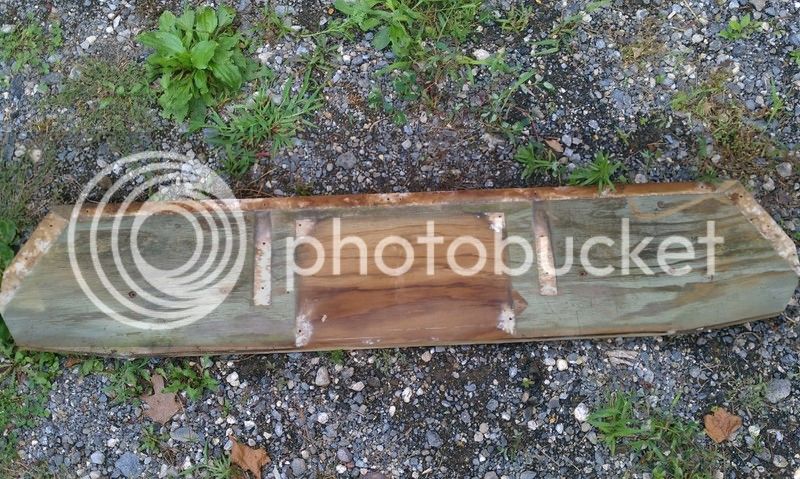
Working on getting everything I need to finish up replacing my transom. I plan to use the 635 thin epoxy resin with medium hardener from US Composites.

https://uscomposites.com/epoxy.html#epoxhard

Trying to figure out how much I need to put a good 3 coats on my transom. A rought estimate of my transom is 60" wide, 12" tall and 1-1/2" thick.

IMAG0548.jpg


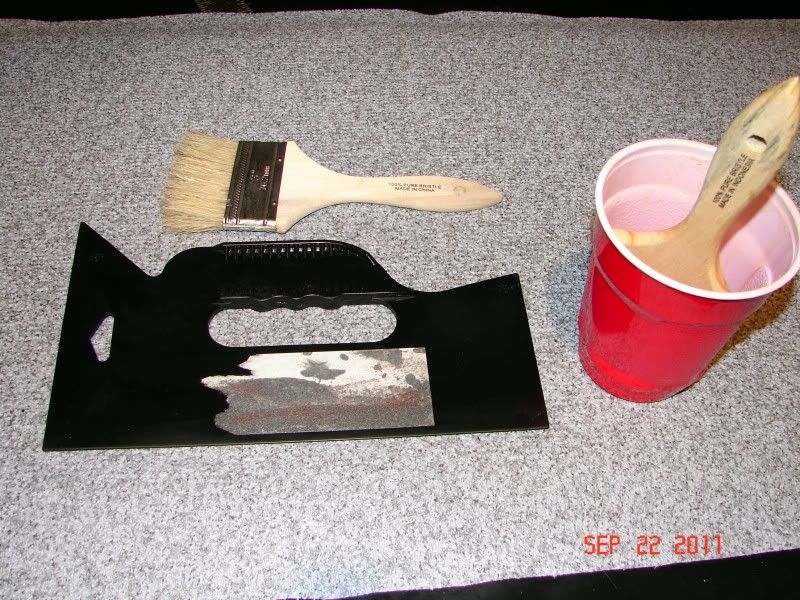
I've never worked with epoxy resin before, so wondering what is the best way to apply. Roller, brush, finger paint?? It looks as if I'm doing multiple coats I need to apply each coat in between the dry time and cure time, correct? I'd imagine I'll have to do all my coats on one side, allow to cure then repeat for the other side?

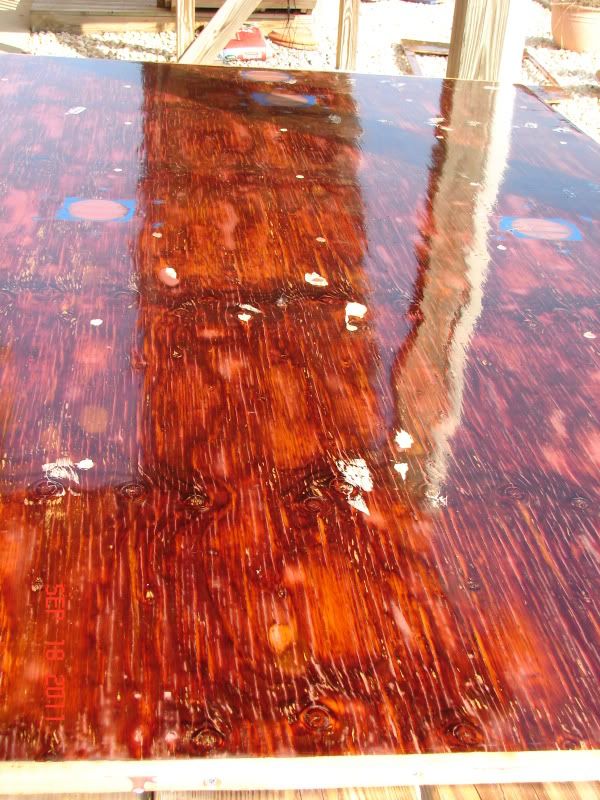
Anyone know if this particular epoxy is UV resistant? If not, whats the best thing to apply overtop? I don't want to paint, and I think I remember someone putting a few coats of spar urethane on top of the epoxy to give it uv protection. I want to keep the natural wood look, so this seems like a good idea.

I've been throwing a TON of questions out in the last few weeks, and I really appreciate all the help I've gotten so far. Hopefully I haven't been to annoying!!
 
If you're just going to do your transom the 1 quart kit will be enough, probably with some left over. If you've got decking to do with it the 1/2 gallon will do. All the epoxy kits give you more than what they're labled as. The 1 quart kit is 1 quart (32 oz.) of resin and 10 oz of hardener for 42 oz of epoxy. Dont forget to buy the pumps at the bottom of the page for easy measuring, 3 squirts and 1 squirt.

This epoxy is not UV resistant and the exterior grade spar urethane will be fine to protect it.

I used these tools to apply my epoxy:
DSC02223.jpg


The black thing is a wallpaper tool I used for spreading it around, just pour out some epoxy on the wood and spread it around with the papering tool.

I used the chip (cheap) brush to back brush the epoxy after it was spread.

The red plastic solo cups are great for mixing the epoxy in, use it once and throw it away.

The epoxy cleaned up off the the papering tool easily with mineral spirits, I didn't try to clean the chip brushes... I just tossed them after every coat.

I suggest working outside in the warm air for faster setting and curing times. Mix small batches until you get a feel for the pot life of the epoxy and work quickly.

Sand lightly between each coat with 120 grit and wipe with a damp cloth for the best bond.

Your end result will look something like this:
DSC02217.jpg
 
Terp,

Follow to the letter the advice jigngrub is giving here. He knows his stuff with the epoxy and the tools he's suggesting are dead nuts on. You can get the chip brushes by the box cheap at harbor freight.

BTW, don't sweat asking questions. There's no such thing as a dumb question. There is such a thing as a dumb decision though - one that's made without asking any questions.
 
Thanks guys!!

Question on coats. It looks like the expected dry time for the medium is between 8-10 hours. If I'm going to be lightly sanding in between coats, I need to wait until its dry not just set, correct??
 
BigTerp said:
Thanks guys!!

Question on coats. It looks like the expected dry time for the medium is between 8-10 hours. If I'm going to be lightly sanding in between coats, I need to wait until its dry not just set, correct??

Yes. That's why I recommend applying the epoxy outside in the summer heat, dry and cure times are shorter.

If you can, apply the epoxy in the shade and then set it out in the sun and the cure time will be cut in half or somewhere there about on a hot day.

The 8-10 hr. cure time is for 70*F.
 
I used 3 coats of West Marine epoxy on mine, followed by spar urethane (Helmsman) for UV protection. When you drill the bolt holes through the wood, drill them a little oversize and run the epoxy down through the holes to coat them too. Here's a picture of mineafter I finished...
 

Attachments

  • New transom.jpg
    New transom.jpg
    1.5 MB · Views: 2,131
jigngrub said:
Yes. That's why I recommend applying the epoxy outside in the summer heat, dry and cure times are shorter.

If you can, apply the epoxy in the shade and then set it out in the sun and the cure time will be cut in half or somewhere there about on a hot day.

The 8-10 hr. cure time is for 70*F.

Awesome, thanks for the tips. Going to try and get this stuff ordered this week.
 
Ringo Steele said:
I used 3 coats of West Marine epoxy on mine, followed by spar urethane (Helmsman) for UV protection. When you drill the bolt holes through the wood, drill them a little oversize and run the epoxy down through the holes to coat them too. Here's a picture of mineafter I finished...

I've seen yours in several different threads. Impressive!!

So say I'm using 3/16" bolts, should I drill my holes as big as 1/4"?

Also saw where someone reccommened using some of the phenolic microballons mixed with some epoxy and then use that mixture to fill the oversized drill holes. Once that dries you drill the appropriate size and install your hardware. Overkill??

https://uscomposites.com/fillers.html
 
I use the SM fairing compound for filling, it's cheap and makes a smooth putty.

But really, all you need is some 3M 5200 on your bolts and maybe squirt a little in the hole too... wear latex gloves with the 5200, it doesn't come off of skin real easy.
 
So I've gotten everything I need to FINALLY get this transom done. The rain has kept me from getting my pylwood cut and glued, but hopefully I can do that either tonight or tomorrow. Question though. I got AC exterior grade fur. I plan to glue the C sides together leaving the nicer A side exposed. The C side has some voids from knots in the plywood. They are kind of recessed into the wood. Should I be filling these with my epoxy resin and leveling them out before I glue them together? It looks like thats what jigngrub did to his in the picture he posted, but I'm assuming he was using his for decking and not gluing them together. Sorry, I meant to grab a quick picture before I left for work this morning but forgot.
 
Yep, those voids will fill nicely with the fairing compound. You can mix up a batch and just skim the whole side of each piece, it'll level and fill everything for a nice flat surface.
 
jigngrub said:
Yep, those voids will fill nicely with the fairing compound. You can mix up a batch and just skim the whole side of each piece, it'll level and fill everything for a nice flat surface.

Thanks man, your quick!! I figured I should be filling those voids, but wanted to check with the expert first. Thanks again!!

Do you just eyeball the amount of fairing compound you use? Just add and mix until you end up with a nice smooth putty, right?
 
Yep, but it will take more powder than resin to make the filler. The ratio is about 2 parts powder to 1 part resin, so don't mix up too much resin or you'll have way more filler than you can use. The 3 squirts of resin and 1 squirt of hardener with the pumps should make plenty of filler after you add the powder.
 
Yep, what jigngrub said. That's how I did mine except I used the medium epoxy and filled the over-sized holes with a mixture of epoxy, phenolic micro-balloons and cabosil. The easiest way I found was to seal the wood first (three or four coats) and then drill the holes. Tape-off one side with regular cellophane packing tape and fill the hole from the opposite side. The packing tape will pull right off and leave a very nice surface. For added strength, I put a couple of layers of fiberglass mat over the potted holes and finished it off with another coat of epoxy. Overkill? Certainly, but I won't have to do it again and neither will anybody else. In 1,000 years some archeologists will find that transom core completely intact. I didn't worry about filling the knots and other imperfections. The epoxy does an excellent job of that all on it's on. Probably better since it will creep and seep into the tiny fissures and voids. I didn't sand between coats either but my core is completely enclosed in aluminum skin so visual ascetics was not really a concern.
 
Top