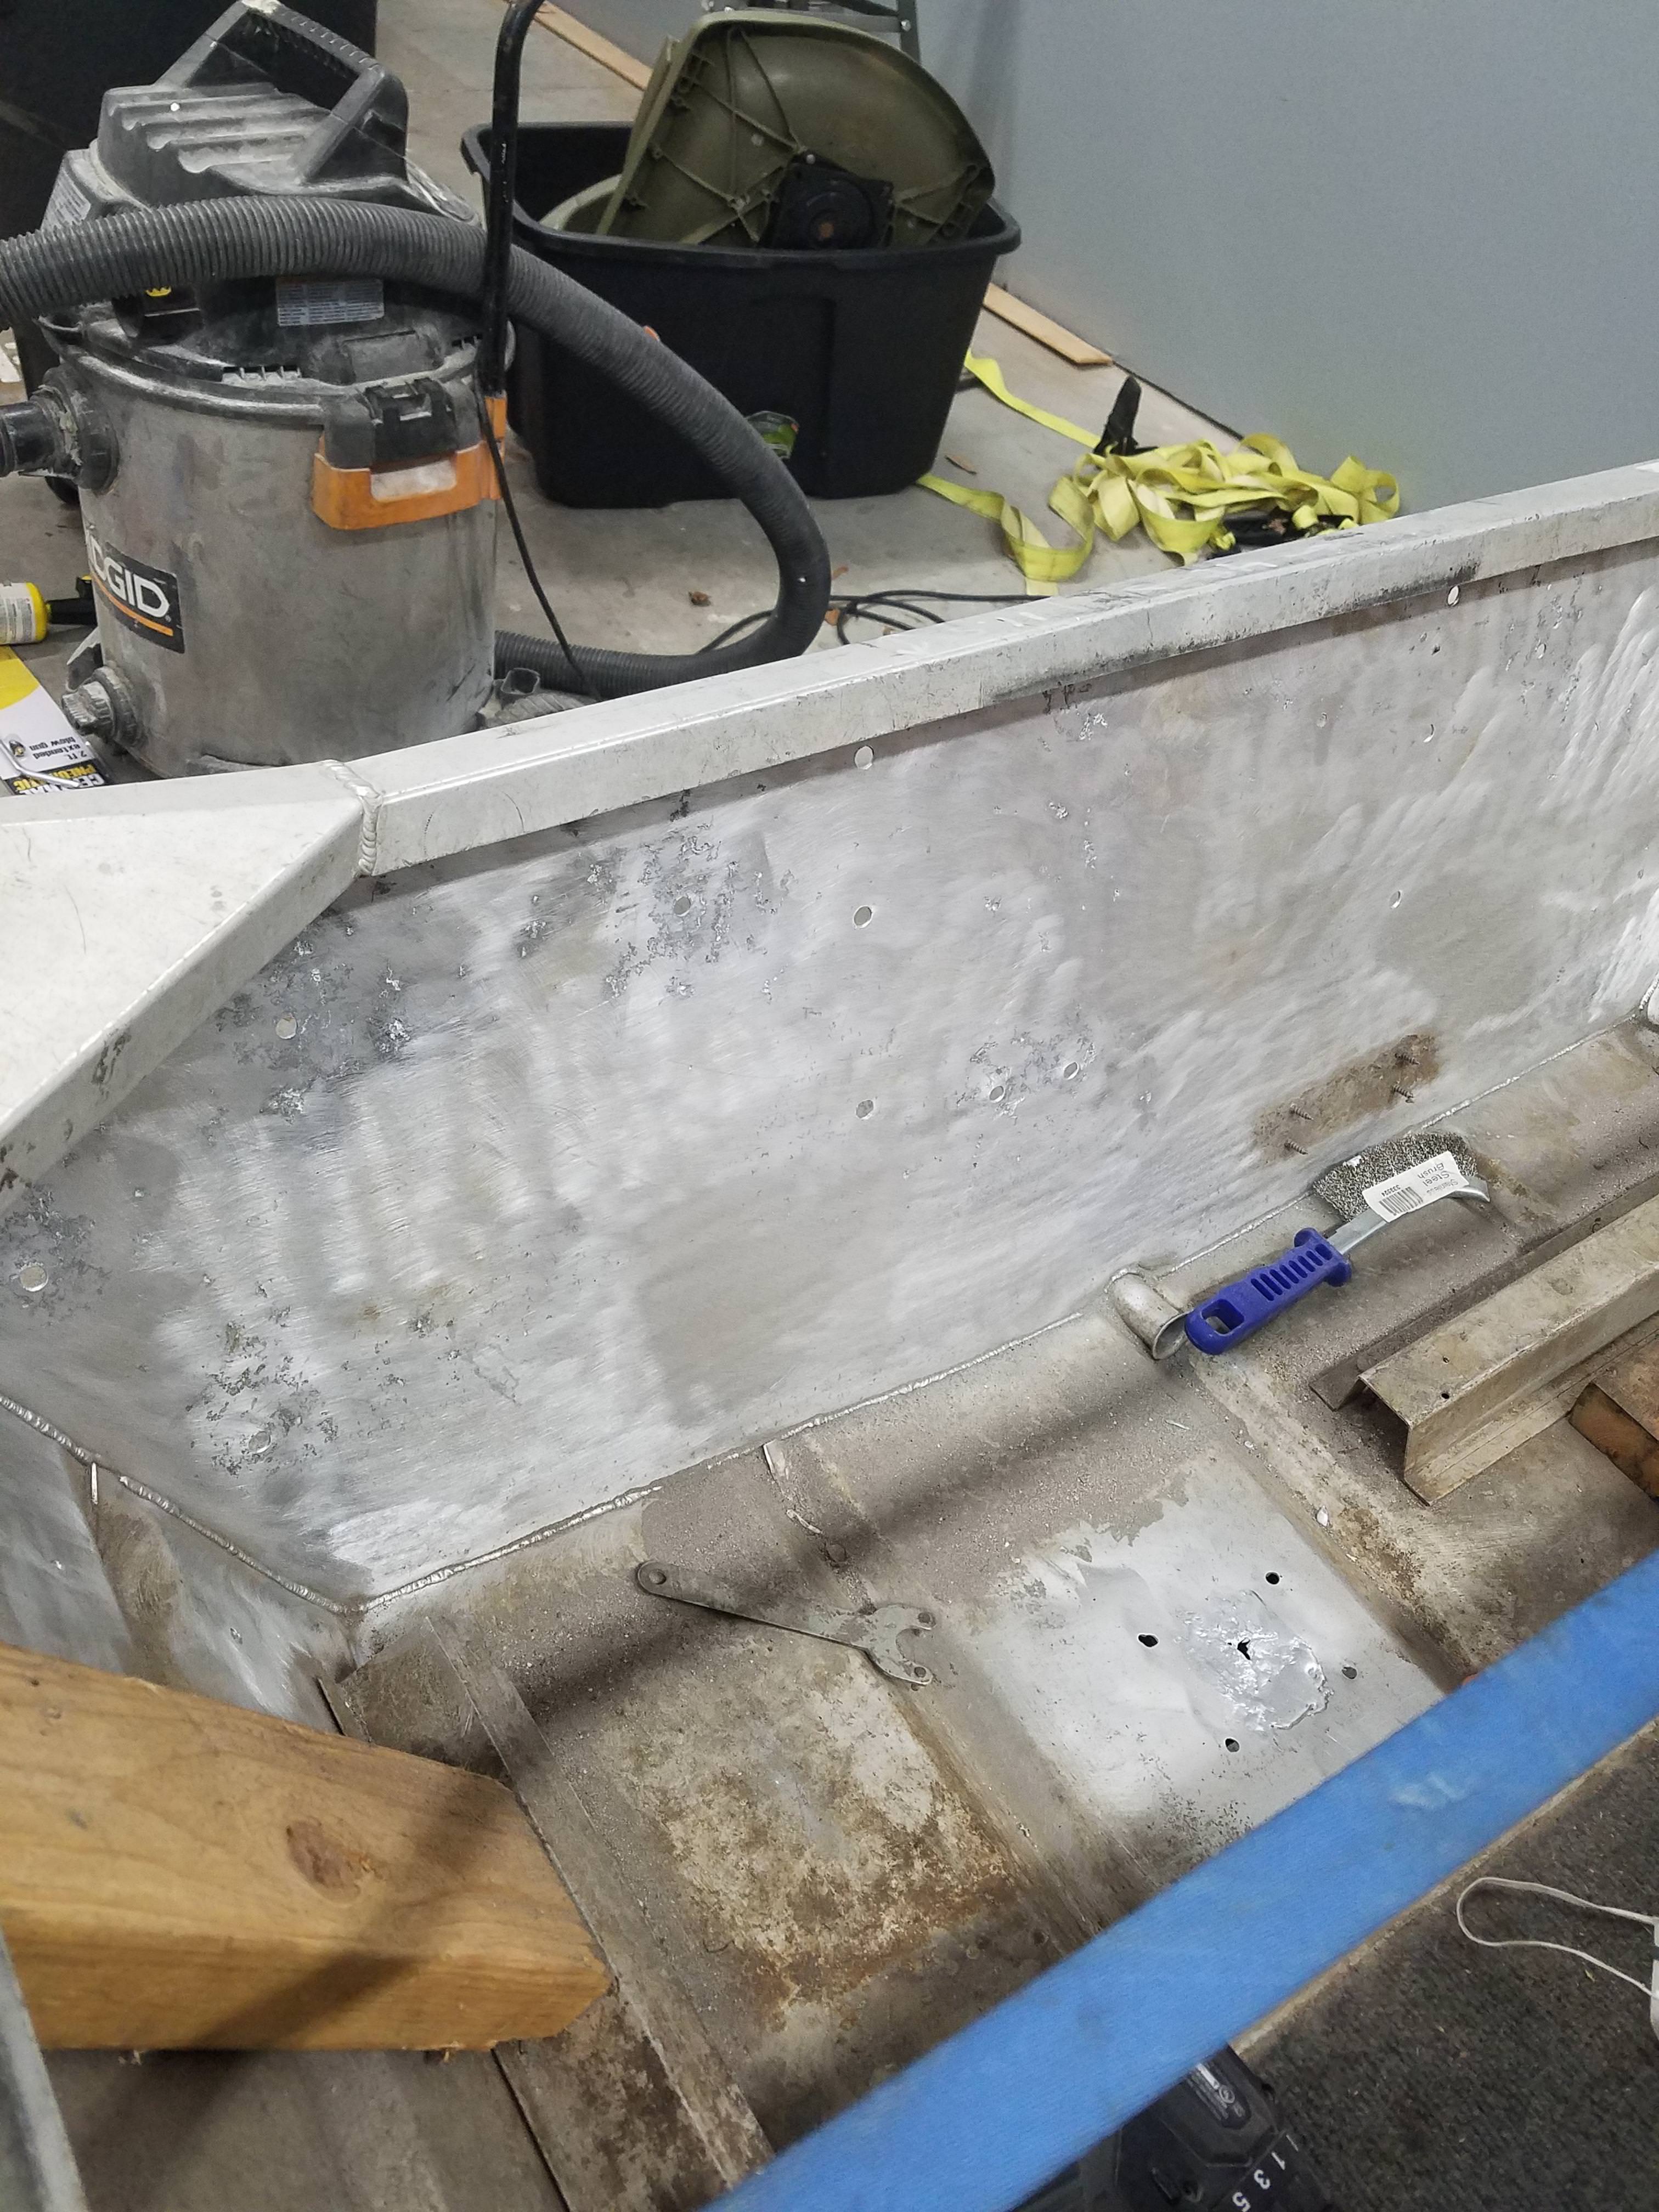
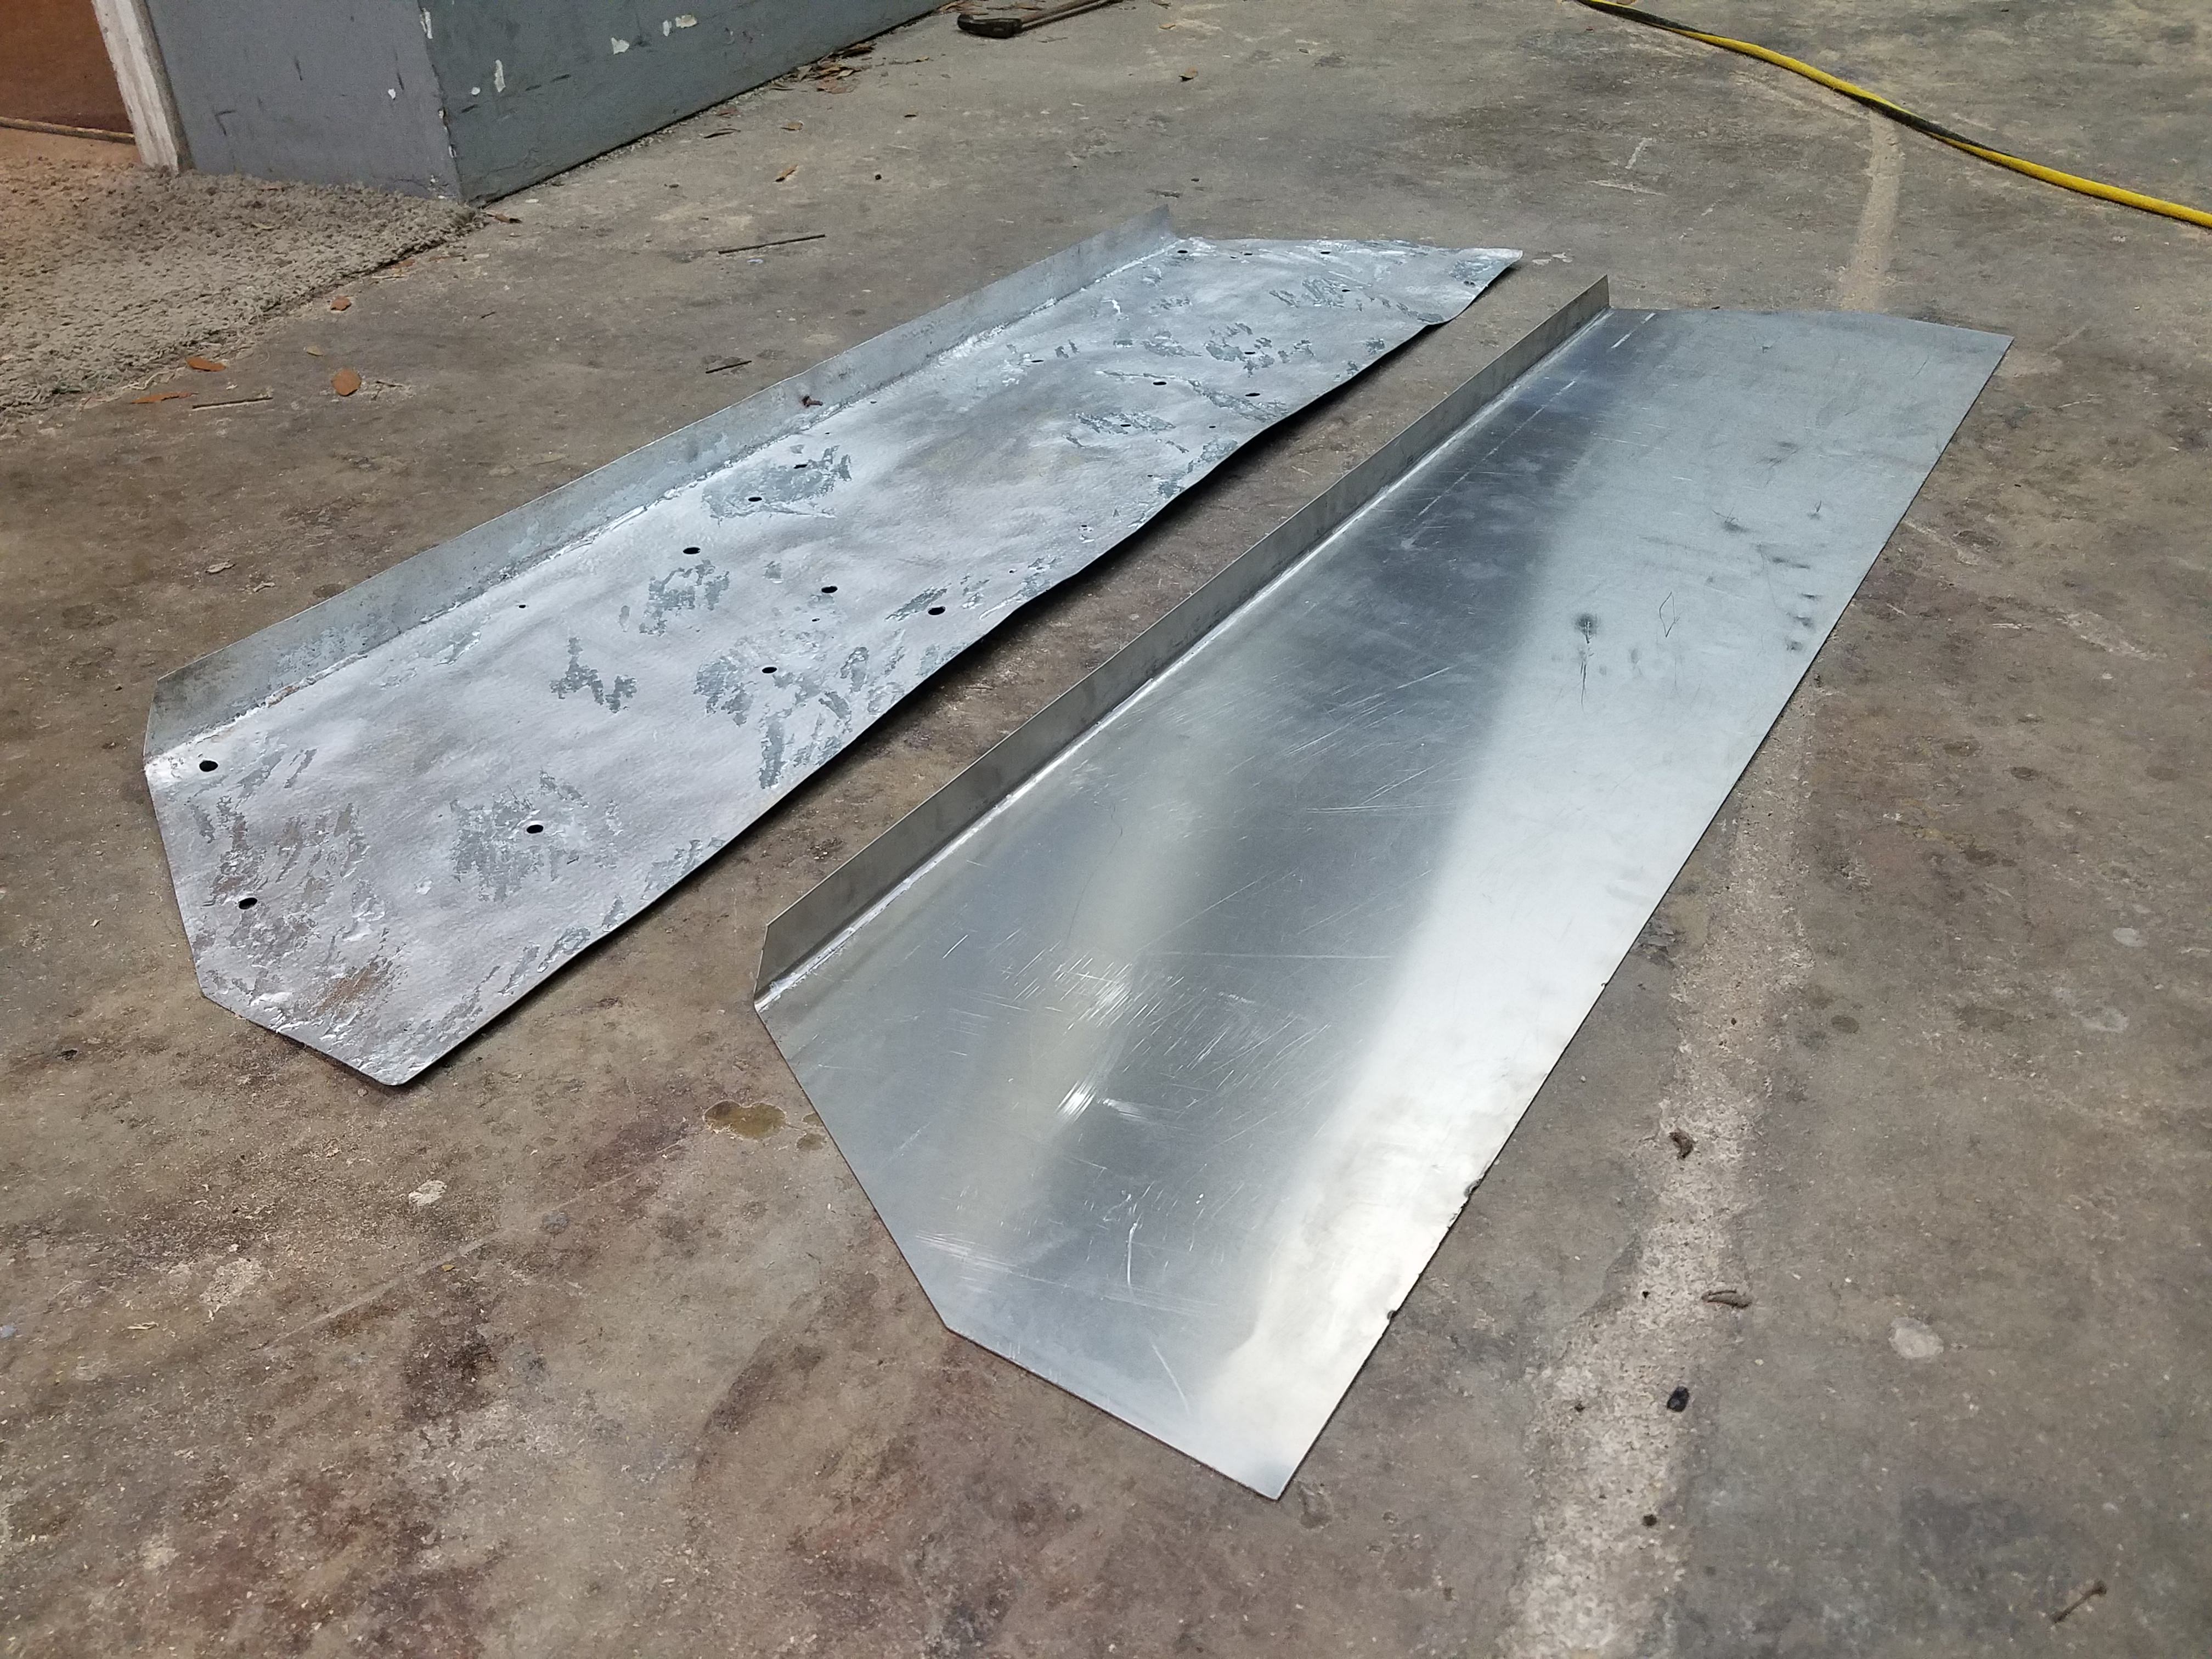
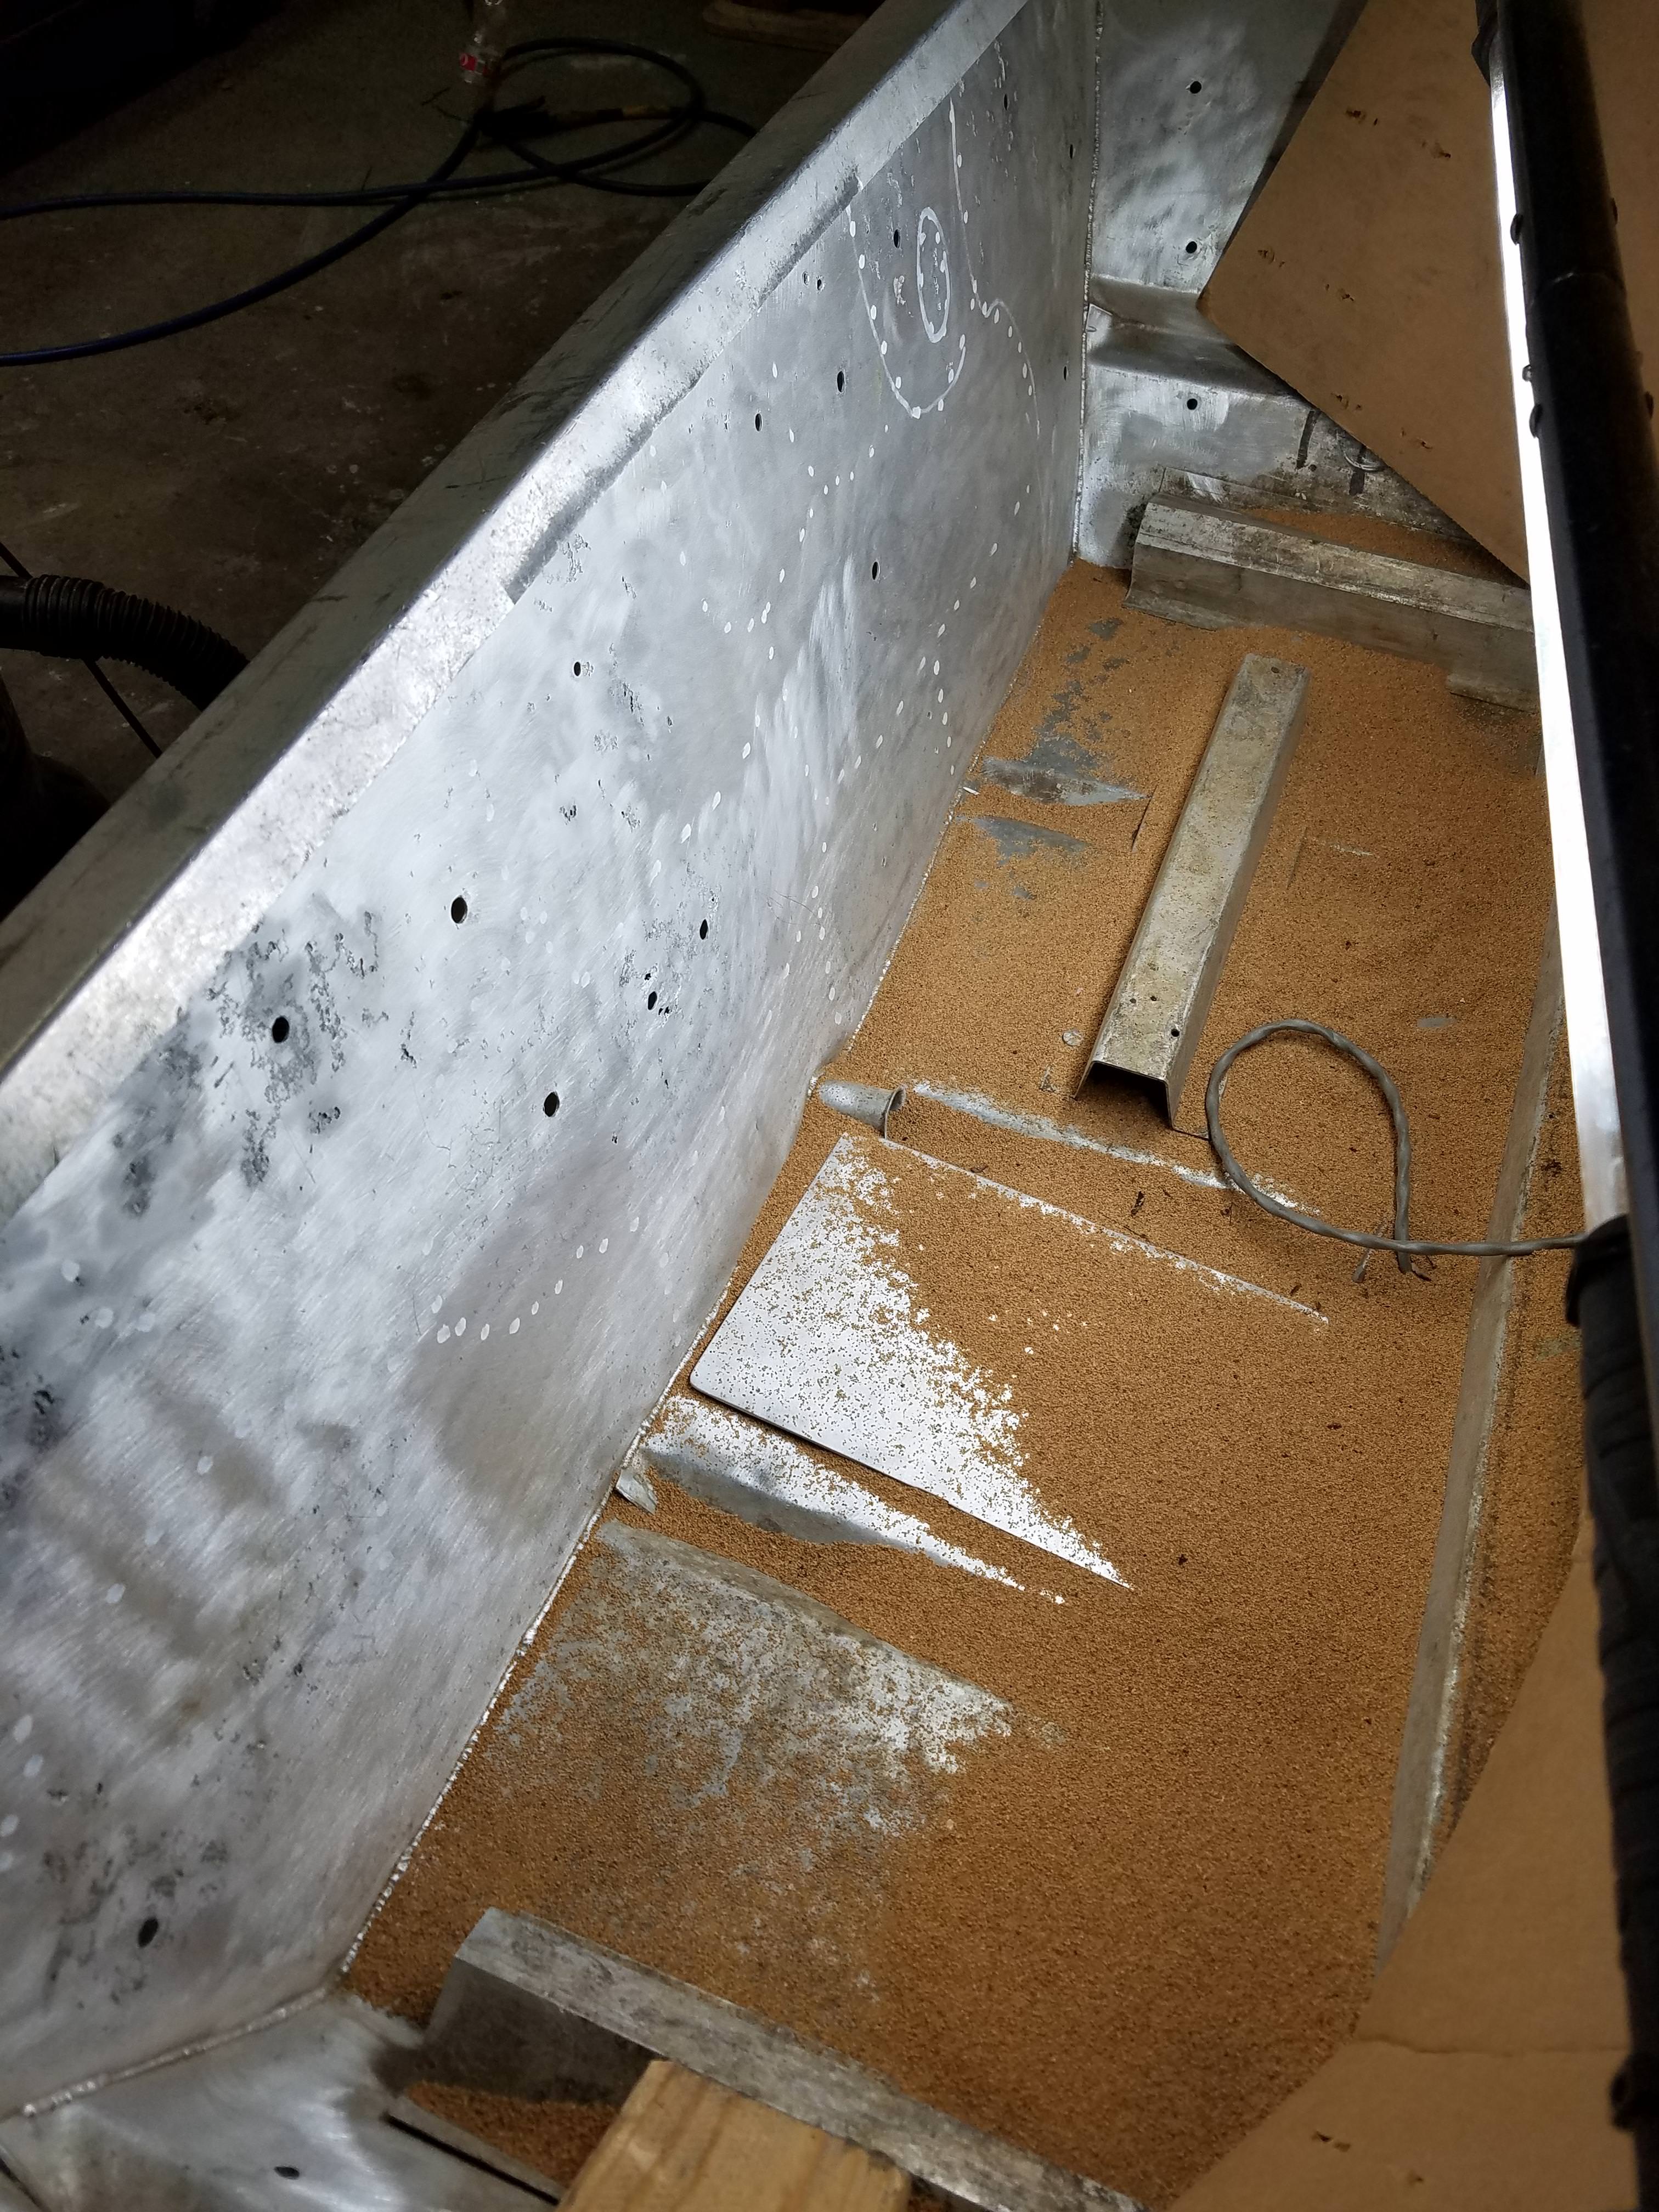
Have made lots of progress. Came up with a solution for the pitted metal in the back. I sandblasted the transom metal with fine ground up walnut shells from Harbor freight and cleaned up as much corrosion inside of the pits to slow/stop the erosion. This process revealed that I had many pin holes in the back that needed to be filled or repaired. I decided to Visit my local Alro Metals and there were a couple of perfectly sized aluminum sheets that were approx 1mm thick. I marked the lines that I needed cut and they used the big machine to shear it and make a near perfect cut. I was happy to pay a few extra bucks and save myself the hassle. I made two pieces; the first being the wooden transom cover which I had to use some square tubing to make the 90 degree bend to match the factory piece that was corroded beyond repair, and the second piece was to put between the wood and the rear transom wall (with the goal of using a sealant). After making the transom repair piece, I used a drill with a wire wheel (safety glasses and respirator of course) to score the surface to create more surface area for the sealant to bond.
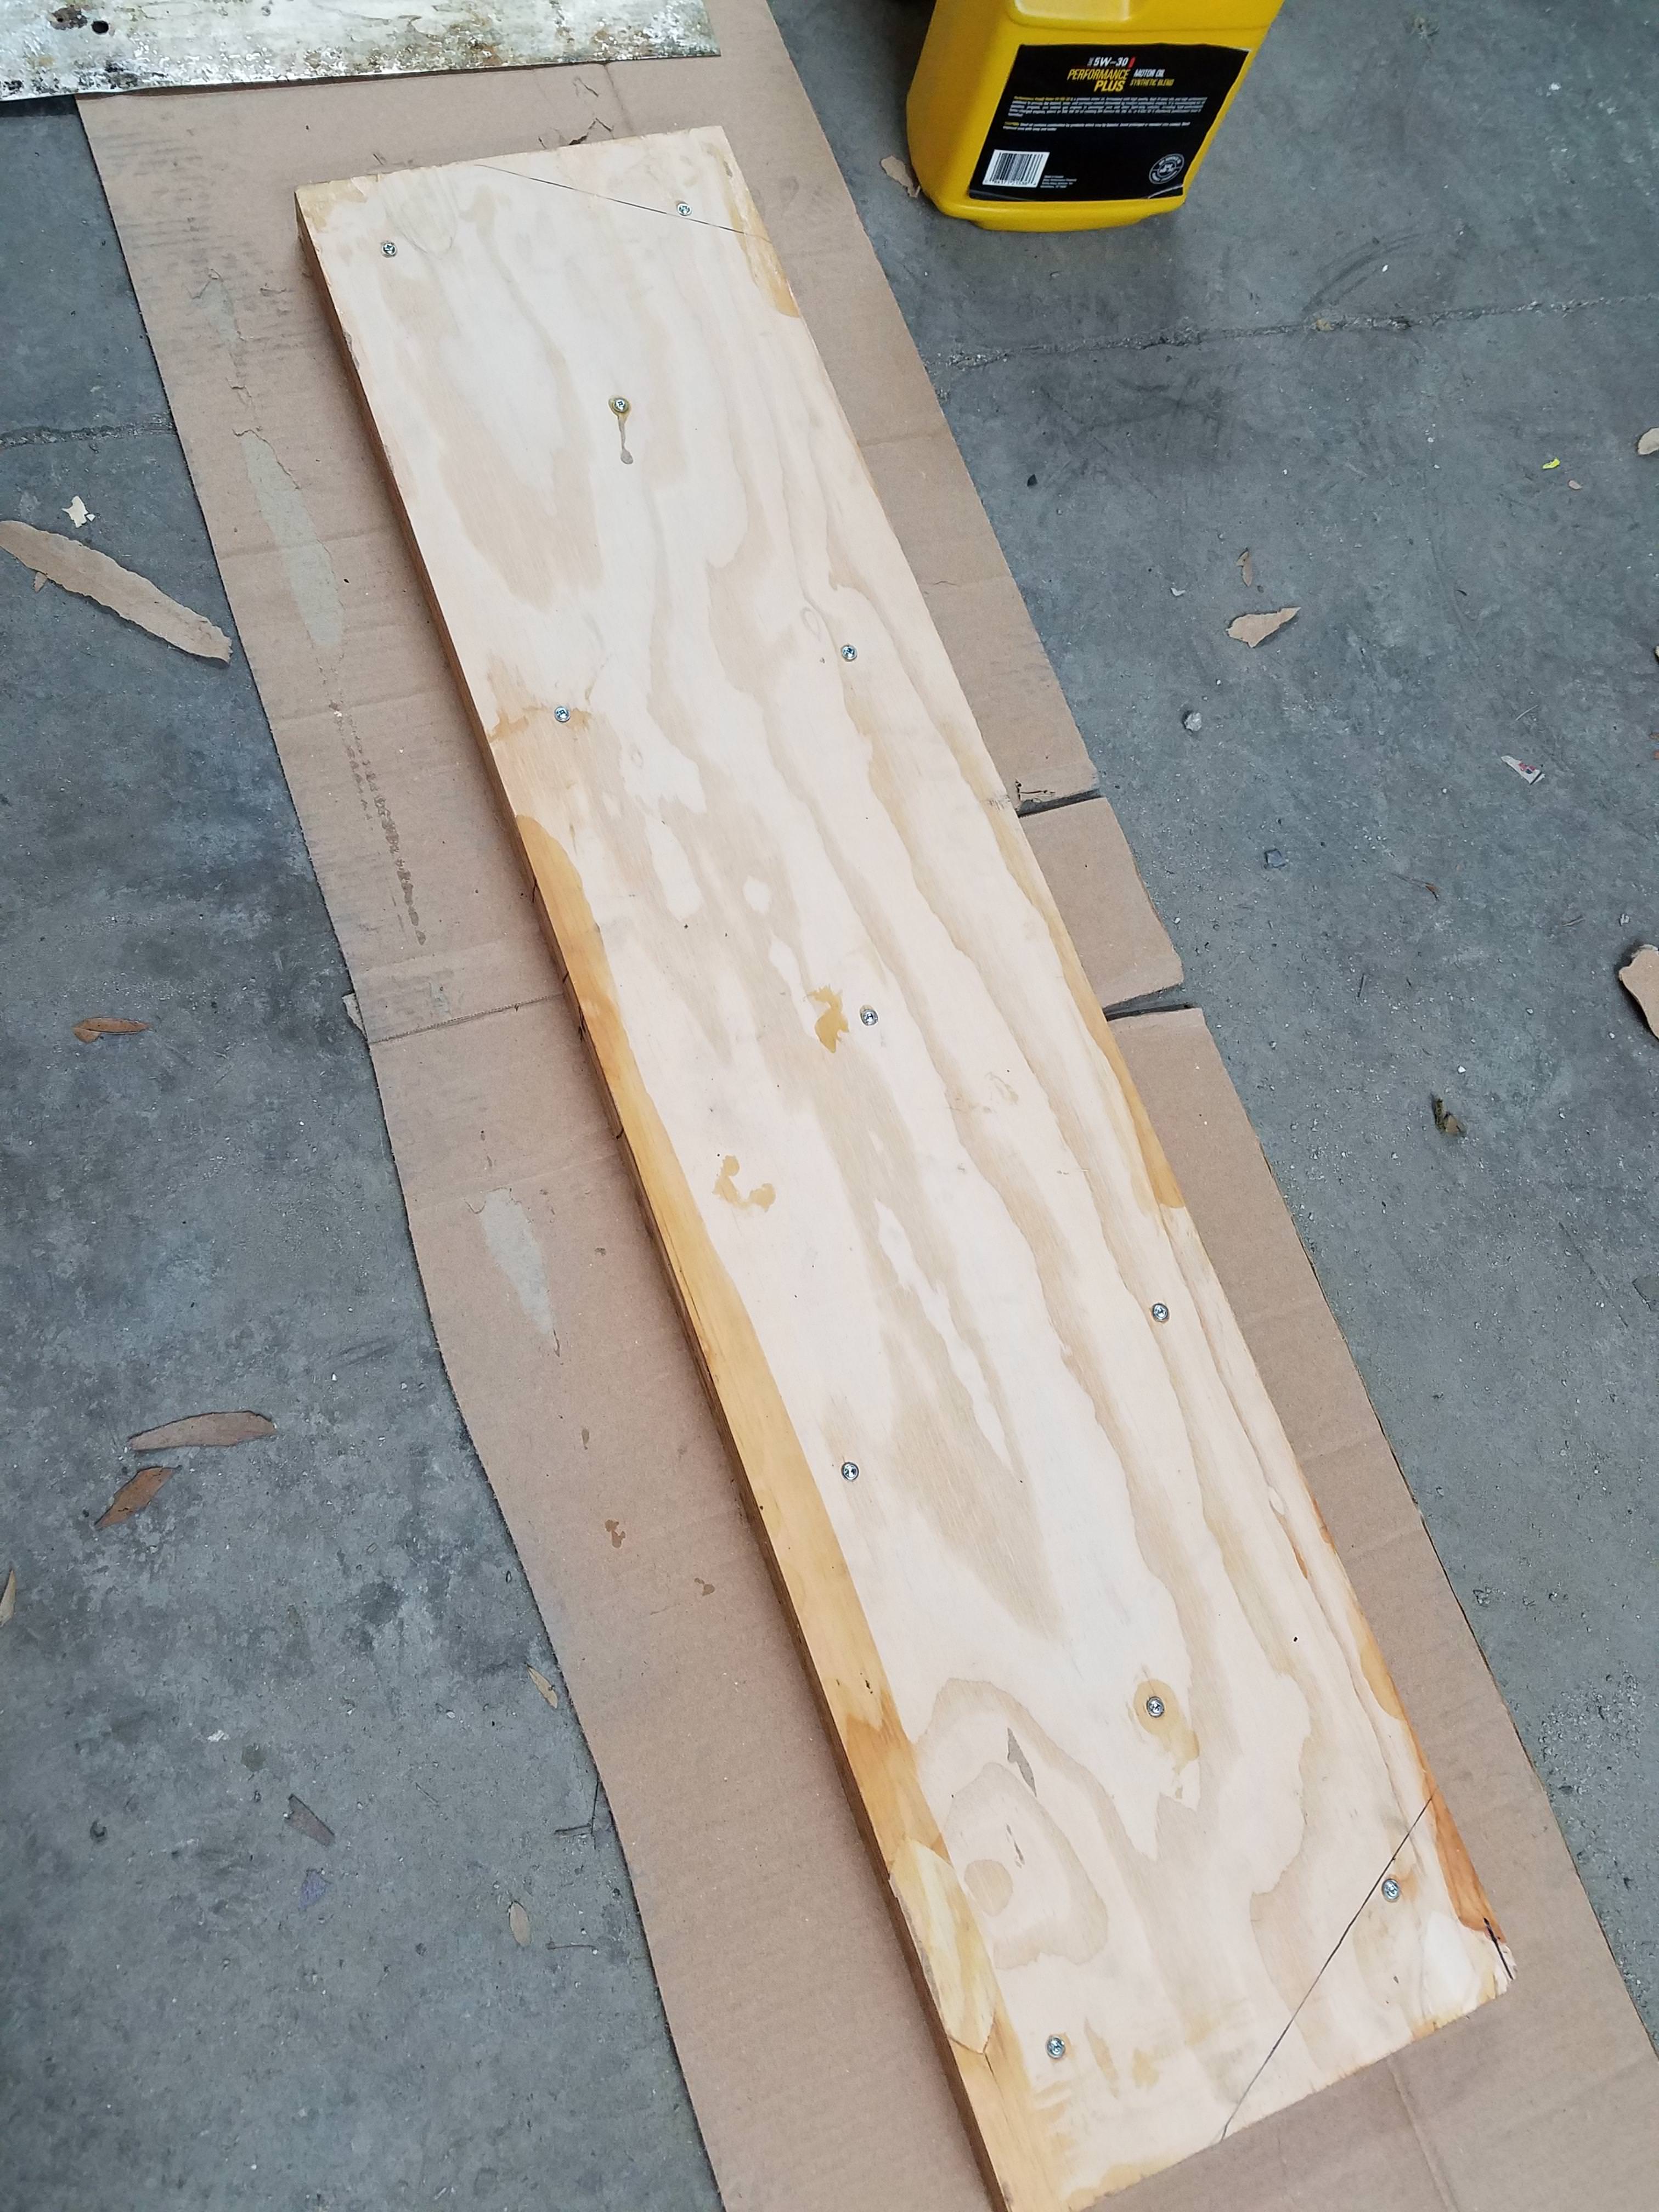
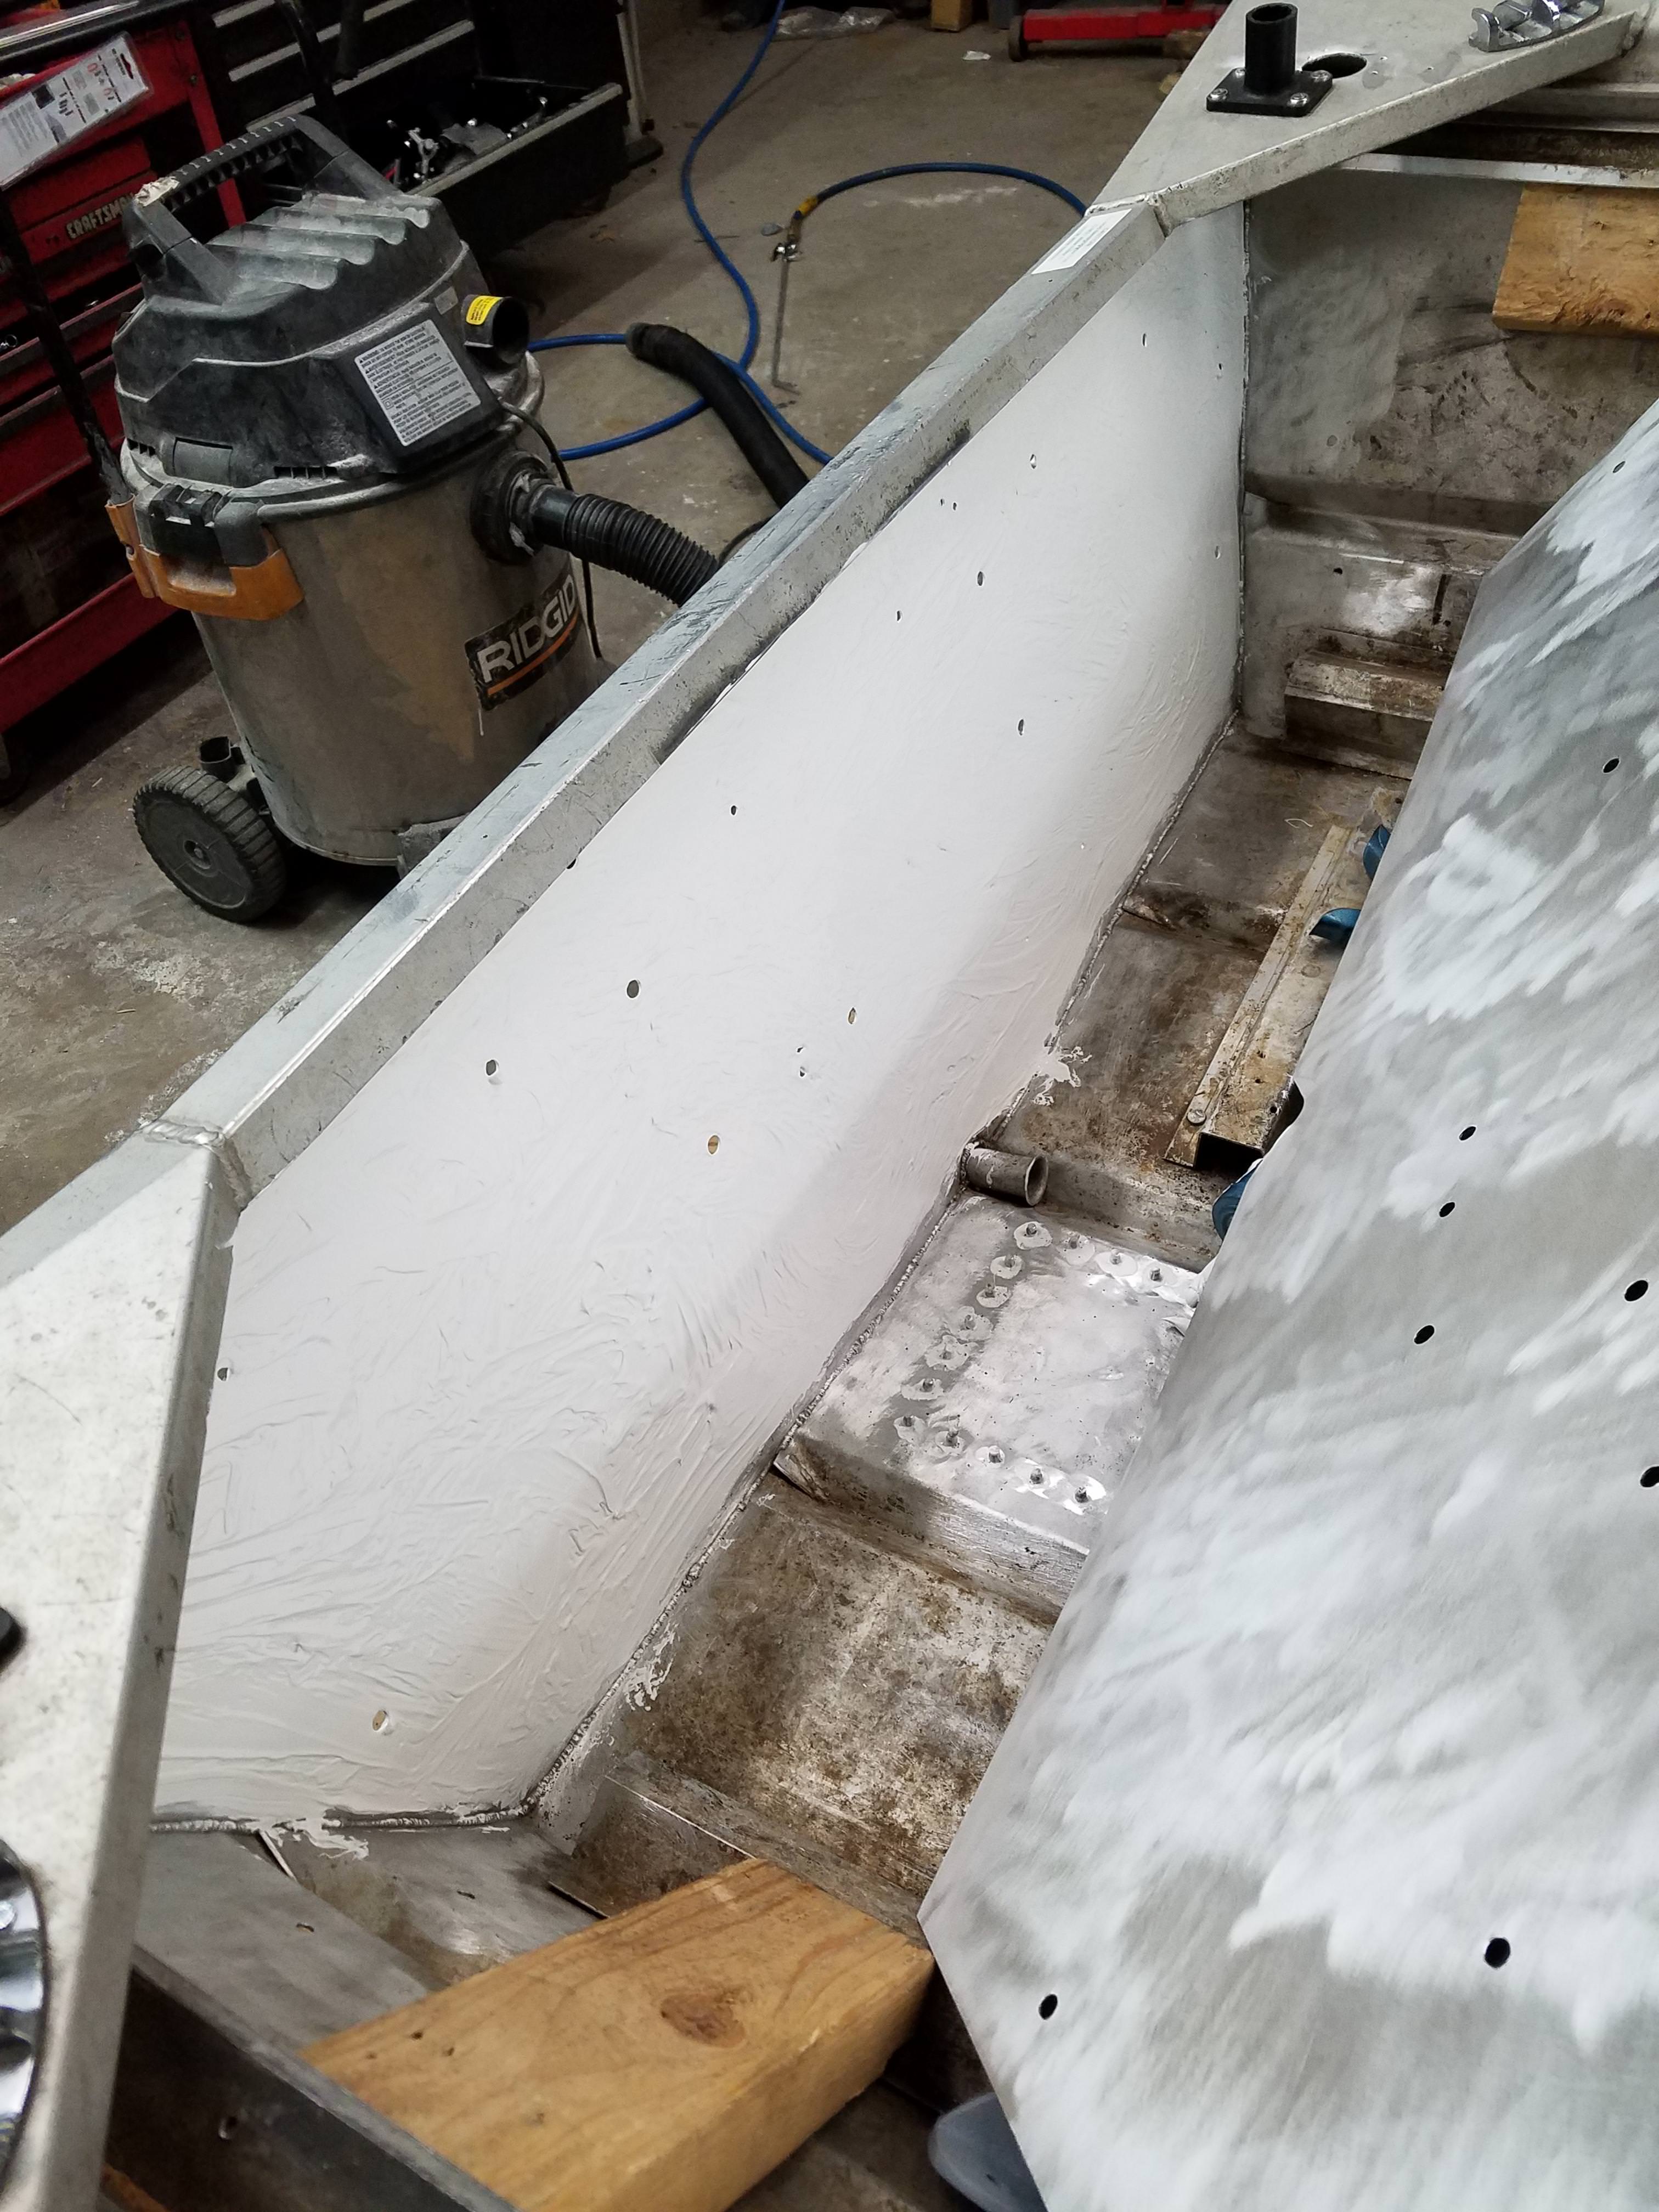
For the new transom, I bought a sheet of 3/4" marine grade plywood and cut two pieces and used fiberglass resin to laminate the two together and used screws to hold it together. The screw heads were counter sunk and the holes filled with JB Weld. Surface was sanded flush and then applied the fiberglass resin over and let cure. After washing the inside of the boat with soap and water and using a tooth brush to get inside the pits, I let dry then wiped the metal surfaces down with acetone and used a whole cauling gun tube of 3M 5200 Fast Cure and laminated the repair sheet to the boat and temporarily used the new wood transom board to install the bolts and squeeze the sheet and this allowed the pits to be filled and sealant oozed out the back of the boat where the holes where. The reason I used the sealant is because it is super strong and flexible too. I could have used a large amount of JB Weld but it would probably not handle the long term flex and vibration. Some may laugh or criticize this but it was a temporary/permanent repair without having to cut the back end off and weld a whole rear piece on the boat.
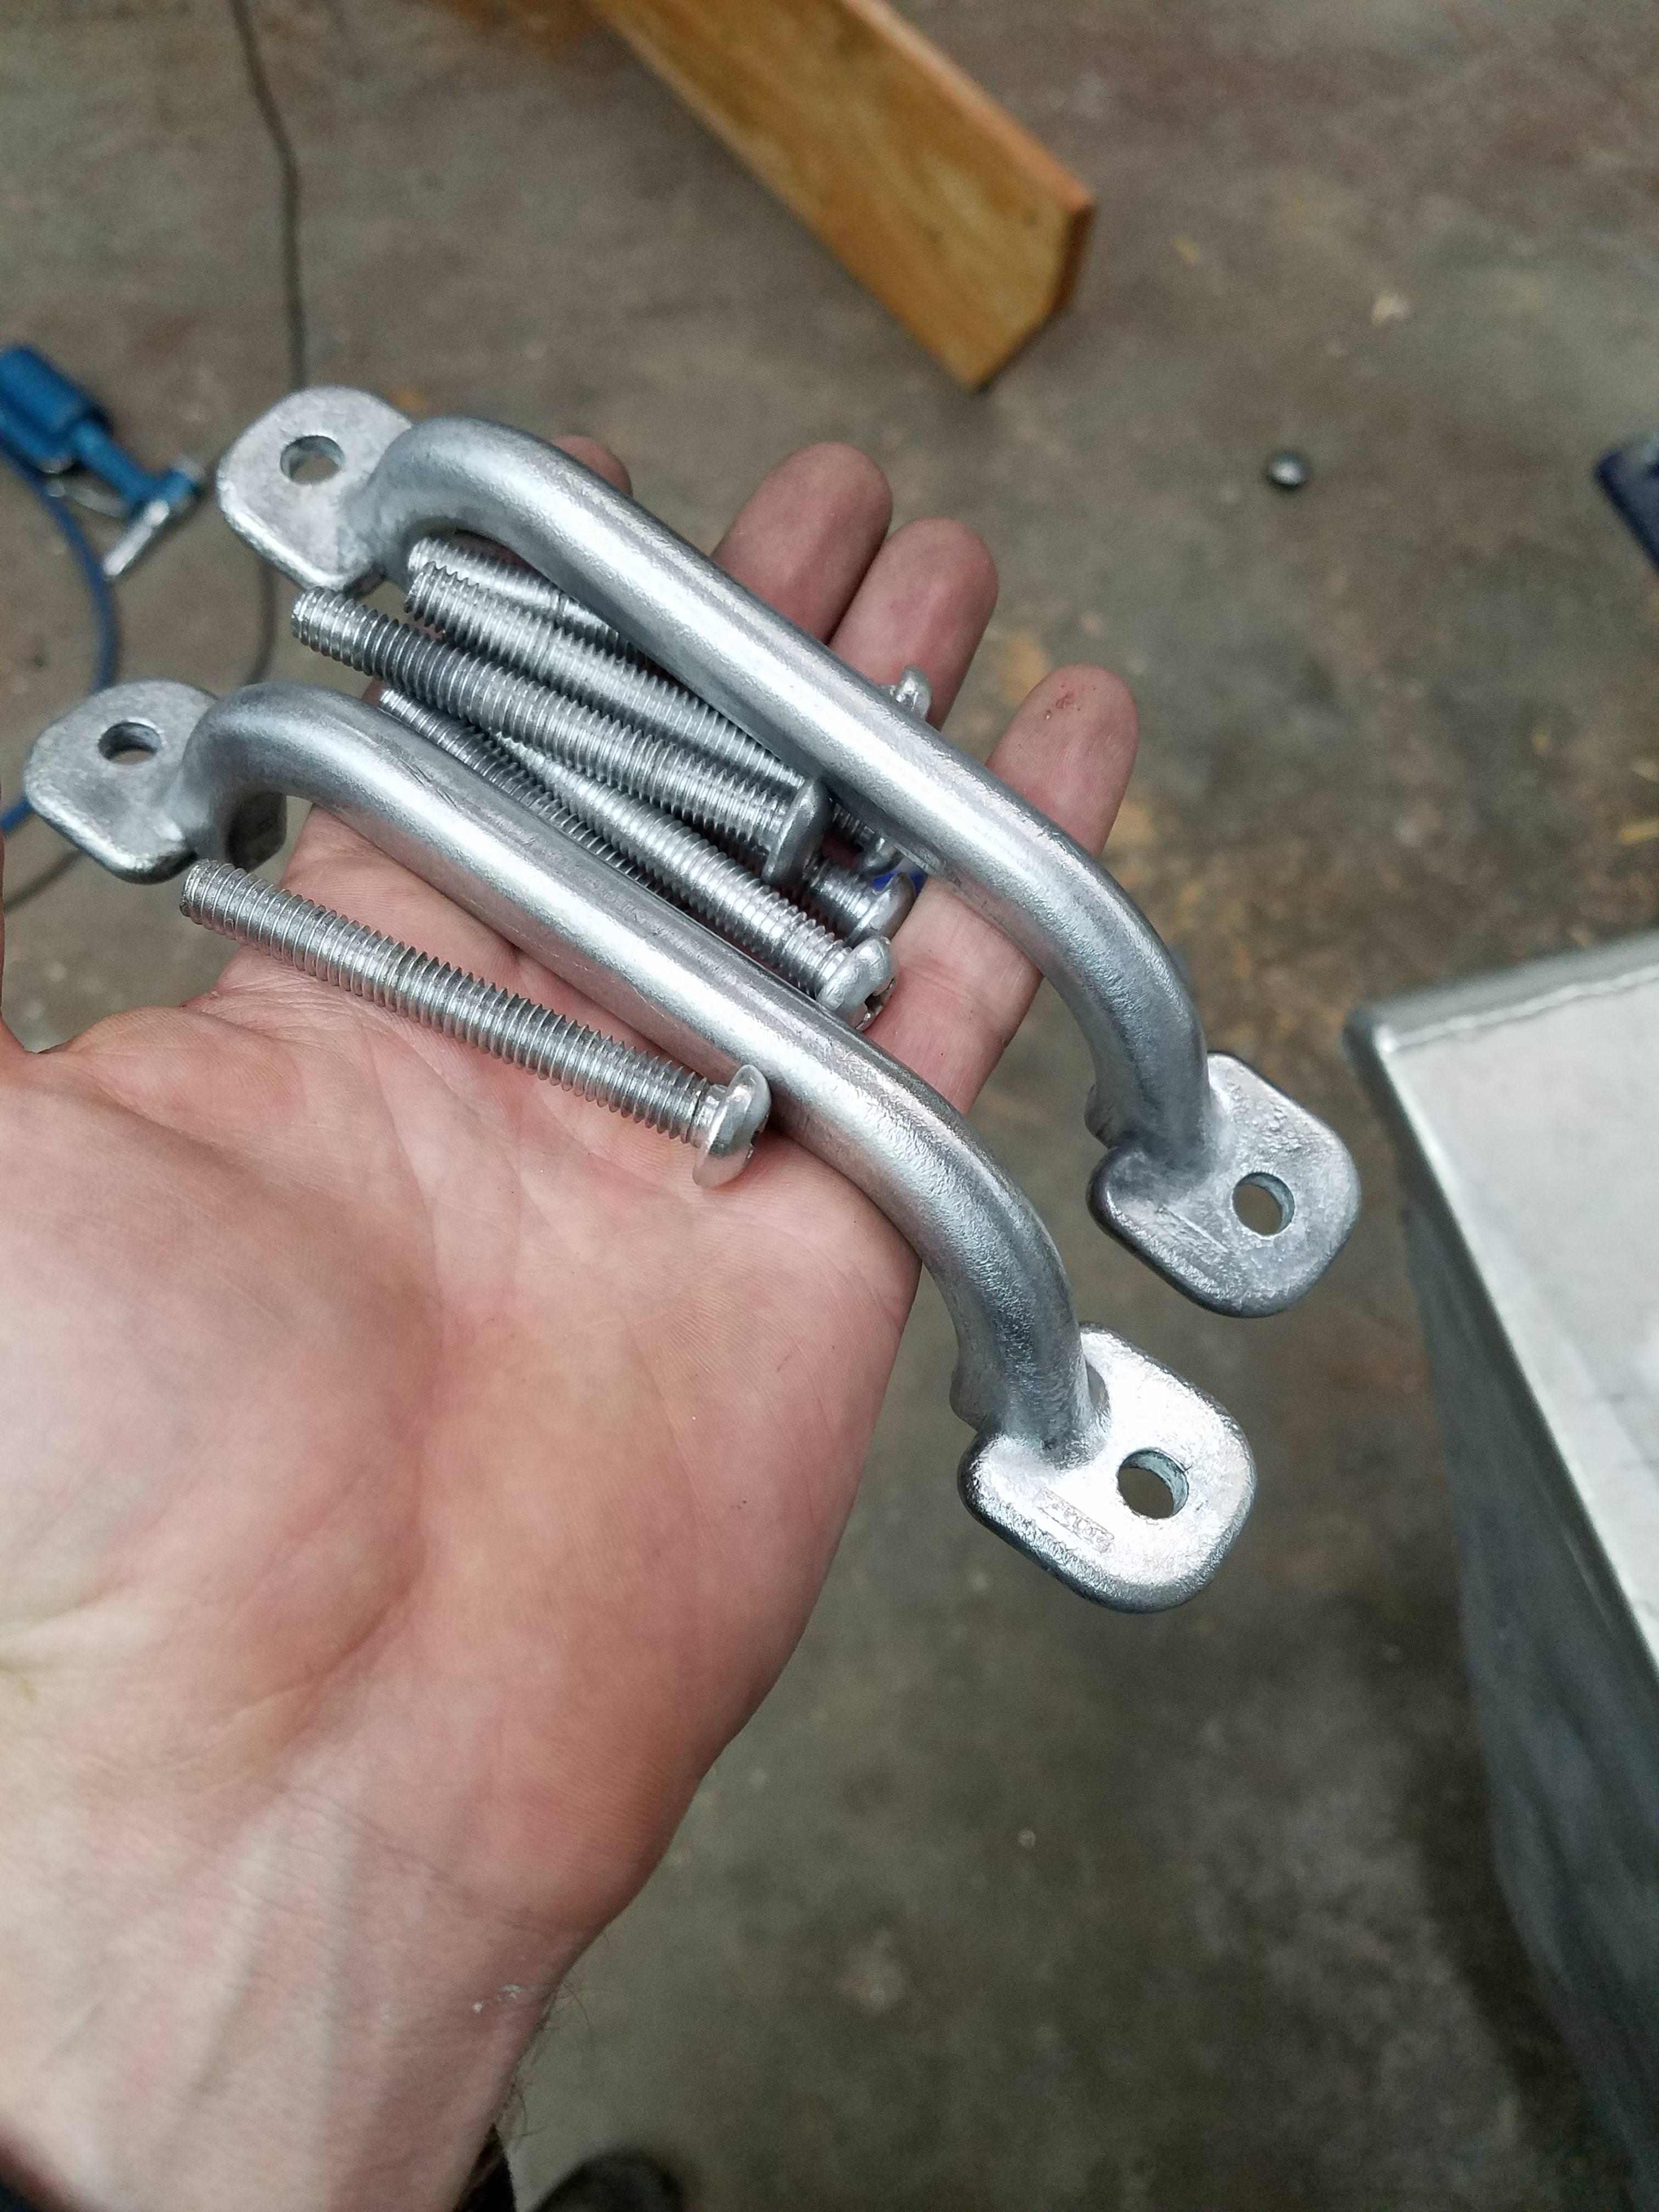
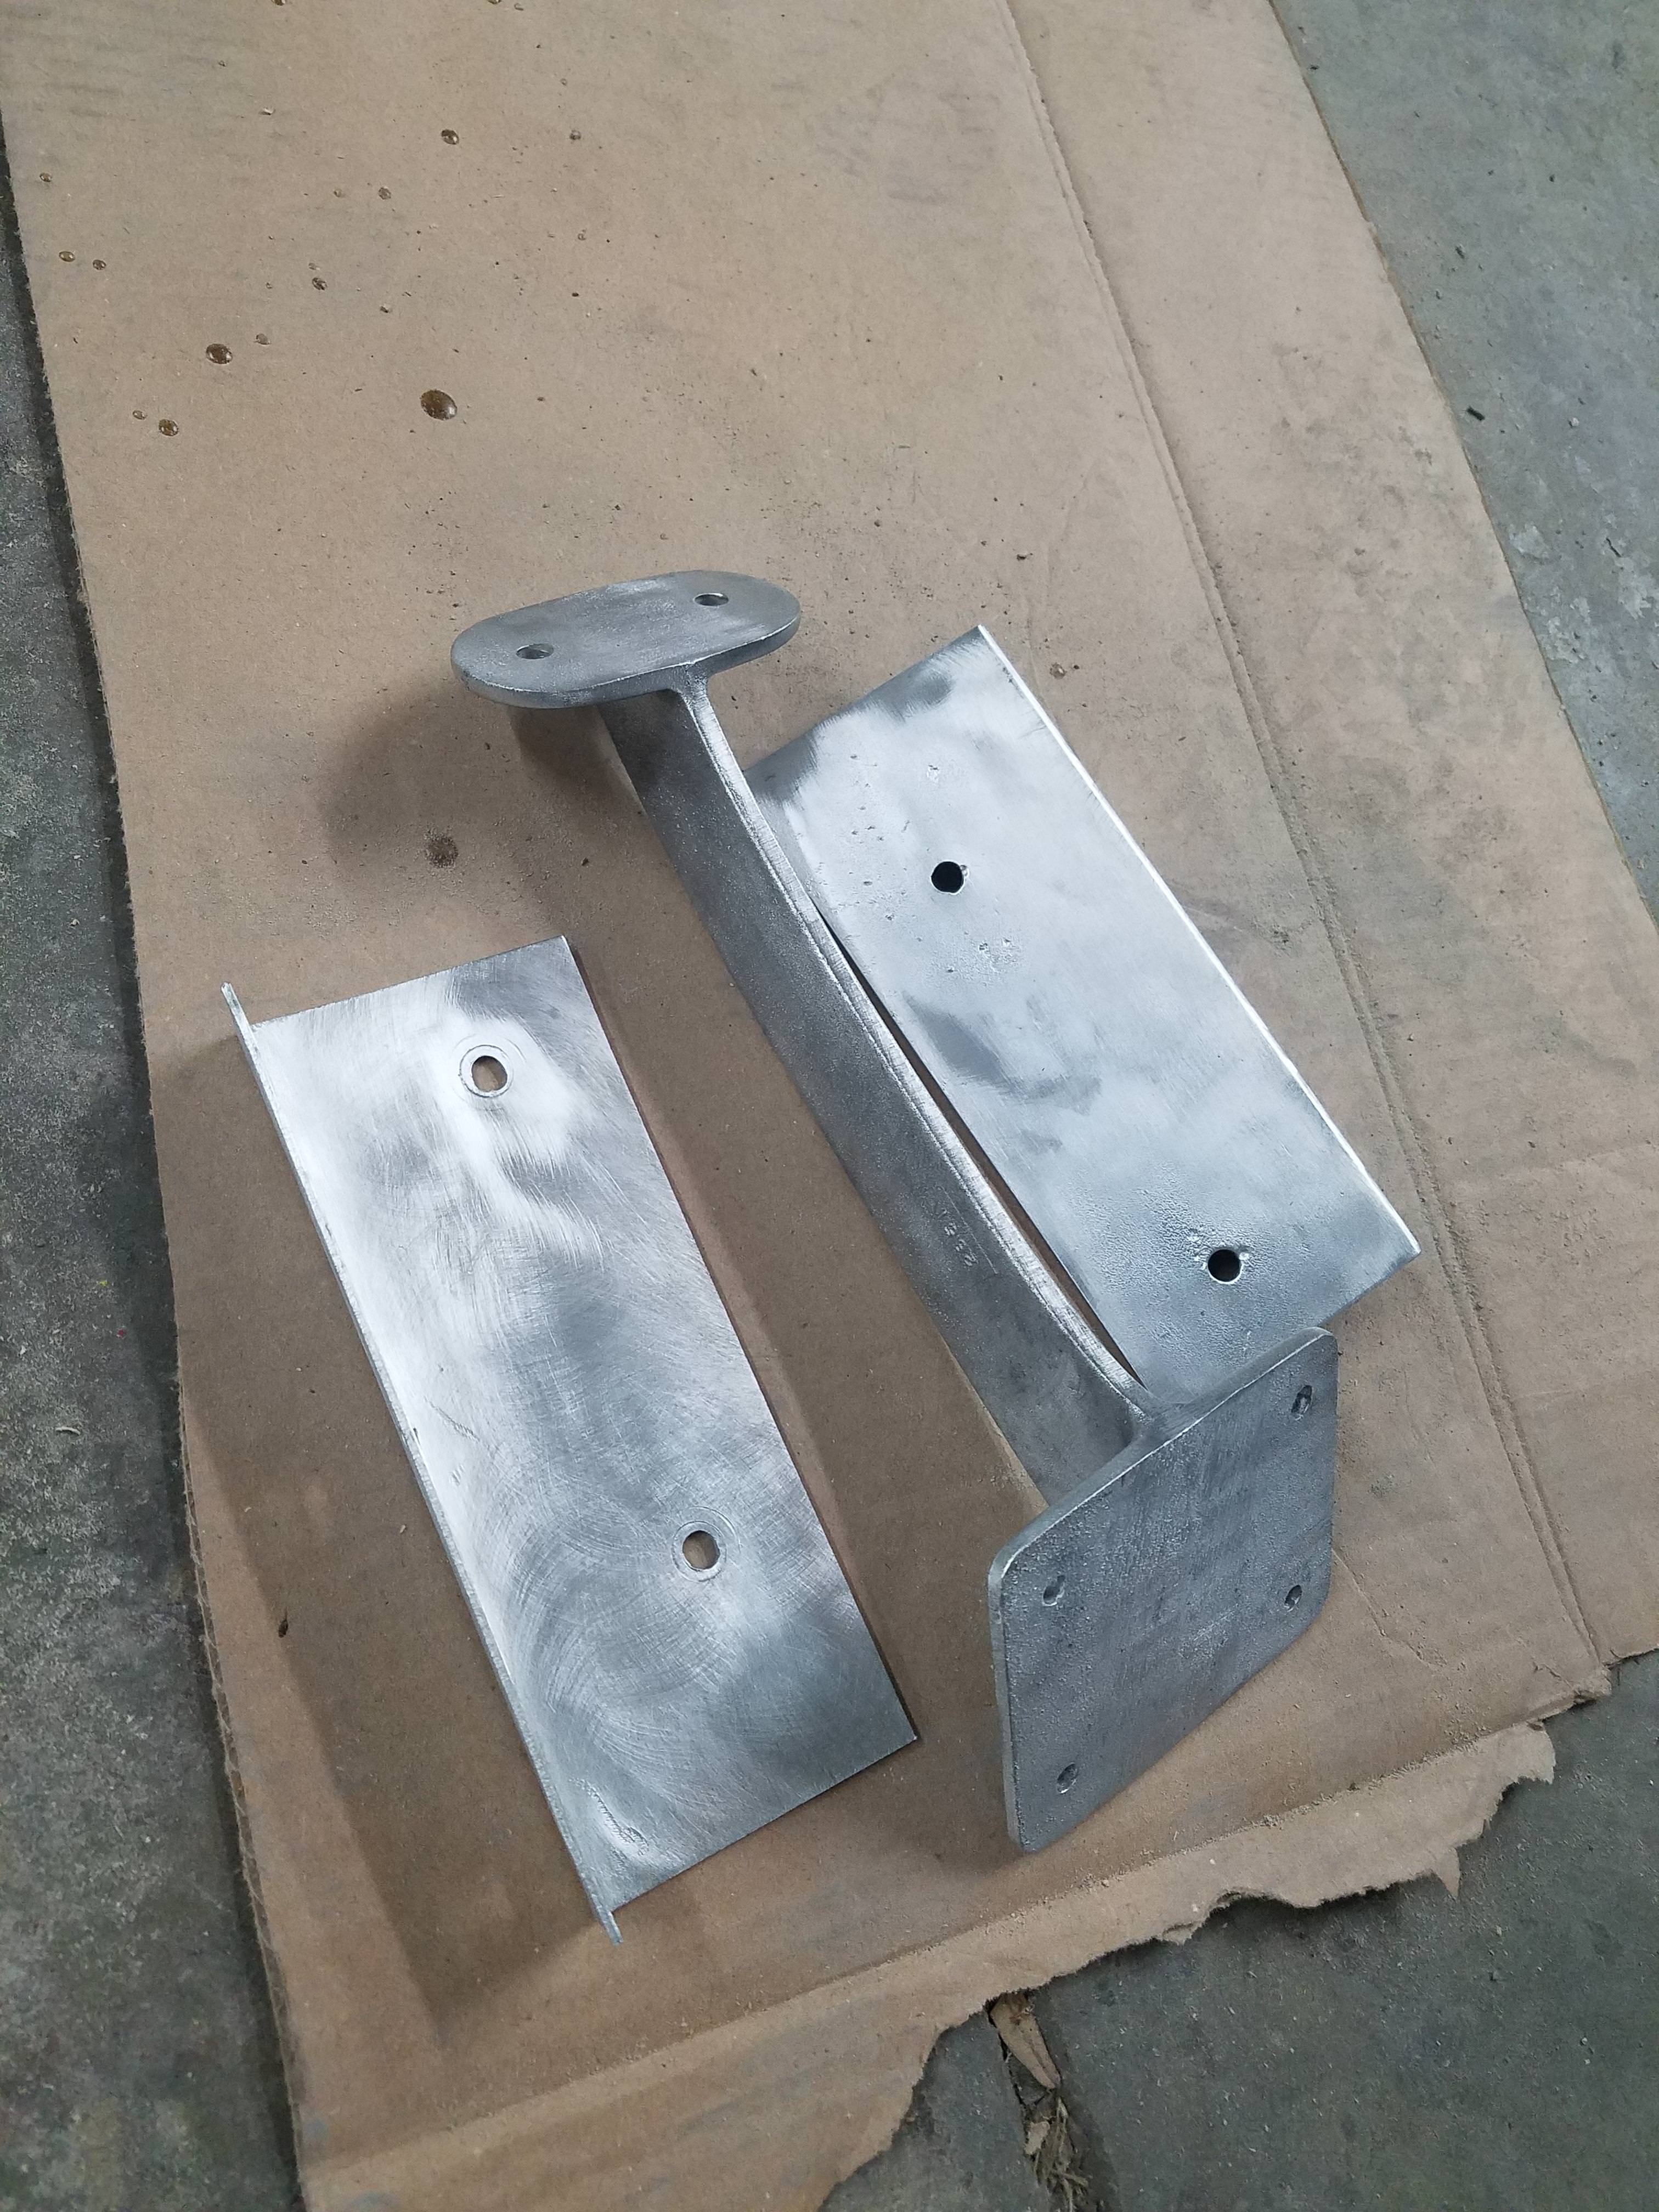
While I was at it I wire wheeled the aluminum hardware, rear boat handles, transom brackets etc. The interior transom brackets and brace were coated with spray can self etching primer and once dried overnight the coating is very strong and resists scratching with my fingernail.
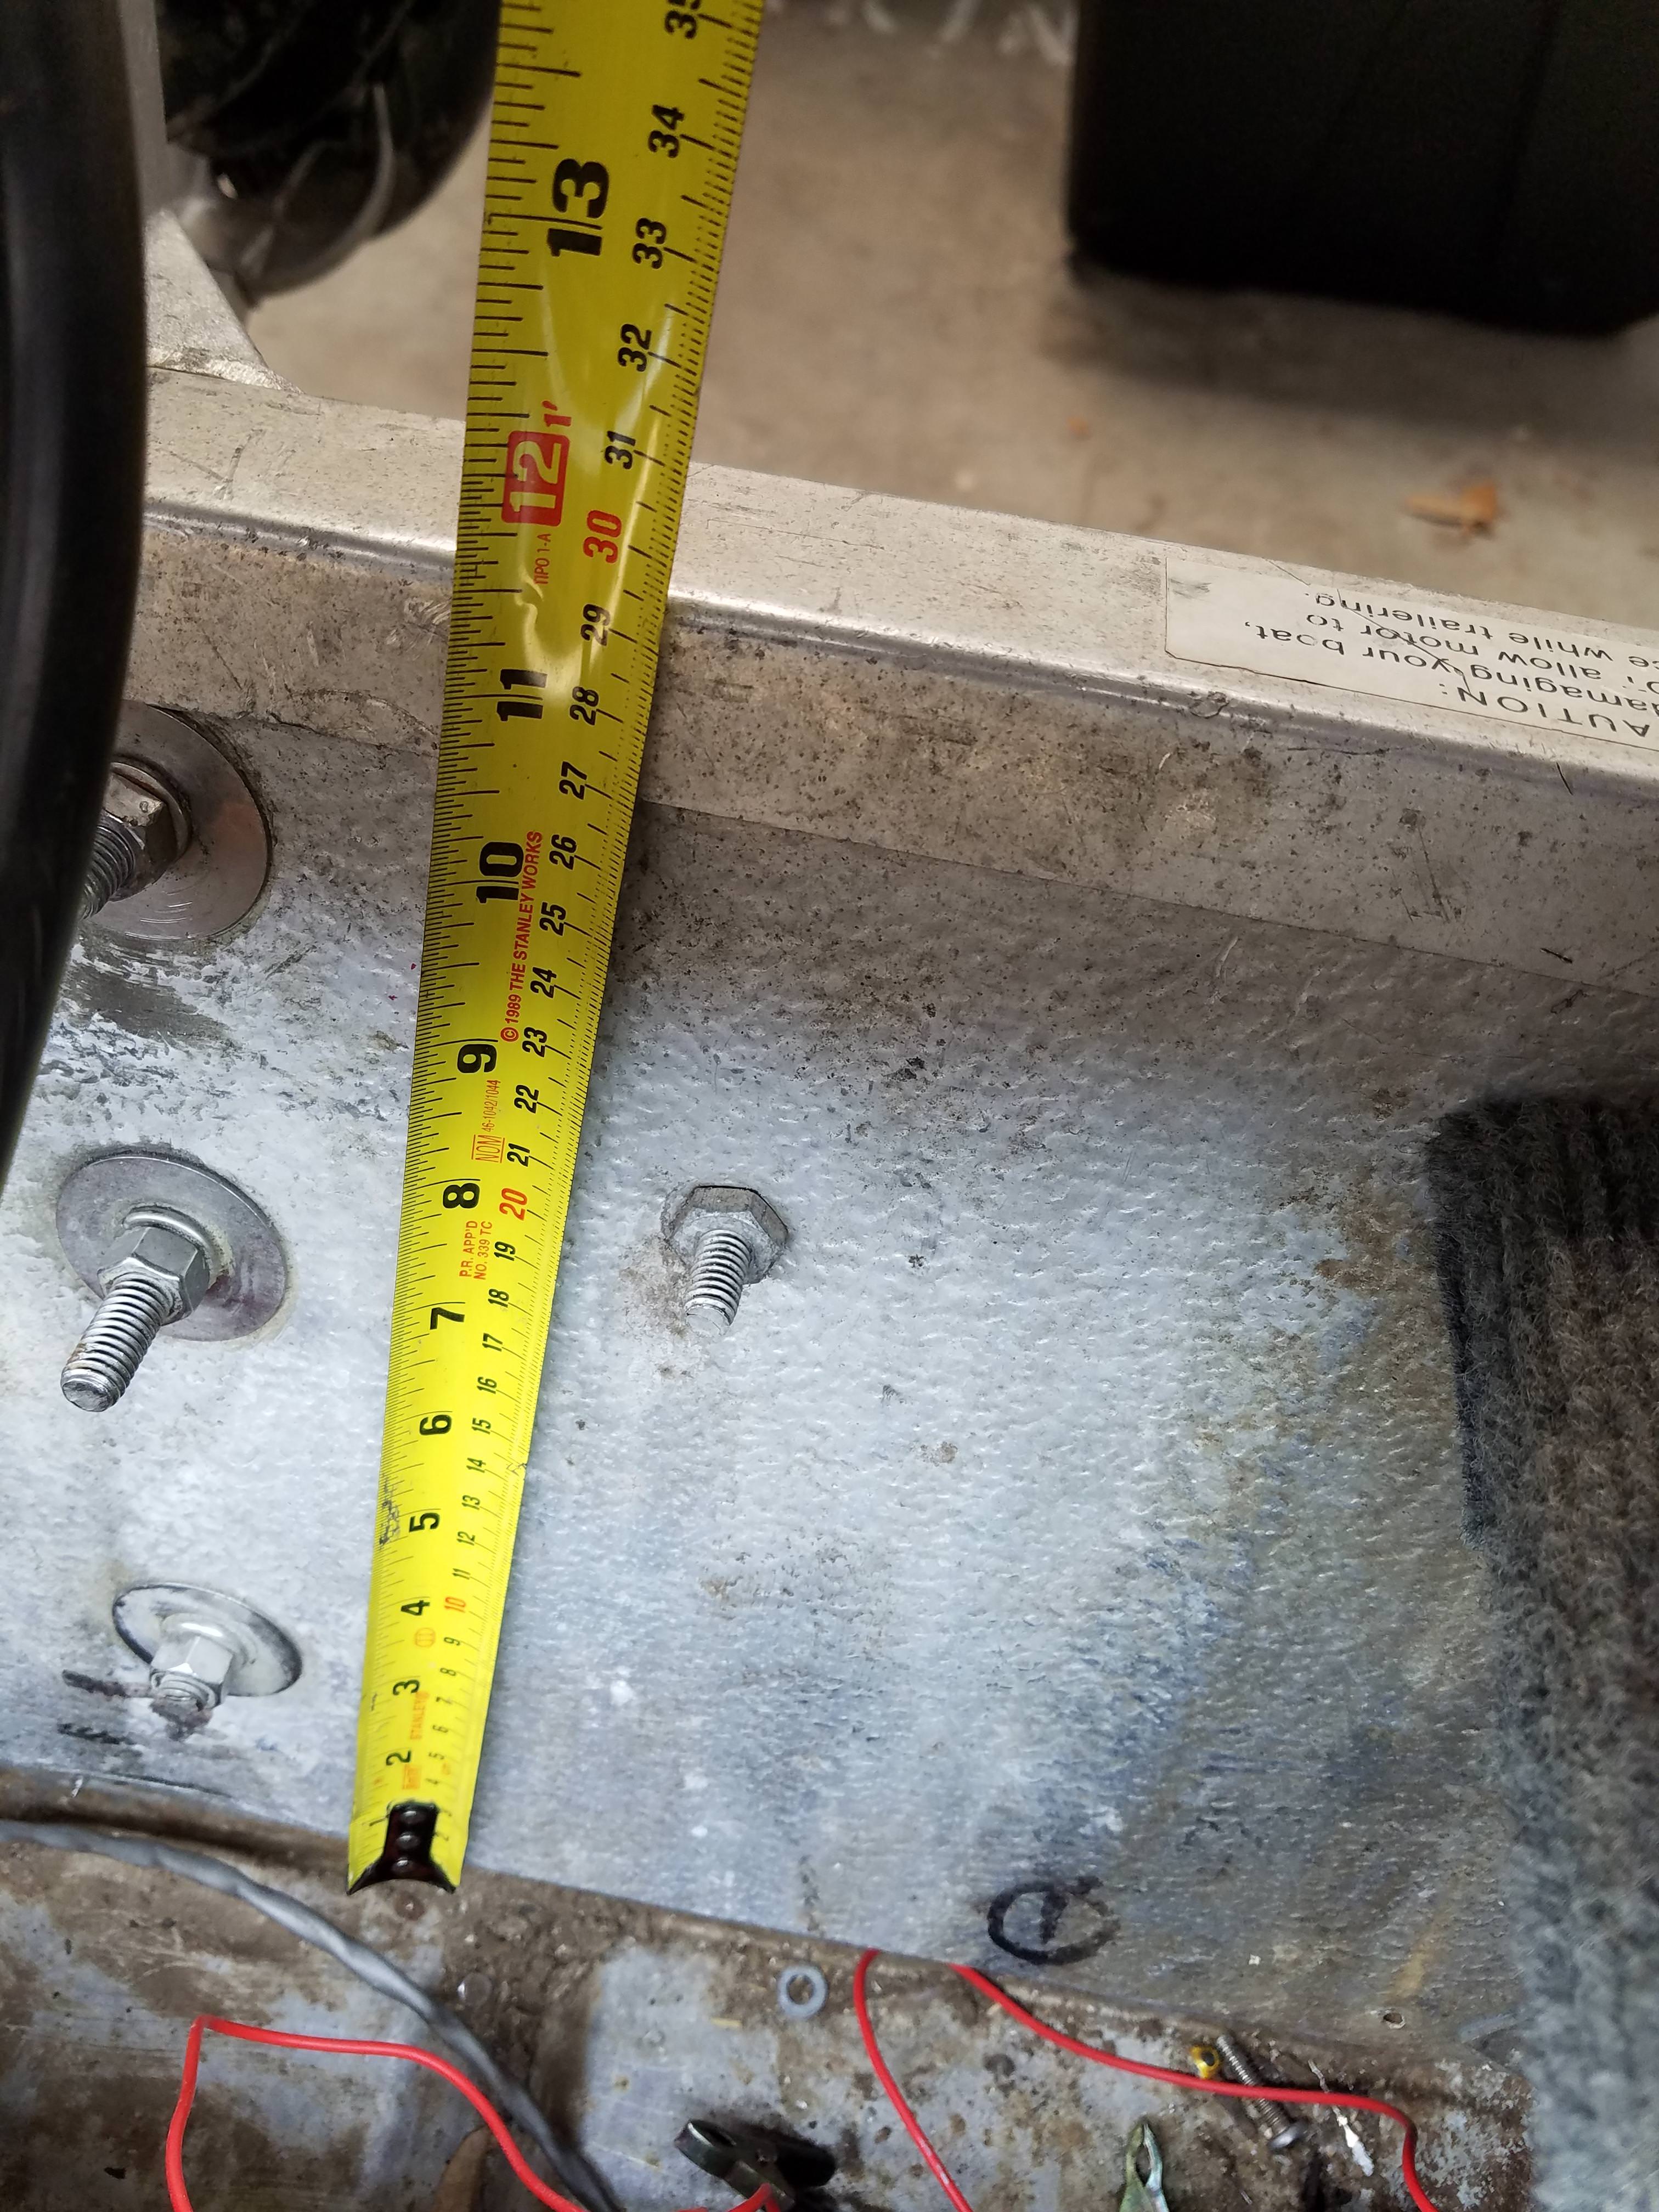
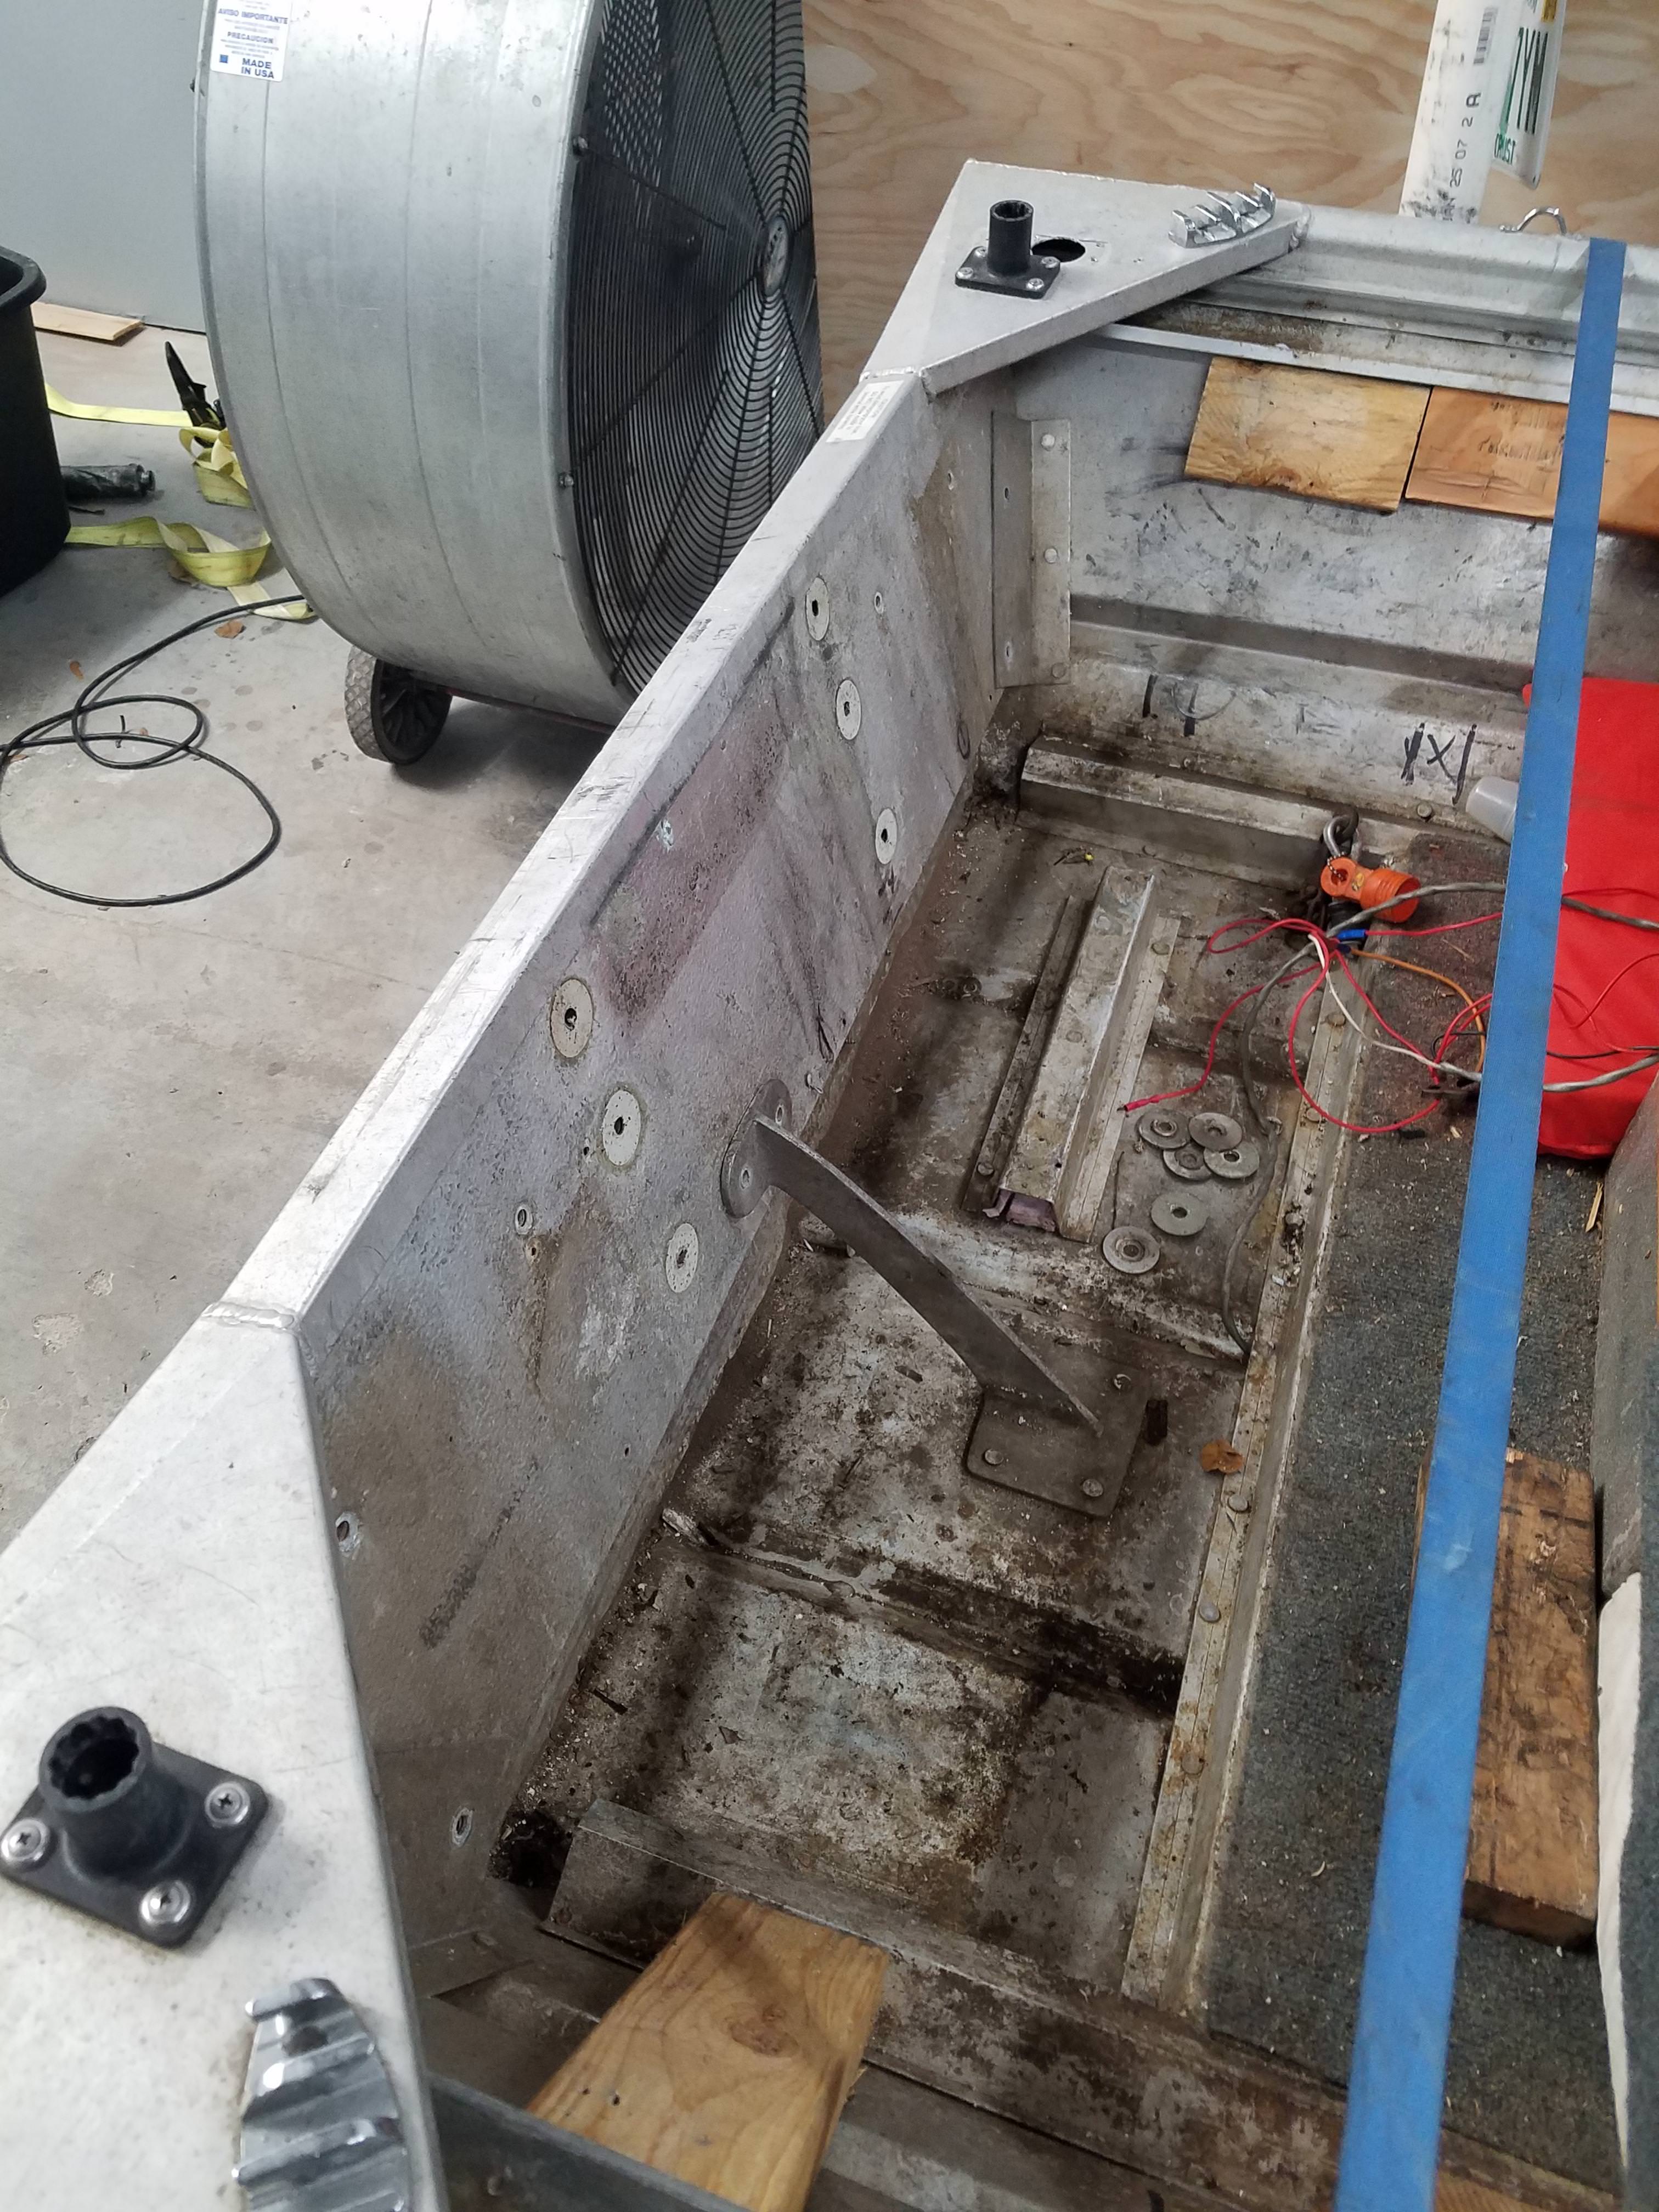
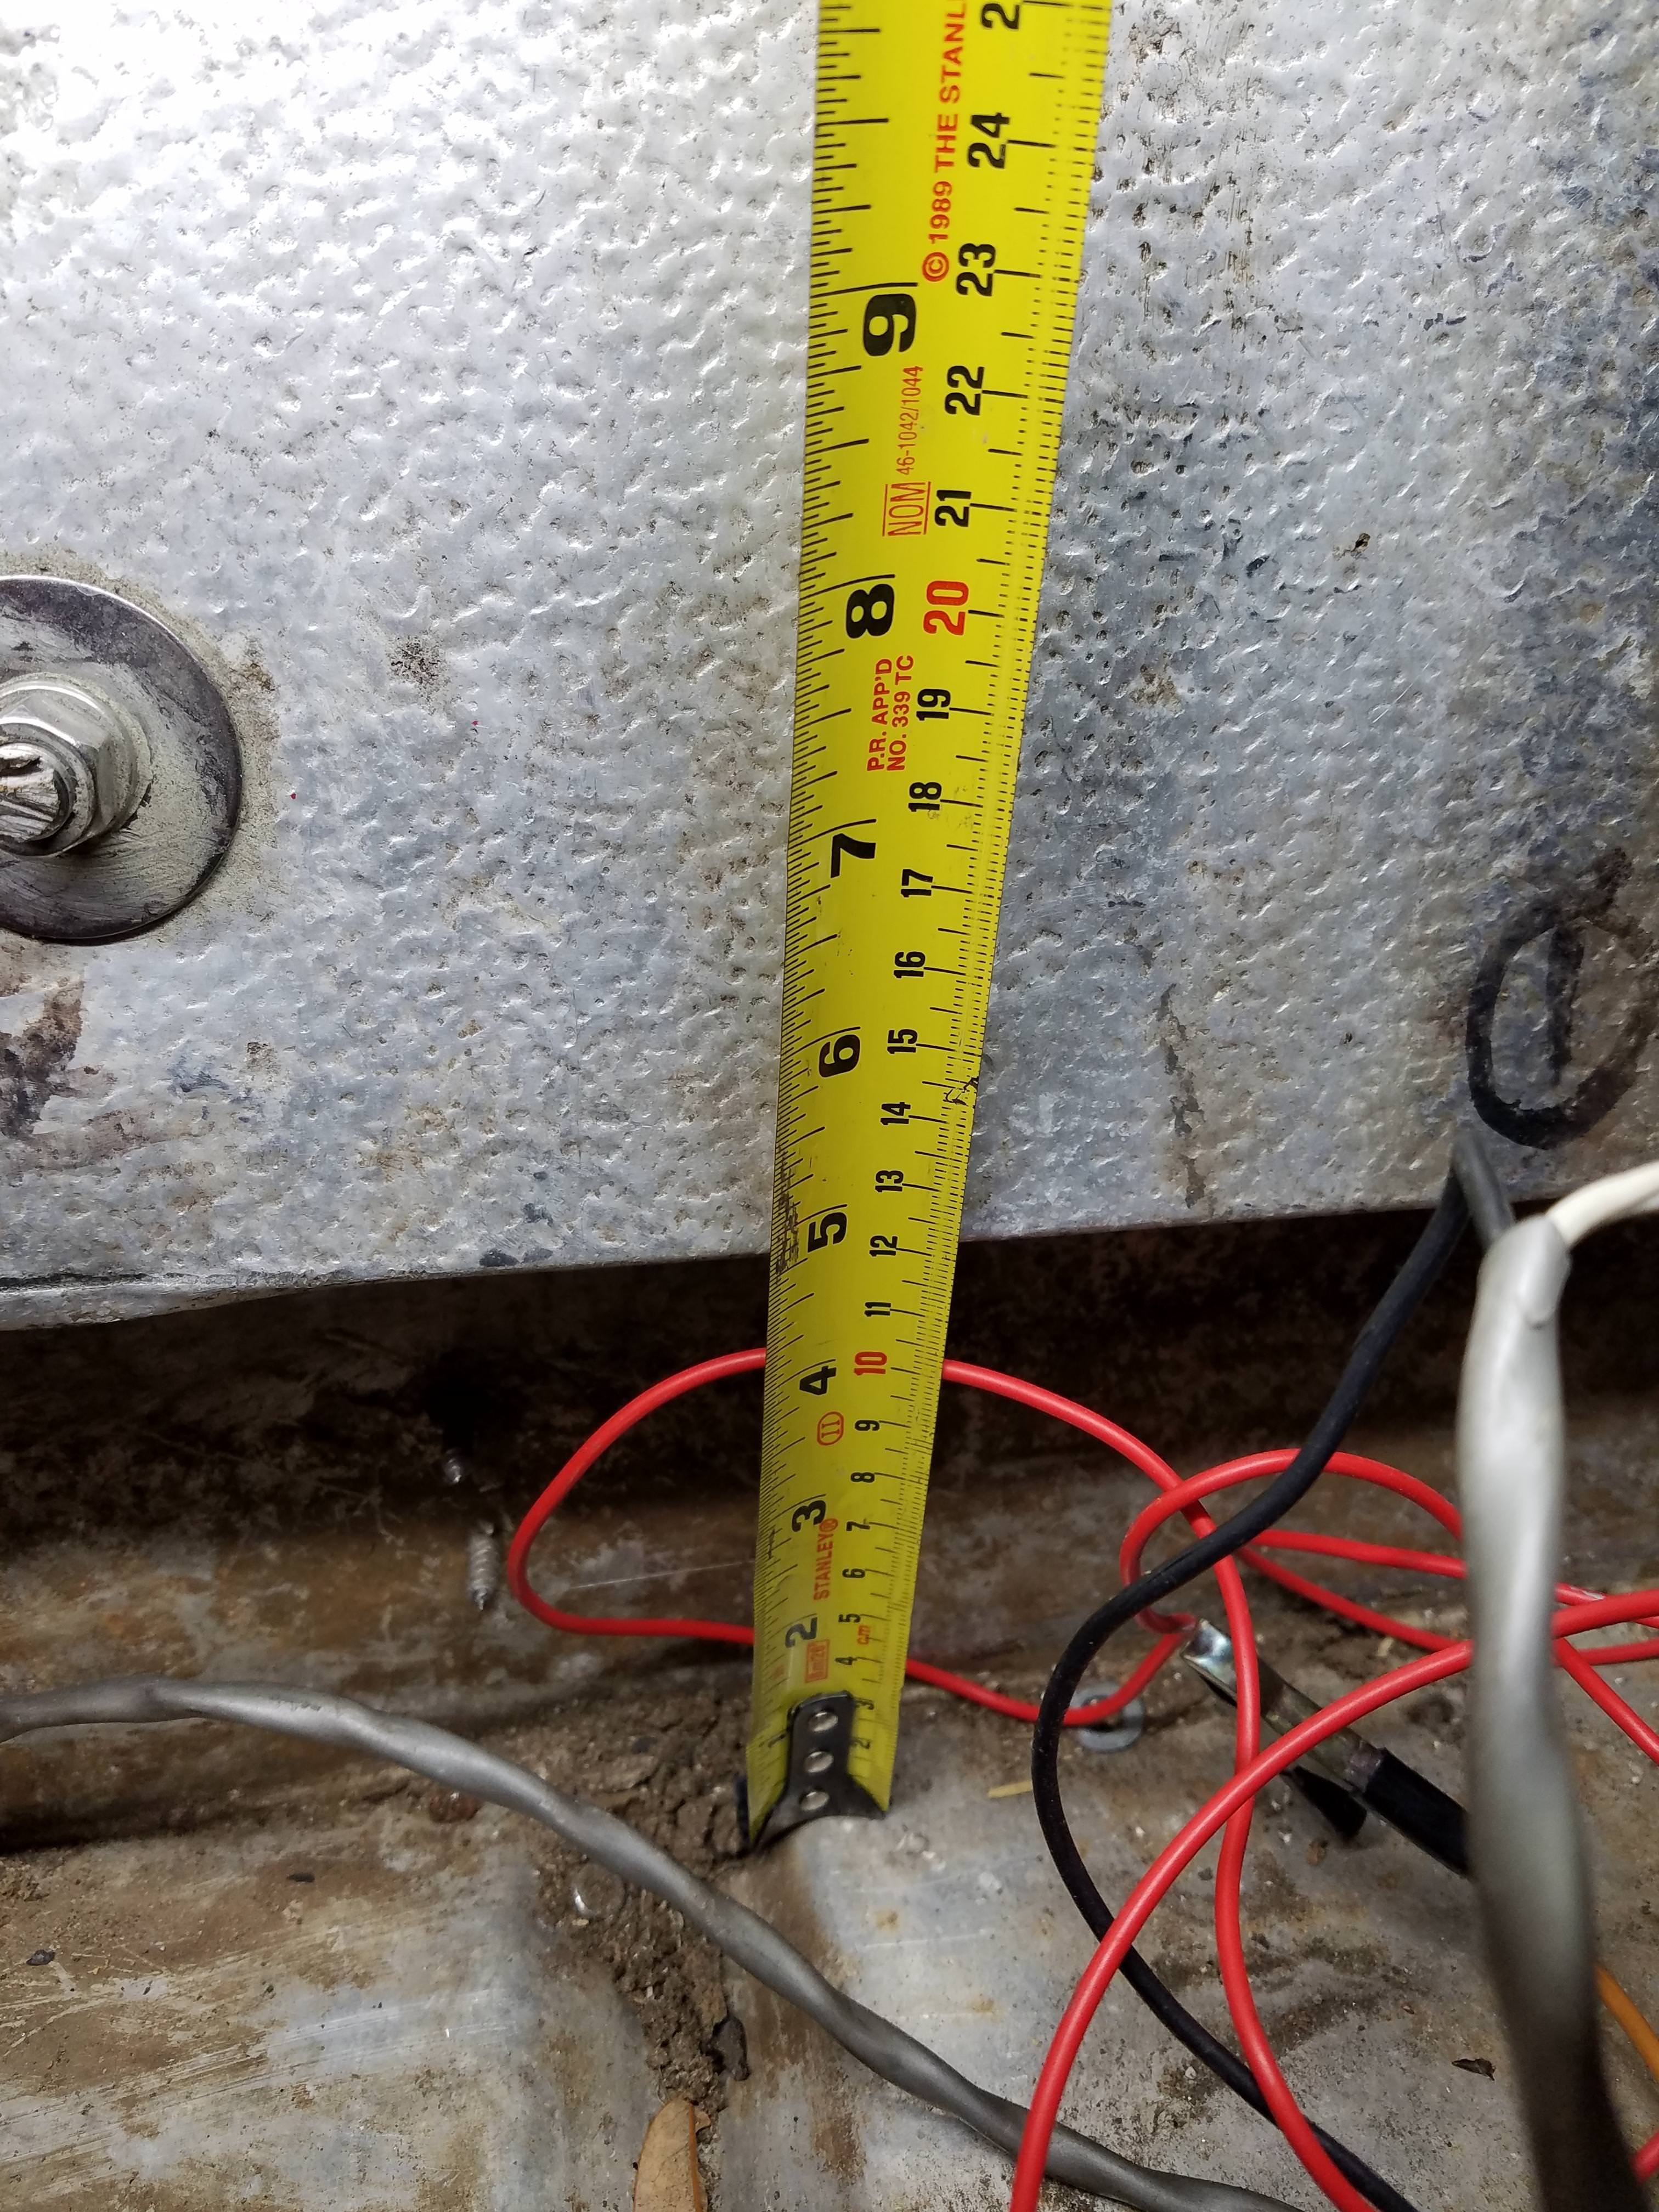
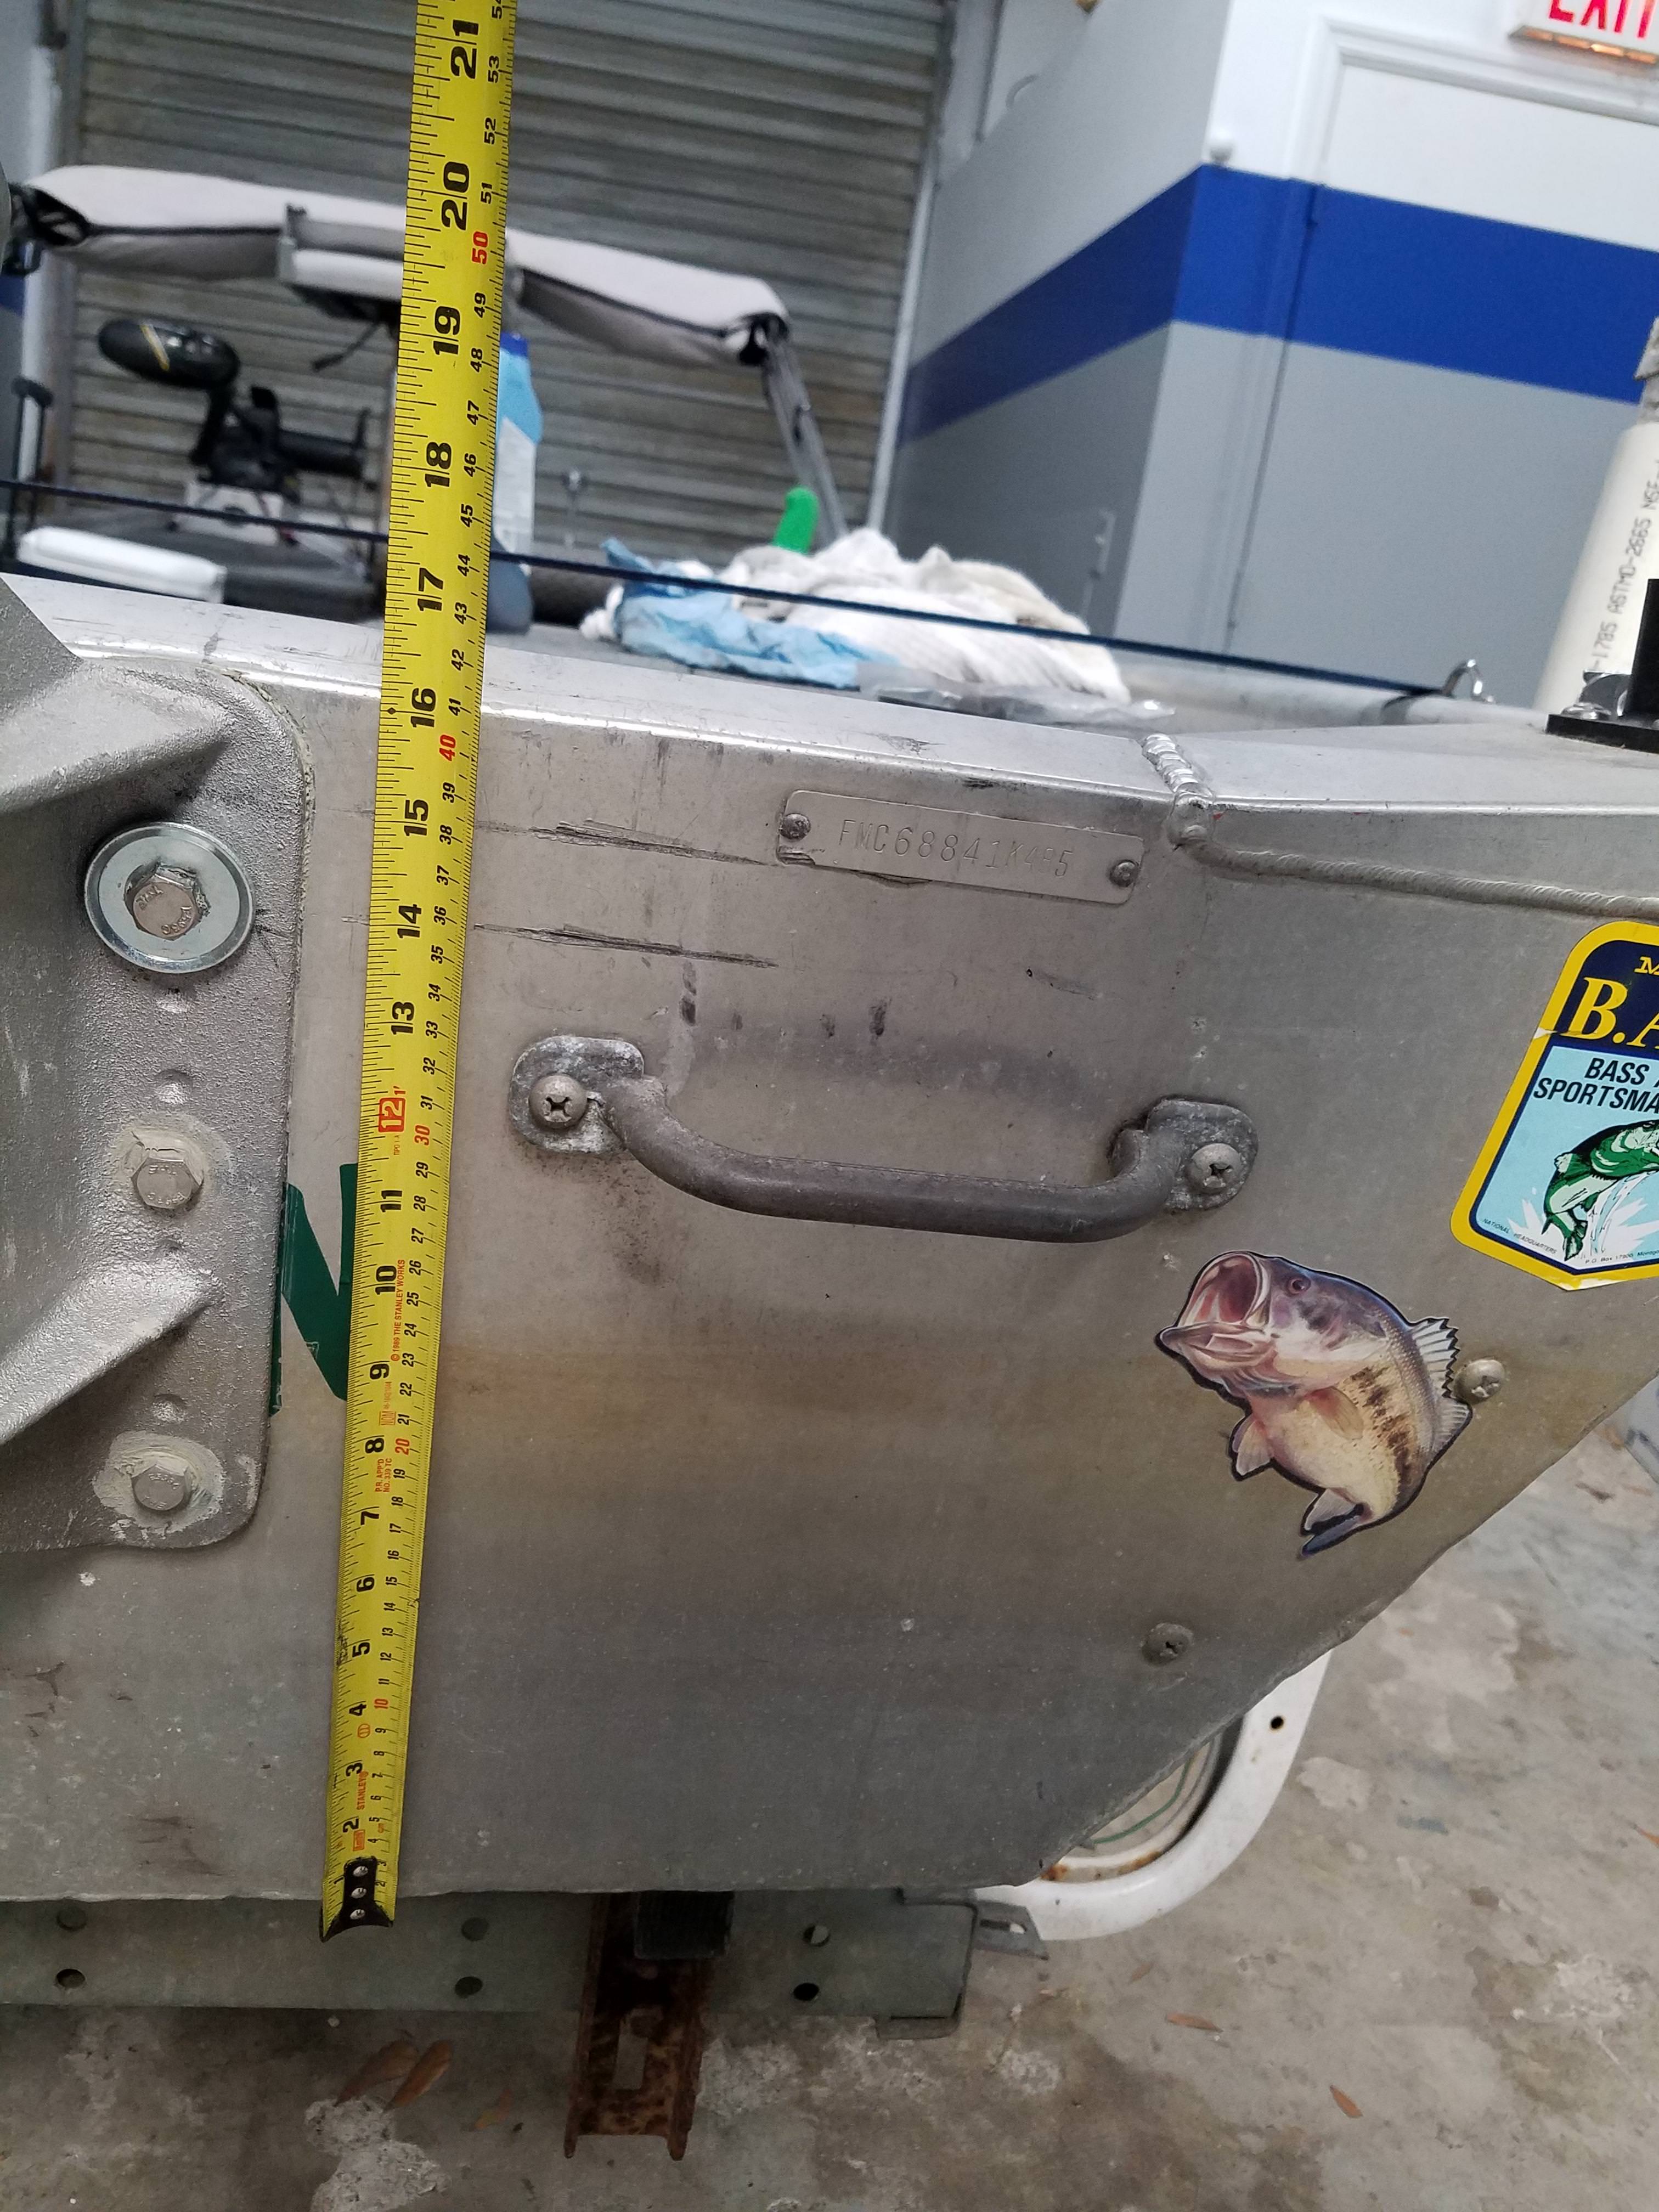
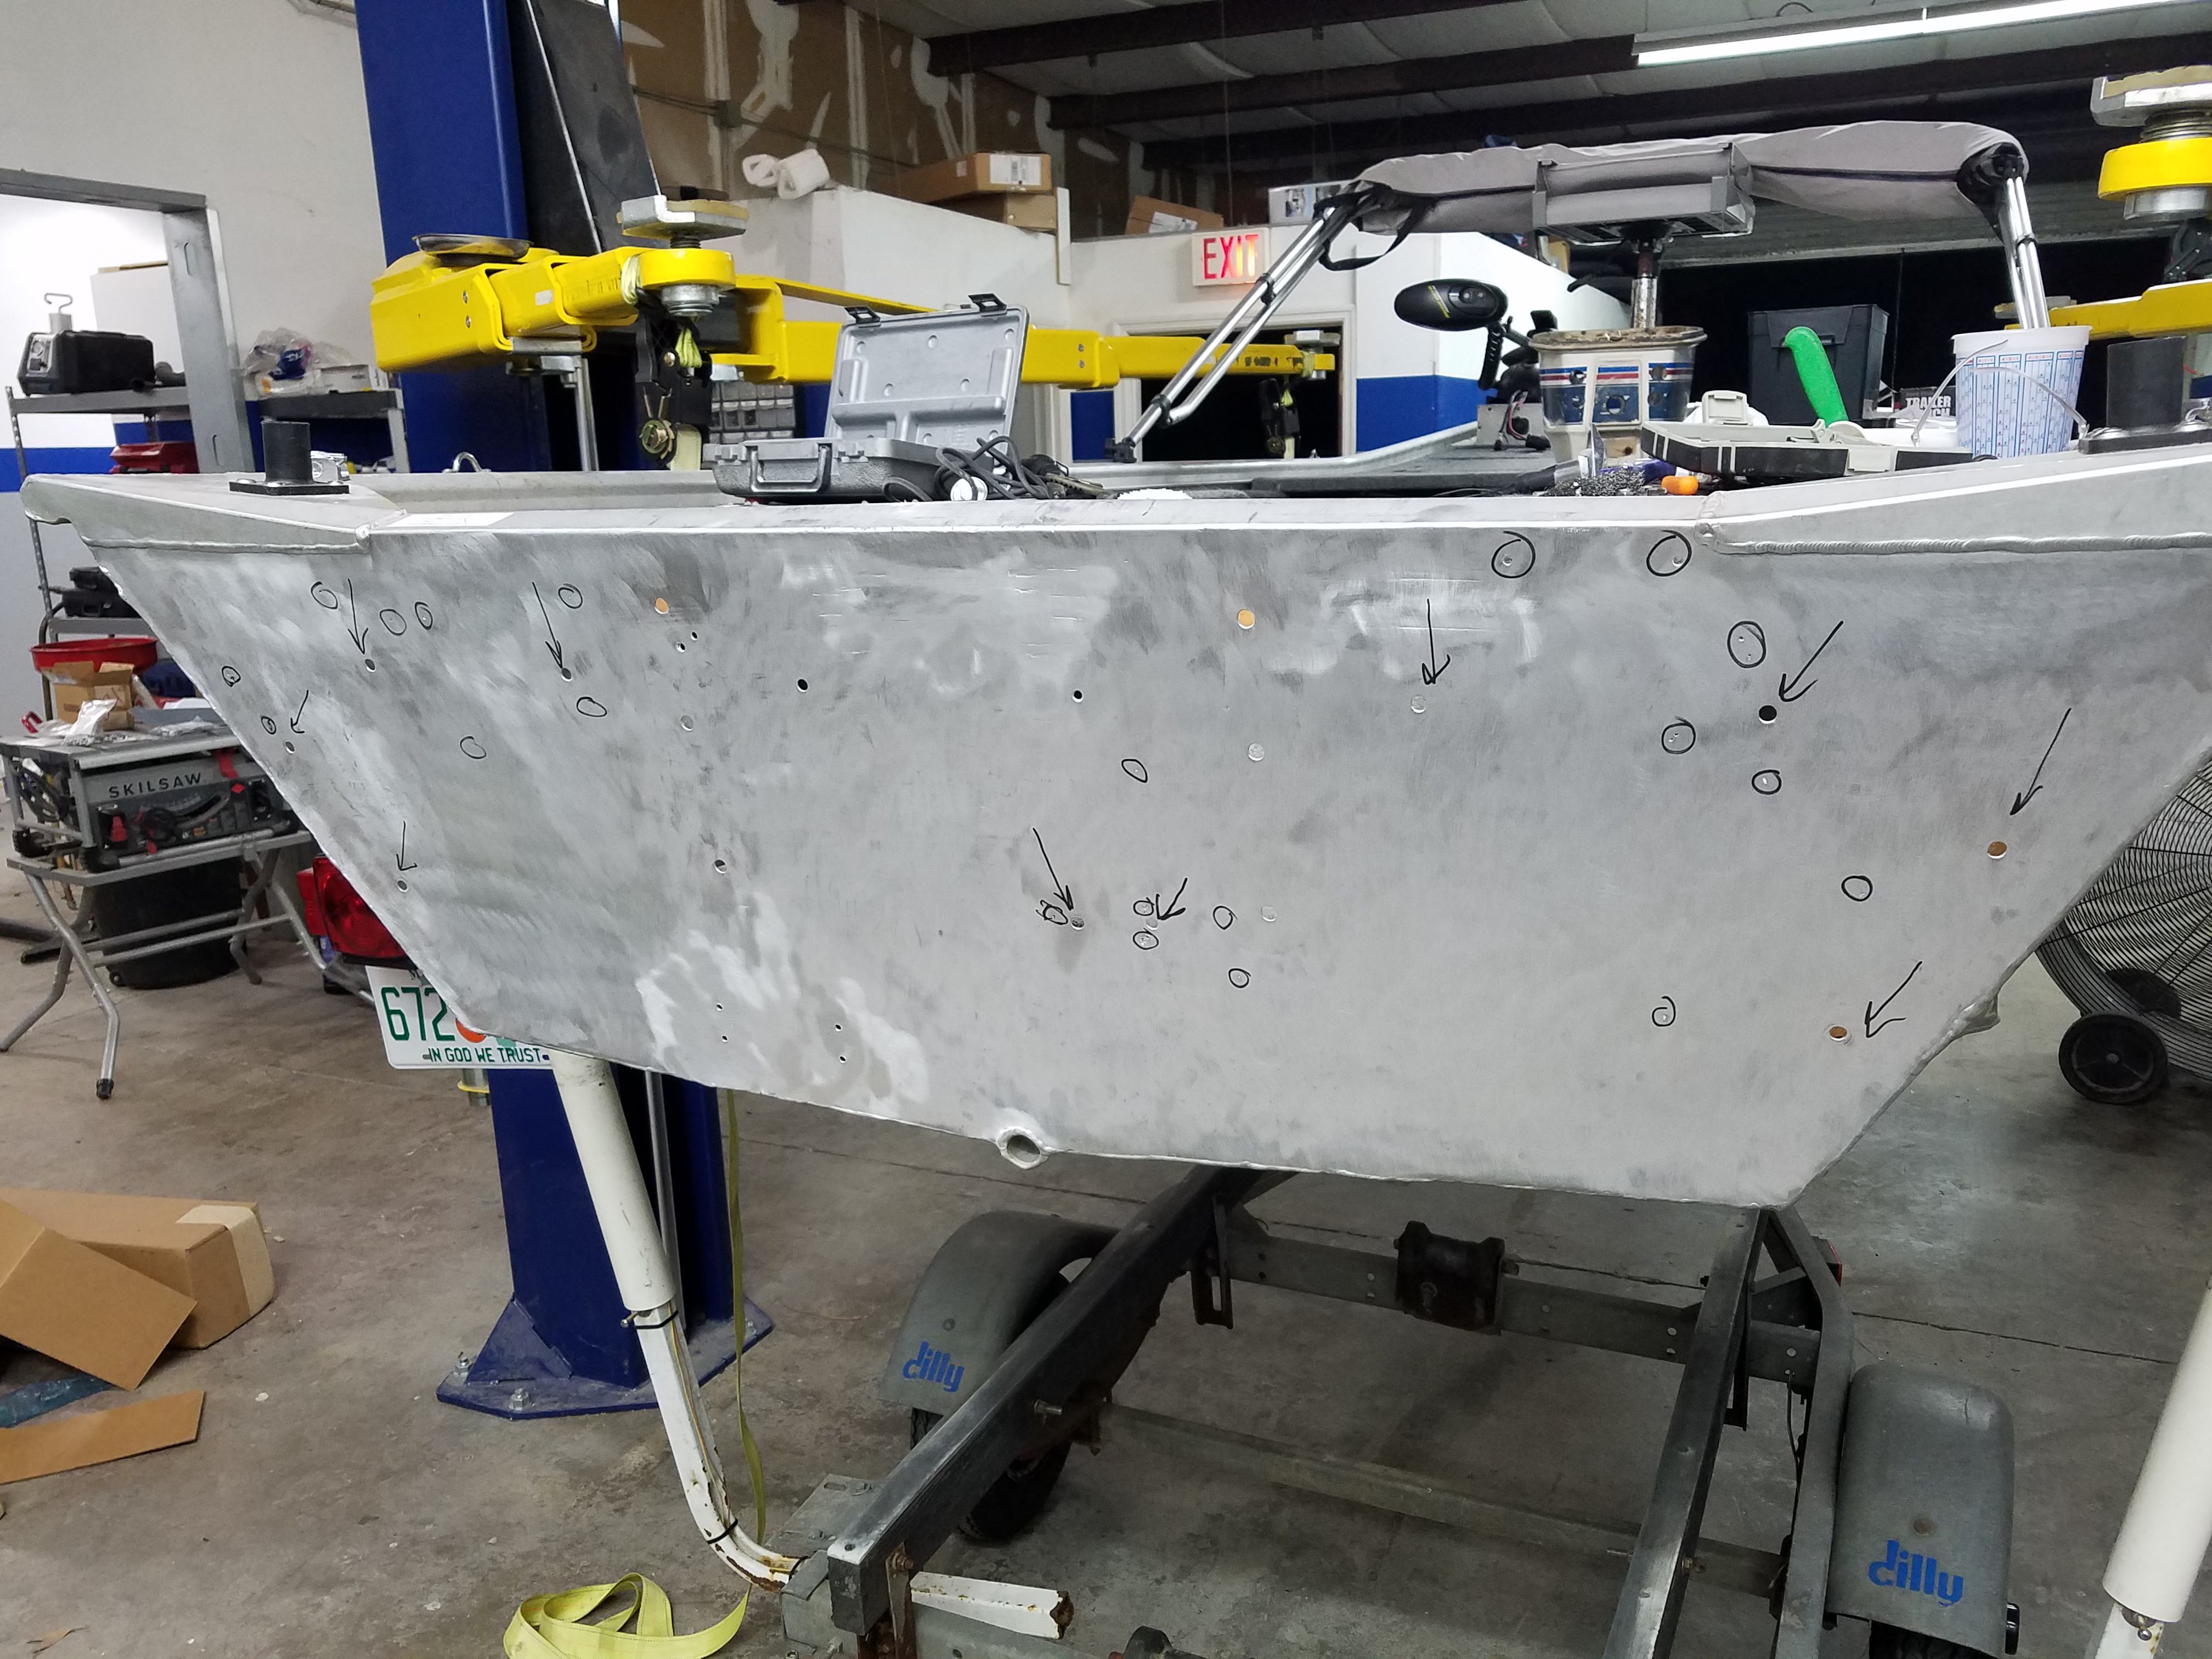
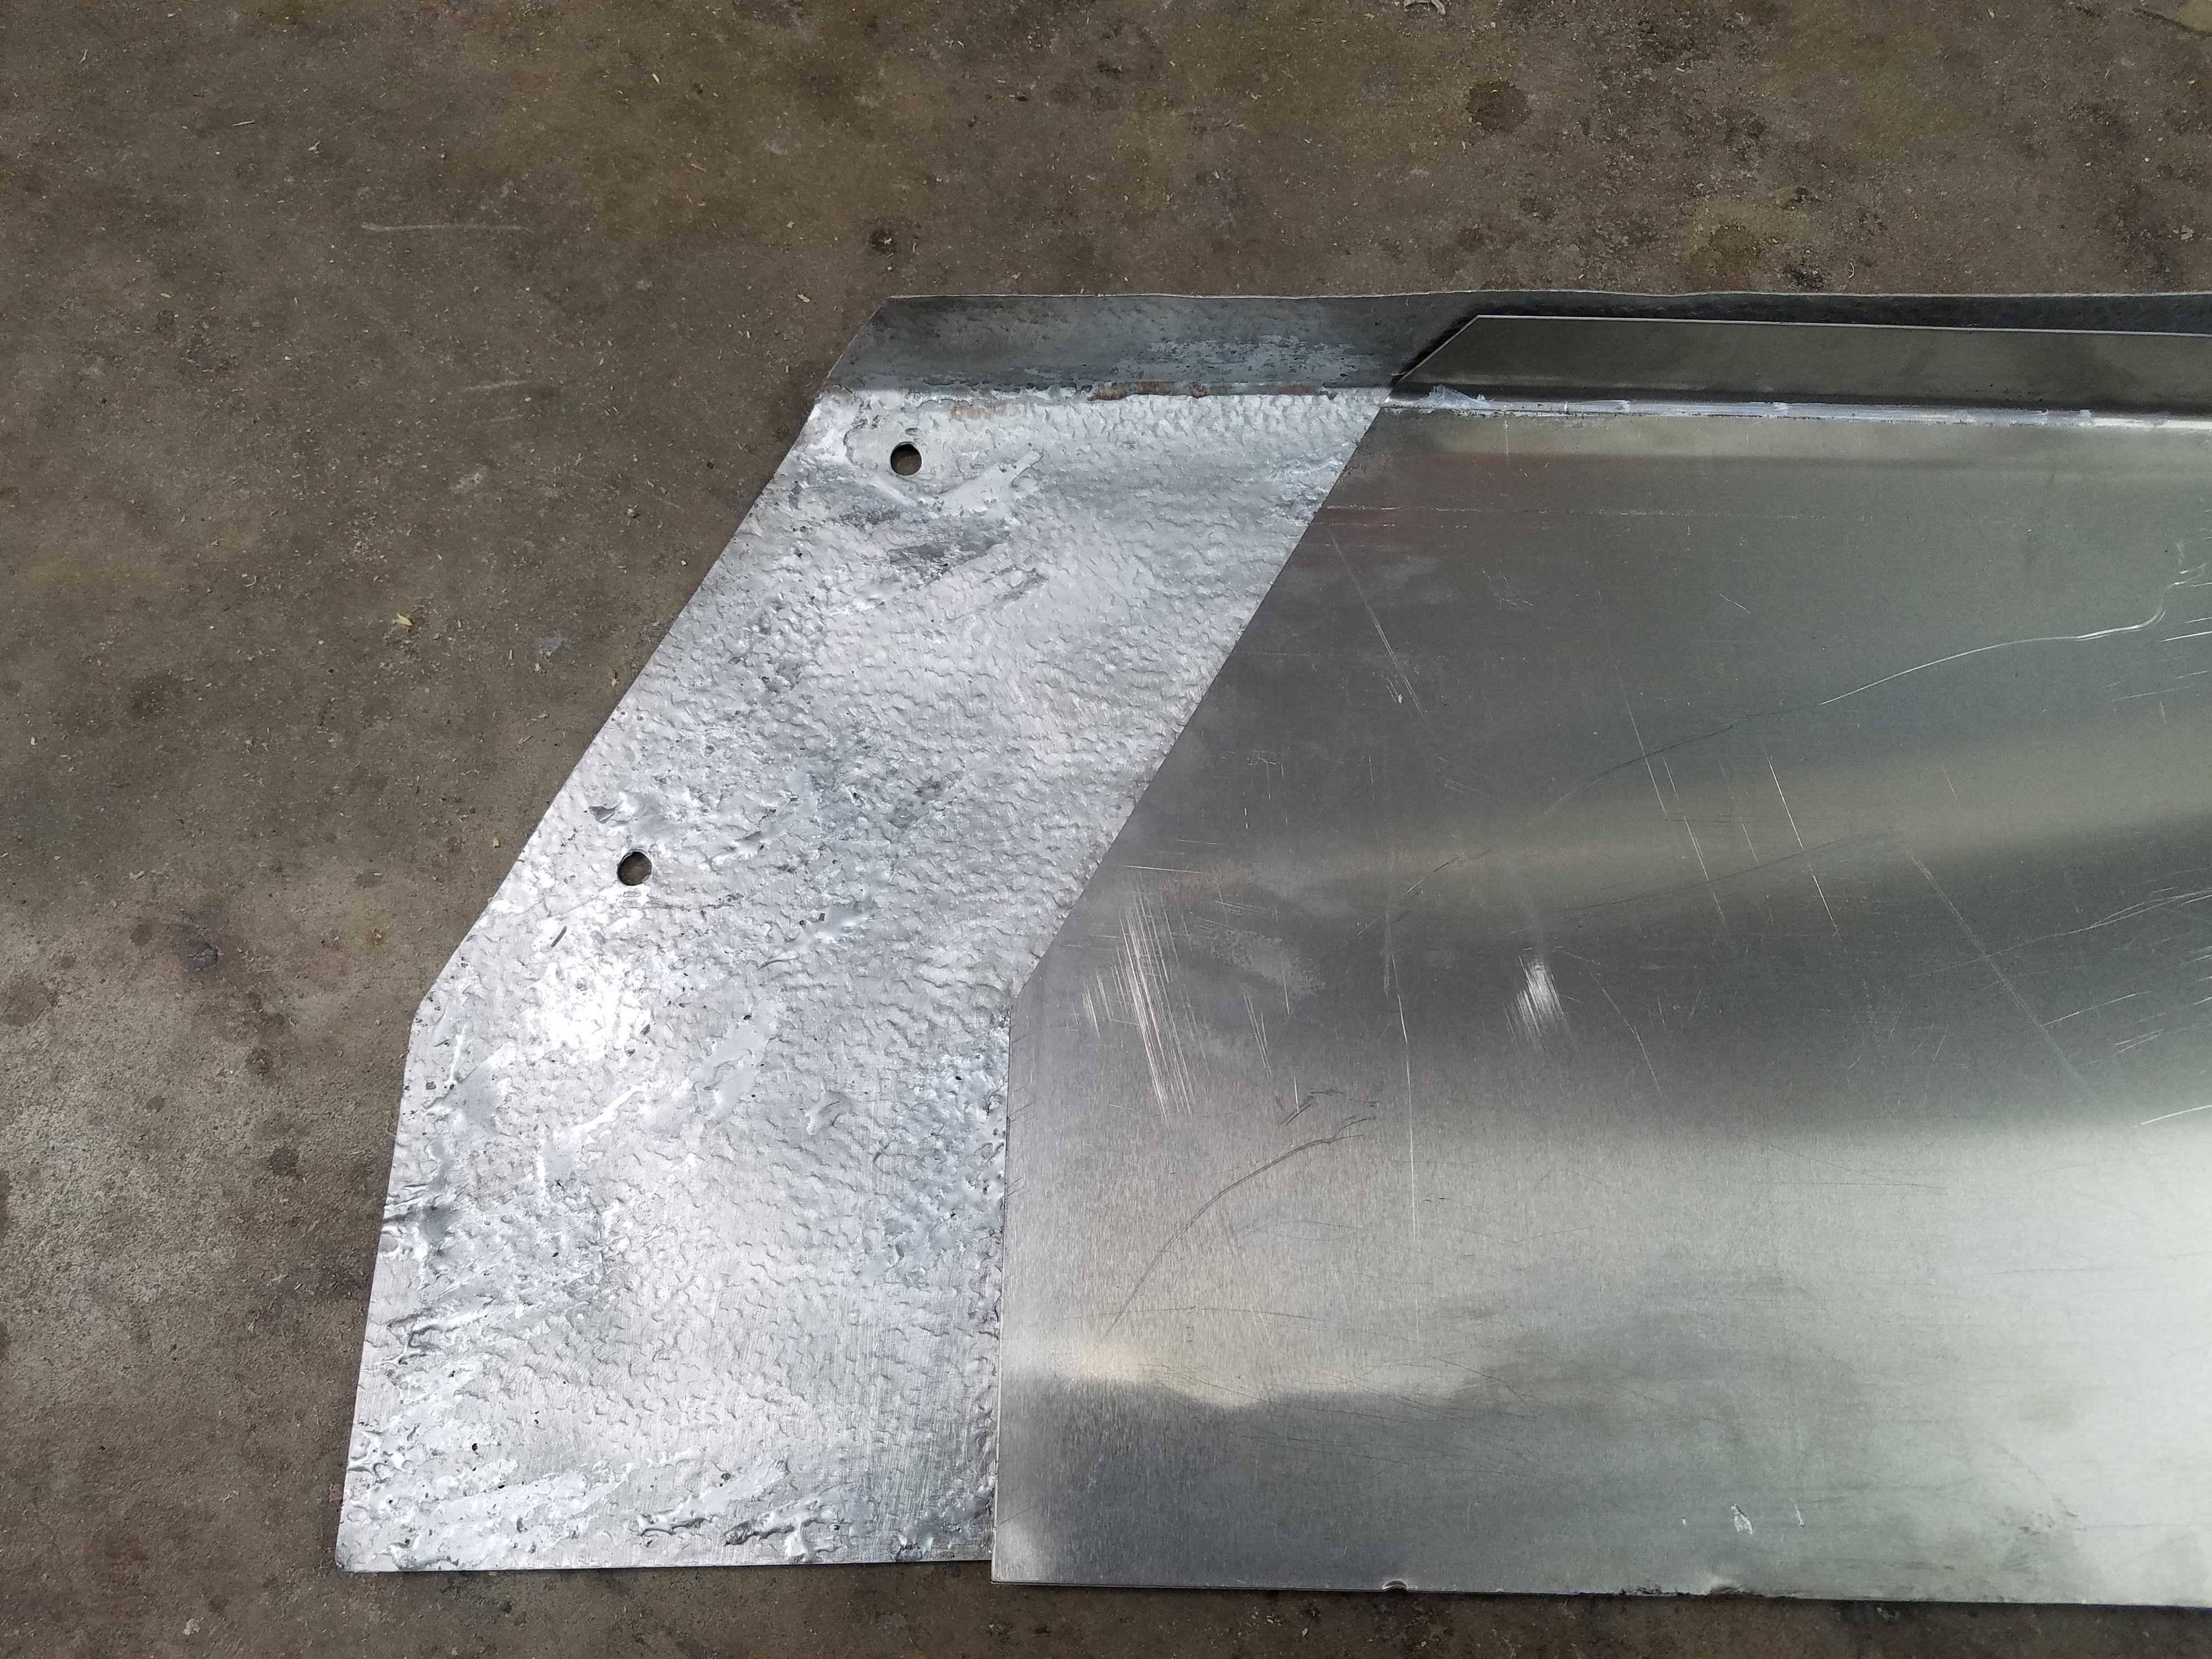
The damage: the first pic shows after cleaning and finding all the holes. Arrows show the bolt holes, circles show the holes needing repair.
Mock up and test fit and coating
Transom cover piece
Wire wheel to clean things up. Walnut shells made a mess.
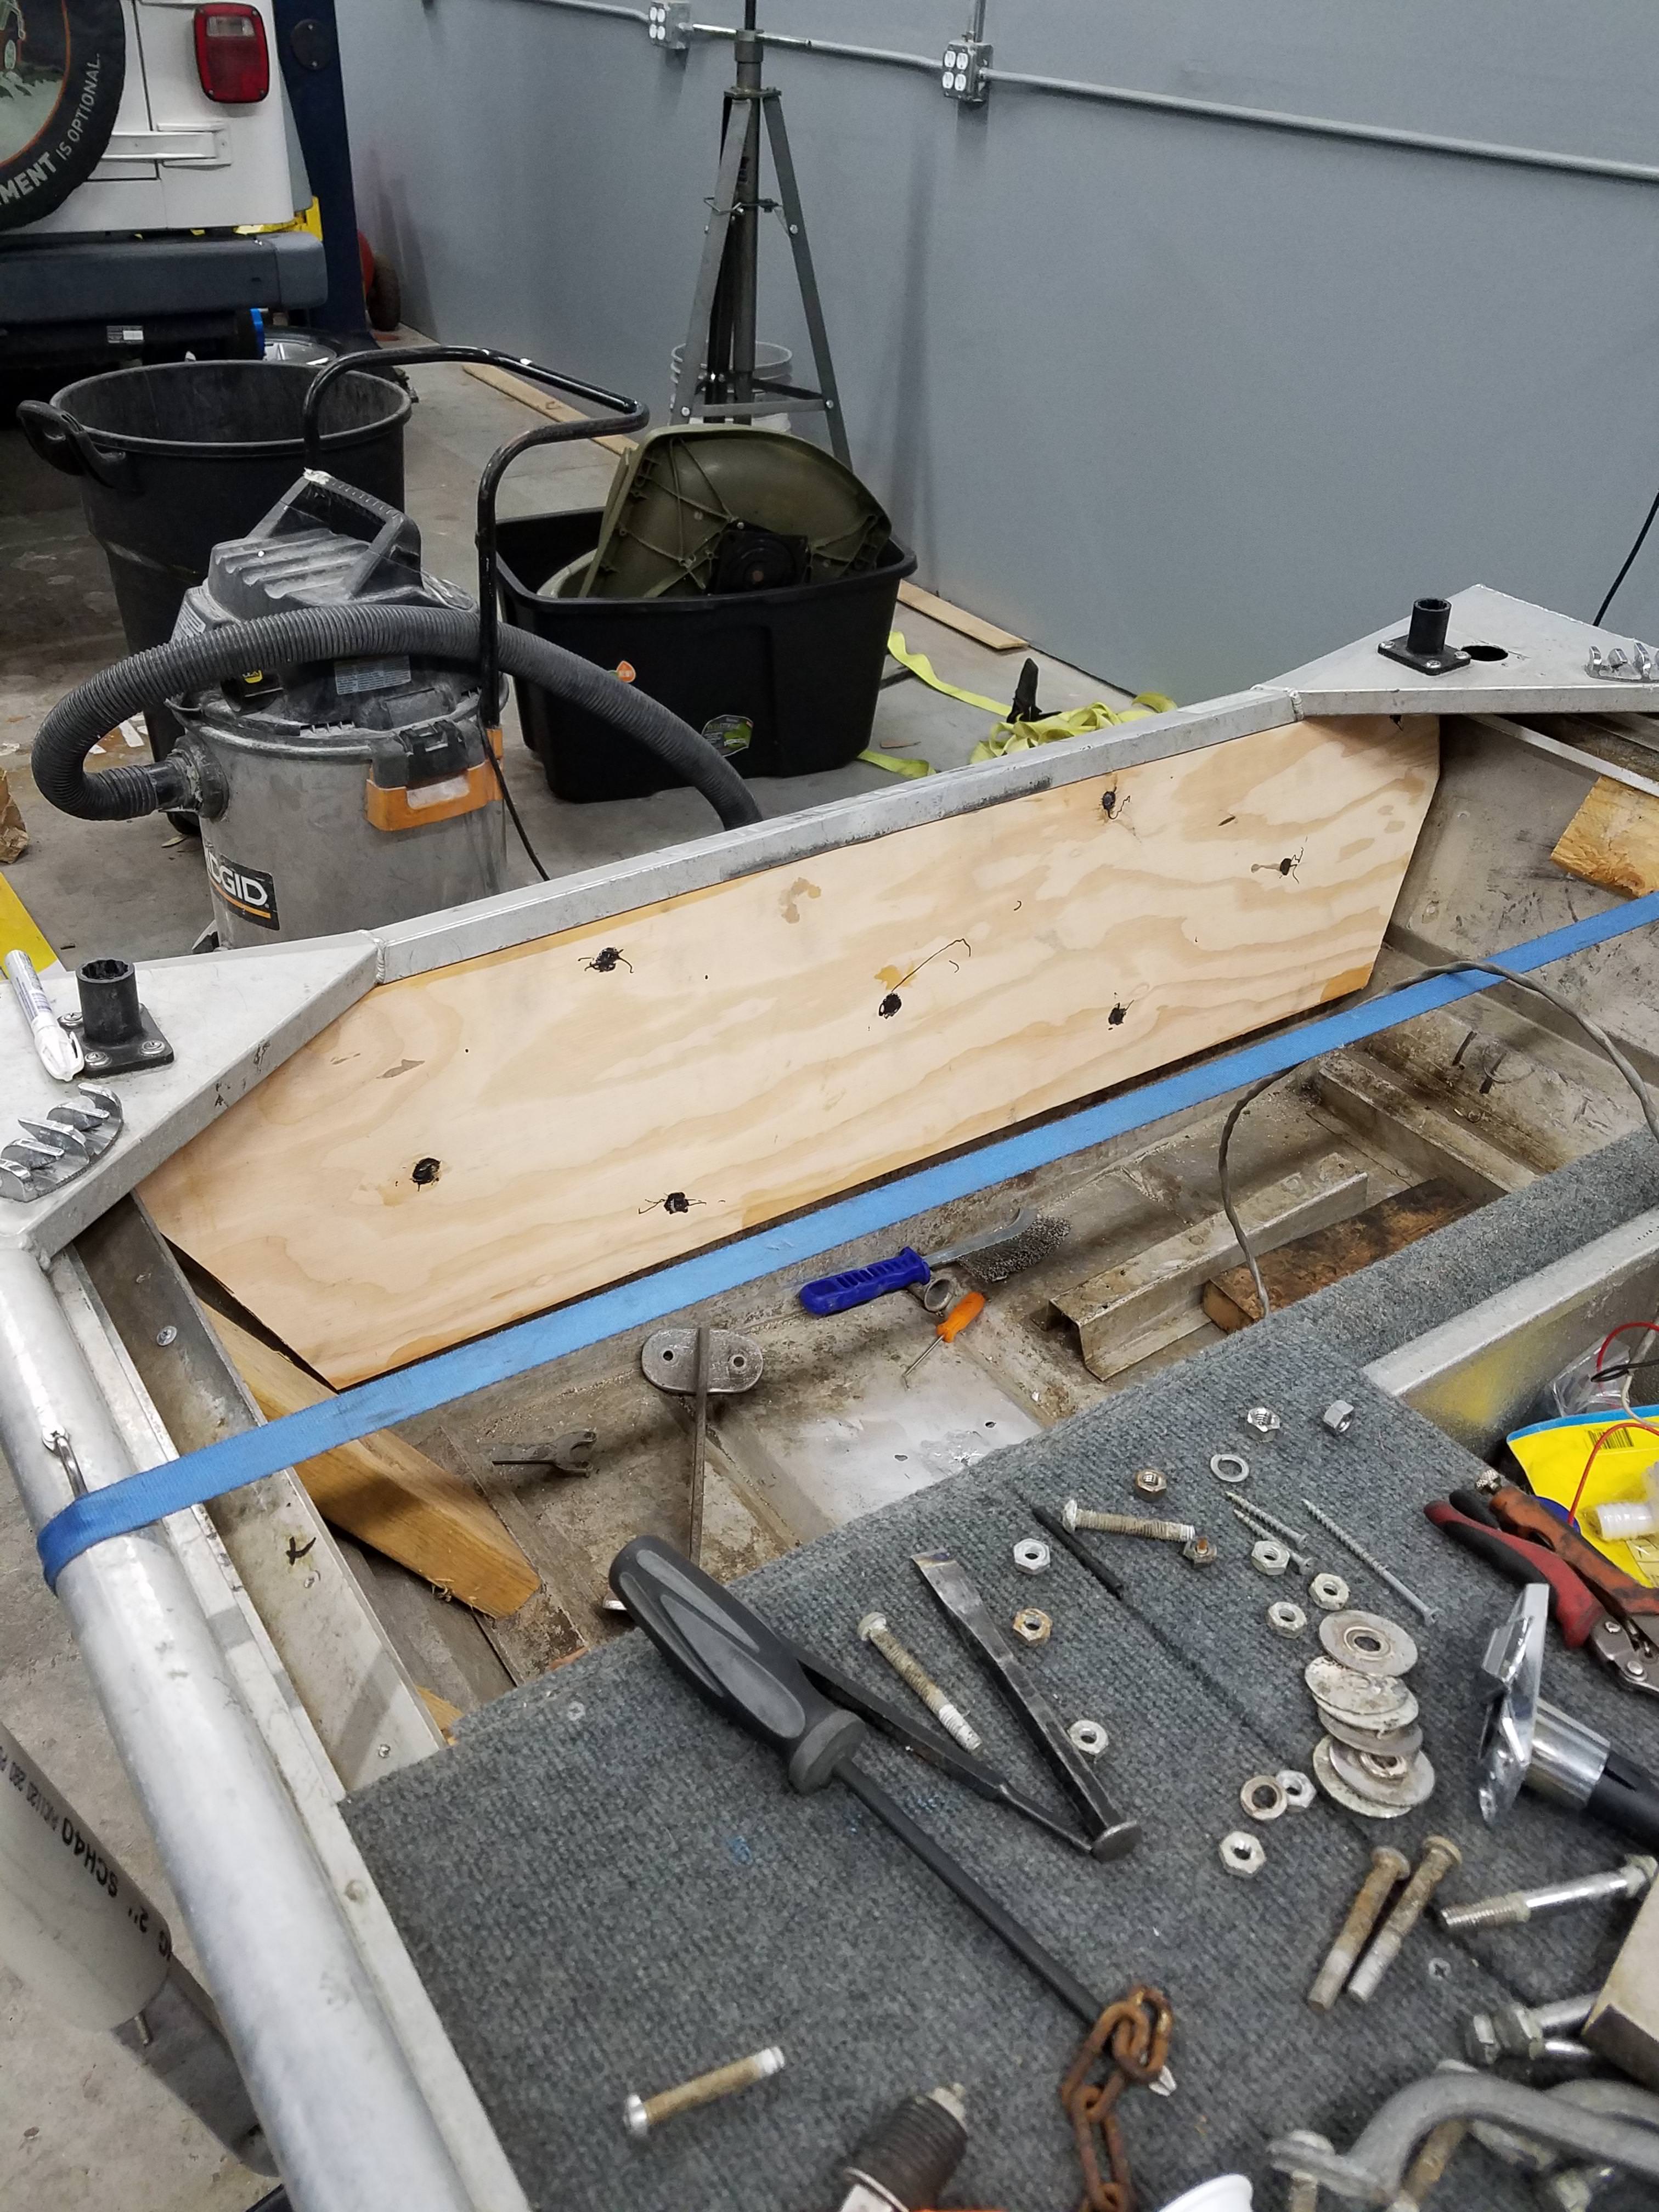
This is how I traced out the repair sheet which goes on the inside, then removed about a half inch from the traced dimension and returned to Alro to have them cut it.
AAAND!!!! For your entertainment, almost a whole caulking gun tube of 5200 Fast Cure. To which I quickly bolted in the transom to compress.
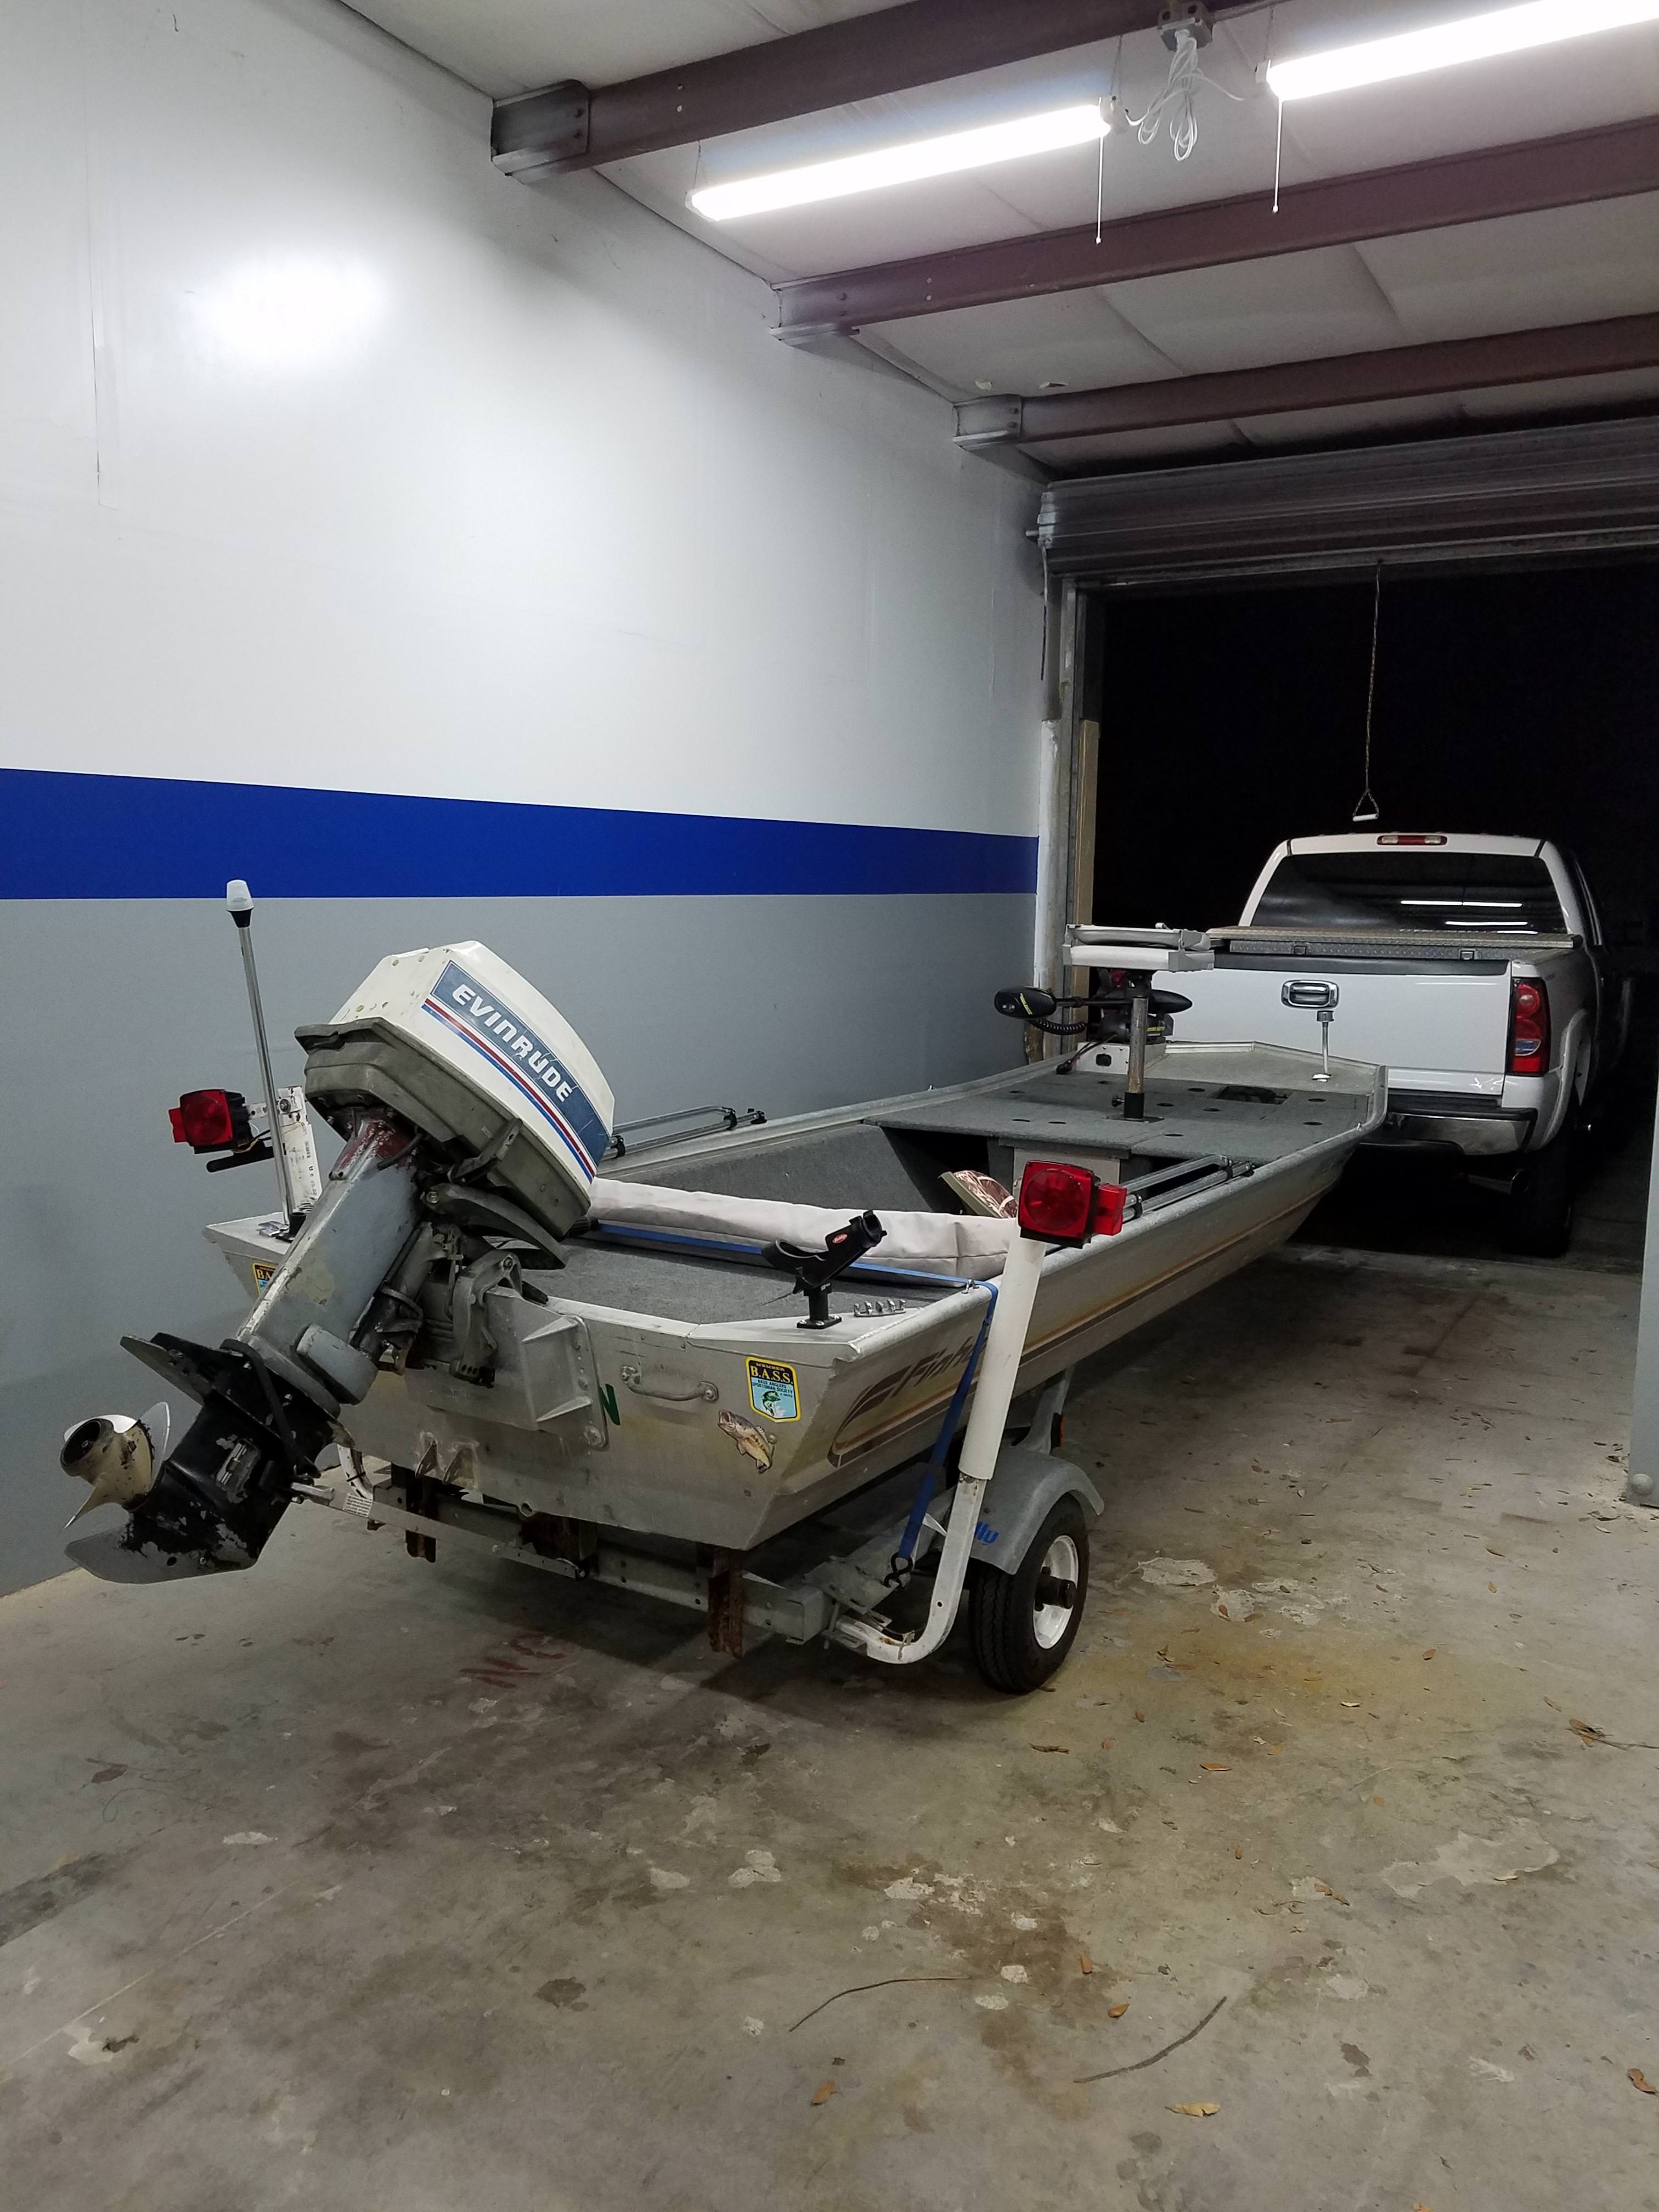
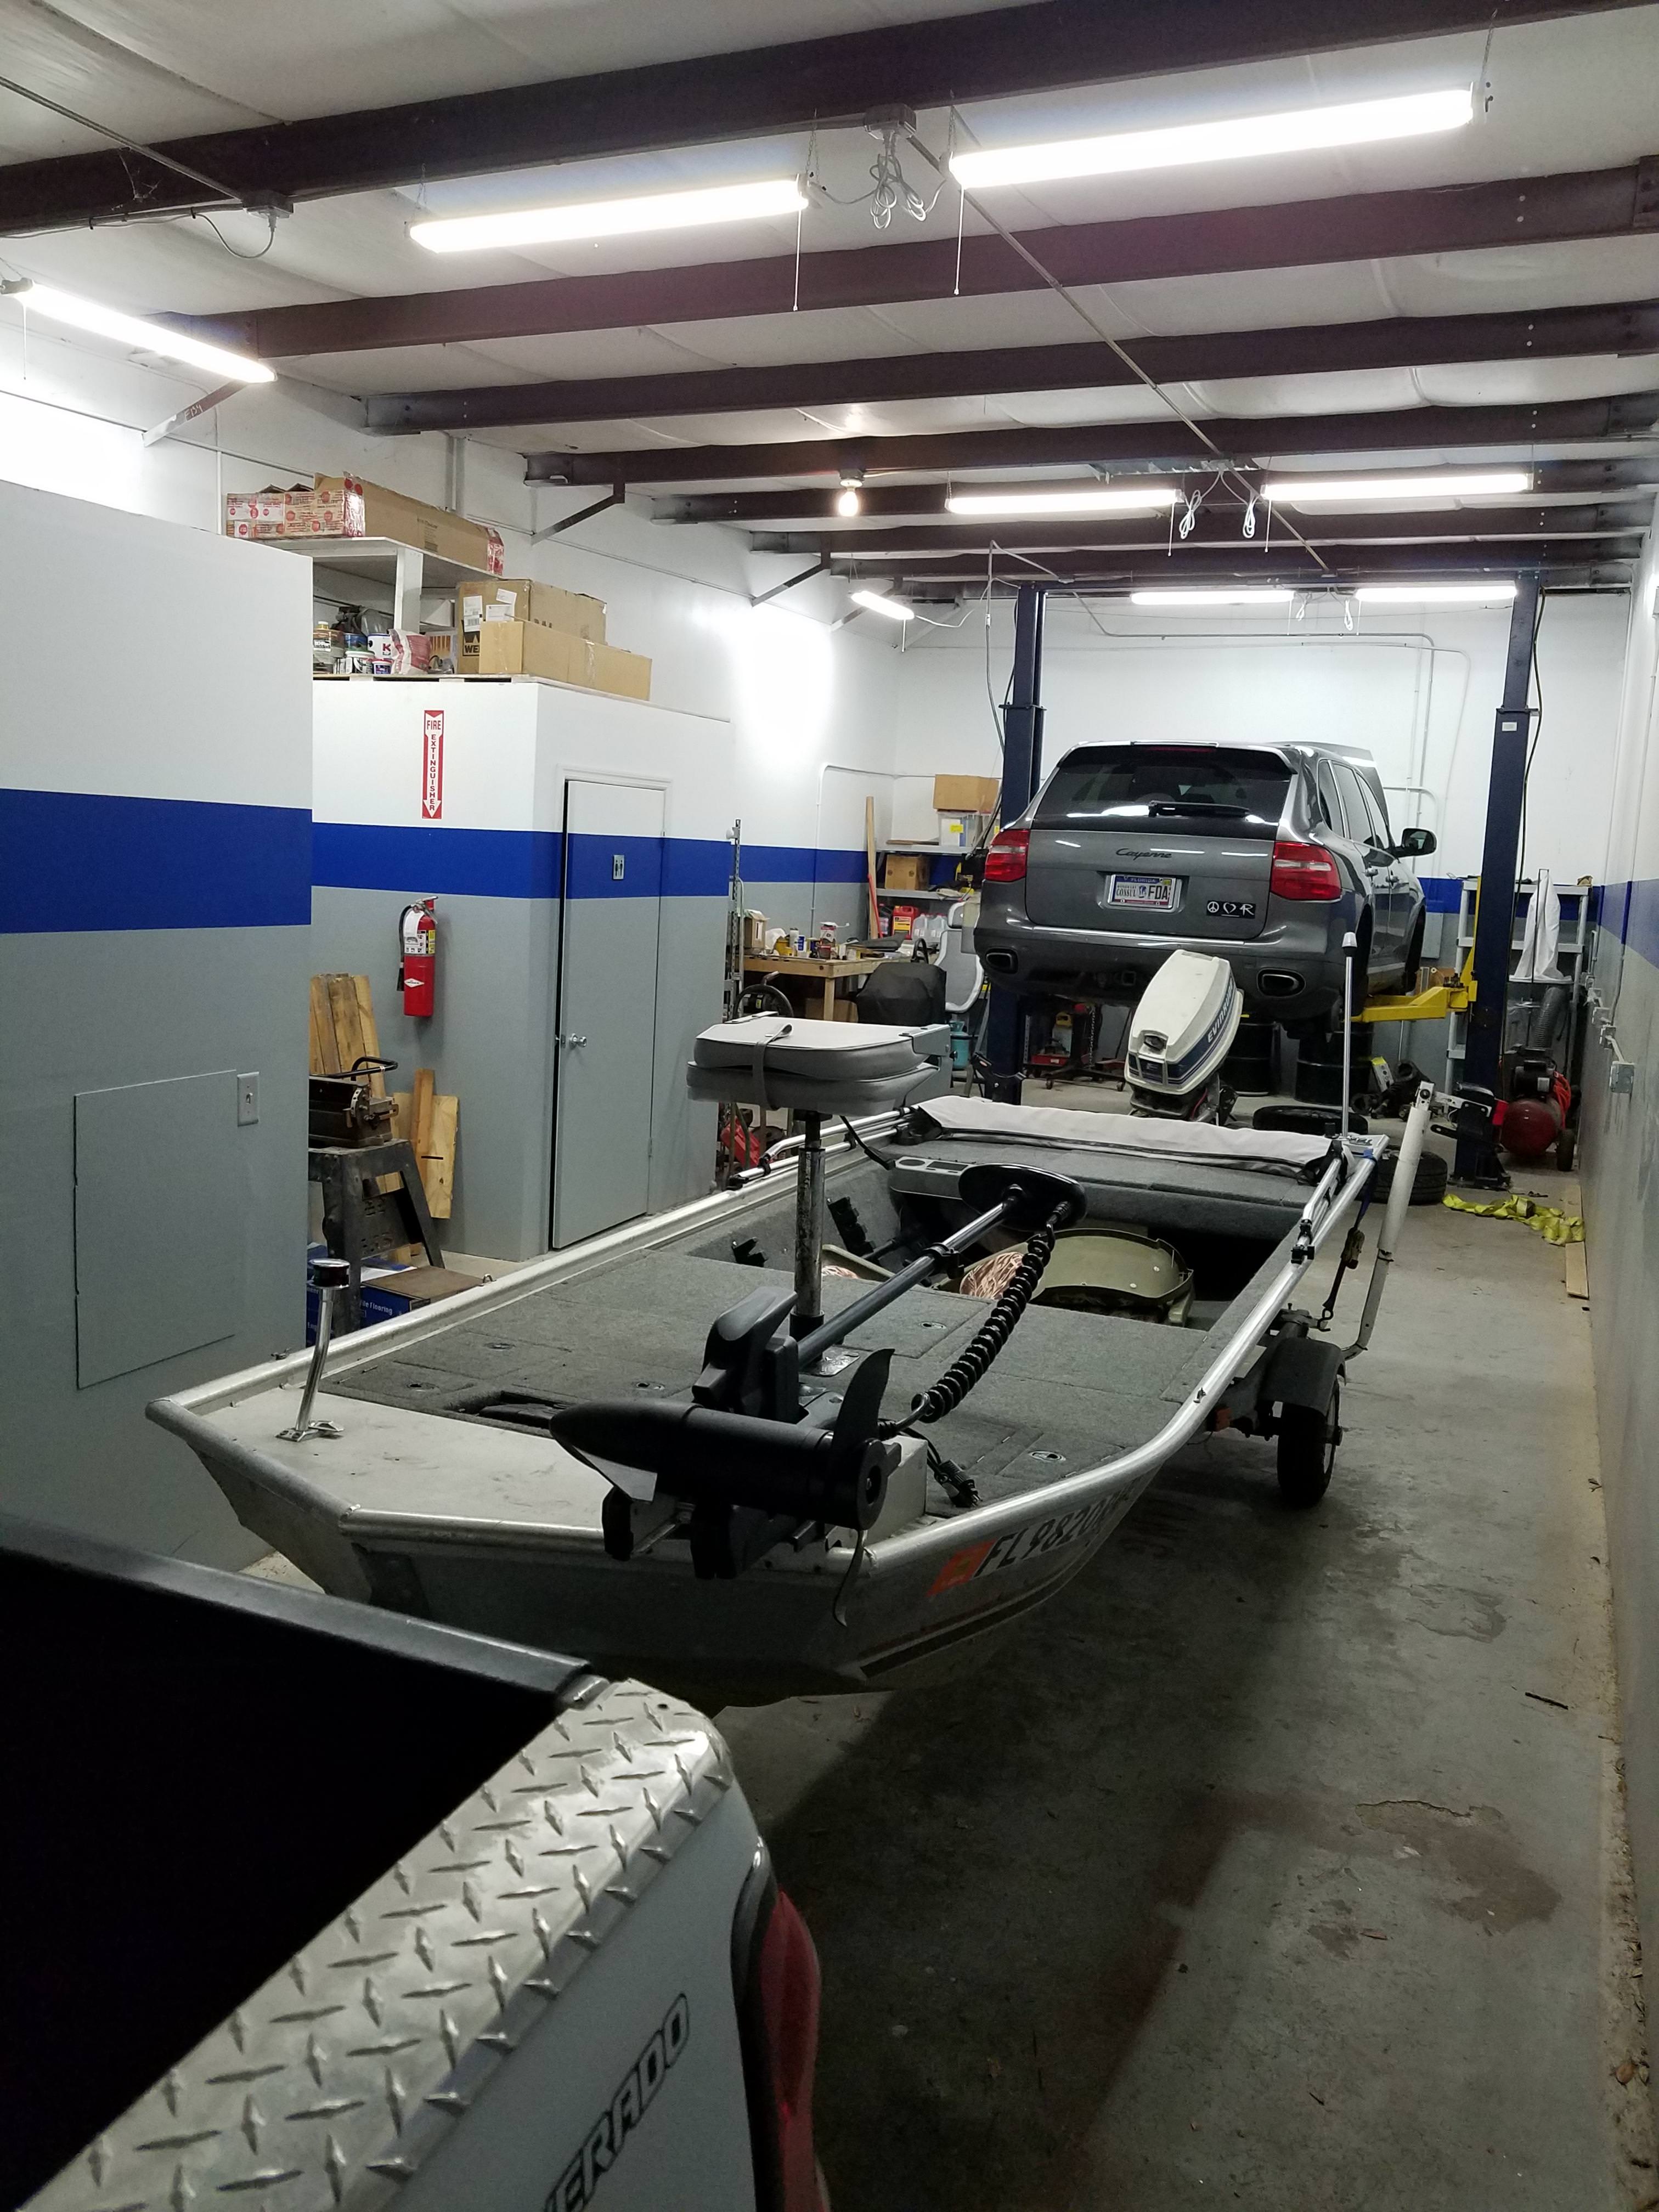
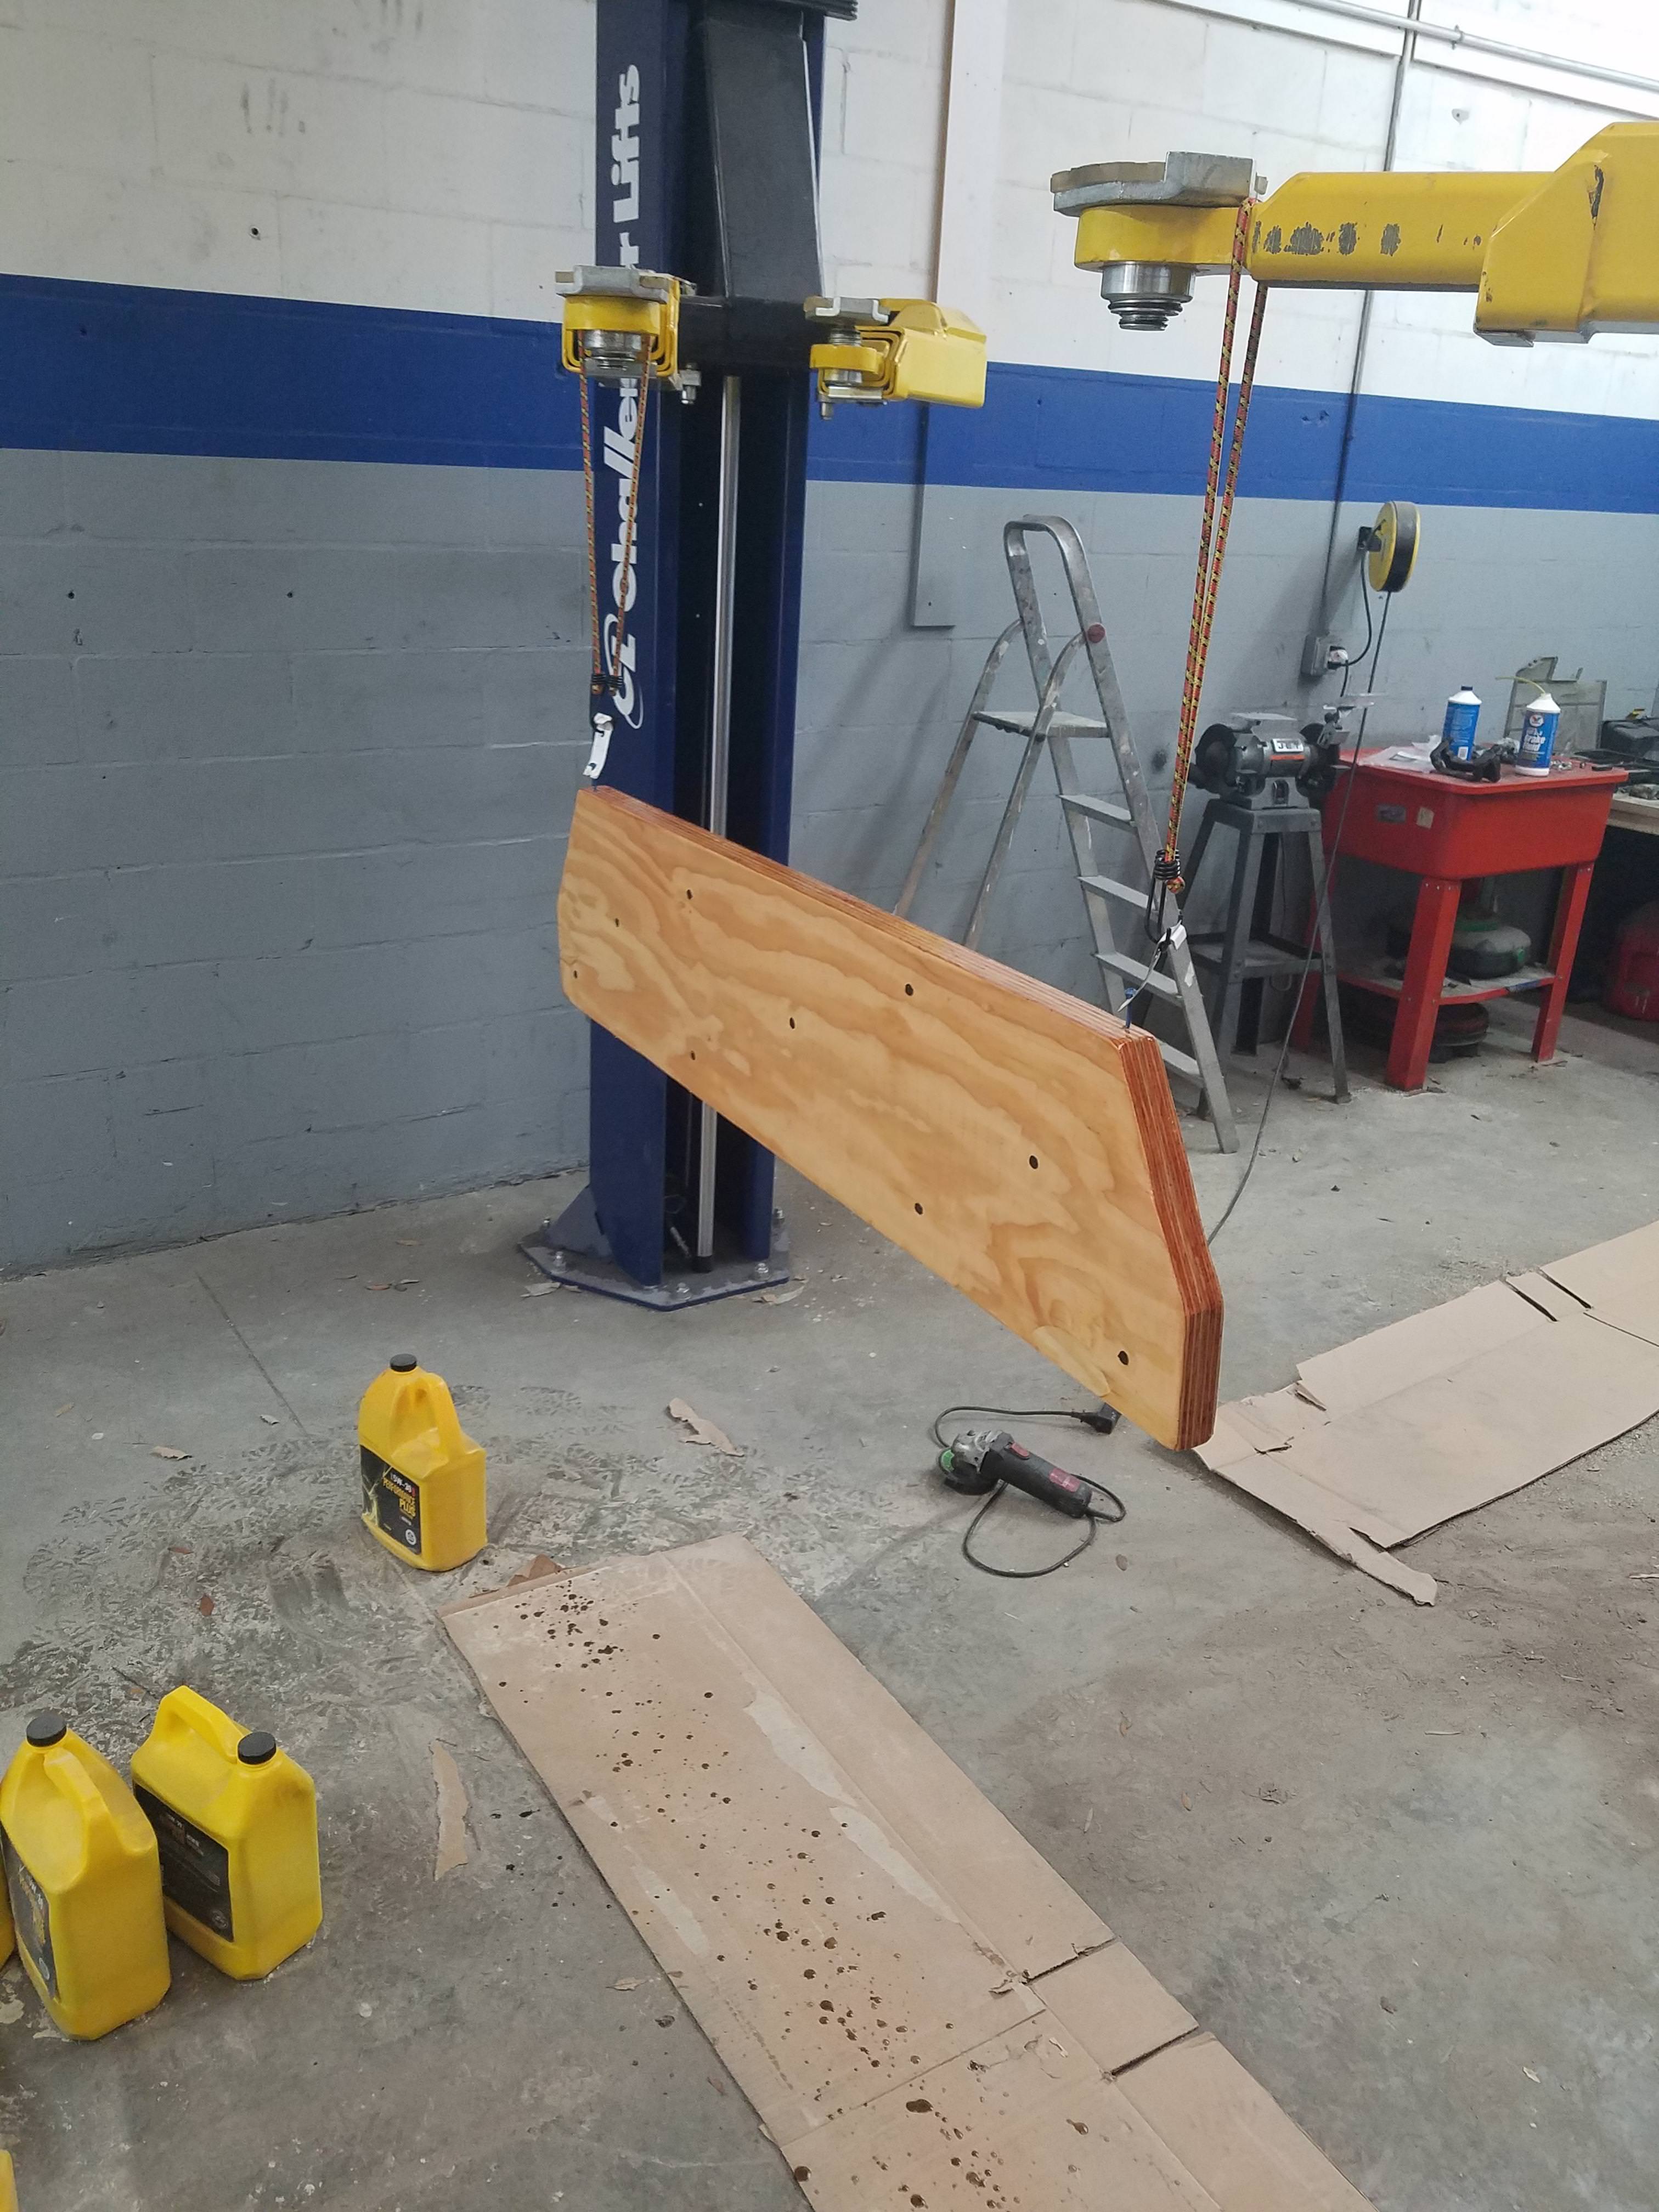
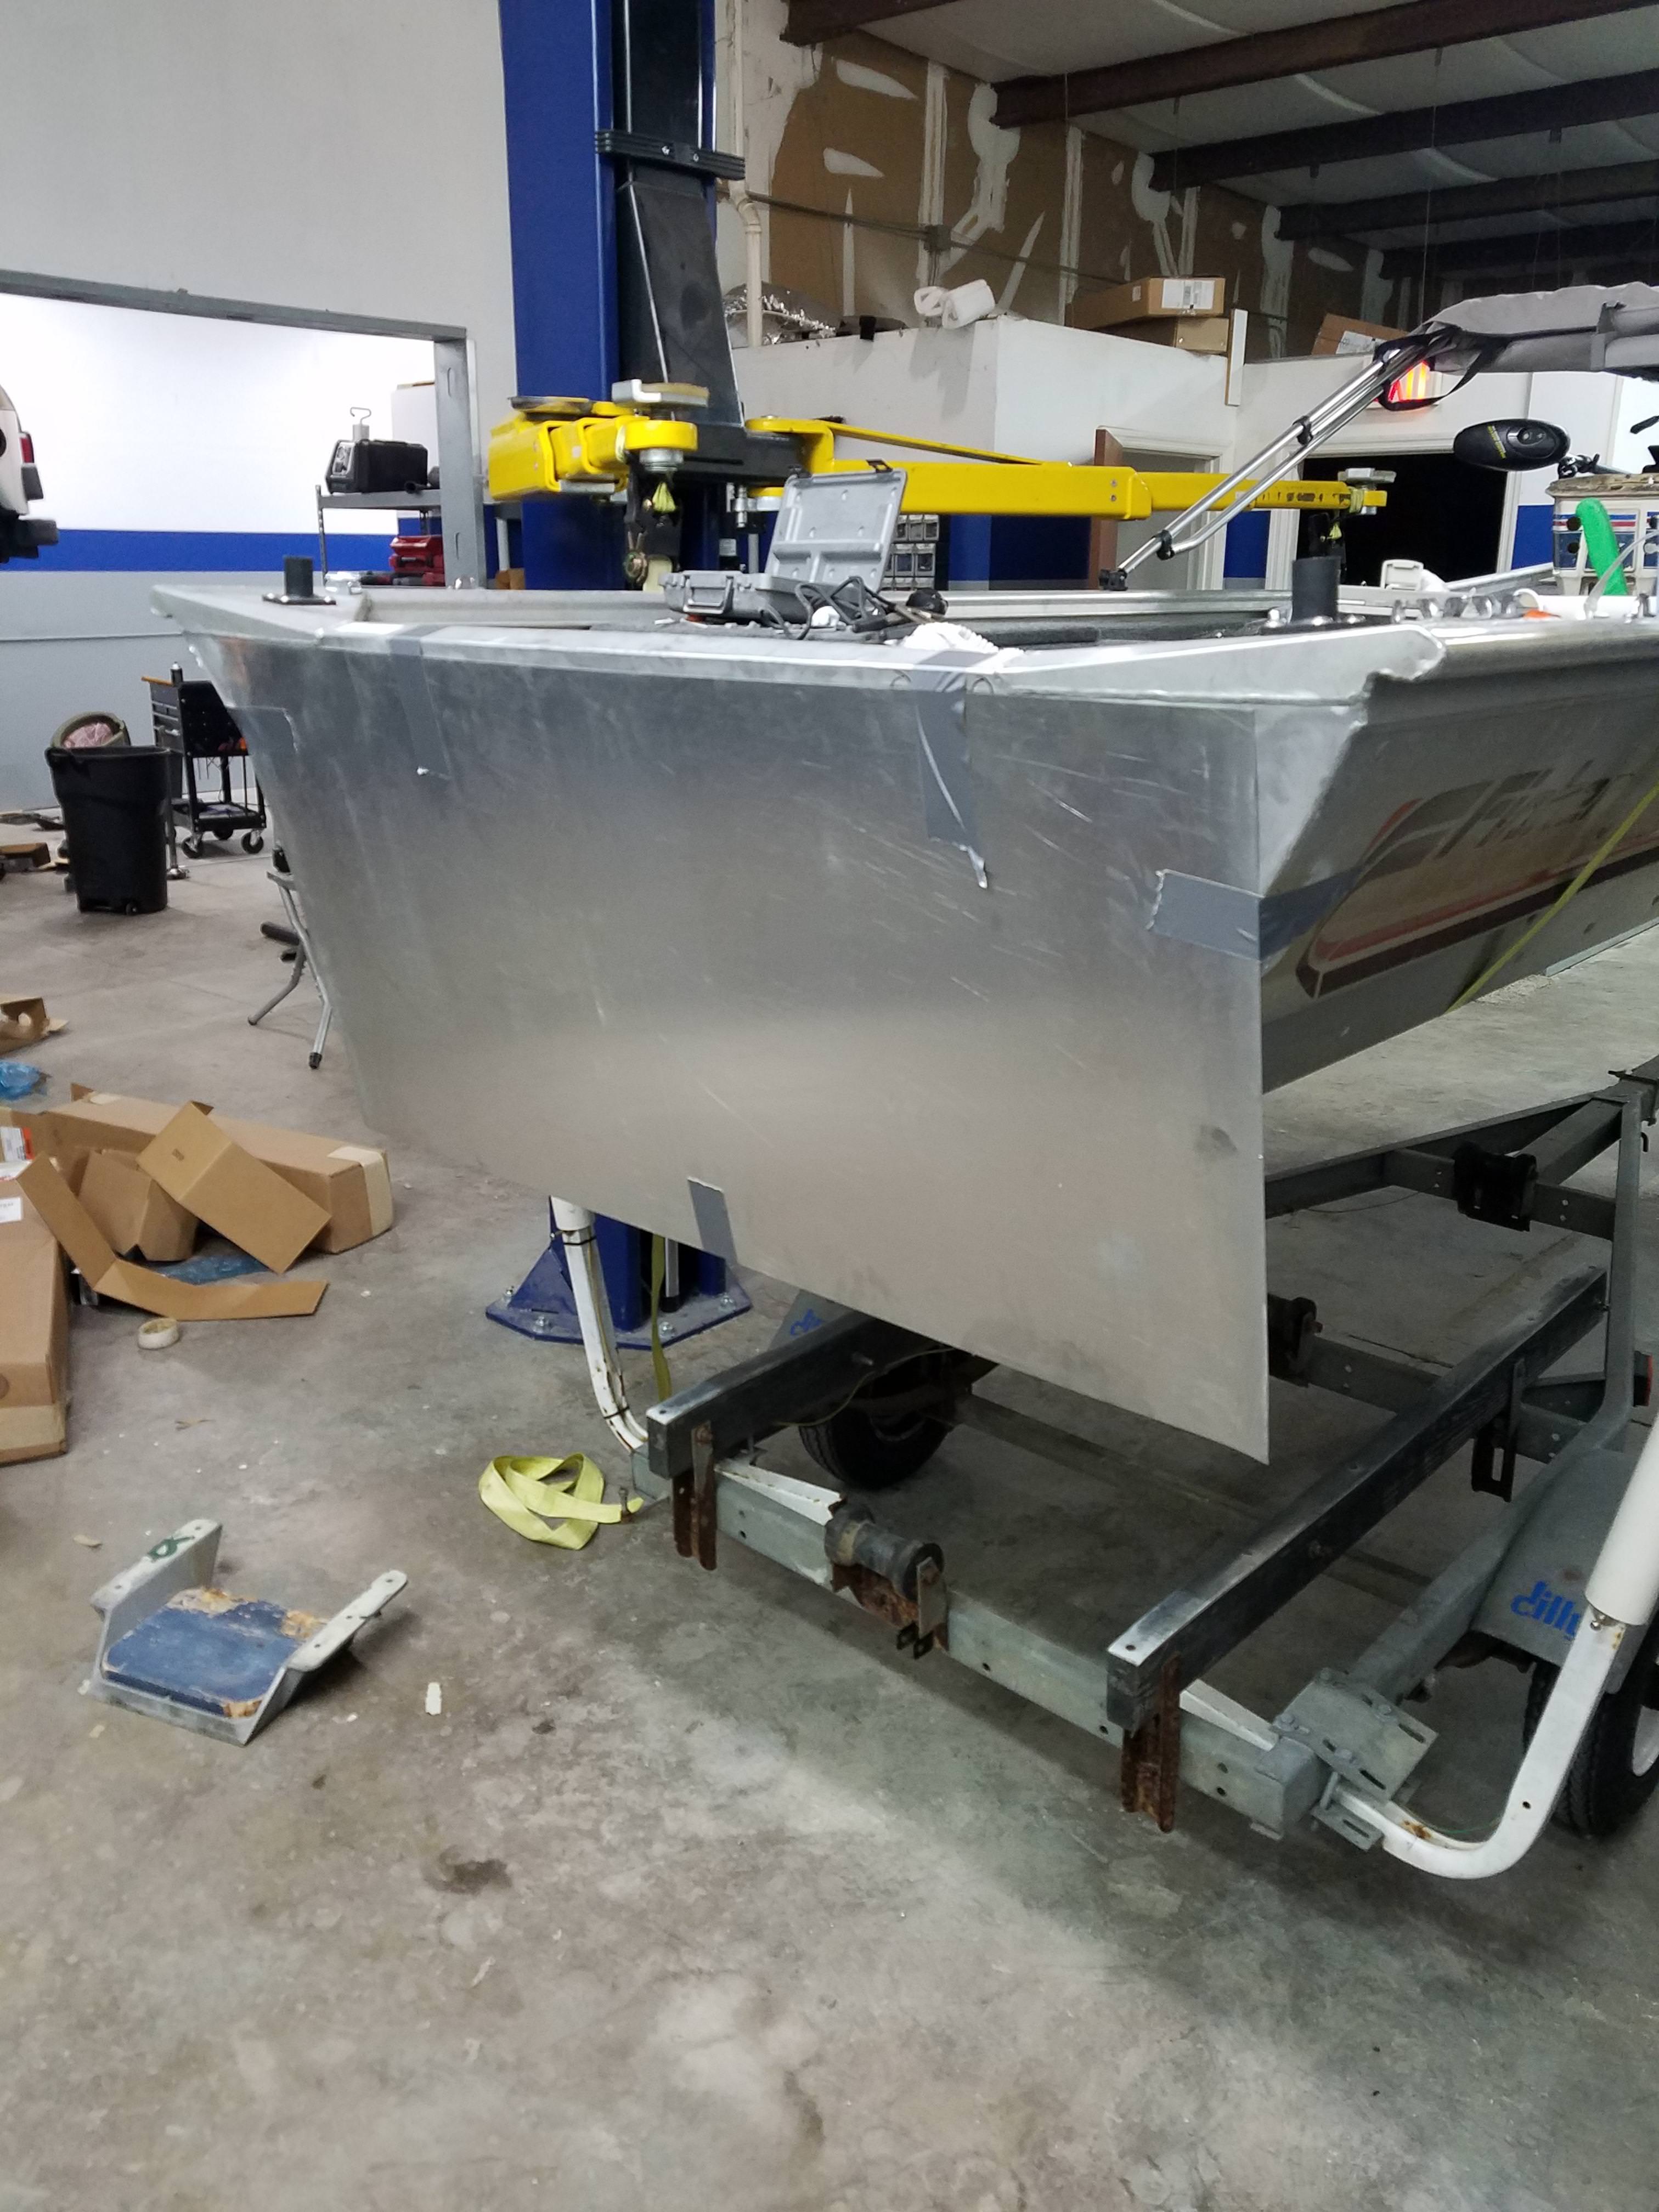
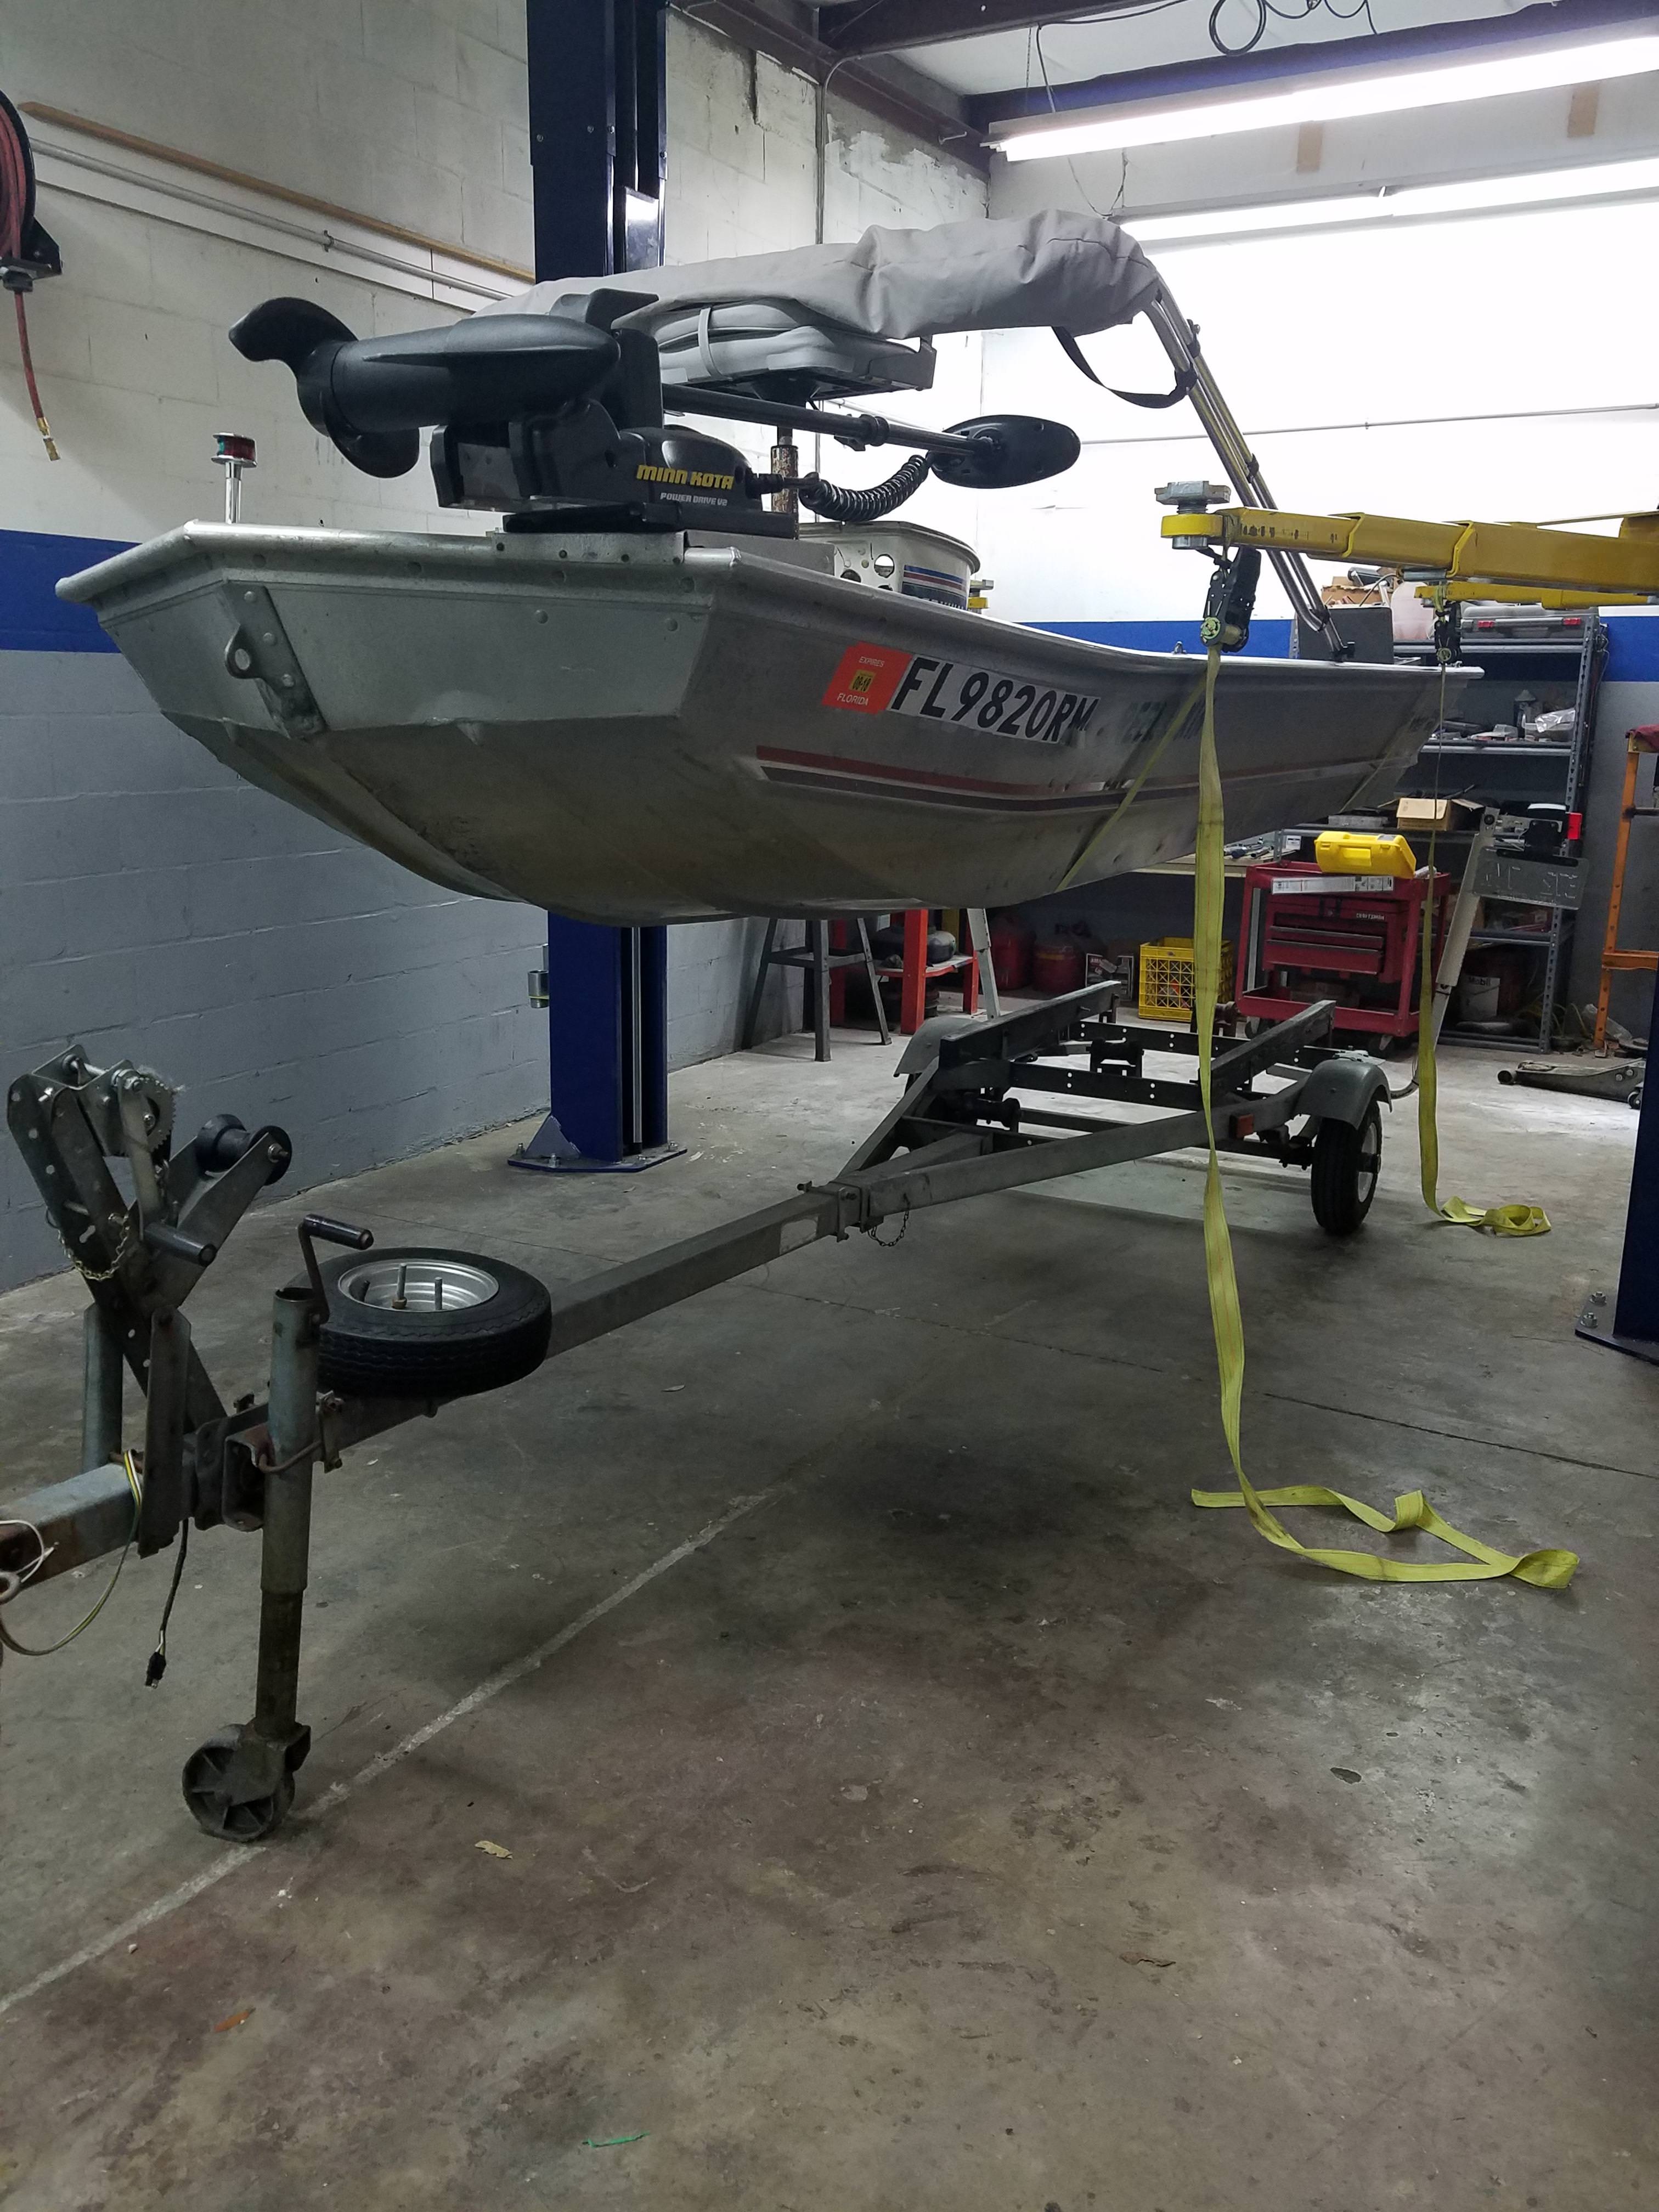
Having a lift makes life a lot easier 8)