Johnson 9.5 intake air

TinBoats.net

Help Support TinBoats.net:

This site may earn a commission from merchant affiliate links, including eBay, Amazon, and others.

dmilner

Member
Joined
Oct 5, 2014
Messages
6
Reaction score
0
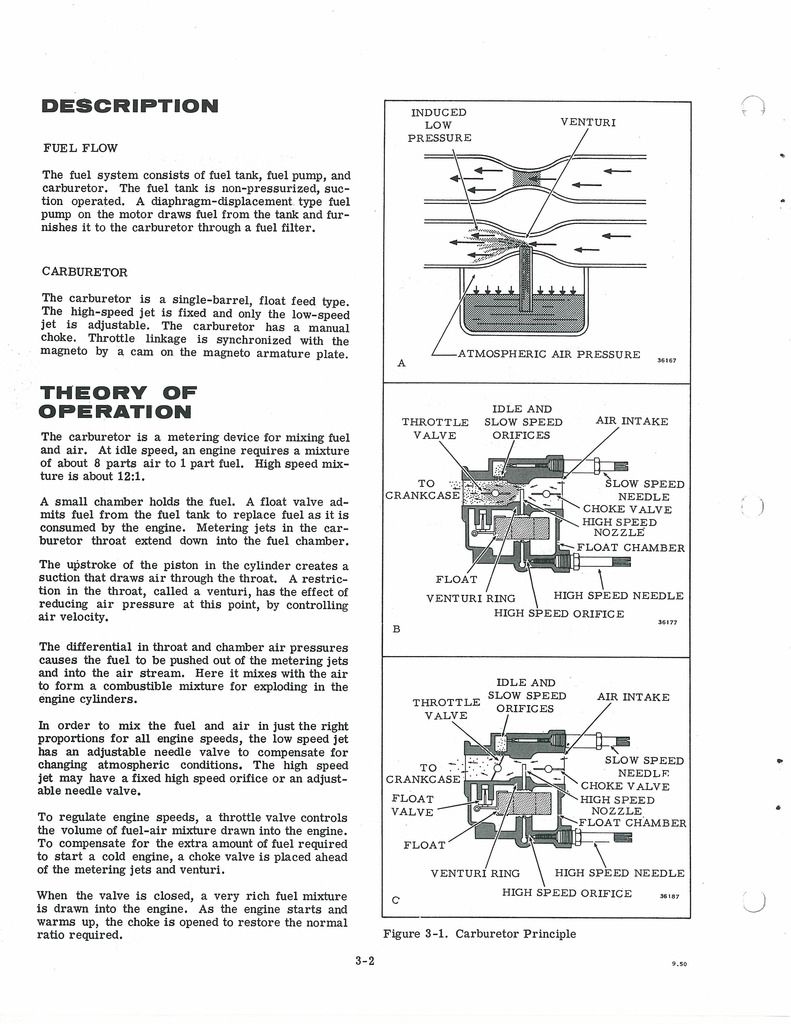
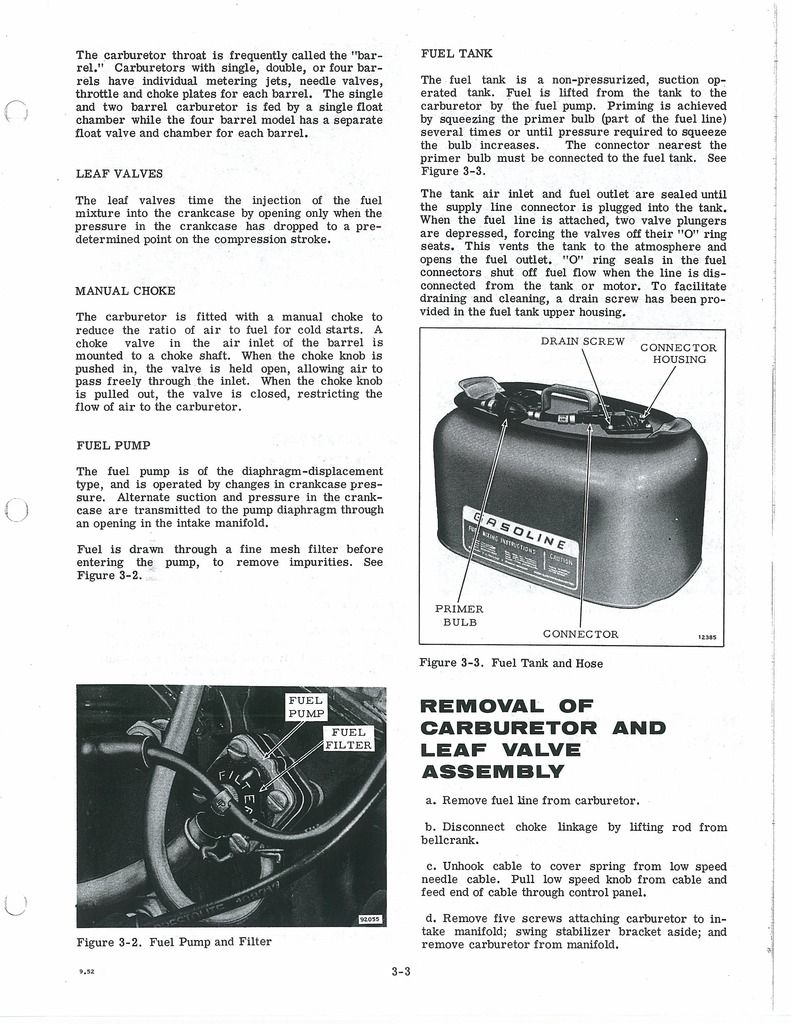
I bought an old boat to re-do last winter and have a question about the intake air path on the motor. It's a 1965 9.5 Johnson. I had the boat on the lake last weekend and the motor didn't run out 100% so right now it's on a stand and water barrel. The motor appears to be low hours and it looks like someone did some maintenance fairly recently. The spark plug wires are in great shape, plugs look good but dry like it has set for a while, and the carb & fuel pump are shiny and clean like someone rebuilt them. On the lake I thought it was running rich and was hard to start so that's why I put it on the stand. I had to change the low speed mix linkage because the way it was indexed wouldn't let it smooth out at low speeds, was too rich. It runs pretty good now except I think it's still too rich on the top end because it doesn't seem to get to the RPM I think it should. Also when I put the motor cover on it makes the problem considerably worse. The foam in the motor cover is secure and nothing seems to be restricting the air flow.

Questions:
Is the combustion air drawn only from behind the front plate where the start rope, choke, and kill are mounted?

No air filter? Just the plastic screen over the top of the carb?

Is the top end mixture screw the little shaft and screw that runs parallel to the low end mixture screw?

Should there be a big difference in the way it preforms mid and top end when the motor cover is installed and will adjusting the jet compensate for that?

Thanks in advance for any help offered.


No air silencer or air filter on the motor. That plastic guard on the top of the carb is to keep foam from obstructing the carb opening.

The issue with the motor running poorly or a bit rough with the hood on suggest a exhaust leak issue.

I will be able to review a bunch of diagnostic and evaluation procedures in about a day or 2. Sorry stuck at work.
 
Still following, I work 12 hr shifts so when I'm on duty I pretty much just work and sleep. I think I'll get it to the lake again before I make any more changes. I hadn't run the prop in the barrel but decided the mess might be worth what I would learn. Putting a load on the engine changed everything and it seemed to pull well.
 
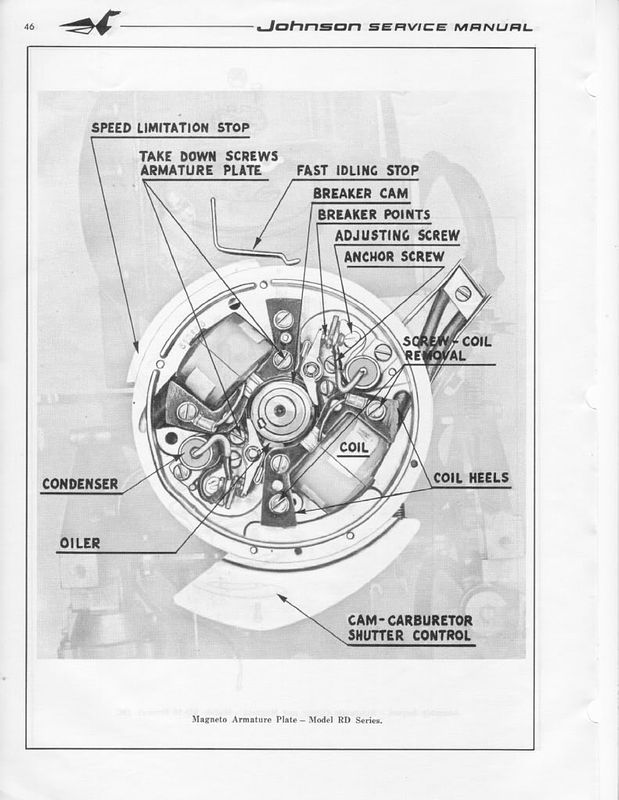
Here is a diagram of a generic OMC (Johnson/Evinrudle/Gale) ignition assembly. You will have to remove the coil designated for the top cylinder and put the oil wicker in. It should be already be coated with a very light oil. (not grease). The purpose of the oil wicker is to lightly lubricate the outside riding surface of the cam so the point shoes do not prematurely wear. If you look at the points they have little shoes that ride along the cam.

Ignitionplateandoilwick.jpg


FYI: You can only set(gap) one set of points at a time. Put the flywheel nut back on(turn with a wrench or ratchet clockwise) to allow you turn the crankshaft. (Please remove both spark plugs to make it easier to turn the crankshaft and prevent accidental starting)

You gap the point to 0.020 when the point shoes is at the top(high point of the cam). It should have a mark along with the word top. Then you will turn clockwise to the next set of point 180 degrees and set those points the same way. You will notice that the point of the previous set will be closed and when you come around again they will open up. *** When they are open no current is allow through. This is how you set your timing with the points.***

When you go to set the point's gap. Very gently snug the anchor screw, then adjust the gap with adjusting screw and the feeler gauge until the feeler gauge is sliding through with slight resistance only. Then tighten the anchor screw. Repeat procedure with second set of points. Please make sure your hands are clean and the feeler gauge is clean, because oil on the points can foul them up and create resistance....poor or no no spark. ALways use a spark check to evaluate spark. It should jump minimum 1/4 inch. Blue sharp snappy spark.

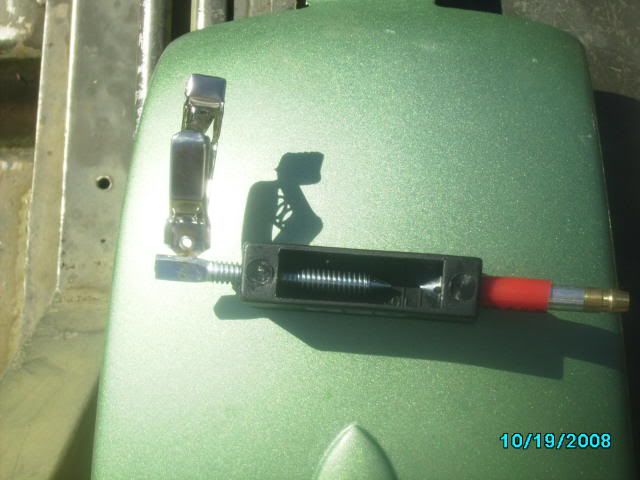
Here is a picture of a spark check...Cheap $6

sparktesterpic.jpg


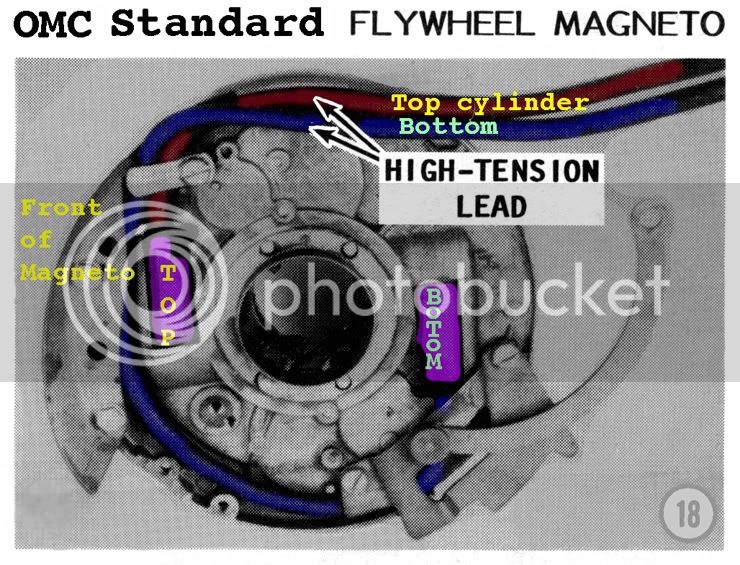
Here is a picture of how to tell which wire is going to the correct cylinder.


TopCyl.jpg


If your using the existing wires then cut about 1/4 inch of end going the coil, so you have clean un-oxidized copper contacting the spiking in the coil. Twist the end of the spark plug wire onto the coil spike. If you have replaced the wires, make sure they are 7mm copper metal core and not the automobile stuff.

***** Please make sure two things*****

1.) Make sure all the wires are tucked away under the flywheel and not rubbing up against the cam or crank, because with will eventually get damage and create a short, then no spark!! Be sure to reconnect the stop wires back on correctly.

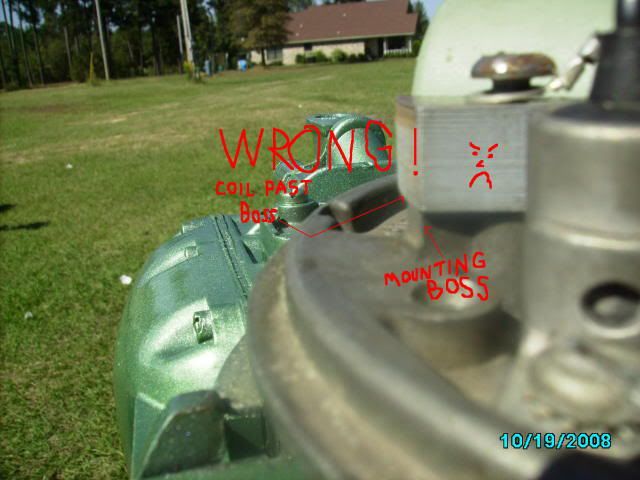
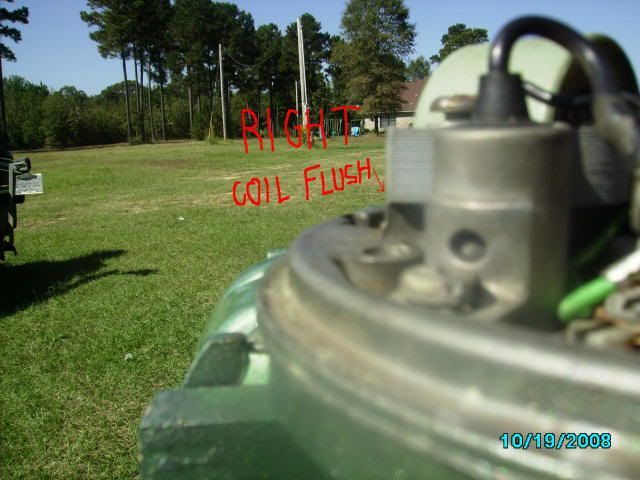
2.) Make sure the coil heels (ends) are evenly lined up with the mounting boss.

Here are some pictures. (Compliments of JBJennings..nice fella)

wrongcoilmount.jpg


rightwaytomountcoil.jpg


Lining up the coil heel with the mounting boss prevent damage of the coils and the flywheel magnet, prevent rubbing as the flywheel turns.


I hope this helps ya out! Might have gone overboard a bit but wanted to make sure you had a good idea.
 
Go to Auto Zone or similar store, they loan out a compression gauge with a deposit. Check your compression on your top and bottom cylinder. Just wanting you make sure you do not have compression issues. You can wrap a pull rope around the flywheel and manual pull until you get your spring starter repaired.

Here is a link to show how to do a compression test.
***Please let me know what the compression value is*** You may have to pull the rope 4 or 5 times to get maximum compression reading and pull on the rope like you mean to start it. Reminder, remove both spark plugs then test one cylinder at a time.

https://www.youtube.com/watch?v=PyCw4SiuT2I

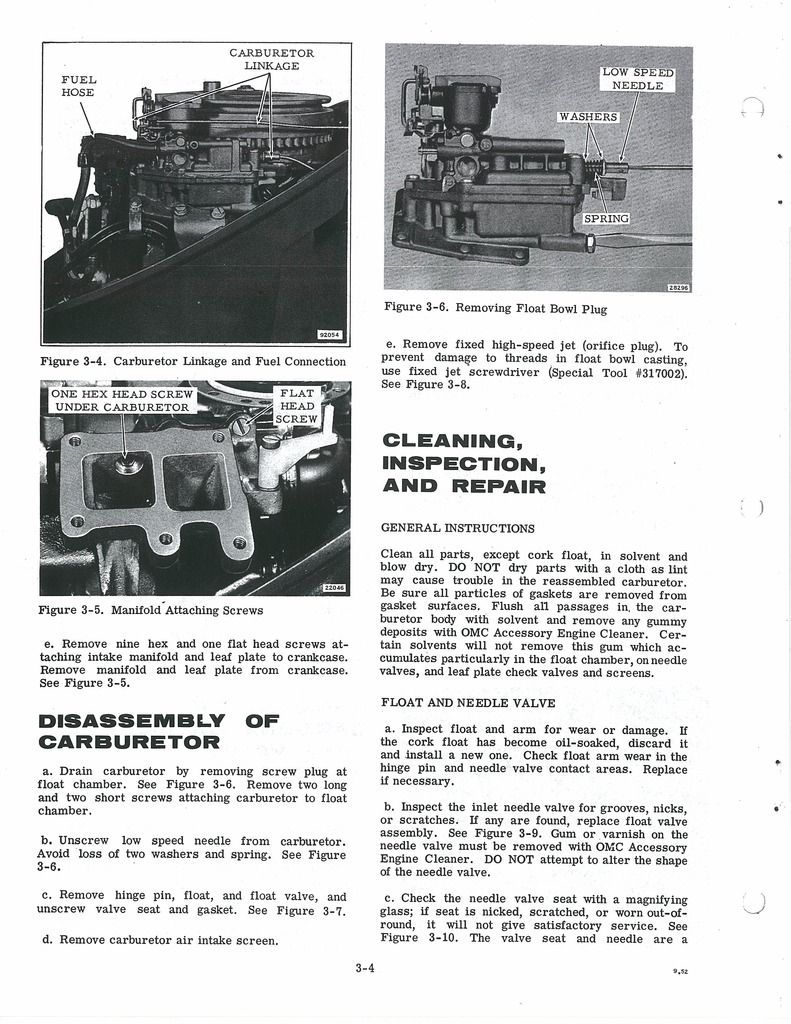
Here is the part number for the carburetor kit for your motor. There is no Sierra or aftermarket kit. Only OMC kit availabel for the this motor.


Carburetor kit part number
= 382048

Here is link and parts diagram for your motor and where you can by your parts at a decent price.

https://www.marineengine.com/parts/johnson-evinrude-parts.php?year=1968&hp=9.5&model=MQ-14D

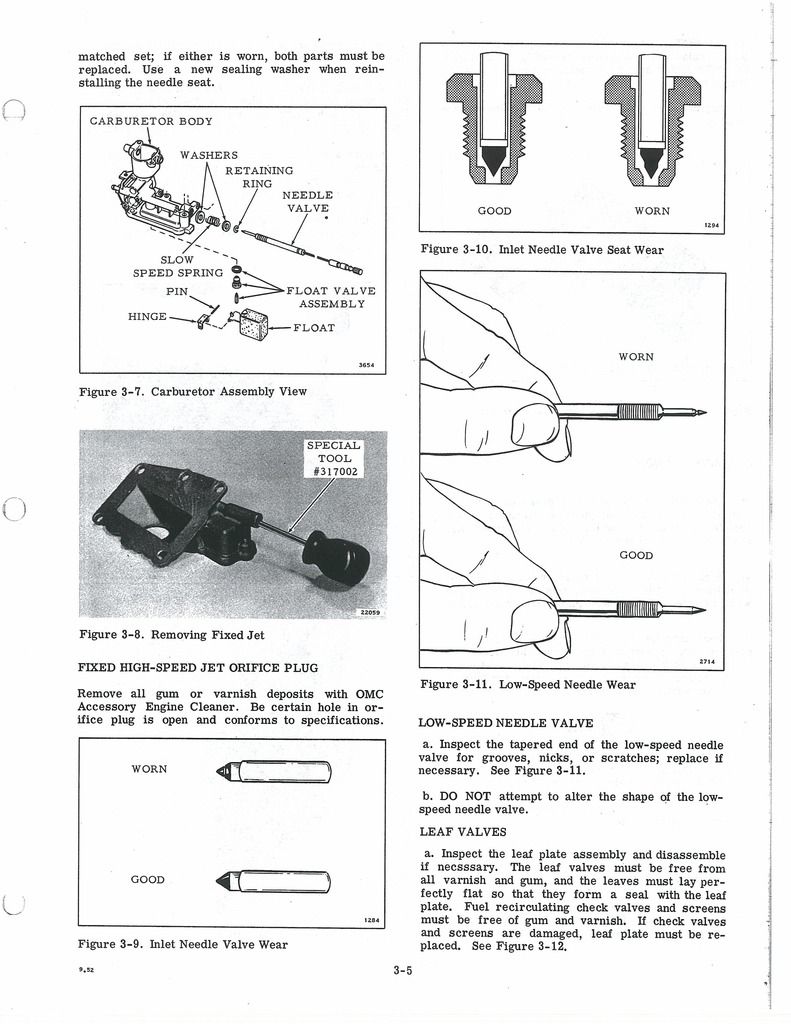
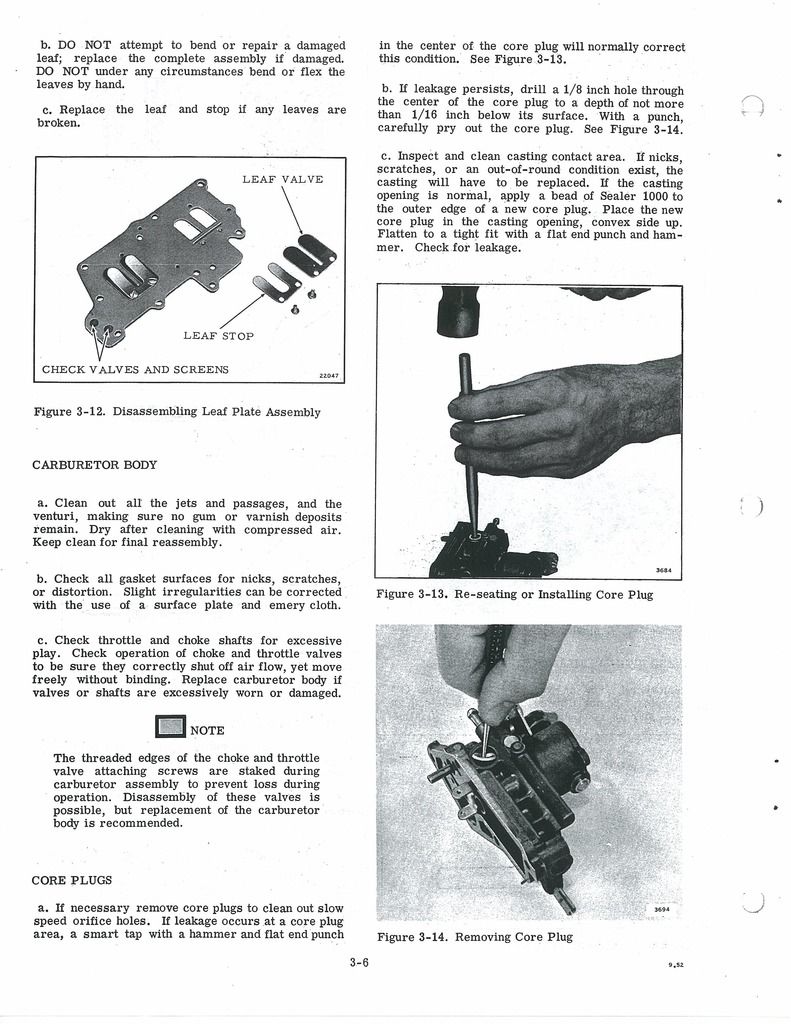
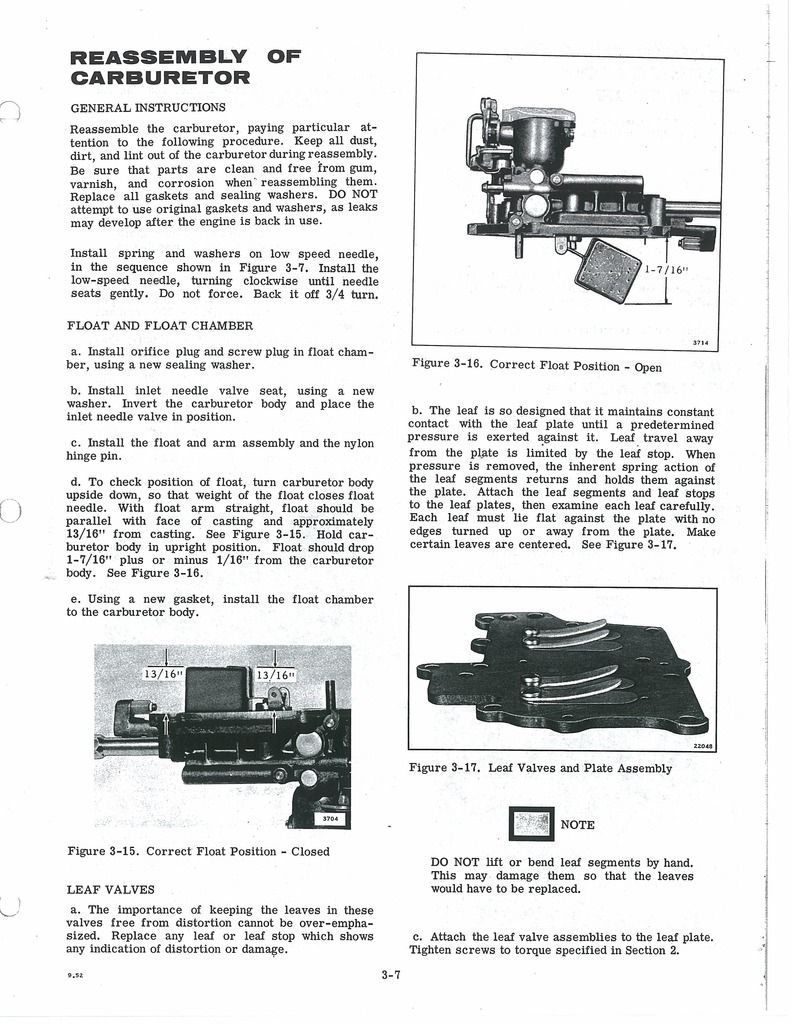
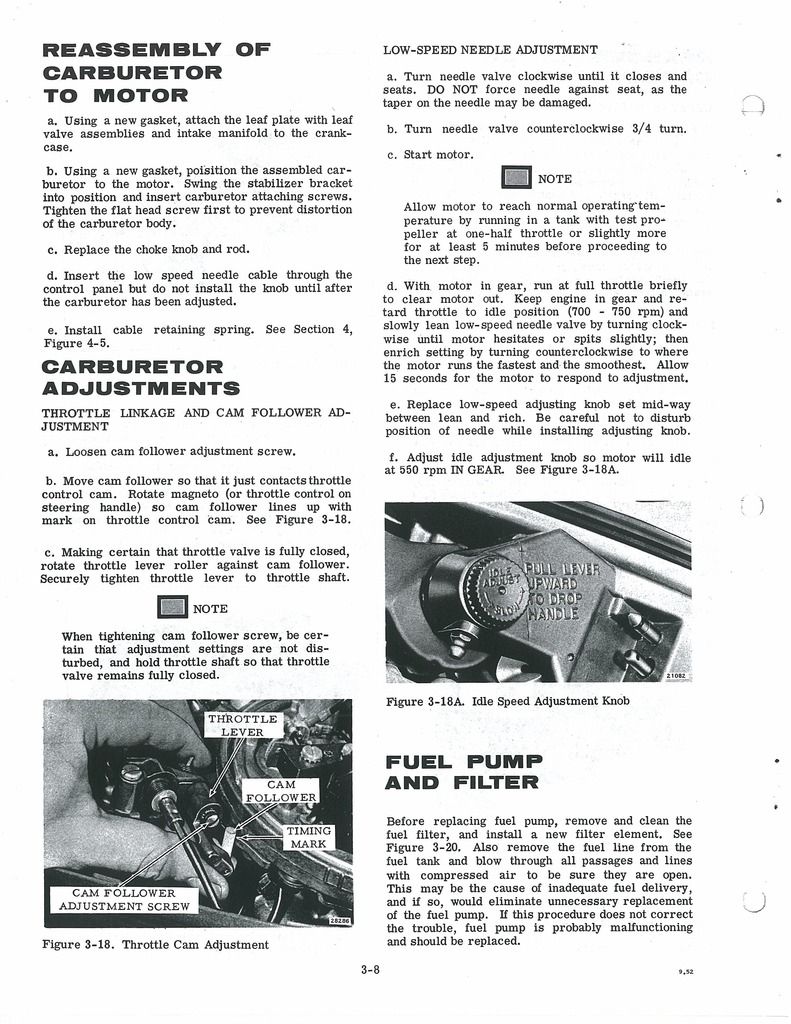
Here are some carburetor settings.


Carb Needle Adjustments For Asorted Carb Variations by Joe Reeves

these adjustment are for the older engine. 1980 and earlier, and the current small hp ob's. not for fixed jet outboards.


(Carburetor Adjustment - Single S/S Adjustable Needle Valve)
(J. Reeves)

Initial setting is: Slow speed = seat gently(turn in clockwise), then open 1-1/2 turns(turn out counter clockwise). Do not tighten or force the slow idle needle shut or it may damage the needle.

Start engine and set the rpms to where it just stays running. In segments of 1/8 turns, start to turn the S/S needle valve in (clockwise). Wait a few seconds (10 to 15 sec) for the engine to respond. As you turn the valve in(clockwise), the rpms will increase. Lower the rpms again (turn your throttle slightly slower) to where the engine will just stay running.

Eventually you'll hit the point where the engine wants to die out or it will spit back (sounds like a mild backfire). At that point, back out(turn out counter clockwise) the valve 1/4 turn. Within that 1/4 turn, you'll find the smoothest slow speed setting.

When you have finished the above adjustment, you will have no reason to move them again unless the carburetor fouls/gums up from sitting, in which case you would be required to remove, clean, and rebuild the carburetor anyway.


Please save the procedure photos to your pc for better viewing and safe keeping. I will remove those in about a week.

I was not sure you if you stated thing were better and resolved or if you still in the process of repair. So, these few post should get you going in the right direction. Fire back if you need further guidance.


Great info! I'm on duty three days straight so give me a little bit to copy this stuff. I've done a lot of old school small engine work, you've given me pretty much all I i need. Thanks for the help.
 
Top