
fowlmood77
Well-known member
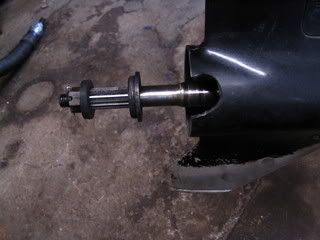
Had a chunk out of my lower unit since I purchased it. Decided to do a fix on it and will share my technique here in case anyone else has a problem similar.
This is what I started with
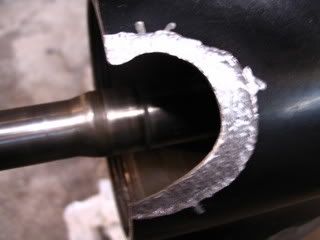
I took my trusty Dremel and ground the surrounding area so that my "patch" would fit flush and have something to bite into
For my "patch" I used a piece of expanded metal lath that I hammered as flat as I could get it, then cut to shape.

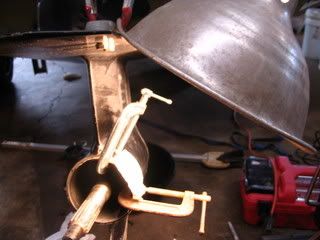
I put some tape on the inside to make a "release" for the epoxy, then a piece of semi-rigid plastic sheet behind that to hold the curve.
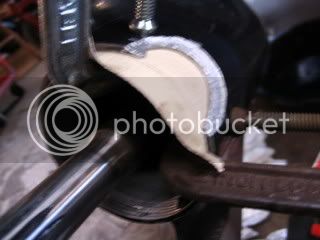
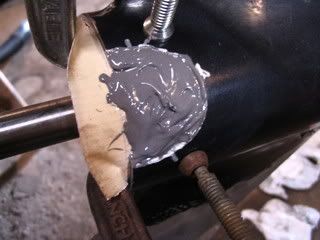
Partly fill the area with JB Weld, set the patch in and add more epoxy
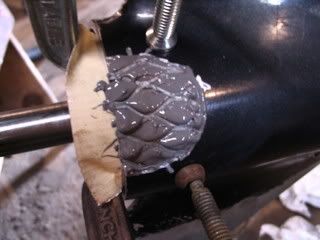
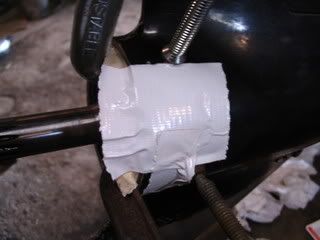
I then covered that with more tape and added heat from a lamp to slow down the epoxy from setting to quick in the cold shop.
Let set a few days, then remove tape, sand and fill in any low spots with body filler and you end up with this.
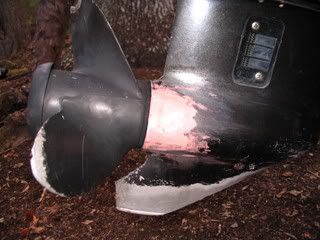
Its a strong fix and cost me a few bucks for epoxy. :mrgreen:
This is what I started with
I took my trusty Dremel and ground the surrounding area so that my "patch" would fit flush and have something to bite into
For my "patch" I used a piece of expanded metal lath that I hammered as flat as I could get it, then cut to shape.
I put some tape on the inside to make a "release" for the epoxy, then a piece of semi-rigid plastic sheet behind that to hold the curve.
Partly fill the area with JB Weld, set the patch in and add more epoxy
I then covered that with more tape and added heat from a lamp to slow down the epoxy from setting to quick in the cold shop.
Let set a few days, then remove tape, sand and fill in any low spots with body filler and you end up with this.
Its a strong fix and cost me a few bucks for epoxy. :mrgreen: