anyone ever rip their boot off? need advice on repair

TinBoats.net

Help Support TinBoats.net:

This site may earn a commission from merchant affiliate links, including eBay, Amazon, and others.

JoshKeller

Well-known member
Joined
Aug 20, 2012
Messages
435
Reaction score
1
Location
martinsburg, wv
long story short, I went down a rather large ledge on plane and NEARLY made it without any damage. Smacked my intake boot on said ledge. Came off plane, give it a quick look over down through the water, and went on our way. Ran another 11 miles without issue.

Fast forward to tonight, and im checking my rig over before hooking up for the weekend. My boot is loose - very loose. 2 of the bolts are broken off, and the other 4 are bent. I was able to replace the 4 bent ones without issue, but the two broken ones are another story. I was unable to get them out with an easy out, and drilling out the bolt was successful on only one. Both holes will be wallowed out If i can find a way of getting the bolts out. so my question is, what is the best way of repairing these two? Drilling it out oversize, adding a helicoil, drilling it out and having it welded, then redrilled and tapped? Any other ideas? I dont really want to drill it out and tap it for a larger bolt, because then I'll always have two bolts larger than the other four, and will have to drill out my liner and intake boot to accommodate the larger bolts. Really curious what fixes you all can come up with, especially ranchero50 since he's close by. :lol: thanks guys.
 
No helicoils in this application. Google keen-sert. I'm not sure if they make them in stainless or not. We use them often here at work.

Per the repair, use the mill to make a thick drill jig that will bolt in place using the good bolts with centering holes where the repairs will be made. Use drill guides in the jig to remove the damaged metal and center the tap for the keen sert. Countersink the bore .050-.080". Install the keen-sert and drive the locking tabs in place.

Advice for next time... If the bolt body is exposed, flatten it with a file so you have a flat face to drill into. If it's broken at an angle it's going to be more difficult to drill. Use a short stiff center drill to spot the drill into the middle of the broken bolt. Again, if the bolt is broken off crooked you can start the center drill crooked and tweak it true as it bites into the bolt. Use a 3/32 or 1/8" drill to start. Smaller is better just be careful that it drills true. If you can't get the drilled hole in the center of the bolt, stop. If you can drill through the center of the bolt keep increasing the drill size until you can get a 1/8" grinding burr in the hole and use the Dremel to slowly remove the body of the stainless bolt. This is tedious and takes time. Grind for a couple seconds and check the hole. Grease the bit and use air to clean the hole. The goal is to remove the body of the bolt but leave the threads in the aluminum. Once the threads are exposed, pick them out with a dental pic or gently run a tap in the hole a little at a time. Keep blowing the hole out as you go and the old threads will come out. The goal is to not bugger up the threads in the housing.

It's actually easier and quicker to remove a broken bolt than repair a buggered hole from someone who wasn't proficient in removing broken bolts. I just dug a 6mm cable bolt out of a Harley battery in about an hour this way and spent a couple hours digging broken 5/16" fender bolts out of an old farm tractor for a buddy last week.
 
Most people around here normally have theirs welded up and some even have studs put in like the newer style pumps but I personally prefer bolts that way if you get some sand in between the shoe and pump you can turn the shoe back and forth to get it loose were if you have the studs with the nuts holding the shoe n you can't turn the shoe. I wouldn't tap it the next size up, might make it harder to get the bolt in and out plus that doesn't leave much meat at the edge of the shoe since you'll probably have to drill it out for a 5/16" bolt.
If you can find one carbide drill bits work wonders on stainless bolts. :wink: Like Ranchero said it take time to drill them out but carbide drills do well on these stainless bolts.
 
I was unable to get the bolt out of one hole. Both holes will need welded and redrilled or some other fix. is this something you can do for me jamie? i can probably just remove the jet pump to make it easier to work on.
 
Yeah, actually if the pump if off the whole thing may fit in the mill and be easier to repair. I'd have to see how much wall thickness you have around the bolt to determine whether it would be a weld or mechanical repair job. Both have there compromises. Let me know around when you want to do it, I'm pretty busy with projects but will be able to fit you in. Working Thurs-Sat now.
 
I've had a similar incident. The bolt was broken off flush. I cut a slot in the broken bolt with a hacksaw blade and backed the bolt out with a flat blade screwdriver. I'd suggest changing over to studs. In case you didn't know they don't use bolts anymore to hold the intake on. You can buy the stud kits for $13 from outboardjets
 
Good tip on the stud kit. I cheated and bought a pair of 6" stainless carriage bolts at Lowes and turned them to length to make studs. I ended up doing a mechanical repair using a stainless 3/8" flat head Allen bolt as a keen-sert. I don't have any pics of that part because I left my camera at my folks place. Here's some pics of the preliminary setup work.

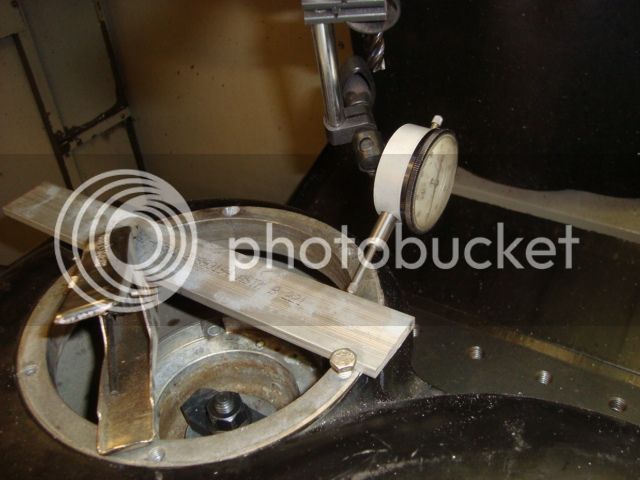
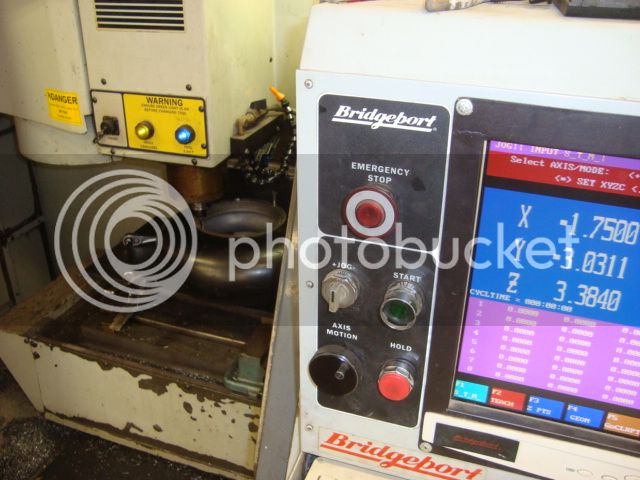
I disassembled the pump and clamped the housing to my mill table. I used a dial indicator to verify that the bolts were parallel with the 'X' axis.
DSC02530_zpseaqvckow.jpg


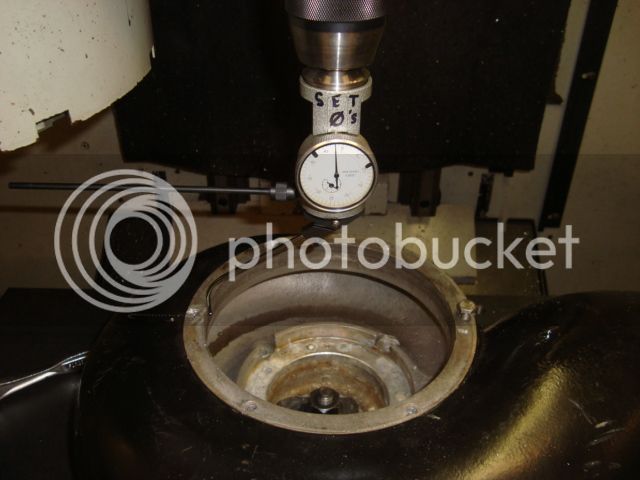
Then I used my coaxial indicator to zero the X and Y axis in the center of the bore.
DSC02531_zpsfjauvk9v.jpg


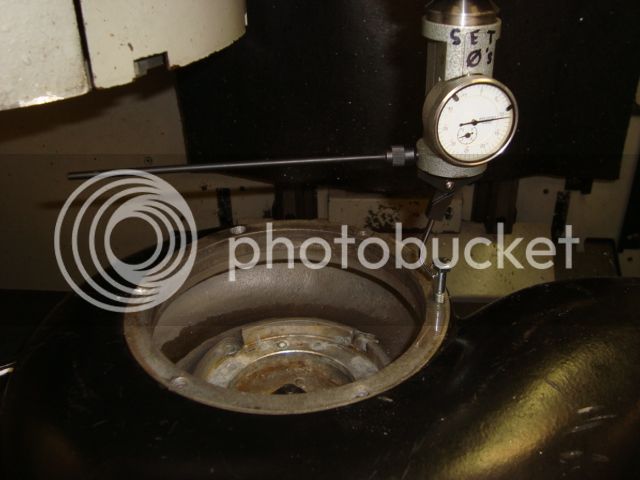
Used the coax to check the radius of the bolt holes. Ended up being 3.5" or 7" diameter.
DSC02532_zpsqihrz2xe.jpg


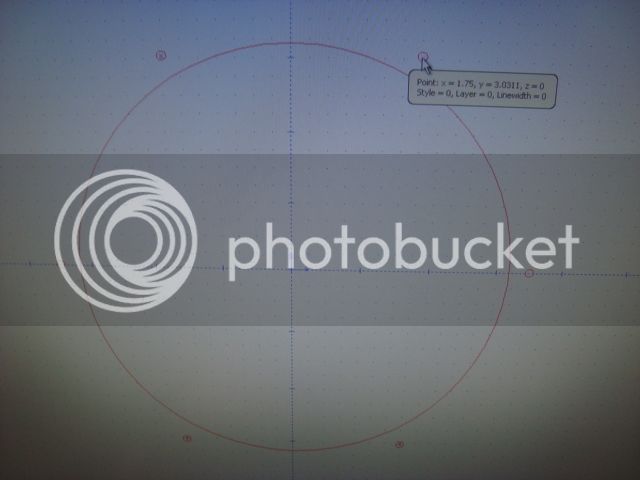
Plugged those numbers into the CAD program to plot out the other hole location.
DSC02533_zpshetf4w8y.jpg


Finally verified the location and used a 1/4" end mill at 600 rpm to gently cut the broken drill bit and bolt out of the center of the hole.
DSC02534_zpsvh2kkxyx.jpg


Josh's pump had a good many stress cracks so I did a mechanical repair vs. welding on the housing. I also installed longer studs as the first couple threads on each hole were pulled from prior damage. The 1/4" holes are all at least 1" deep so I tapped them with a bottom tap. Lock-tighted the studs in place and gave it back to him. I haven't heard back so I hope it held up to last weekends adventures.
 
Top