1962 Lone Star Malibu

TinBoats.net

Help Support TinBoats.net:

This site may earn a commission from merchant affiliate links, including eBay, Amazon, and others.
Well, over the weekend I managed to finish off the graphics, but still have to back mask the white on the top for another coat. I waited well over the manufacturer's cure time for the paint (supposedly 48-hours) to mask it for the graphics, but never the less I got some wrinkling under the tape and masking. Not sure what else it could have been other than the paint wasn't fully cured yet. Oh well, nothing I can do now. I'm waiting for at least a week before back masking it to sand and repaint the white, just the top section was effected. Here are a few pictures of the new paint scheme:

AZW8xUp.jpg


fwaNbnF.jpg


EpxsVFu.jpg


hgnsAoh.jpg


For now, it's on to the interior while I let that paint cure.
 
Thanks, even with the wrinkles on the white paint, I'm pretty happy with how it turned out. I'm calling it Teal, but my wife keeps referring to it as "Tiffany Blue"...I think she might be hinting at something, just not sure what?
 
Well, it's been a while, but I've been out of town and tied up with other things. I have managed to get some work done on the boat since my last post. I got the interior painted and opted to go with the RustOleum spray on bed liner on the floor and painted the sides a lighter tan. The RustOleumm is best equated to just a thick paint and really didn't have that texture that one would normally associate with bed liner. It was slightly rubberized and provides a good gripping surface that seems like it will be pretty resilient to impacts and abrasions. We shall see how it works.

6RM1Ybg.jpg


AqSbvlH.jpg


KBufdhA.jpg


Now I'm getting to the point where things can go back on the boat, which is the exciting part. Just need to build the benches for the seats and then figure out a way to hang the outboard on there. Just in time for boating seaso...drat.
 
Got a little bit more done over the last week. Managed to get the windshield, bow light, horn, cleats, and various other things mounted.

E6sKfub.jpg


I rewired the bow light and converted it to an LED. I had to rebuild the horn; I bought one of the cheap horns from Harbor Freight and pulled out the innards (diaphragm, actuator, etc.), machined a piece of PVC to adapt it to fit the old horn housing, and then replaced the non-functional components. Everything else just needed a little bit of a cleaning and polishing before going back on.

I also started fabricating the seat bench tops out of mahogany (solid and ply) that I will be mounting my seats to.

8xrD8x8.jpg


zCGyP5m.jpg


I have to get them glued and screwed together, then stain and varnish, but it looks like the weather may not cooperate this weekend. I'm just torn between doing it the easy way and having visible fasteners (i.e. screw heads) holding those bench tops together or going the extra mile and putting them together with hidden fasteners. It would be easy to clamp them and glue and screw them in place, but then the screws would be visible. Alternately, I could pull them out and fasten them together from underneath so that you can't see the screws, but keeping the geometry correct out of the boat so that they go back in without an issue is going to be a lot trickier. I'm leaning towards getting some brass screws, so they're aesthetically pleasing, and going the easy route.
 
Wow, what a change since the beginning, very nice work. She's a beautiful boat....:)
 
Varnishing the seat tops and dash have been a very slow process with all the rain we've been getting; recommended dry times aren't so accurate when it's this cold and wet. I doubled them and still ran into soft varnish when I went to sand the first time and have since been waiting a full 24-hours between coats, but it's getting close. I got the dash completely varnished and have it installed along with all the electrical components, wiring, and pulley steering system.

DfKv8cO.jpg


NO8OsMs.jpg


One side of the bench tops is finished and I've got 2 coats on the remaining side, but still have 3-4 more coats to go.

4wcS7uR.jpg


70GqitV.jpg


nnDMPQP.jpg


Should have the seats mounted by the end of the week with any luck.
 
very nice - very nice indeed !!!

just remember, varnish does not last for years and years outside. it is a maintenance item.
visit the wood boat forums and you will find many variations on how to do it right and keep
it looking good.

this is a post on WoodenBoat dot com:

"Keeping varnish in good shape is simple, but there is no magic short cut,
and no do-it-once-and-forget-it solution.
Strip it, sand it, and varnish it with a good quality traditional tung oil Spar varnish.
Start with 3 or 4 coats, 12-24 hours apart, no sanding in between.
When cured - takes at least 3 days, 7 is better
sand it with 150 grit until reasonably smooth, then apply 3 more coats, maybe 4,
sanding in between. Then, every boating season, (or twice a year in a really hot climate)
rub it down and put on another coat. Every boating season without fail.
Miss a season - you have to start over. Do it every season and you can go
20 years without having to replace any of the woodwork.
You don't have to do everything all at the same time either. Once you get the hang of it,
you can re-coat something in a remarkably short time.
It becomes routine and after a while, both easy and pleasant".
- Norm in Canada -

again, this all depends on how you use your boat and how it is stored when not in use.


as far as your cold wet weather goes, that is what the kitchen table was made for !!!!
claim it - own it !! the kitchen table is for working on outboard parts and painting
or varnishing your woodwork. not for warm homecooked meals - nuke a frozen TV dinner and eat on the couch.

if you google britework or brightwork you will find some pretty interesting reading.

jus my Dos Centavos

can' wait to see your project come together !!!!


.
 
Thanks for the advice Johnny. I'm not a huge fan of the maintenance that goes with brightwork, but it seemed appropriate for this boat. I figure if I get sick of maintaining it I can always decide to replace it in the future.

I am using Minwax Helmsman Spar Varnish and the can recommends three coats with 4-hour dry time in between, but I've been going with 5-6 coats total with a full 24-hours in between coats (sanded with 220-grit). I've been rolling it on with a foam roller (helps distribute varnish evenly) and then tipping it with a badger hair brush. I'm thinking that should provide a good base and I will probably take your advice to add a new coat this Spring as part of my season preparation.

I tried selling my wife on the conversion of the kitchen table into a workbench, but she's not going for it.
 
oh, I'm sorry - I didn't realize you had to ask permission for the table. (just kiddinggggggg).

LOL HAHAHAHA LOL that's funny right there.
my new wife has come to accept that my 15 years of previous bachelorhood
with my clutter and hobby habits.


on your woodwork - you have done great !! thanks for sharing your journey.
 
Well, I don't have to ask permission, but things tend to work out better for me if I do.

Thanks for the compliment; I'm by no means a finish carpenter, but I think they came out pretty well.
 
sonny.barile said:
You turned that thing into a dream boat. Very nice work.....

Thanks Sonny. It's getting close to "finished," but I've learned that as long as I have a boat, I will always have a project or two that still needs doing.
 
Well, I got the benches and seats installed, ran the wiring (engine, lights, horn, and 12-V plug), swapped out for new shift cables, temporarily installed the engine control box, and got the battery box installed.

Bhebeo8.jpg


wg1ikhI.jpg


lvMgecg.jpg
eLkHGkU.jpg


91hkvZw.jpg


I will probably pull the control box to restore it. It came with the engine and, while it looks okay in the pictures, there's actually a lot of over-spray from the previous owner's attempt to repaint his console and other wear and tear. I will probably strip it down and repaint it. I've got a replacement Evinrude Simplex decal from American Outboard to replace the Johnson one and the plastic handles for the levers will get a clean up as well (my wife might let me do at least some of this project on the kitchen counter). I also still need to figure out a set-up for my stern light; maybe I can snag a period correct one on eBay; the one that was on it was clearly jury-rigged, so I don't know what the original set-up was like (Don't suppose you have any pictures of yours Johnny?).

American Outboard is also looking into helping me recreate a decal to replace the graphic on the dash plate. Mine was sun bleached to bare aluminum when I got it, but someone over at the Lone Star yahoo group was nice enough to provide me with an image of his dash plate that was in slightly better condition.

EA1jWI9.jpg
0DX5vr5.jpg


It's all coming together, but I will probably wait to mount the outboard until this Spring; I don't see much use in mounting it on the boat now just to have it sit outside for the winter. Then again, I'm impatient and might not be able to help myself from mounting it now.
 
wow Brent !!!!
you have come a long way in your nautical refurbishment skills for sure.
I don't see any indications of a stern light on my Malibu.....
I don't boat at night so I am not going to install one. I do however have
the period correct bow red/green nav light, horn and spotlight. I still need the bow handle.
My Malibu tag that goes on the dash is like yours, not even readable.
I snagged a nice vintage Chevy Malibu chrome script on ebay which I think is appropriate
just from the cosmetics standpoint.
dash emblem.jpg
and today, I scored a set of the large logo emblems that goes on the sides of the boat.
will start sending stuff out for chrome in a week or so...... I have not priced
it yet, but, I bet it ain't gonna be cheap !!
I love the way you mounted your seats !!!!

Edit: just saw a post on the Antique Outboard Motor Club https://www.aomci.org/
about the shift box. He shows a few nice examples of the vintage shift boxes.
https://aomci.org/forum/viewtopic.php?f=2&t=9834&sid=c4631d38b2f0945d10ee73e2ccd4c8bb

Thank you for sharing your journey with us !!!!
 
Thanks for the compliment Johnny. It's not my first boat build, but this is the restoration I've done and the first tin boat (unless you count a 65-ft aluminum houseboat). I think I will stick with tin in the future if I can help it; it's a lot less itchy than fiberglass. I'm thinking of a slightly bigger cabin cruiser like the Lone Star Cruise Master as a future project, if I can sell my wife on the idea.
Johnny said:
I don't see any indications of a stern light on my Malibu...
Yeah, with the fins, it's not really obvious how they mounted a stern light on these boats. There were some abandoned mounting holes in the lower corner brace on the starboard side, but that would mean that the stern light pole would need to come up through the hole with the steering and throttle cables. The one that was on the boat when I got it was attached to what was clearly a scrap piece of aluminum that was bolted to the side of the motor well and then just left the light mount dangling out in front of the motor well. I can get a mounting bracket that will fit on the small shelf on the side of the motor well, but would prefer to have something era appropriate.

I don't intentionally do much night boating, but I like to be prepared. There have been a few times where I made it back to the launch ramp a little later than planned for various reasons. If you're not going to mount a permanent stern light, you can always carry one of these battery powered ones (https://www.amazon.com/Attwood-14180-7-Portable-Marine-Finish/dp/B01B3M2AE2/ref=pd_sbs_200_1).

As for the original spot light, if you've got a picture I'd appreciate it. The one that was on my boat wasn't original and I decided against remounting it since it wasn't well supported and was kind of it the way of the driver's line of sight. If I could ever find an original or something slightly smaller that is close to original, I might consider buying it and adding it, but I have no idea what an original one looks like.

I like the Chevy Malibu emblem; not a bad solution. If I am able to get a new decal made up for the dash plate, I'd suspect that getting a couple more made at the same time wouldn't be any more expensive; let me know if you (or anyone else) would be interested in getting one.

Thanks for the link to the control boxes. Mine is a slightly newer 60s vintage, but still the same basic operation. Nice and simple, it works just fine, I'm just hoping to make mine prettier.
 
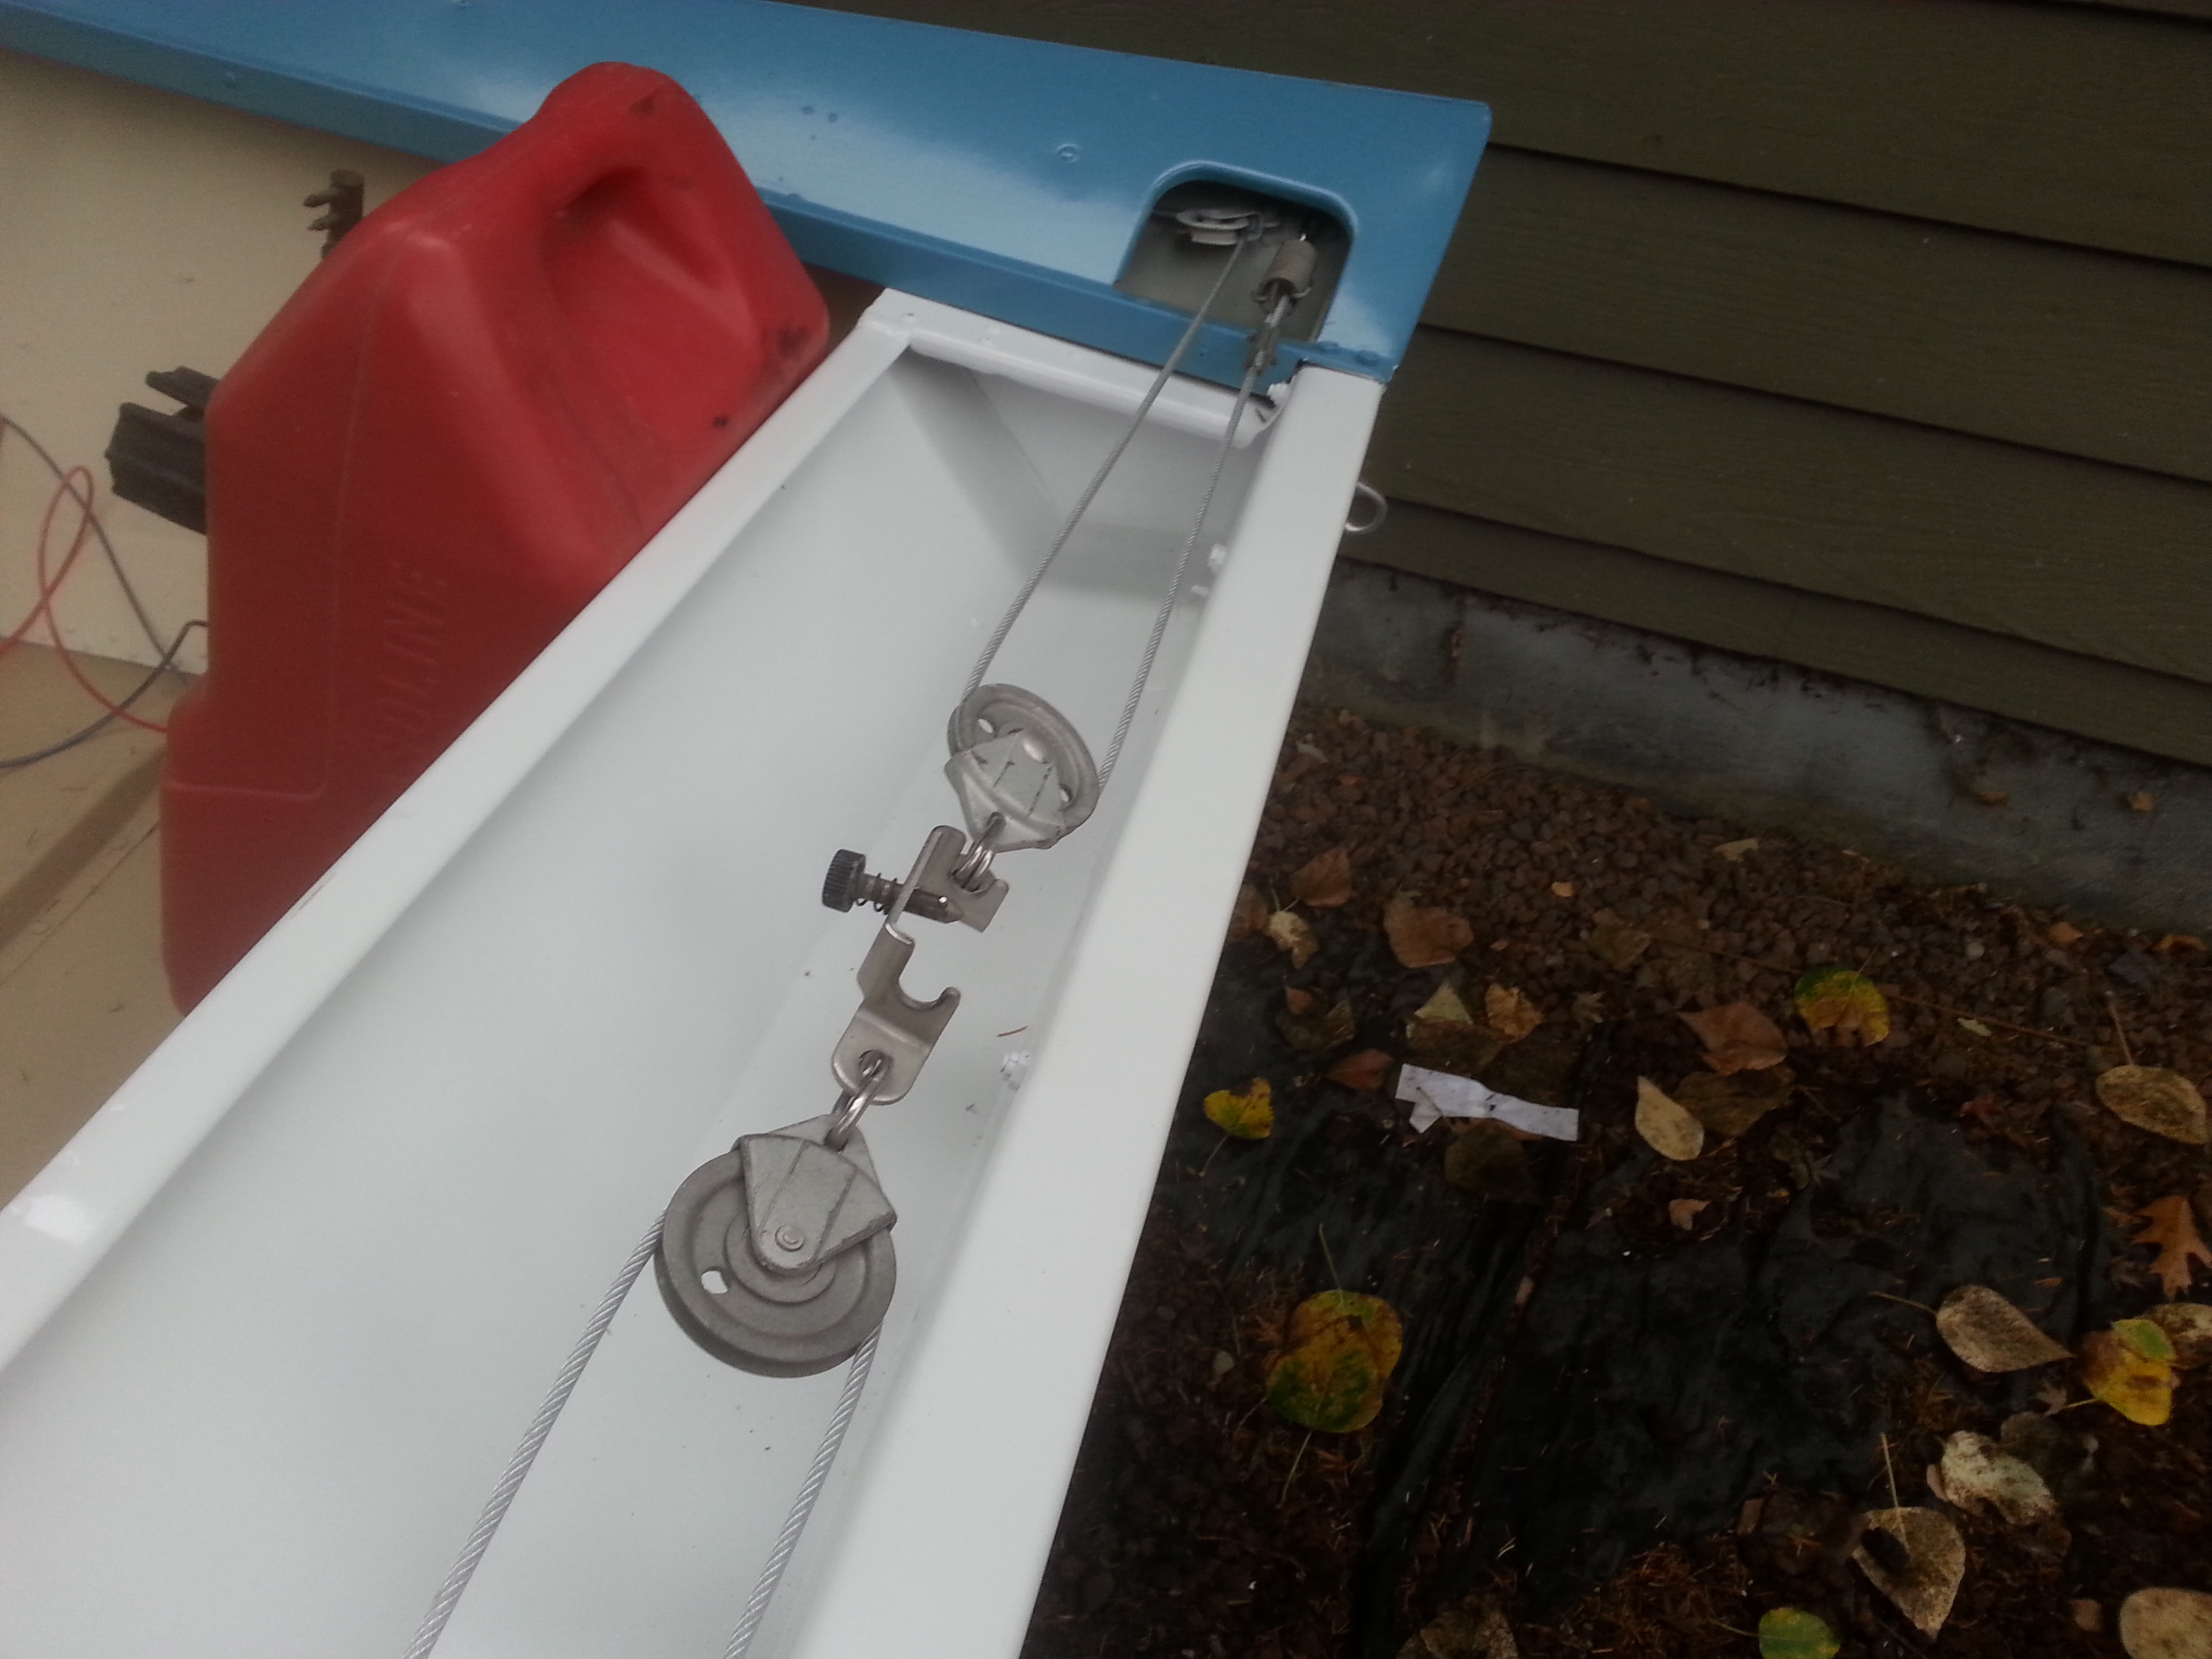
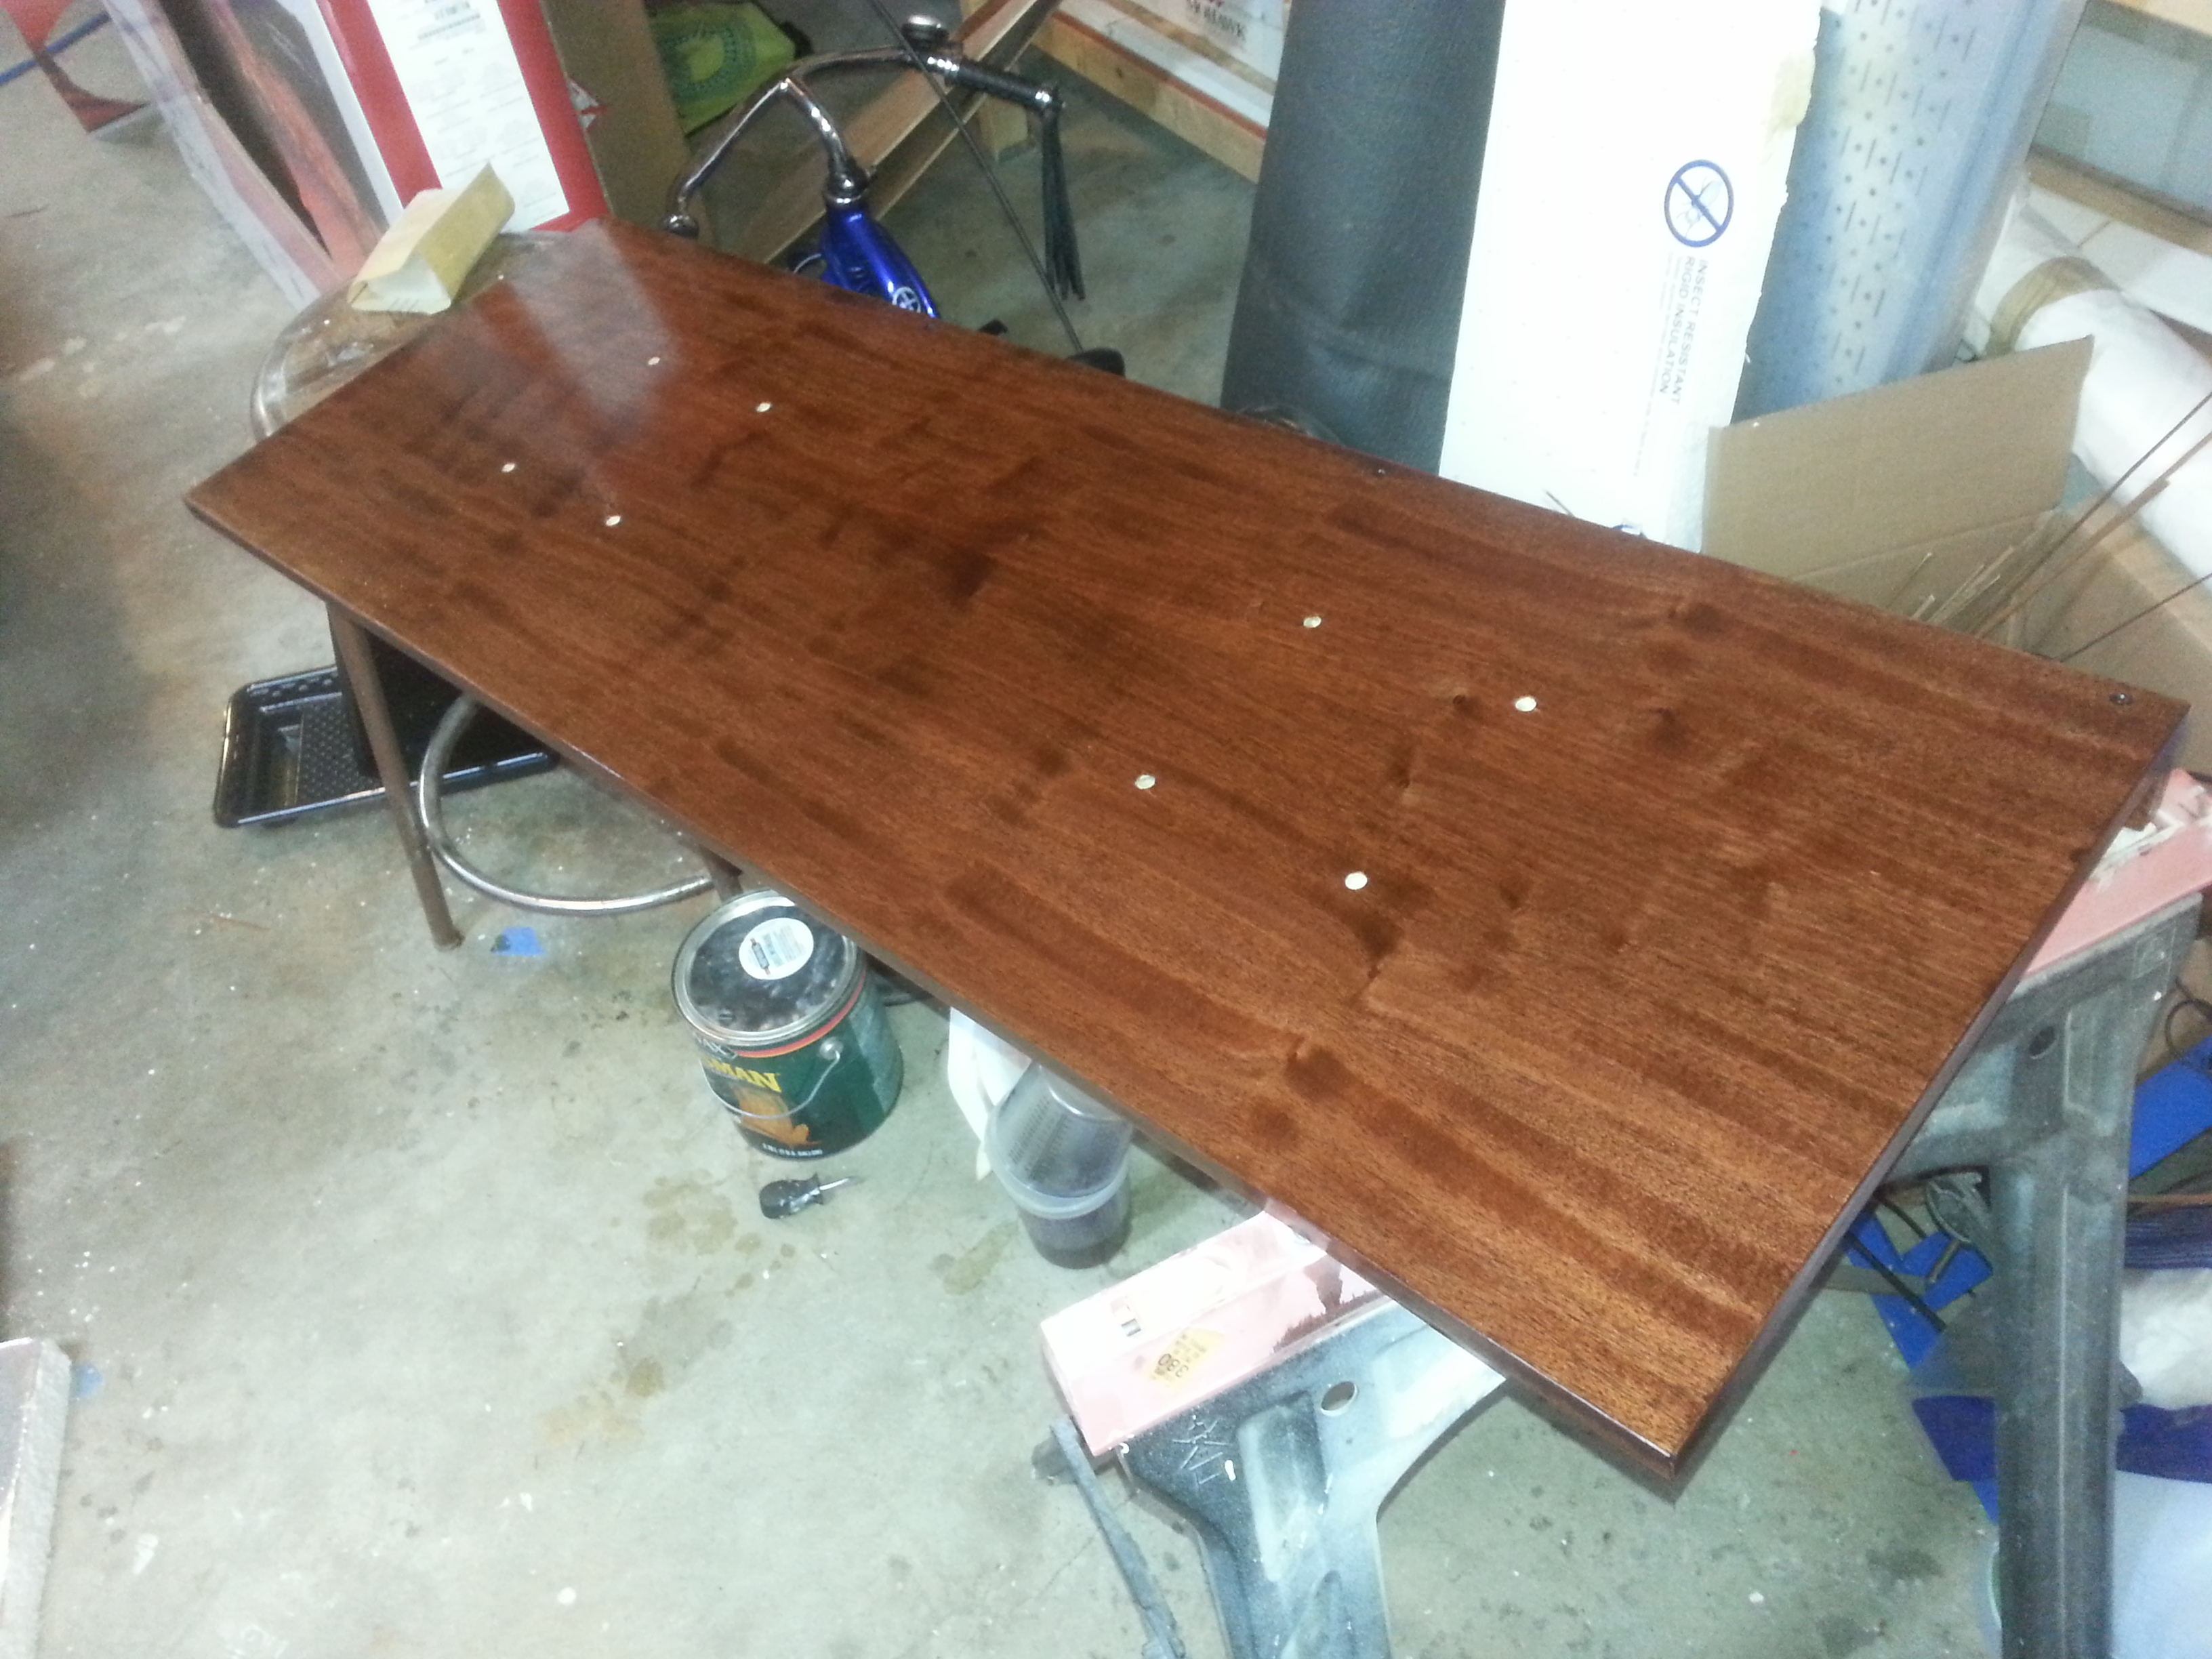
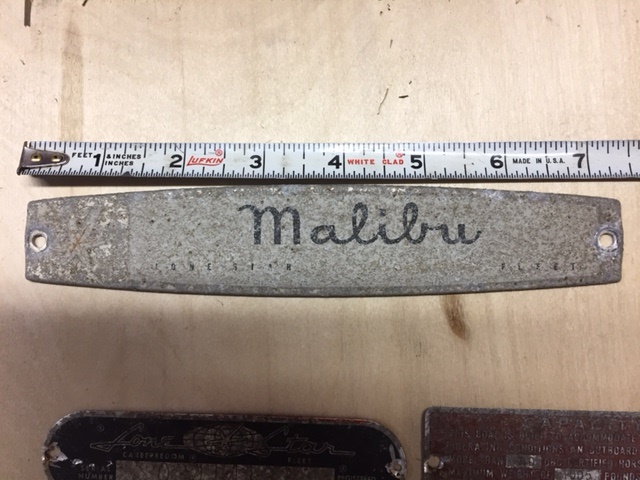
Brent, here is the hardware I have put together for my Malibu.
They are not "Lone Star Specific" but are period correct.
The bow navigation light will hold the Lone Star pennant on a wood pole.
I did a lot of googling on vintage aluminum boats and these items
were the most common. Will be sending it all out for chrome soon.
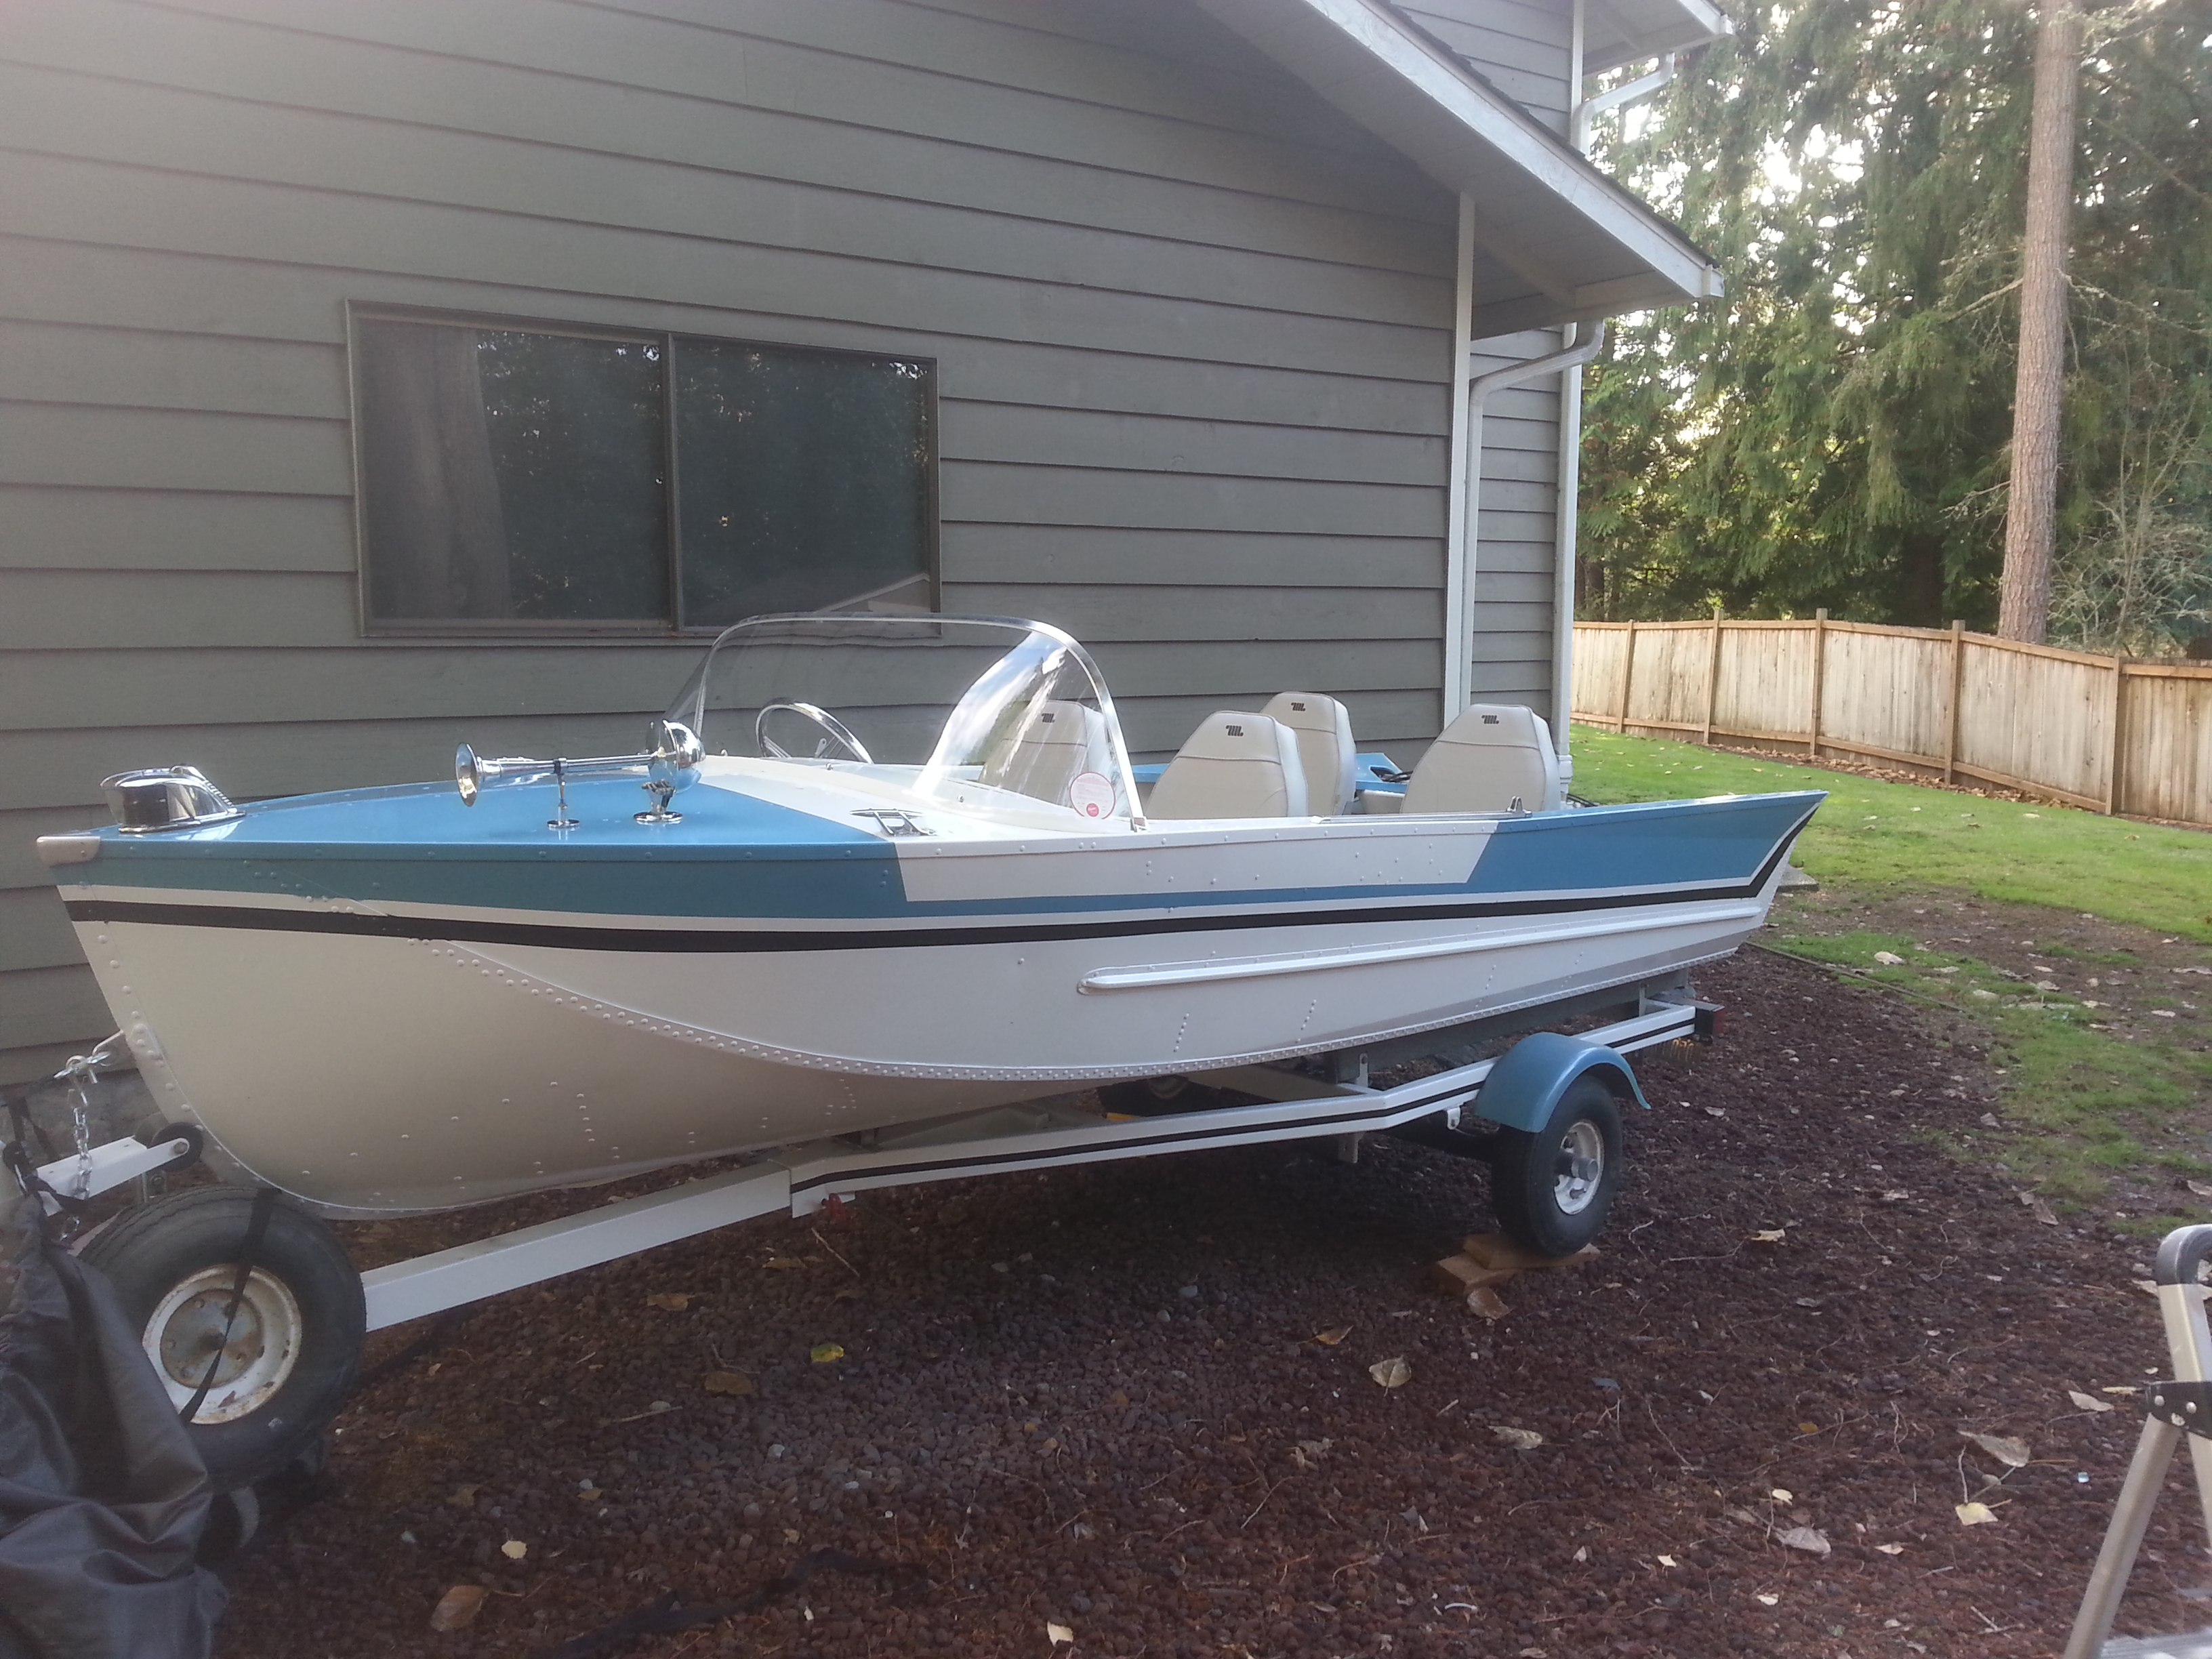
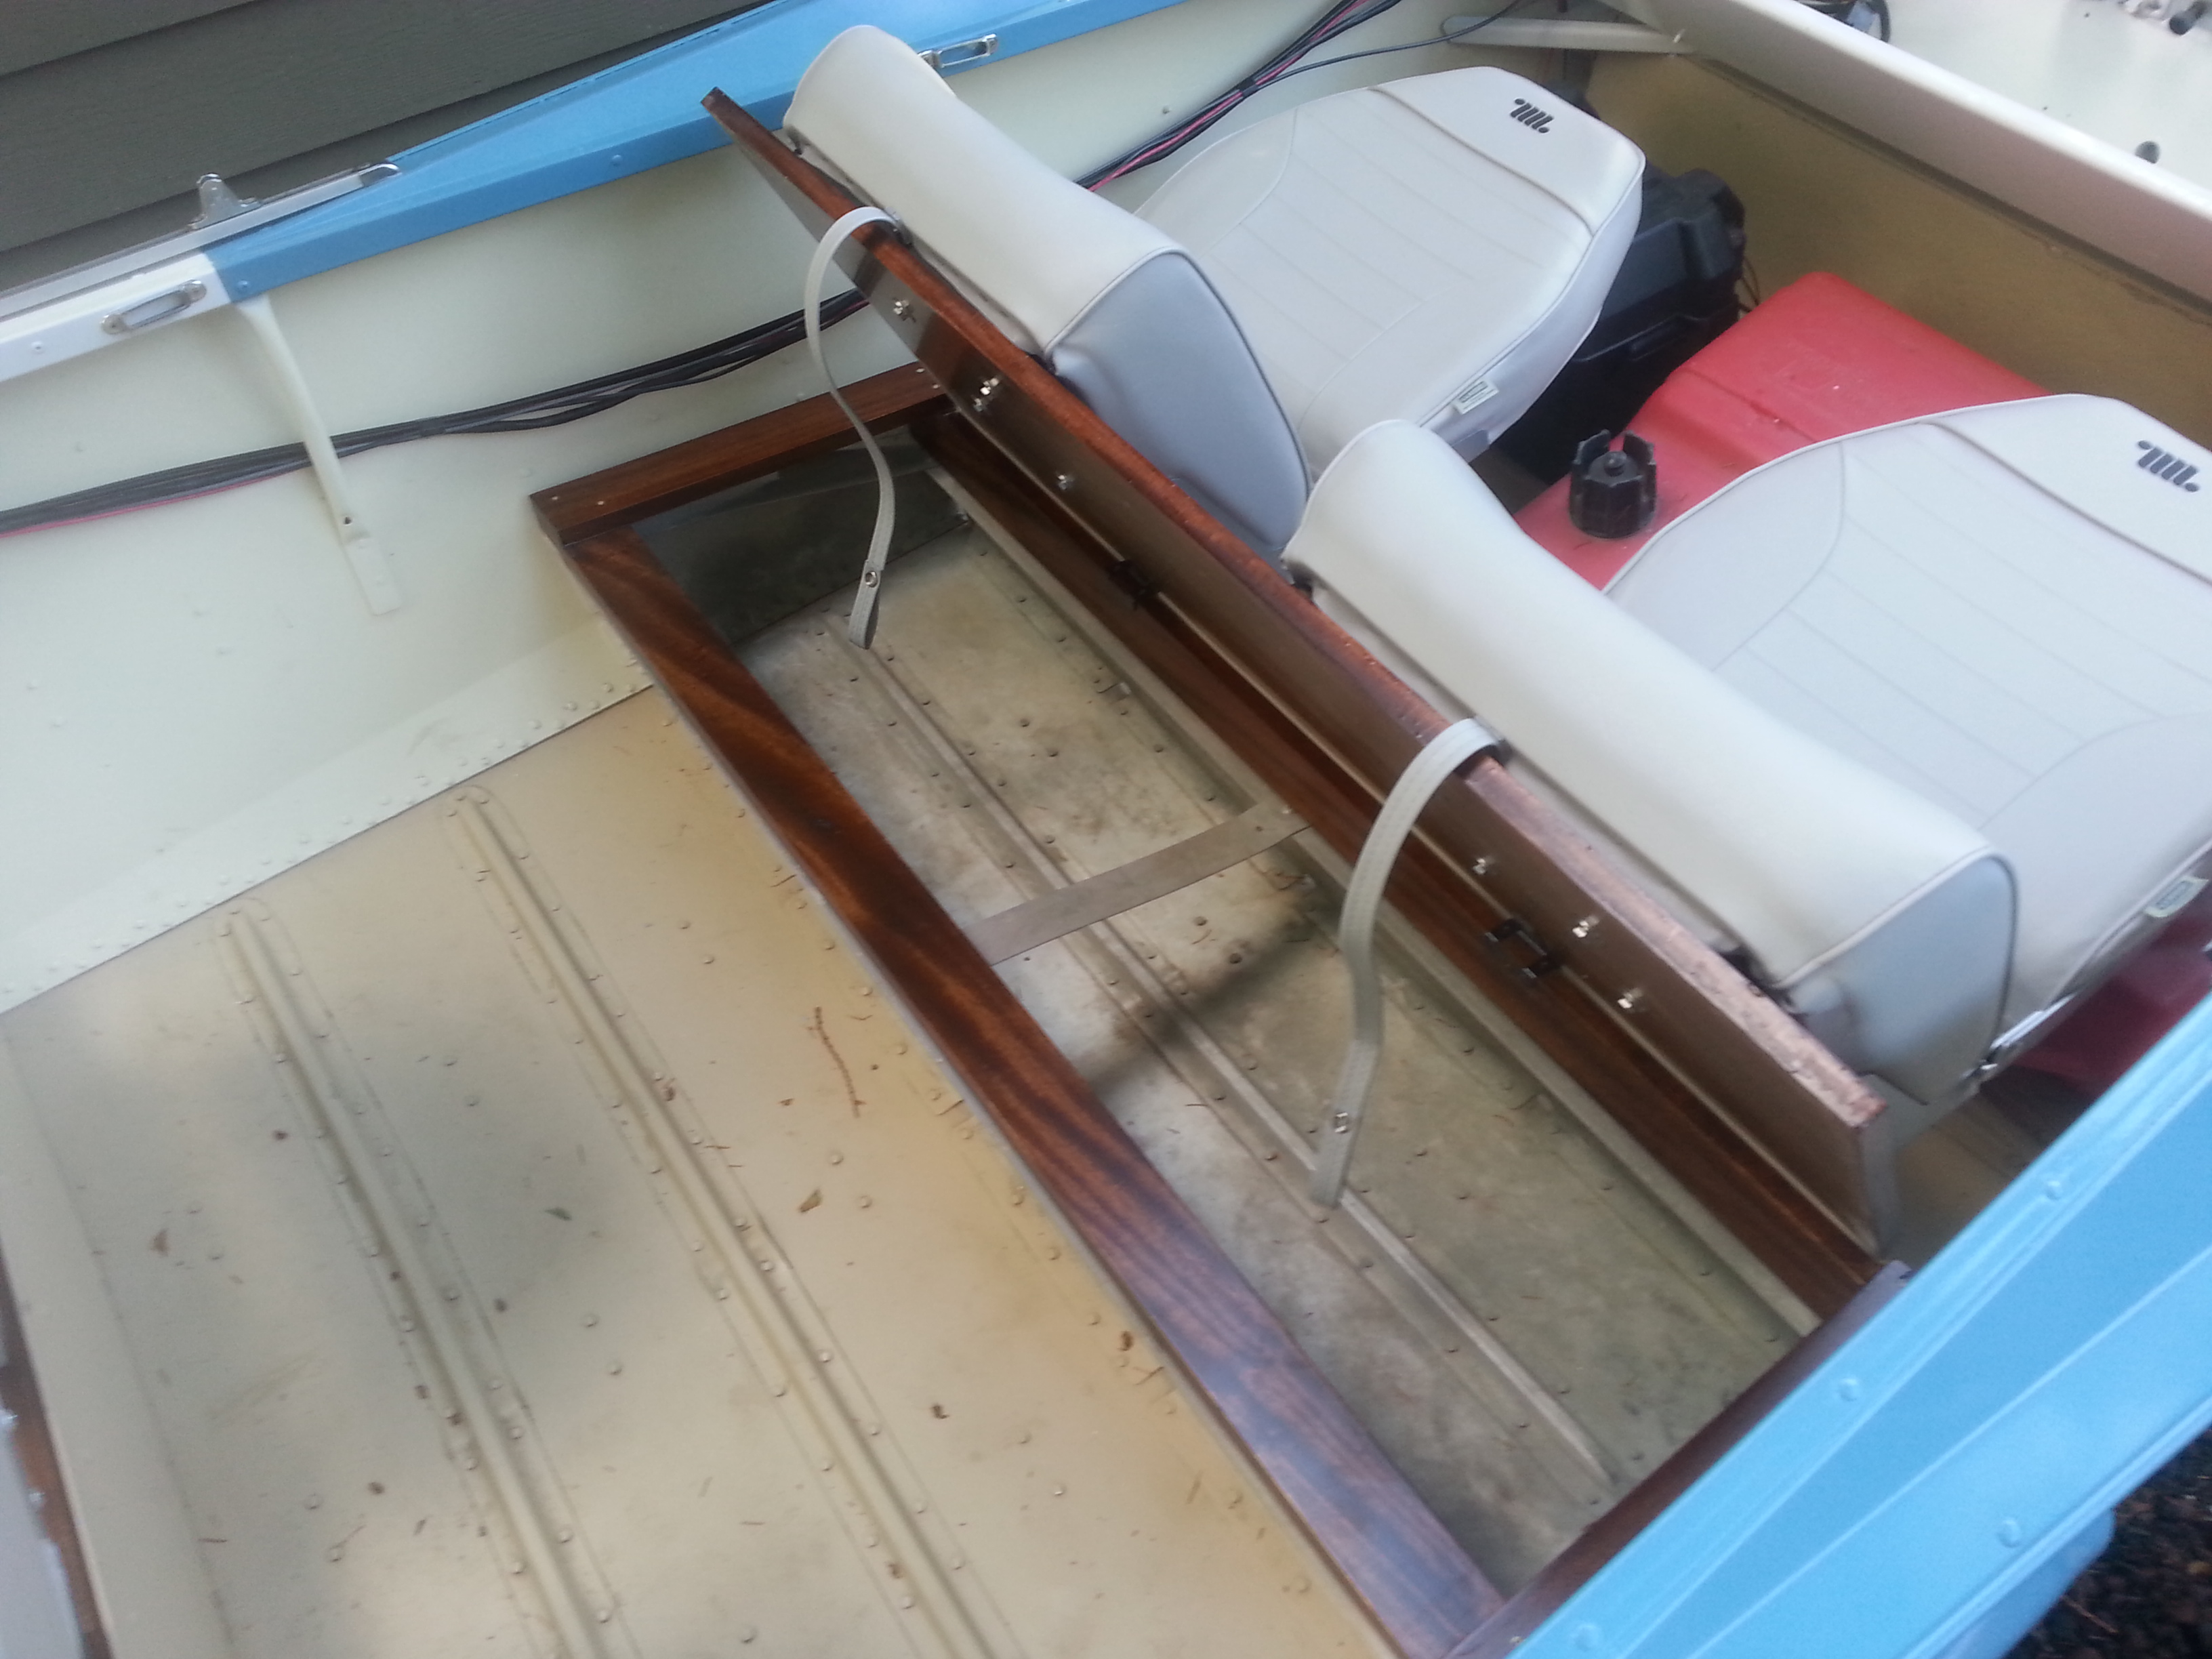
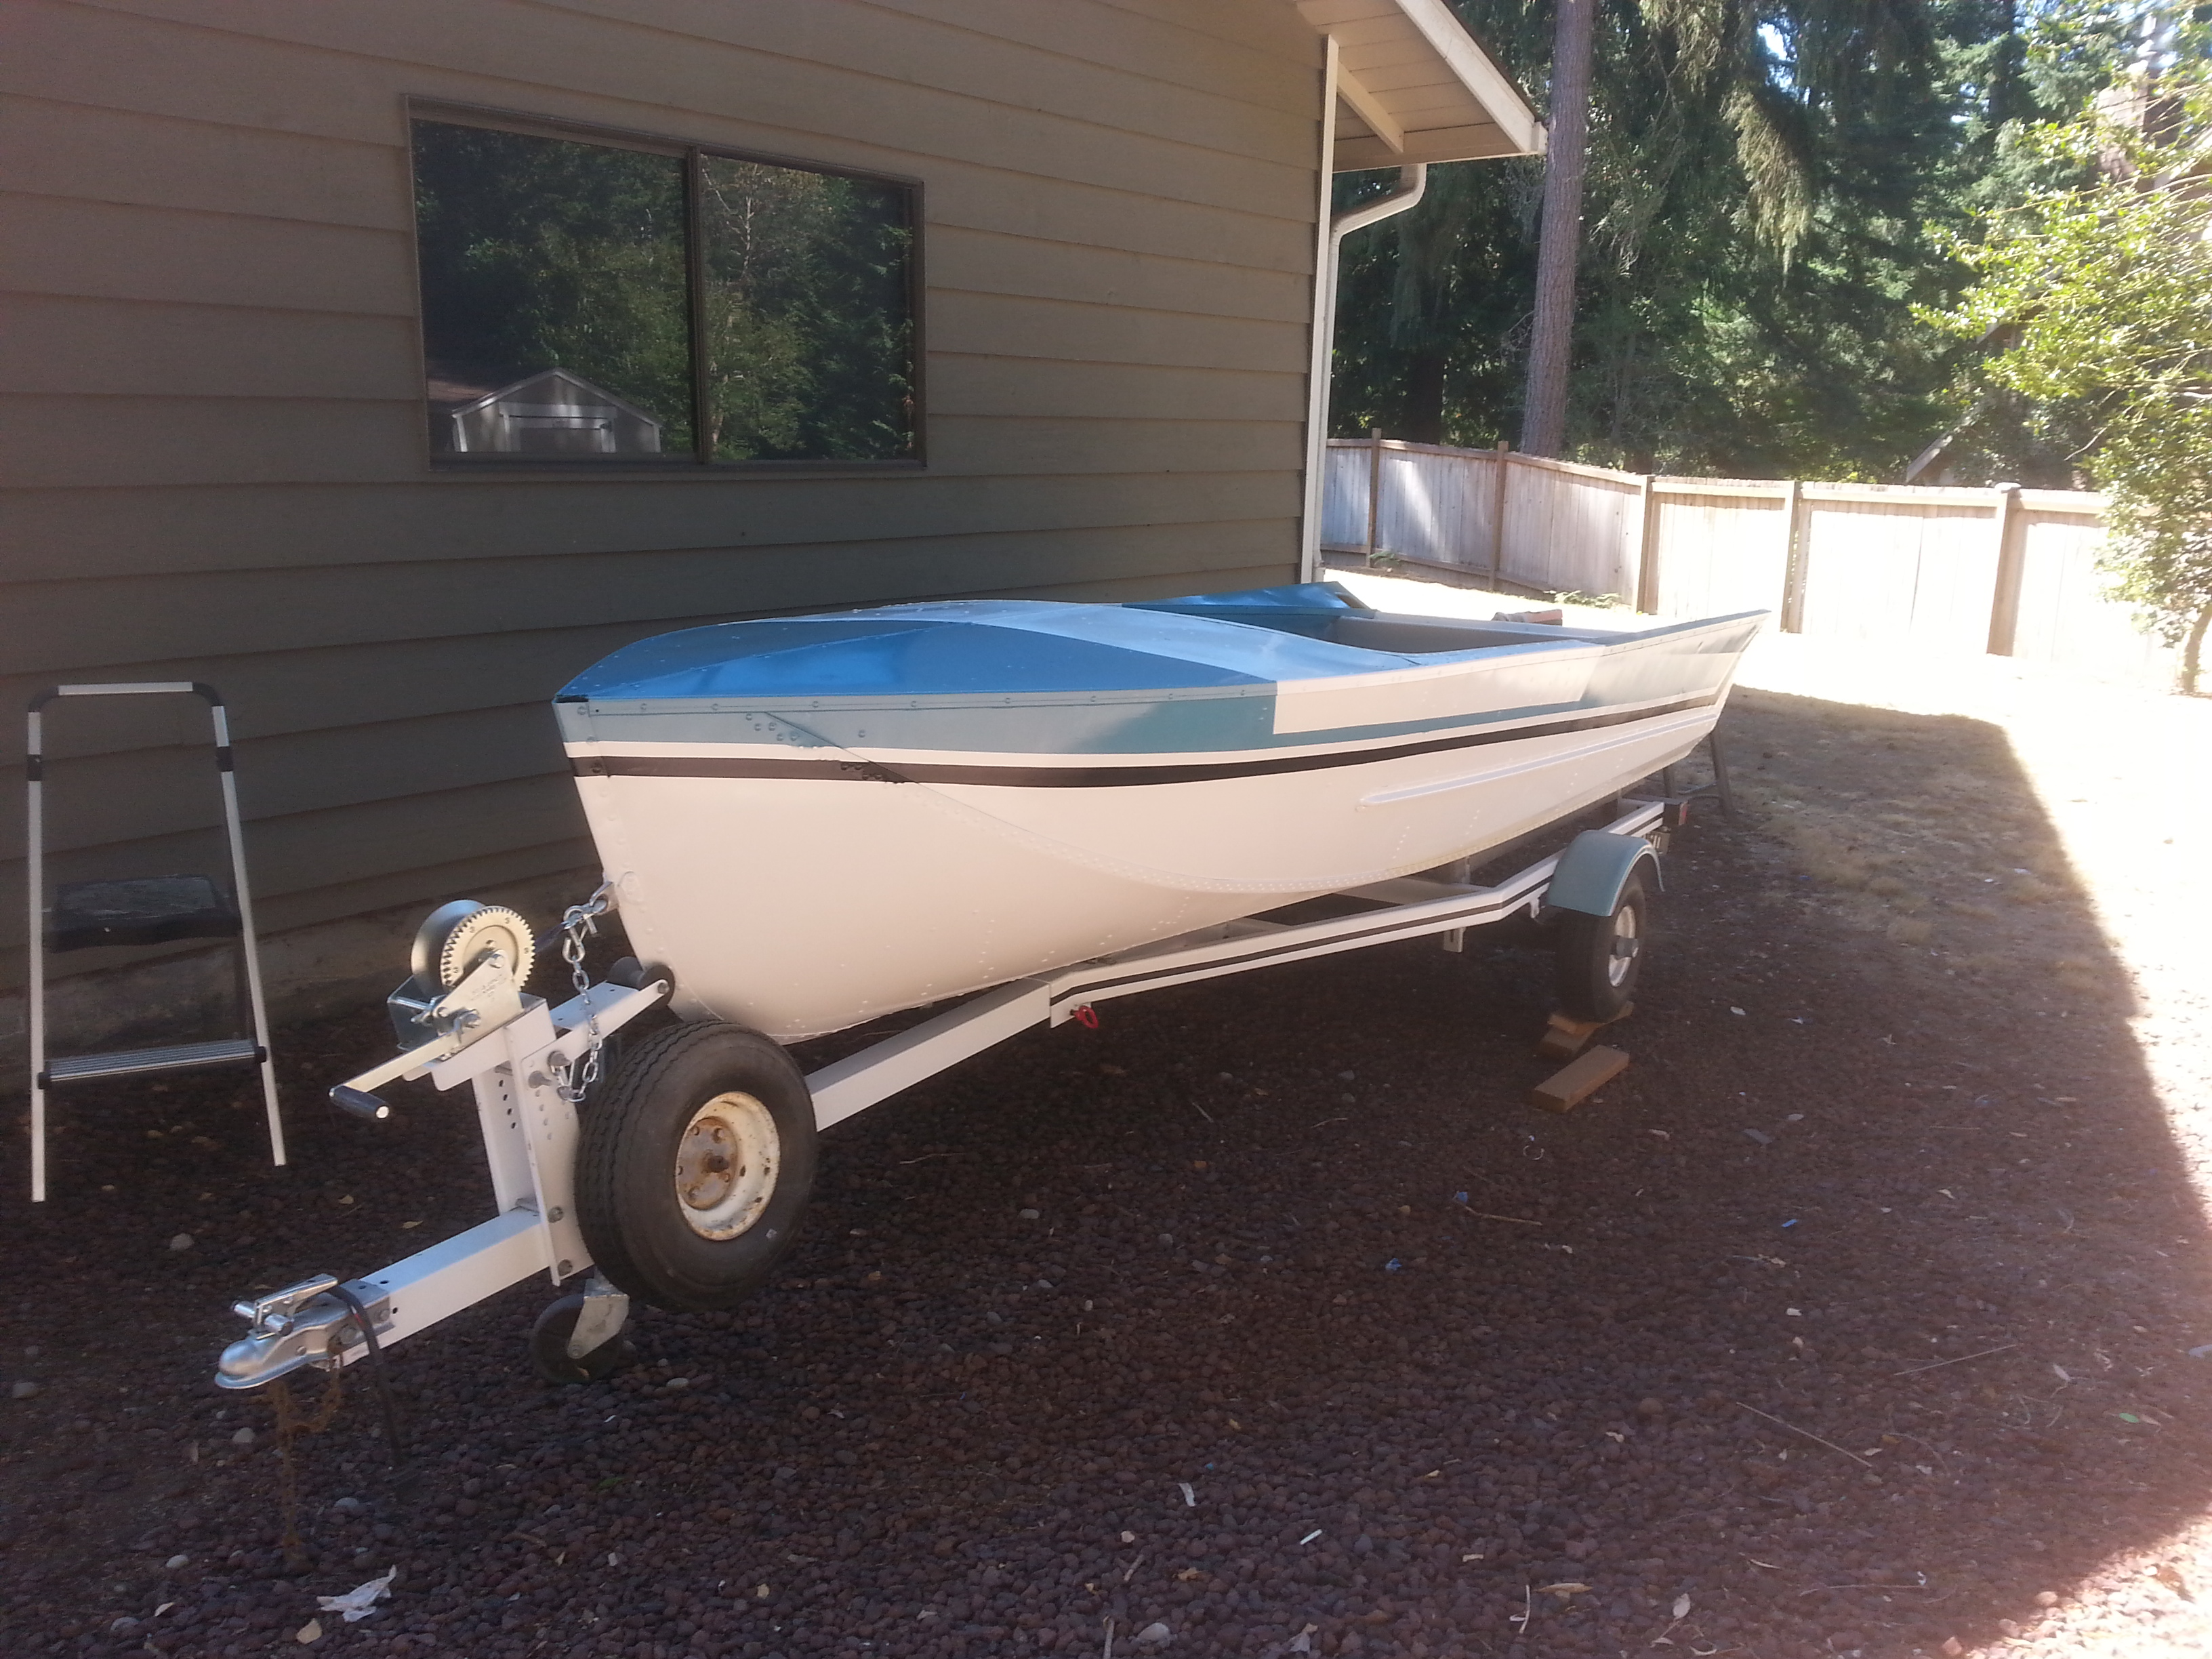
then everything should fall into place. I am not going for a restoration,
just to make it look nice and be a headturner.
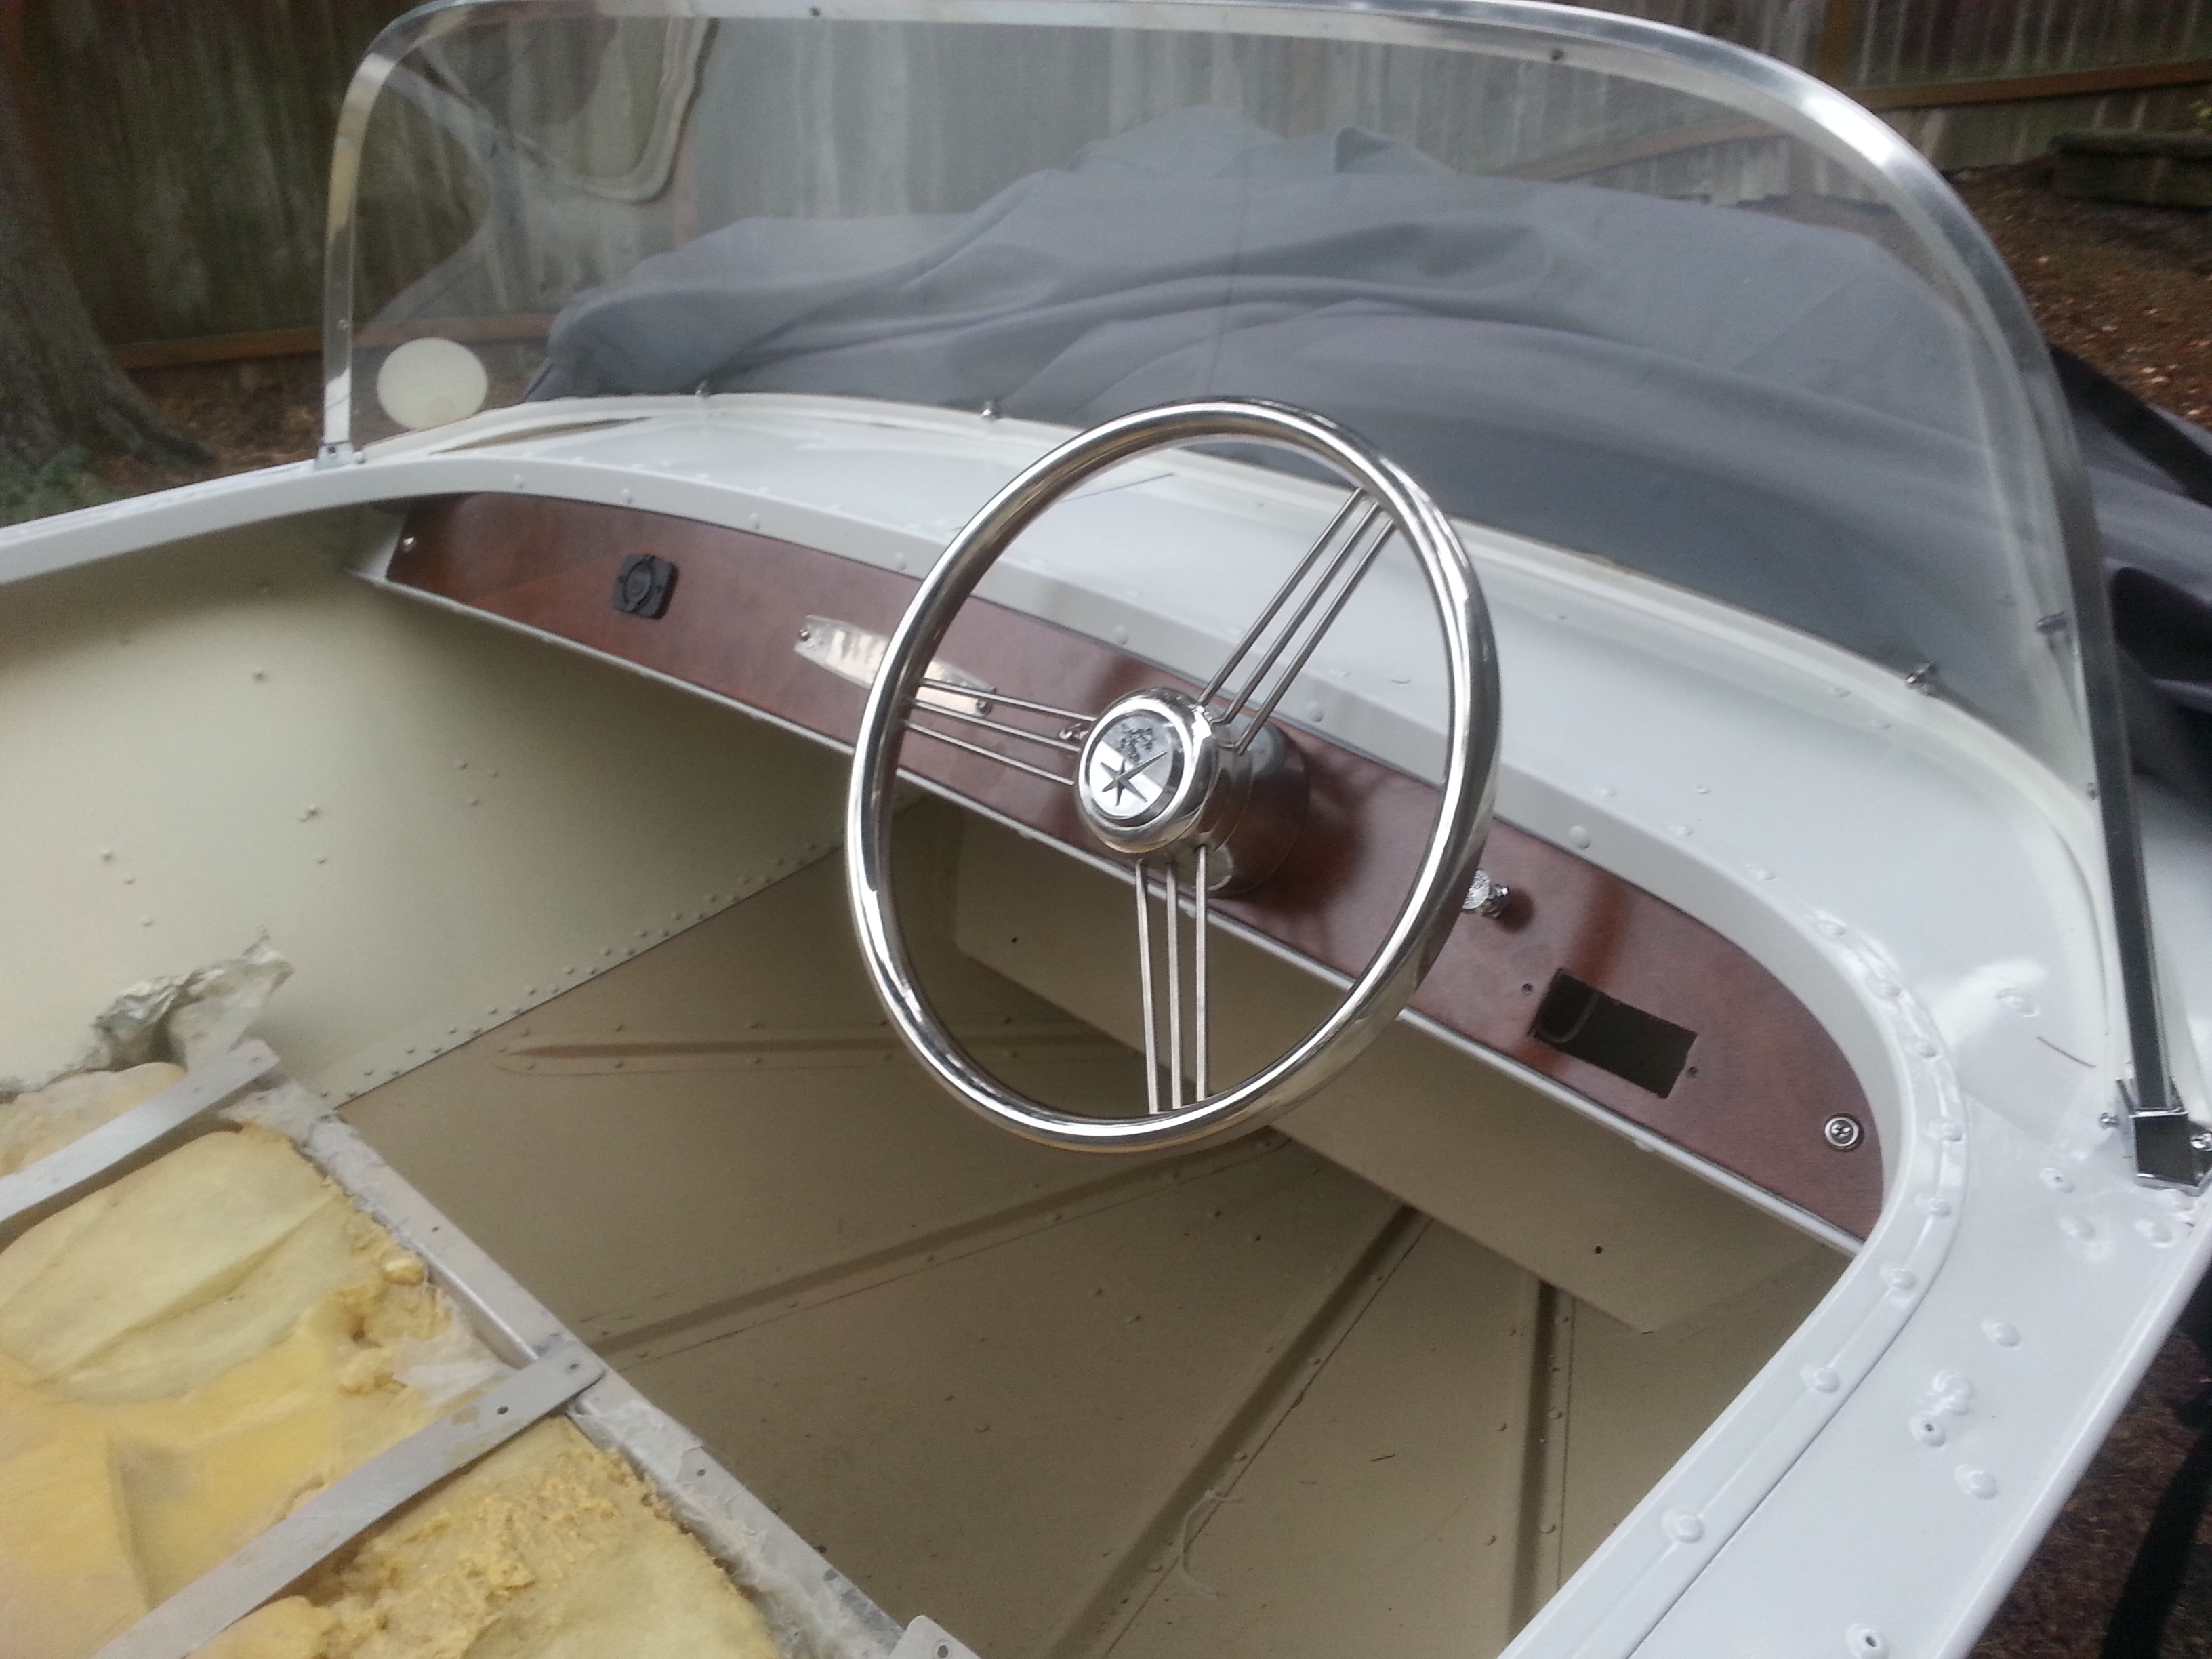
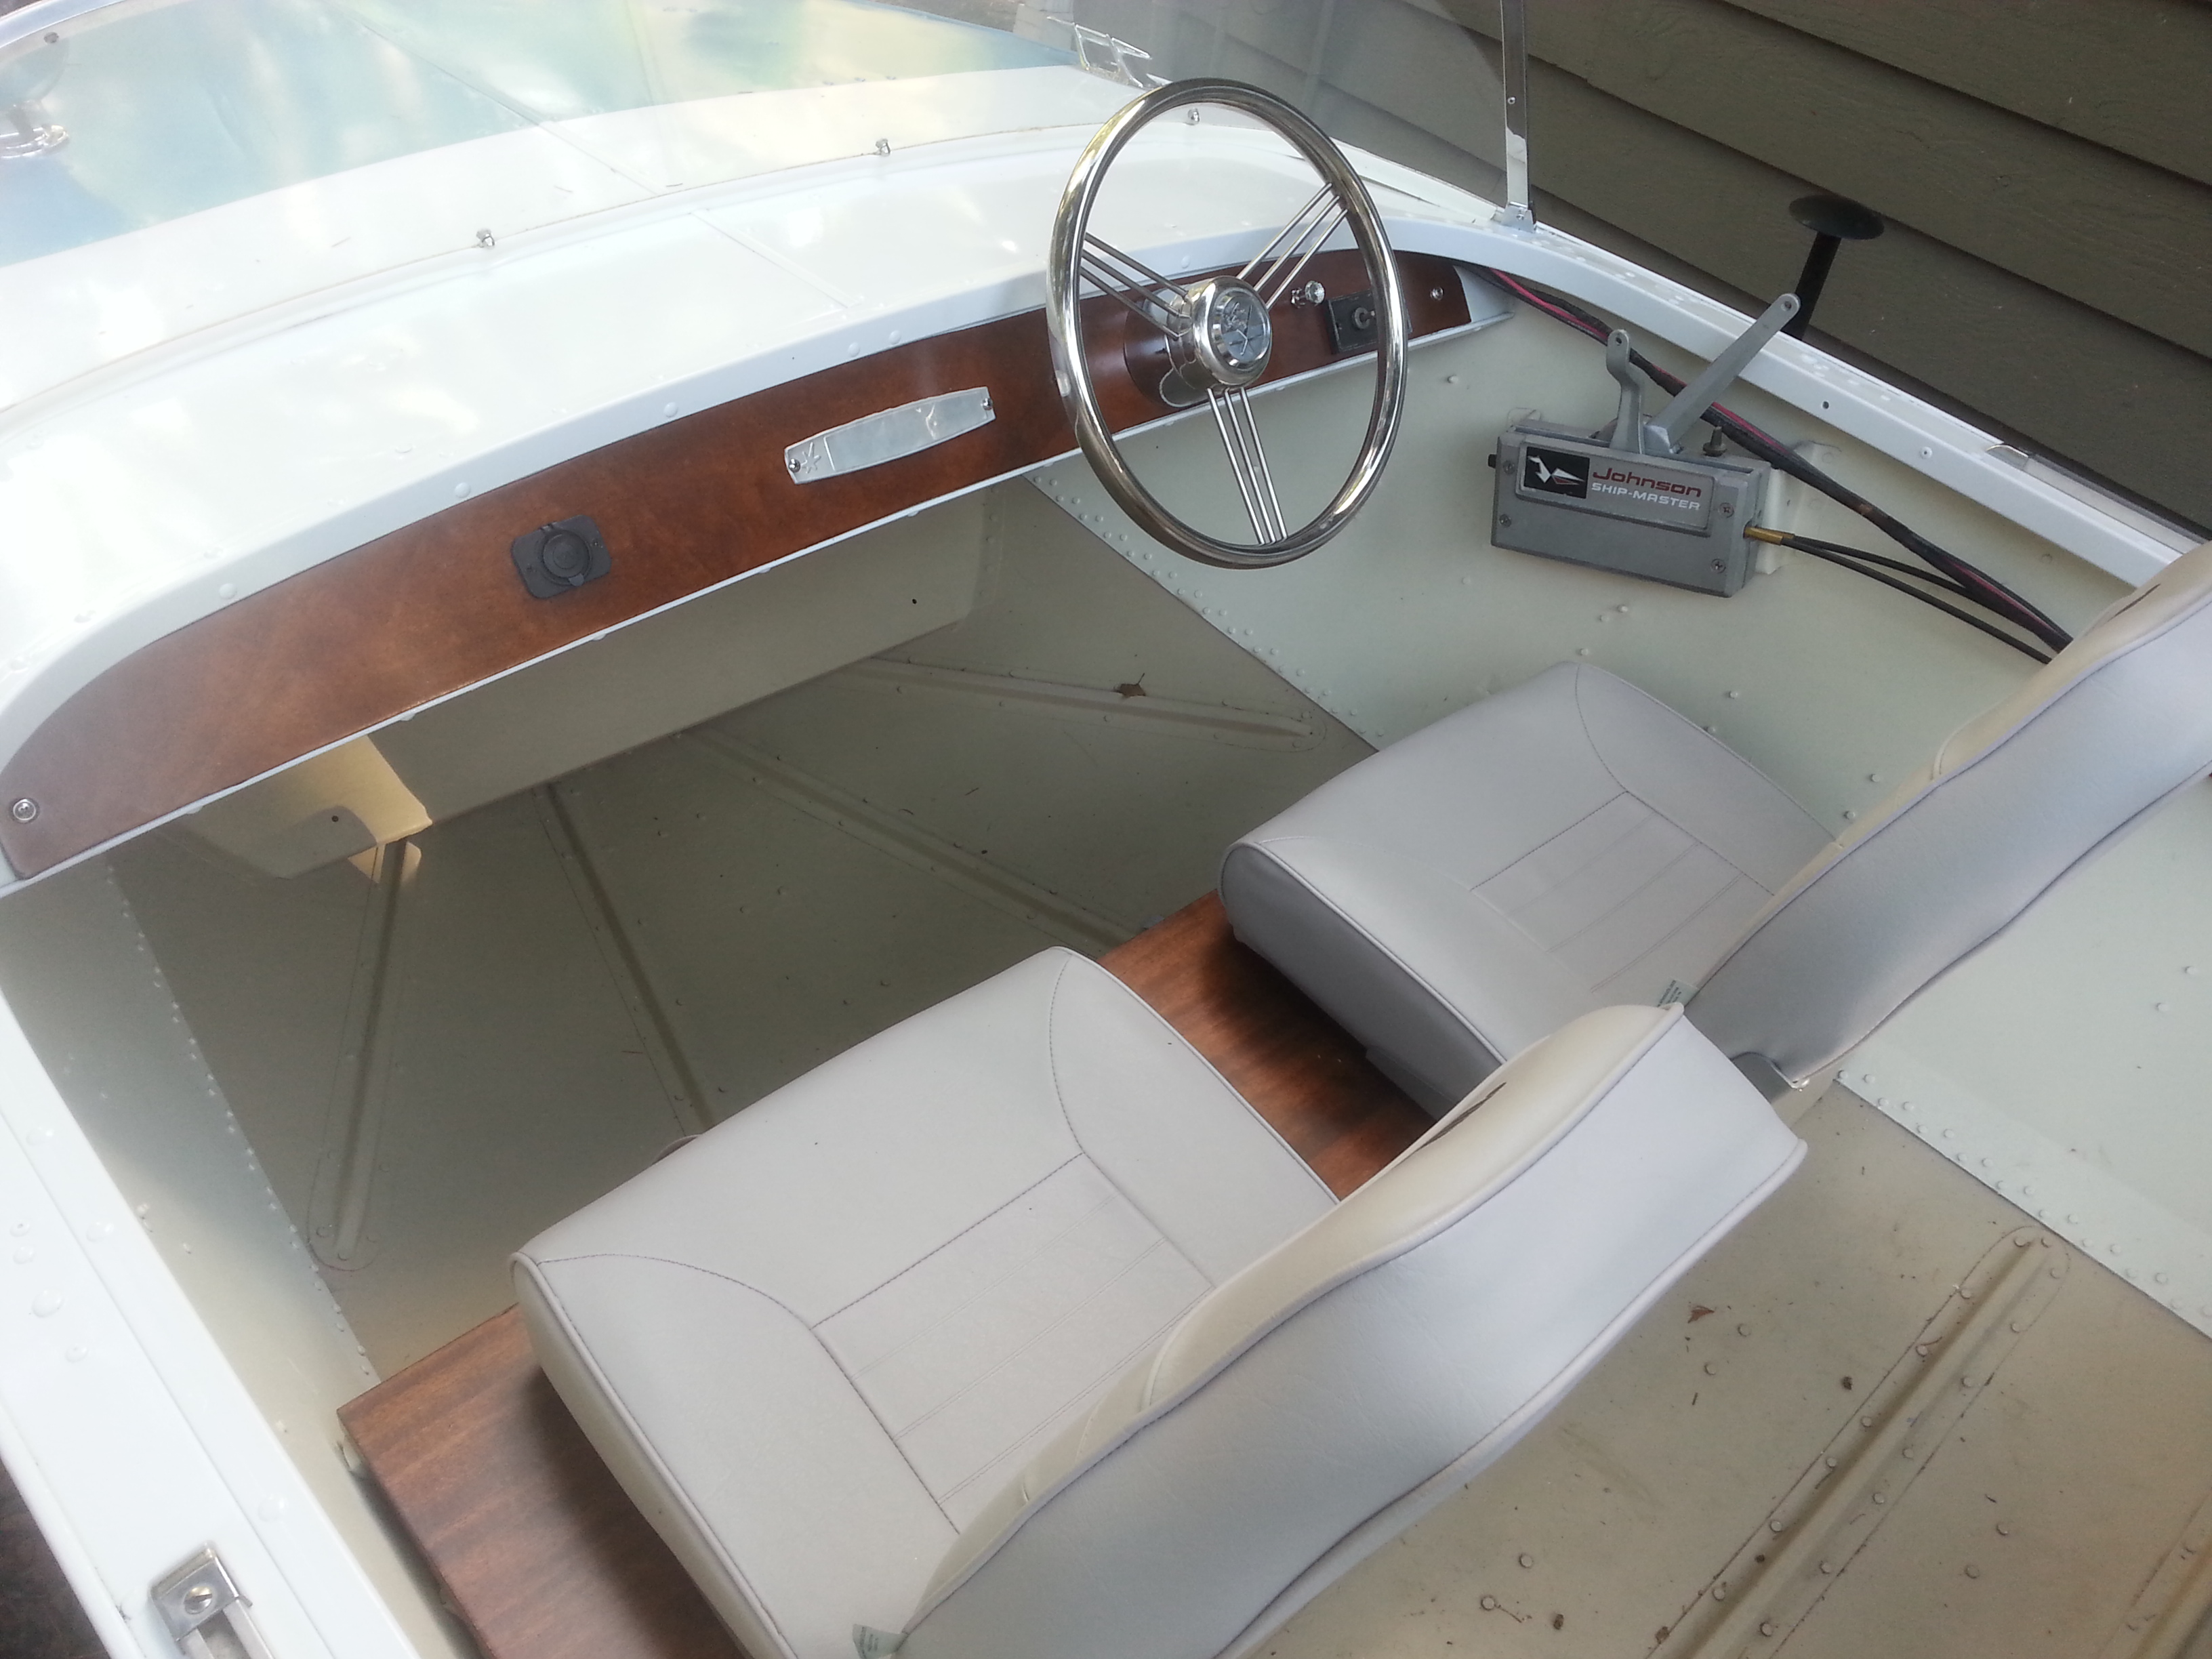
I will paint the compass white. I lost the hood to it and can not find a replacement
without buying a whole nother compass. aaaaarrrgggggg
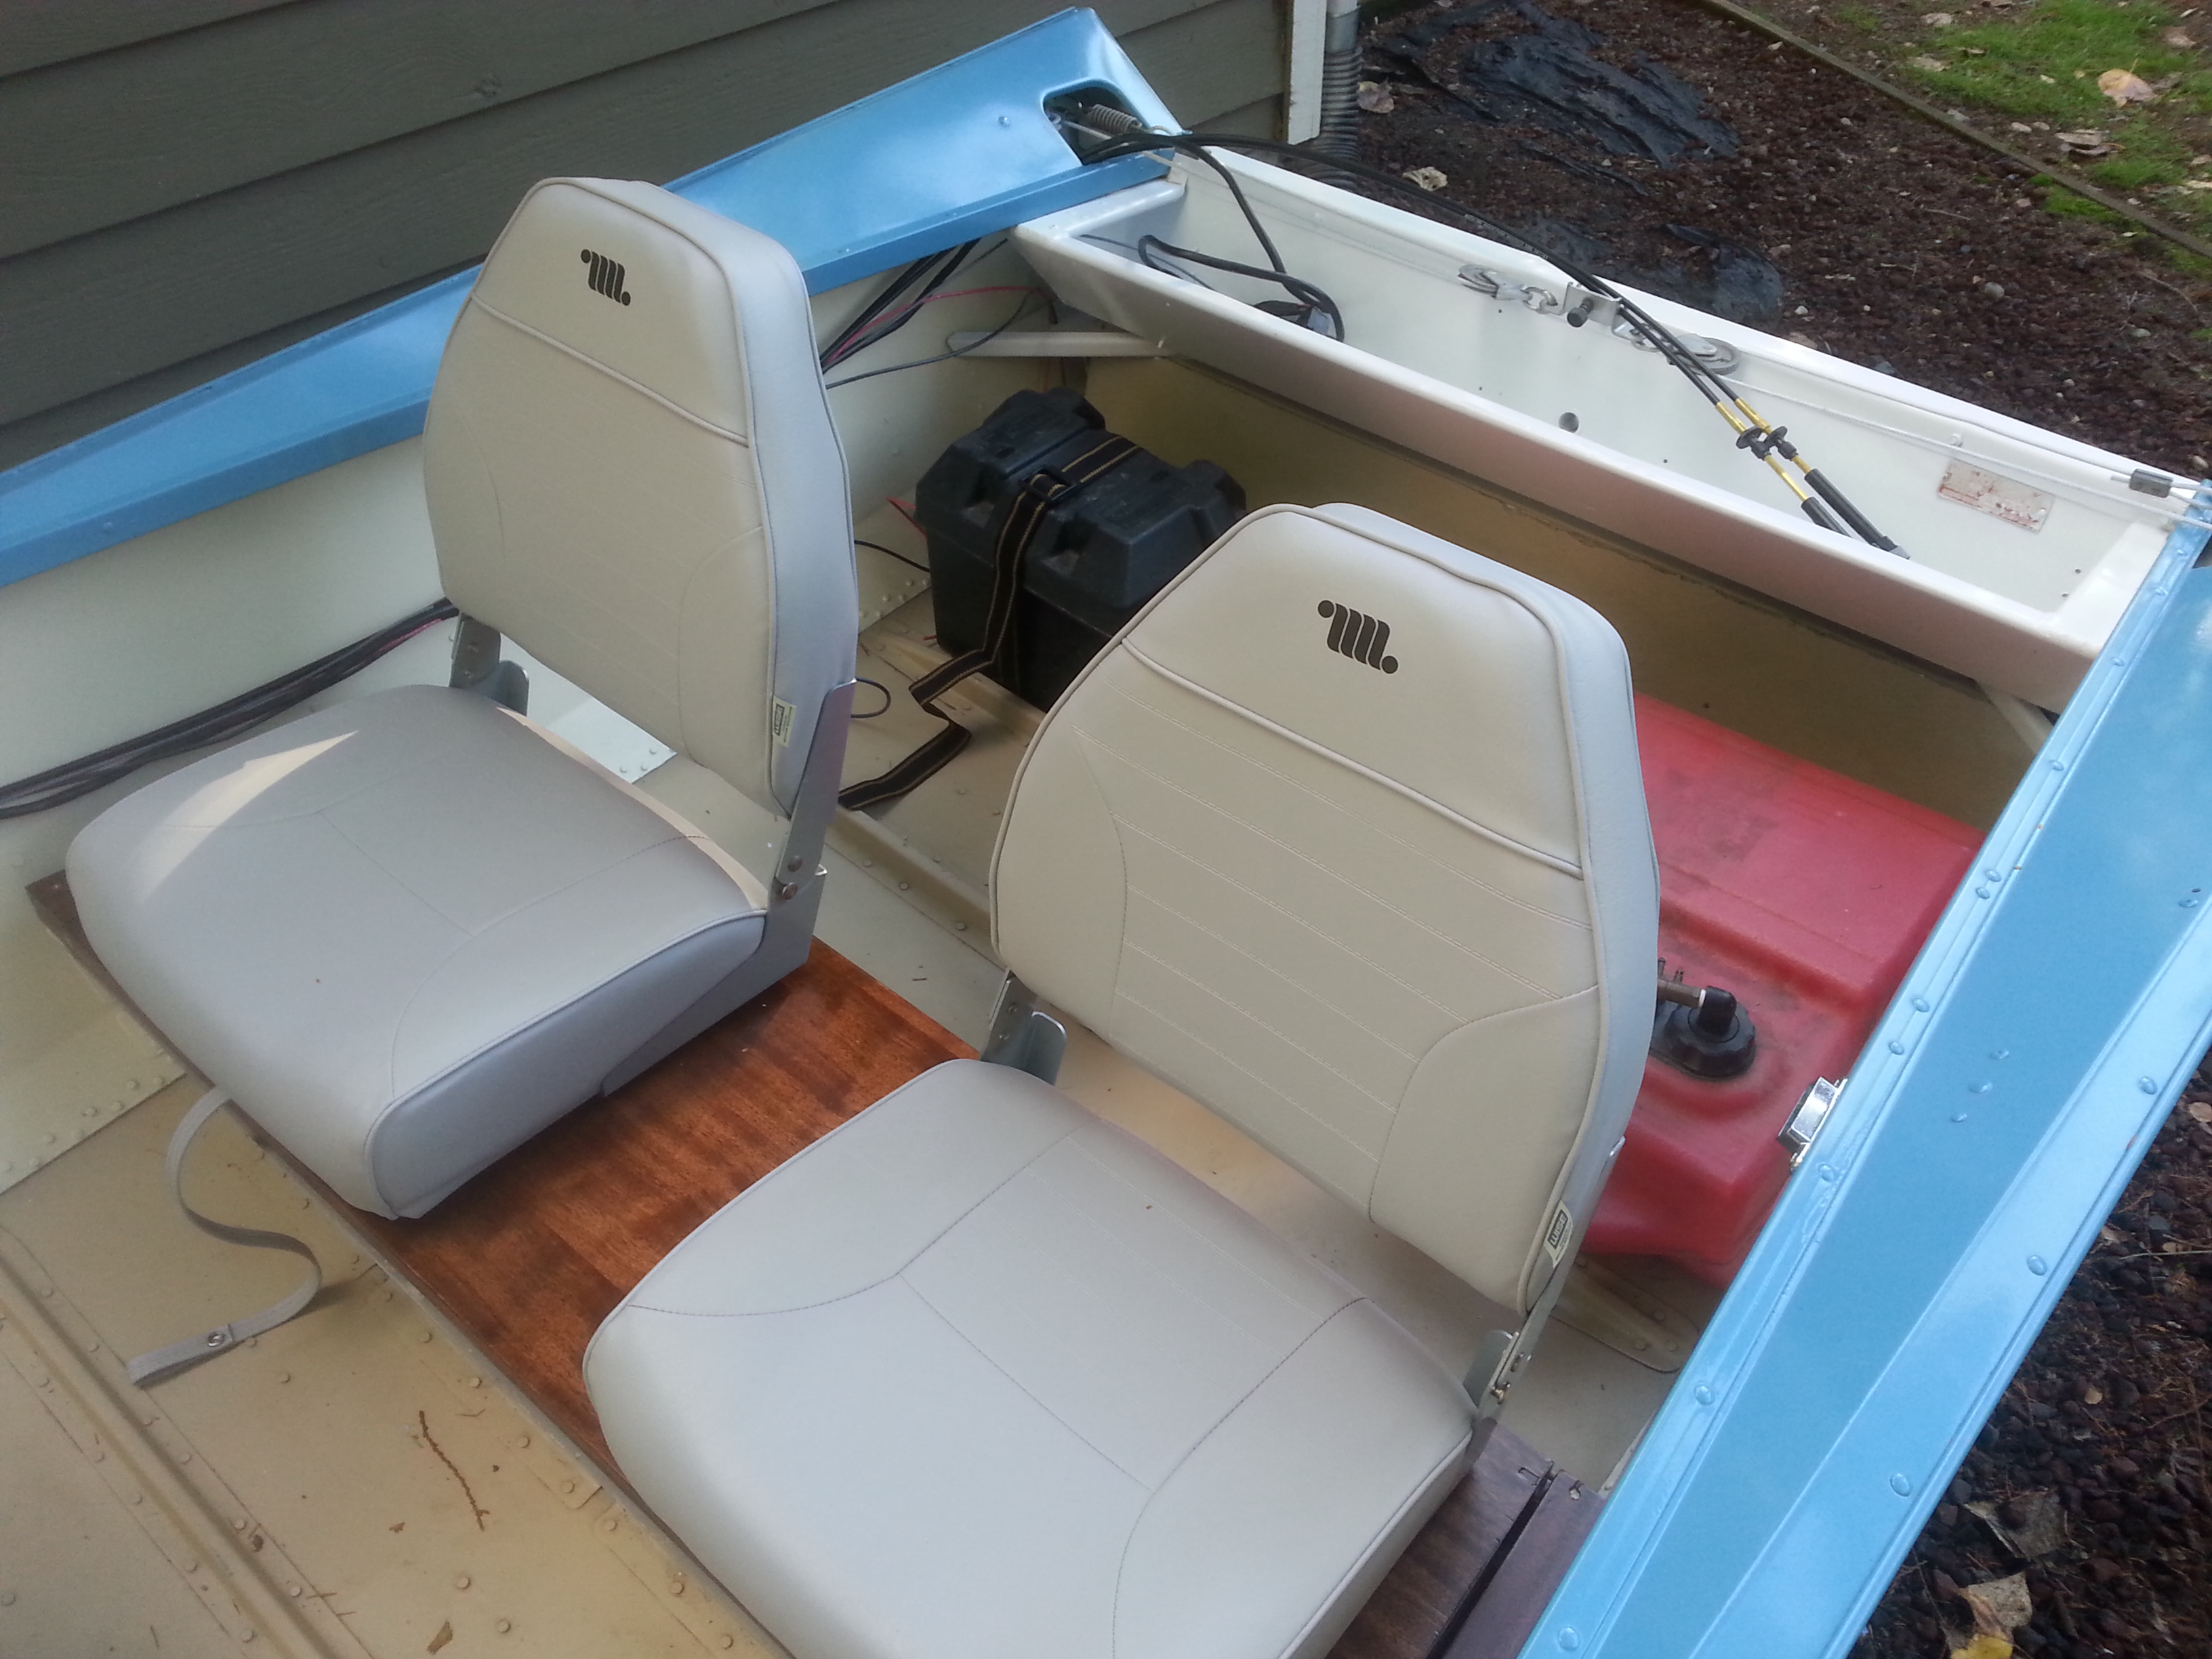
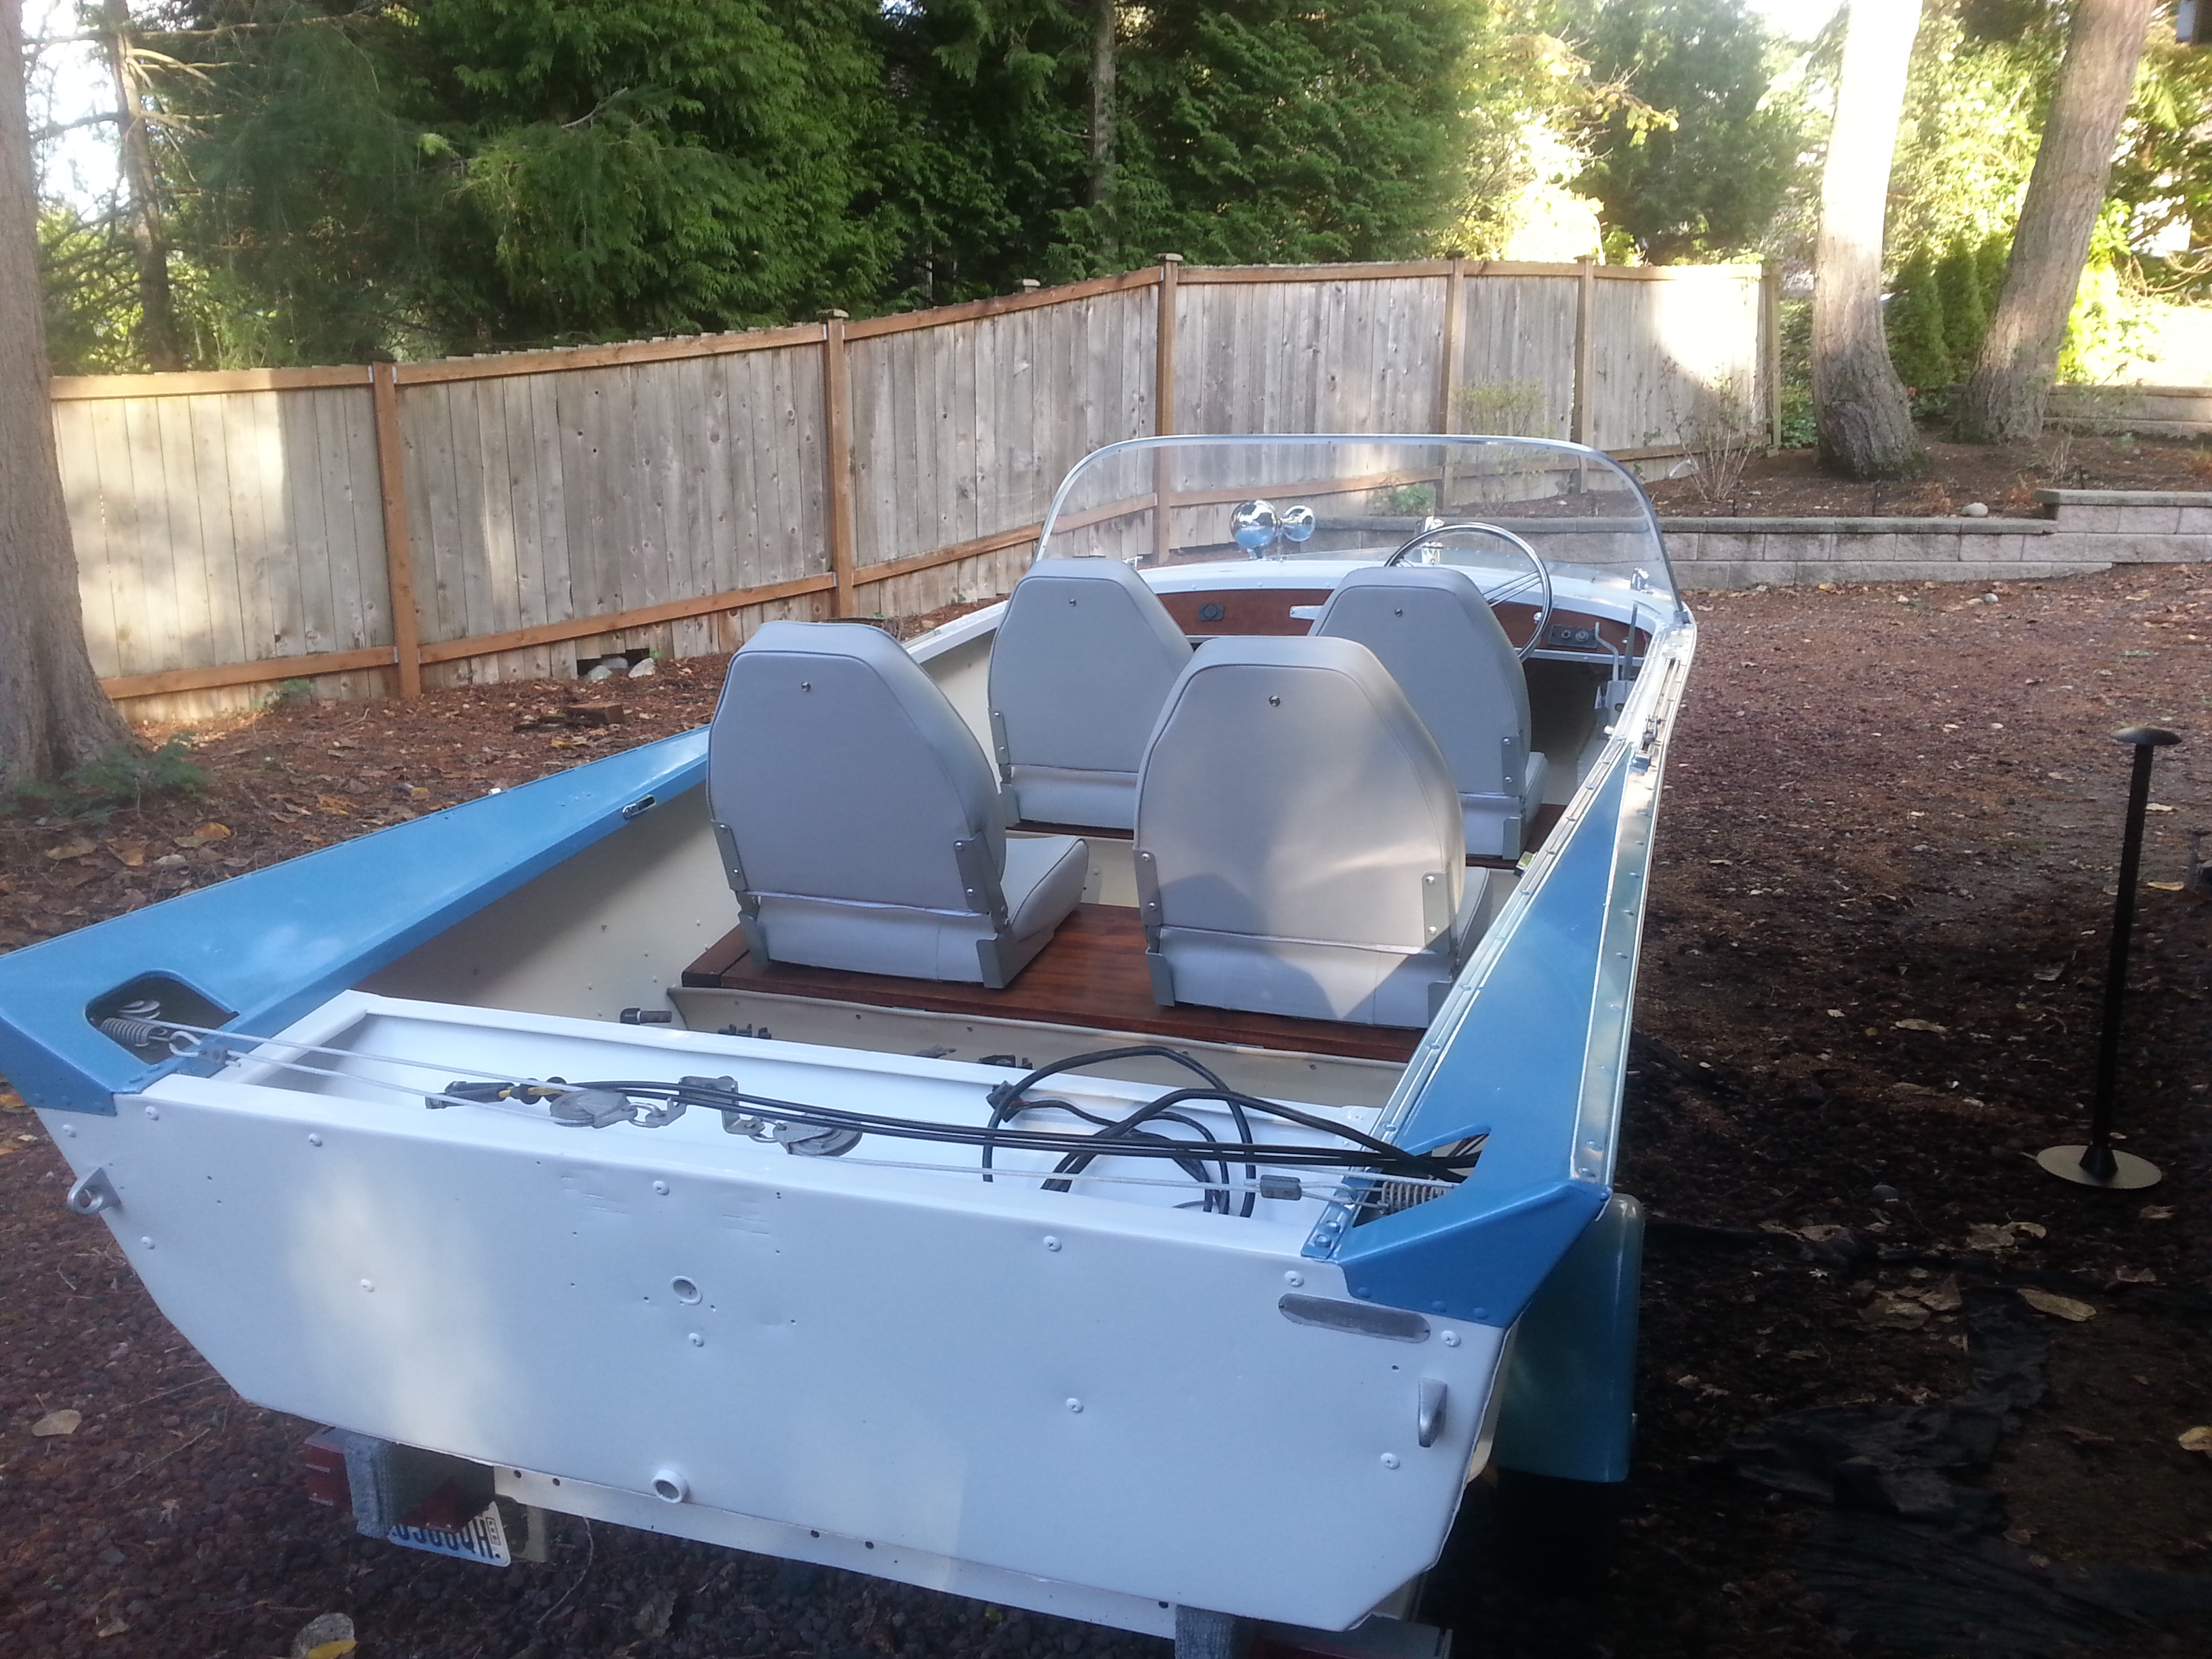
and be rest assured that I will have a stern light - will try to make the base inconspicuous
and the post will be removable and stored away when not in use.
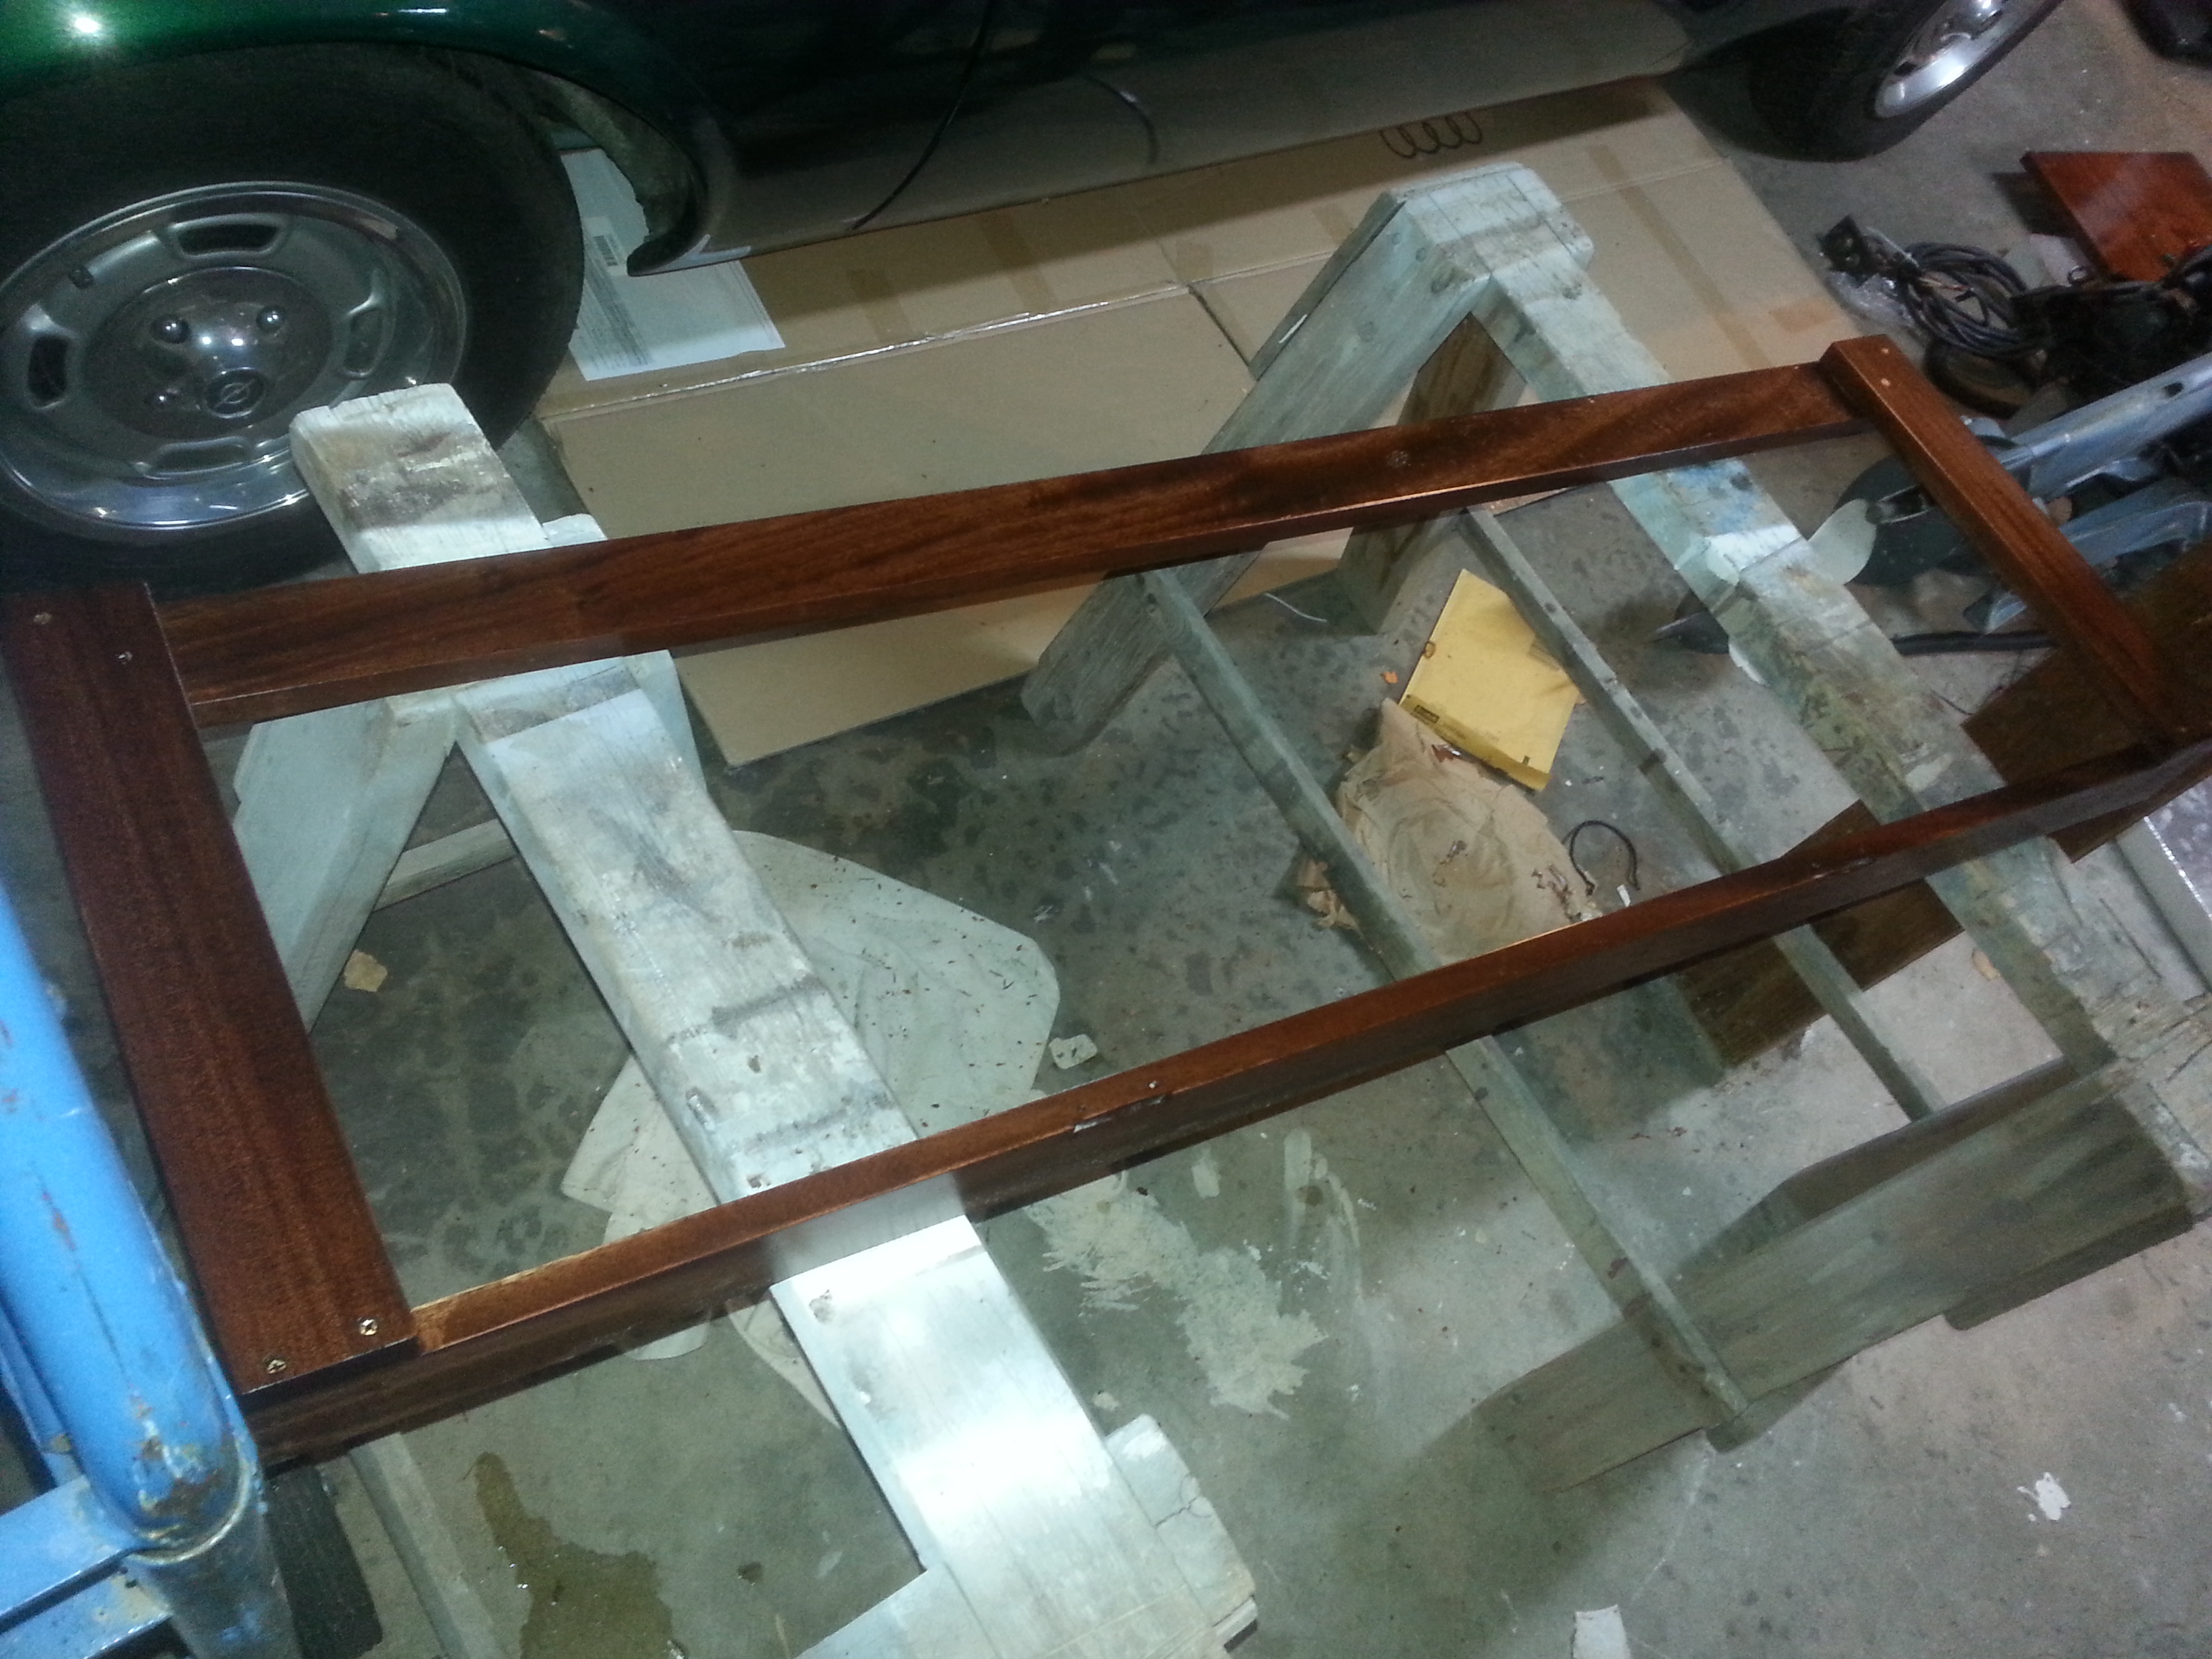
The windshield that I have is about 10" too long so I will cut a section out of the middle
and it will have the polished aluminum flatbar down the center which will not be objectional (in my world).
horn & lights 001.JPG
horn & lights 002.JPG
horn & lights 003.JPG
compass.jpg
Vintage Spotlight: https://www.ebay.com/itm/Vtg-50s-60s-Boat-Marine-Spot-Light-/272437325672?hash=item3f6e87af68:g:sdQAAOSwB09YE~Sx&vxp=mtr
back in the early '70s, I worked part time in a boat yard and have done my fair share
of grinding and fiberglassing !!!!! working on the old wooden boats turned out
to be my passion at that time. and now, some 50 years later, I have come full circle
back to the vintage aluminum and wood boats.

you mentioned the Cruisemaster..... they come up for sale now and then in my area.
anywhere from $1500 to $6k. but, they are 22 feet long and 8ft beam. I would have
to buy a new truck to haul it around with LOL - not to mention the $10-15k in propulsion
and renovation.......... so I will stick to 16ft and under.

Keep up the good work !! you are almost there
 
Thanks for the photos Johnny. I should say that I used the term "restoration" loosely; as I said in my first post, I was doing this on a budget. I want it to look original or at least period correct, but it's far from a true restoration. Similar to you, I'm hoping it will turn a few heads and be a unique runabout. The spotlight I have is a little too new and a little too tall/big; it tended to shake around a lot when I was trailering the boat. One about the size of yours would probably be about right. I look forward to seeing your progress.

Yeah, the Cruisemaster is a good sized boat; I thought it would be cool around this area to maybe do weekend trips out to the San Juan Islands or fishing on the Sound. I'm kicking myself for not acting sooner; there was a nice original condition Cruisemaster (still had the original paint and no obvious modifications) with a 115-hp Mercury for sale near my parents for $700, but by the time I called it was already sold.
 
Top