1976 Starcraft Seascamp 14'

TinBoats.net

Help Support TinBoats.net:

This site may earn a commission from merchant affiliate links, including eBay, Amazon, and others.

MinnowFaces

Member
Joined
Feb 1, 2013
Messages
14
Reaction score
0
Location
Near Duluth, MN
Hi all, I've been lurking for a while and decided to join. There is so much great user generated (real world) info here, and the positive vibe is nice.

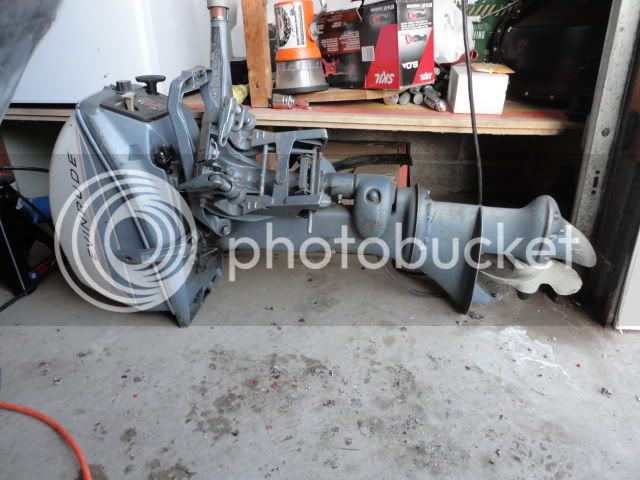
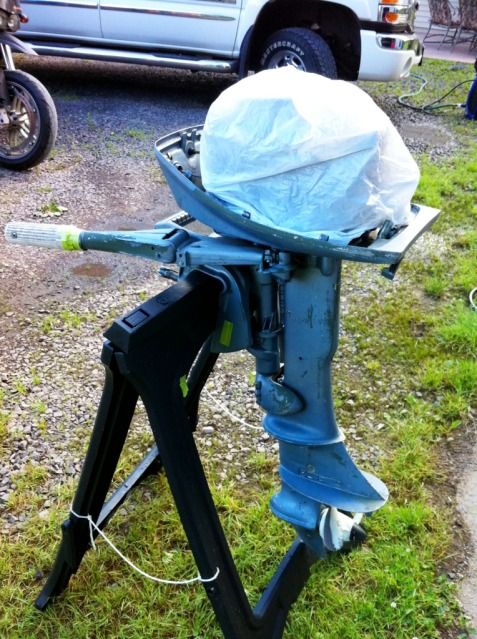
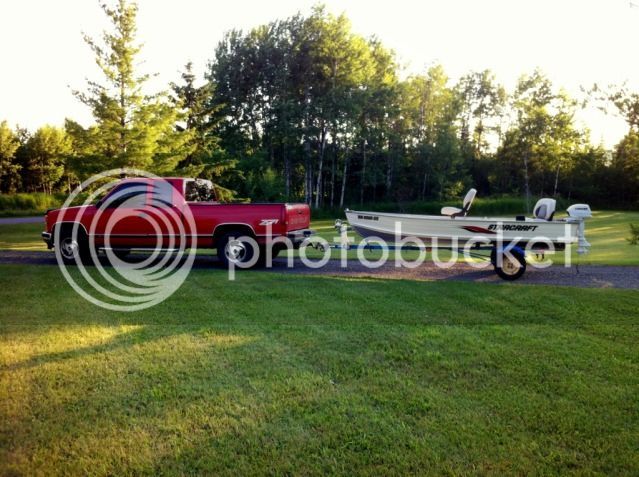
So last March, for $300 I picked up a 76 Starcraft Seascamp (I think) with a '68 Johnson 6hp that the PO said had been recently rebuilt top to bottom. I was replacing a 1966 GlassPar I restored and sold. That was a nice boat, but didn't really serve my purpose. It was just not right for beaching & fishing.

Here's the Glasspar when I finished it. This boat was absolute junk when I got it out of a field and I did every single bit of work myself.
Rushsboat008.jpg

Pardon my disguise. LOL! I had that pic posted on CL when selling the boat.


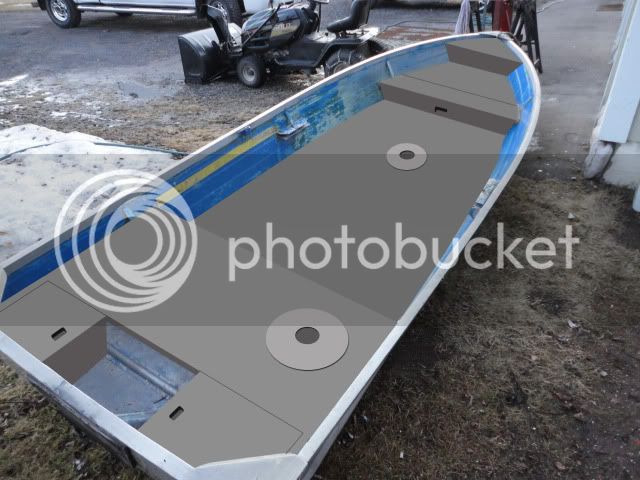
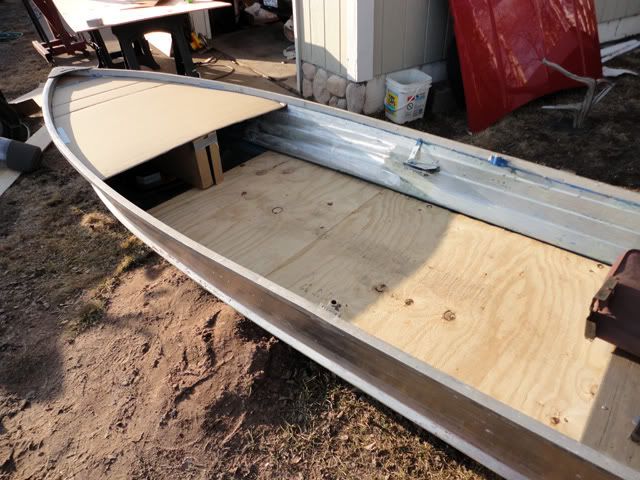
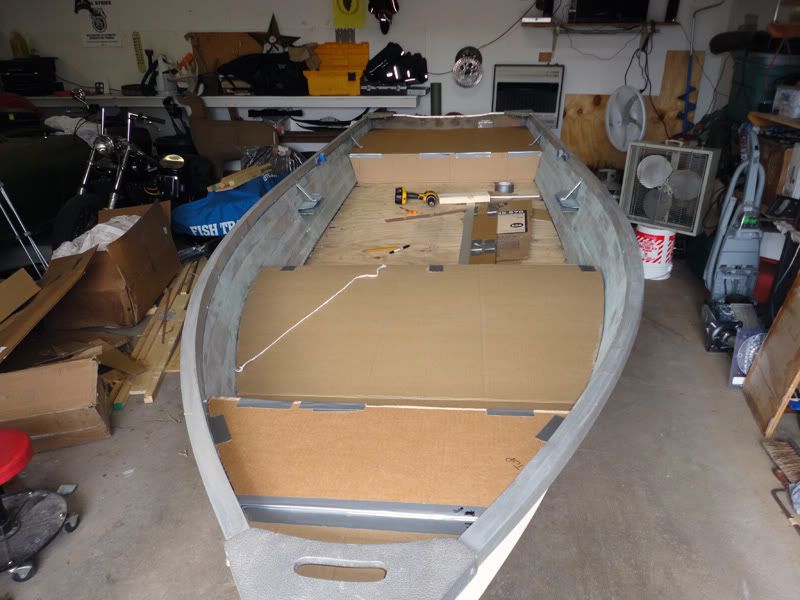
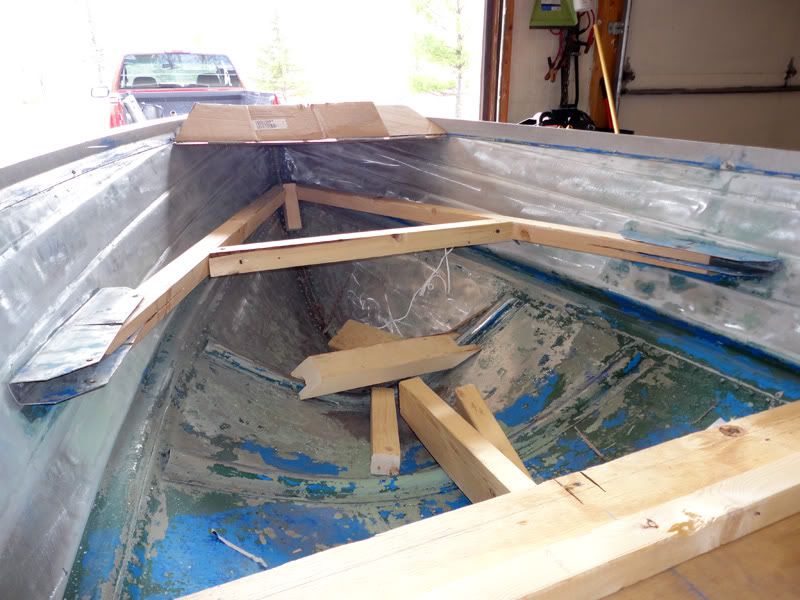
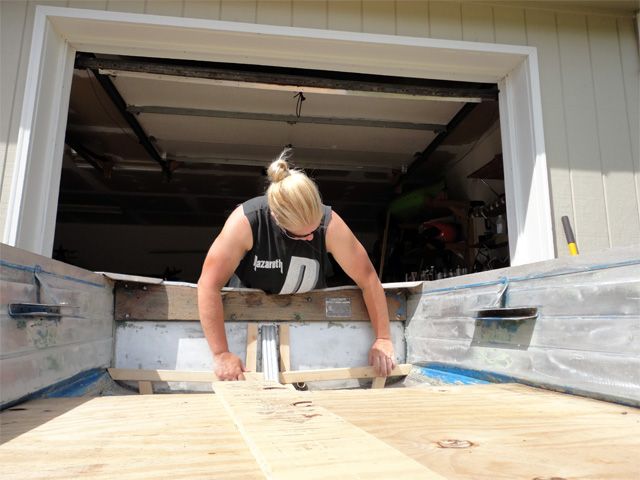
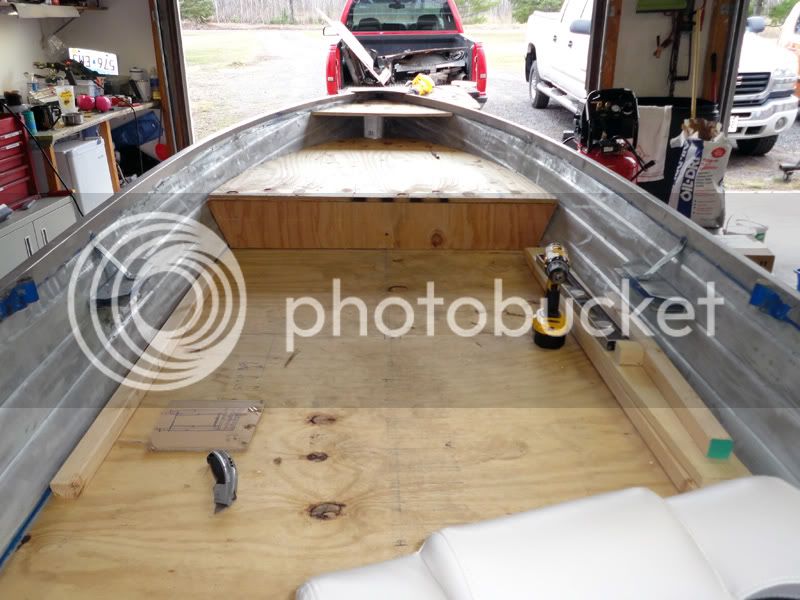
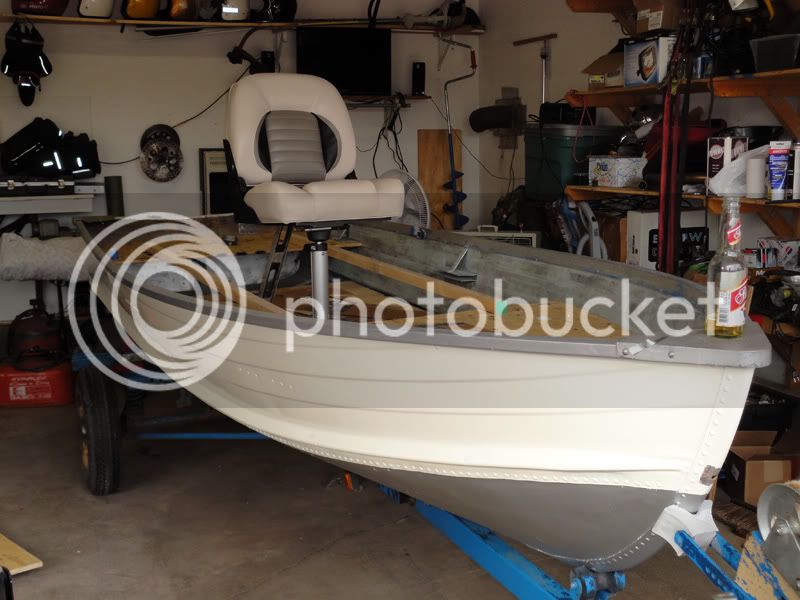
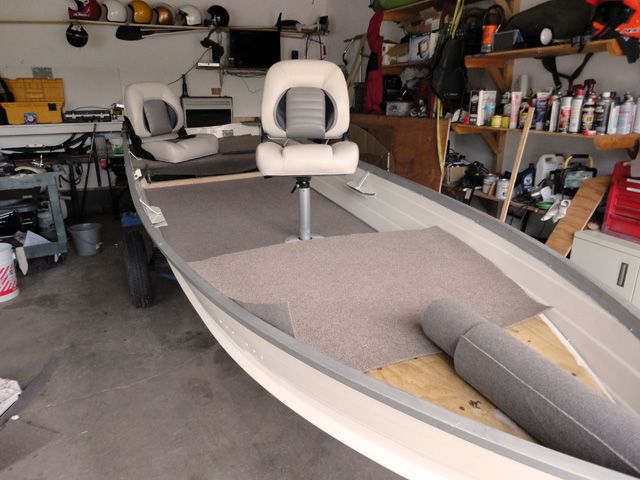
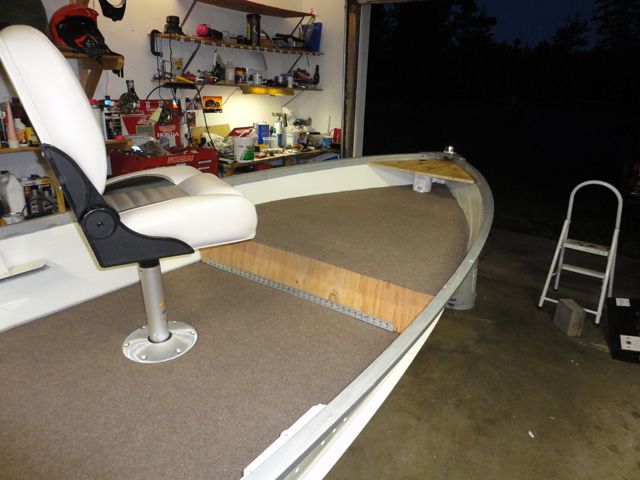
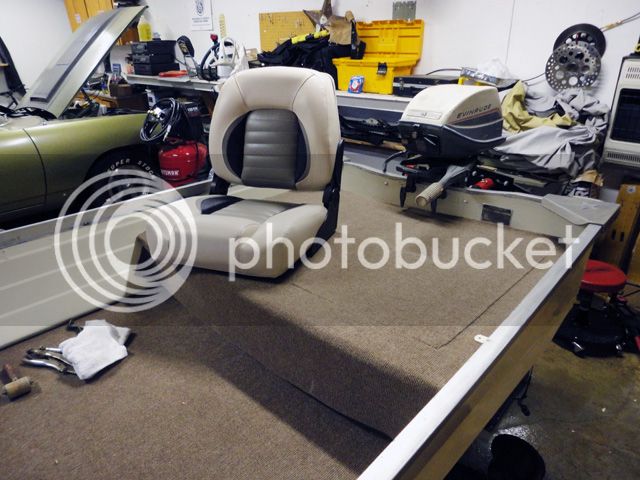
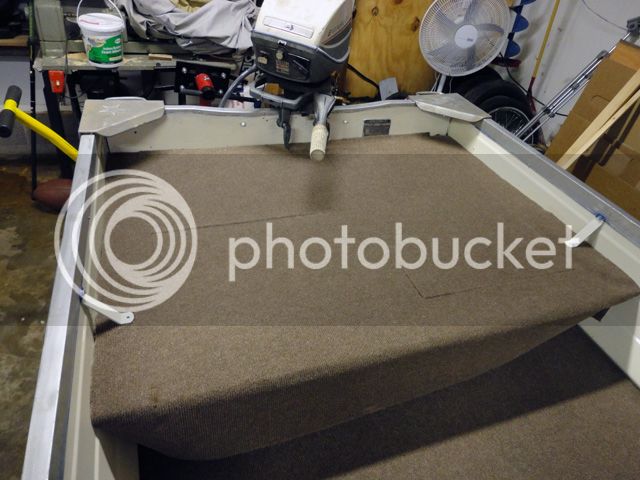
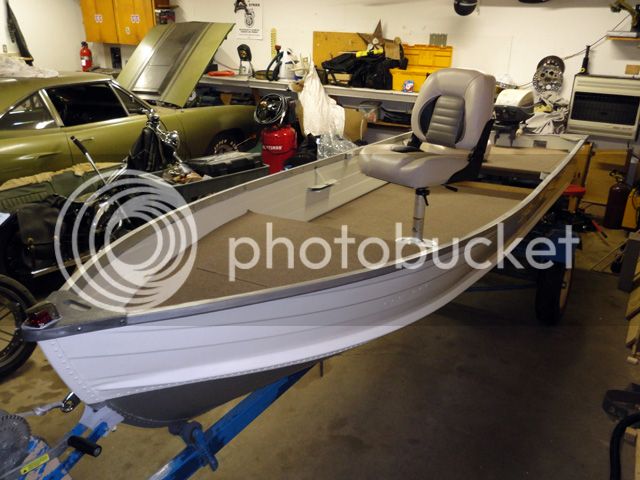
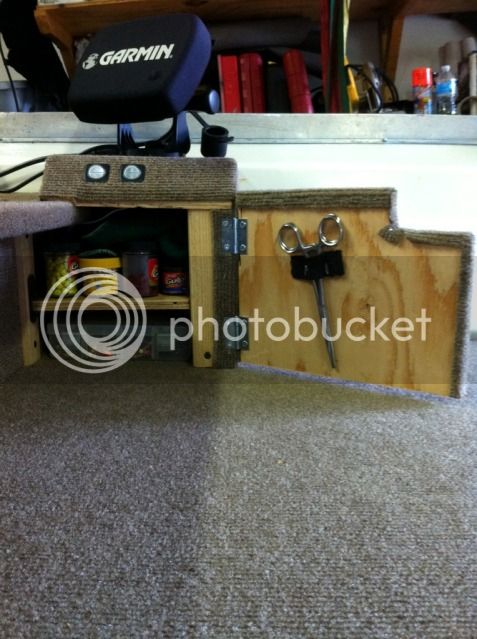
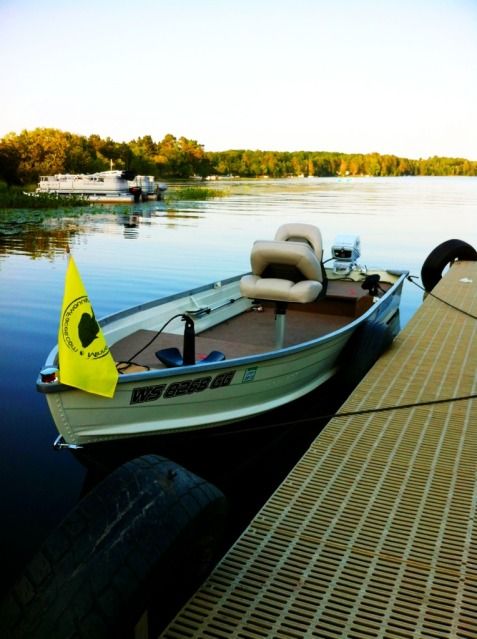
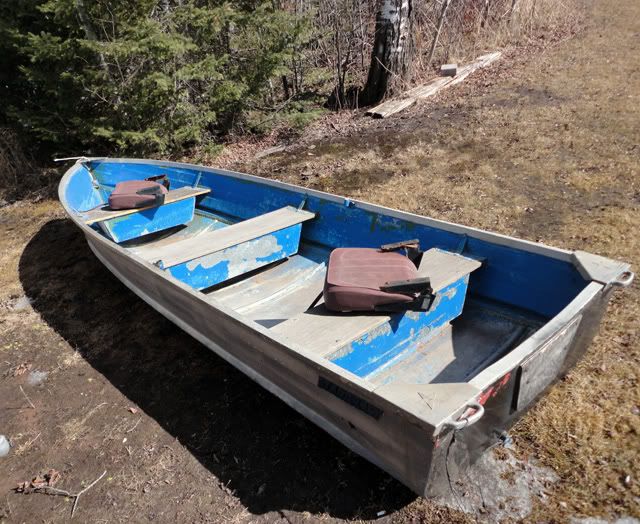
With the Starcraft, I decided I wanted to make a nice one person, sometimes two person, fishing boat. I call it Putt-Putt.
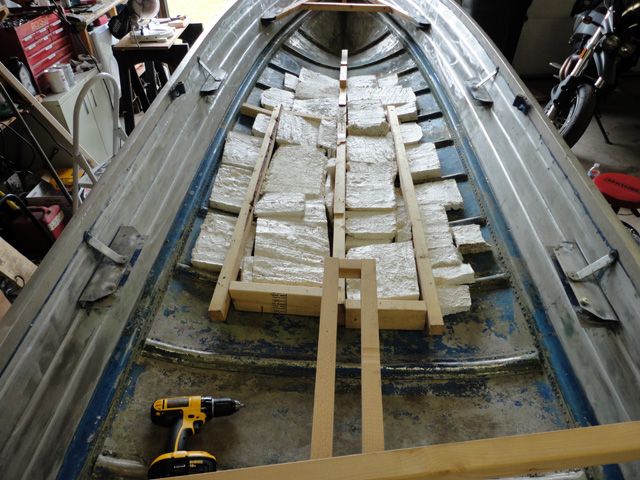
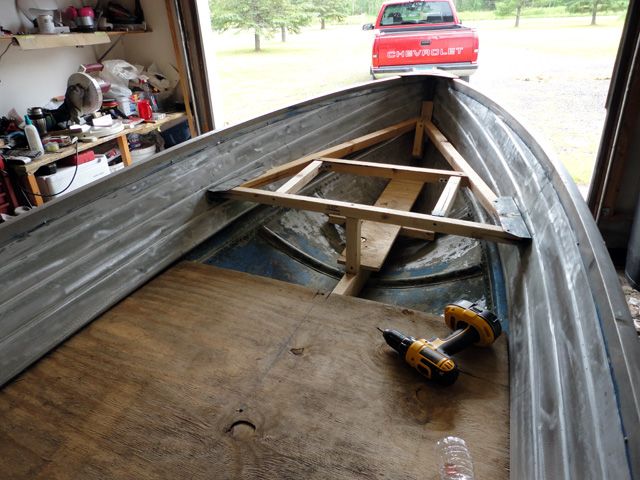
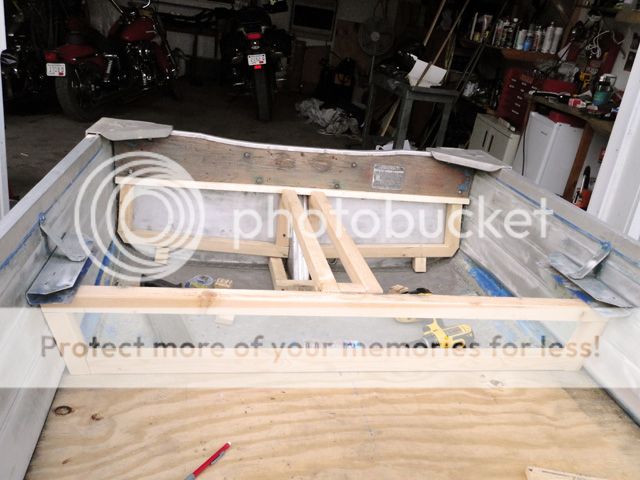
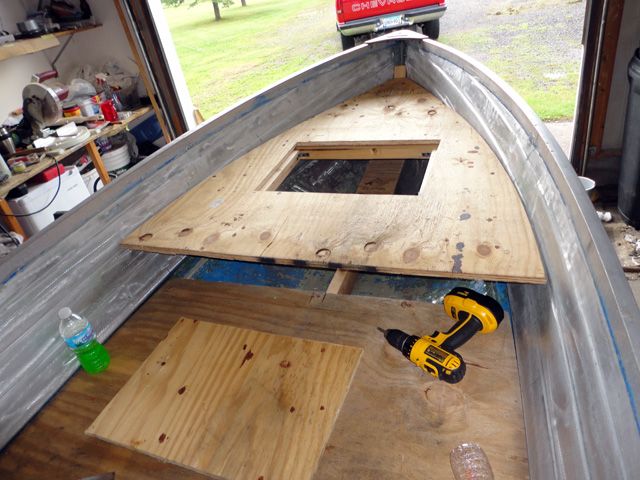
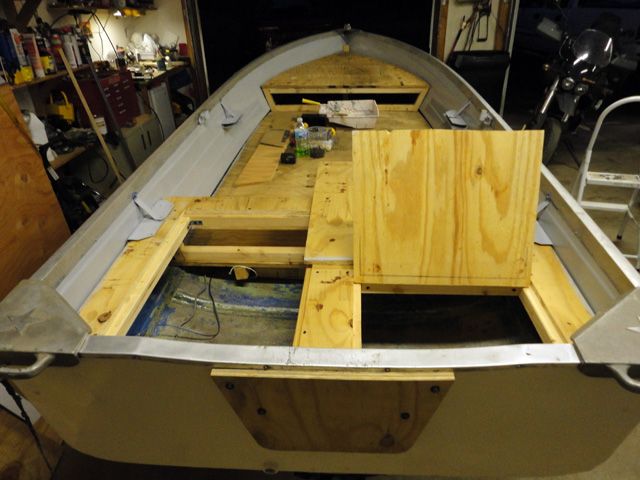
The boat is mostly finished now, but I thought I'd share the process for others that have the same goal. I'm sure I'll find a bunch of things that can be improved as this is my first tin. :)

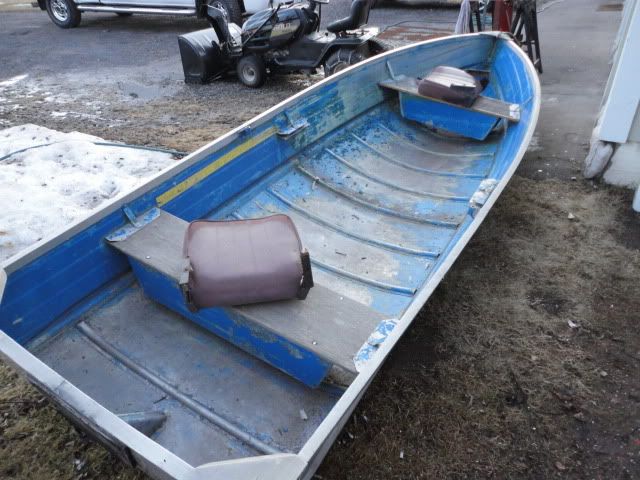
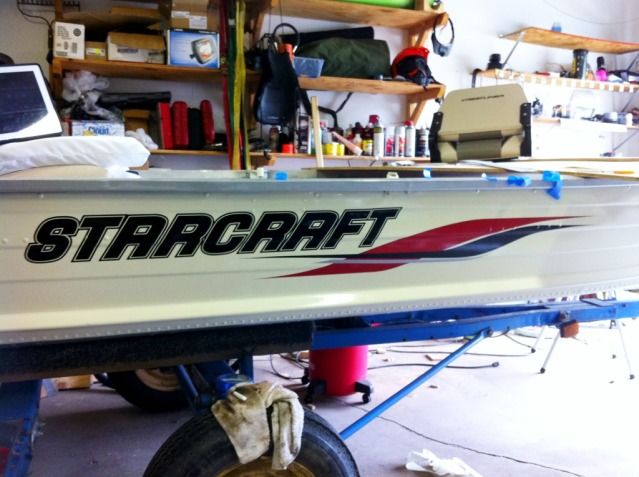
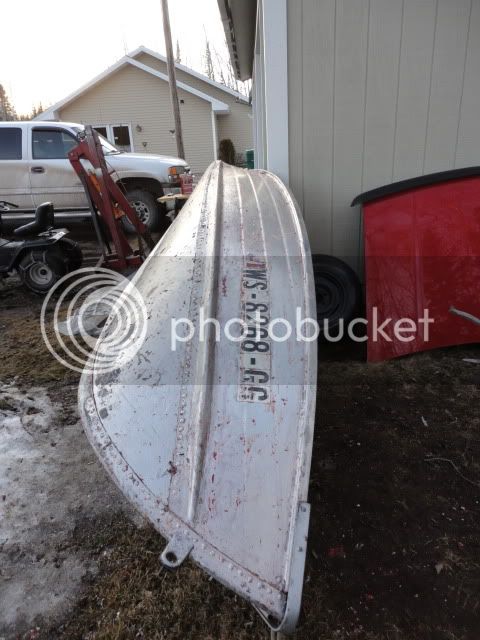
Here is the pic of the boat from the CL ad.
d2bdfe21.jpg


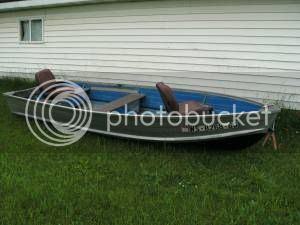
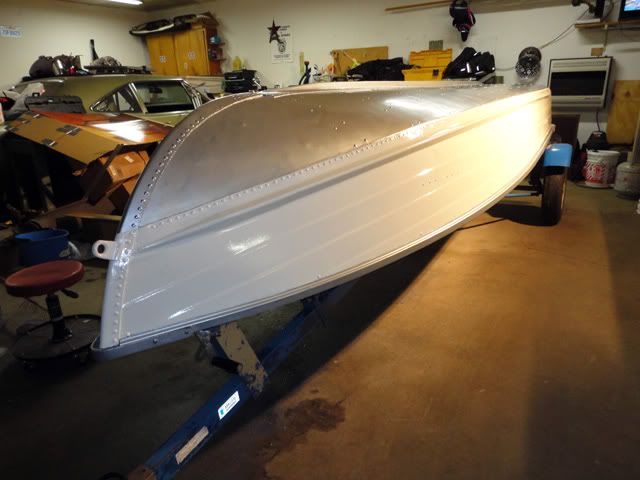
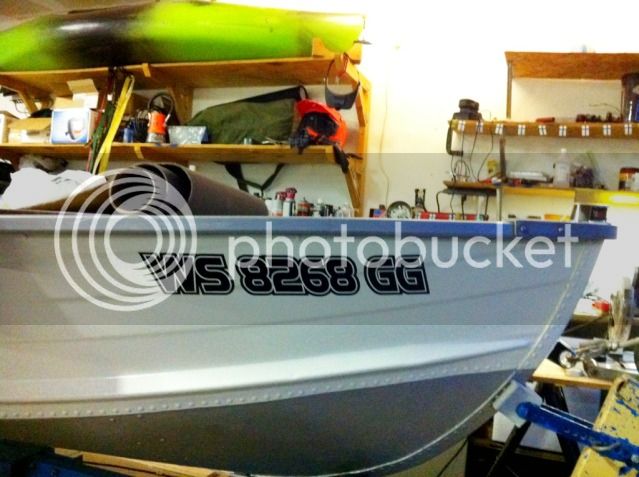
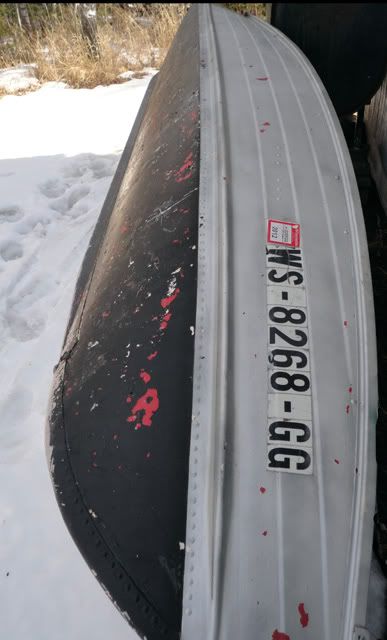
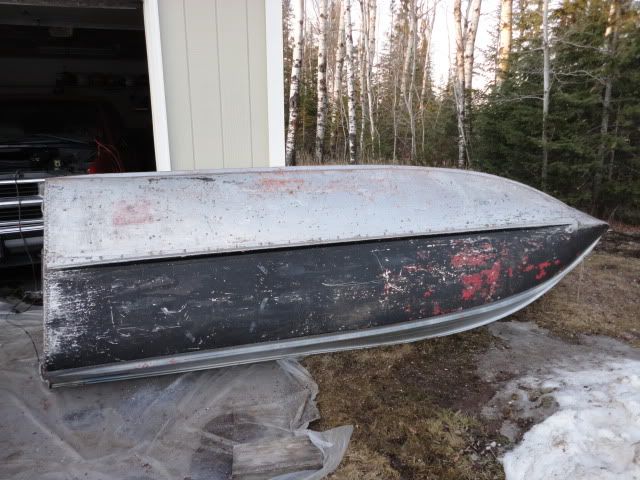
And when I got it home:
0c87dc52.jpg


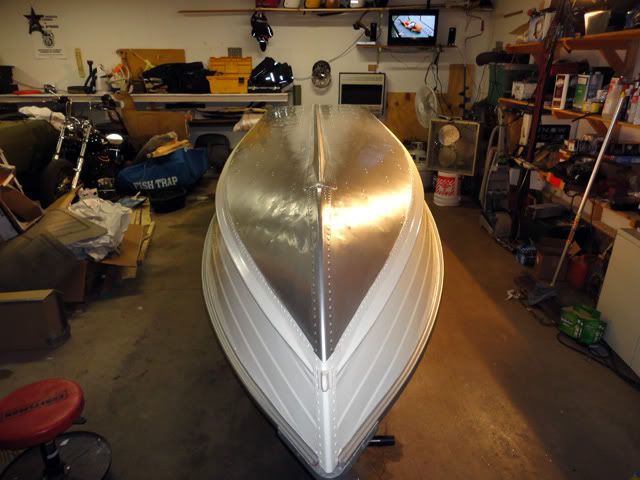
There was just the 6 or 7 layers of crappy paint on it. Poor thing.
459359e9.jpg


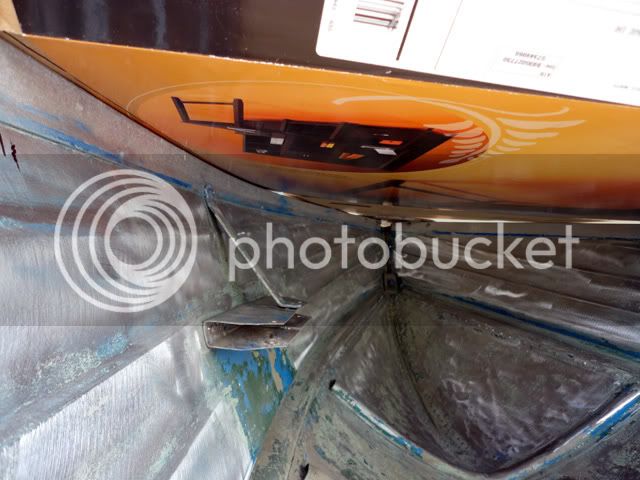
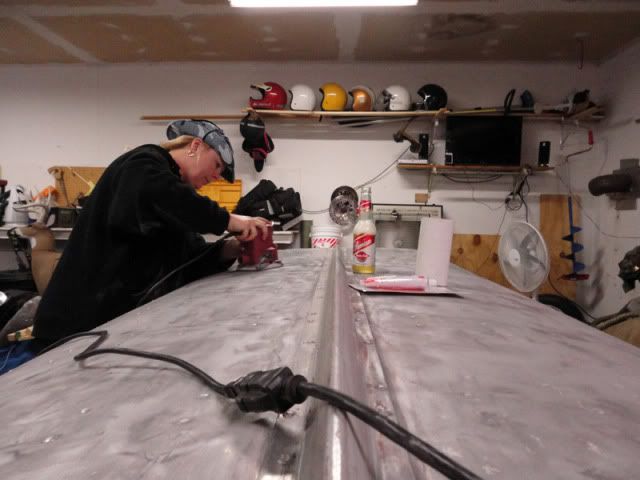
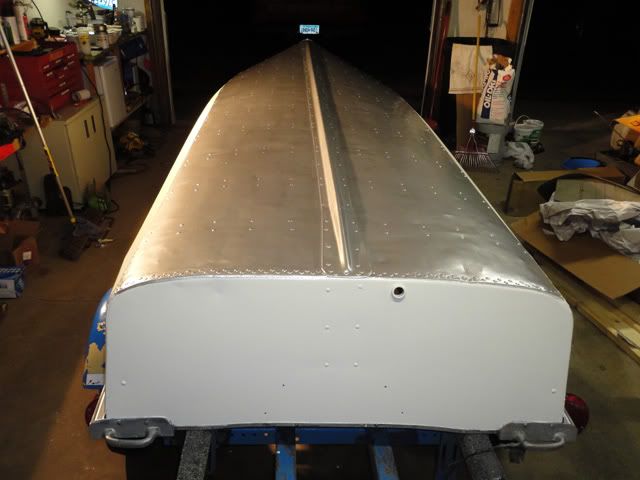
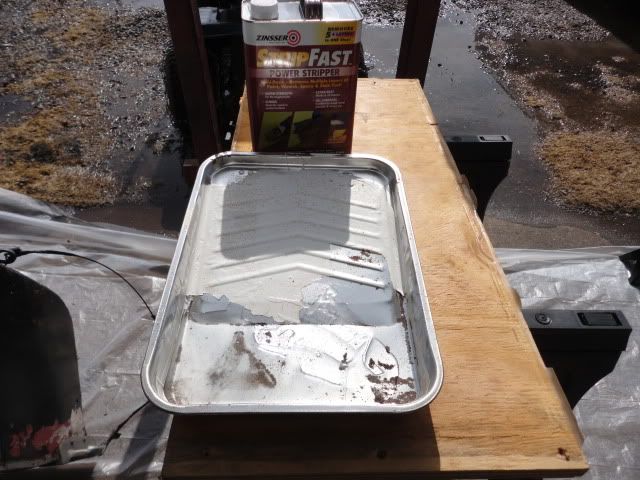
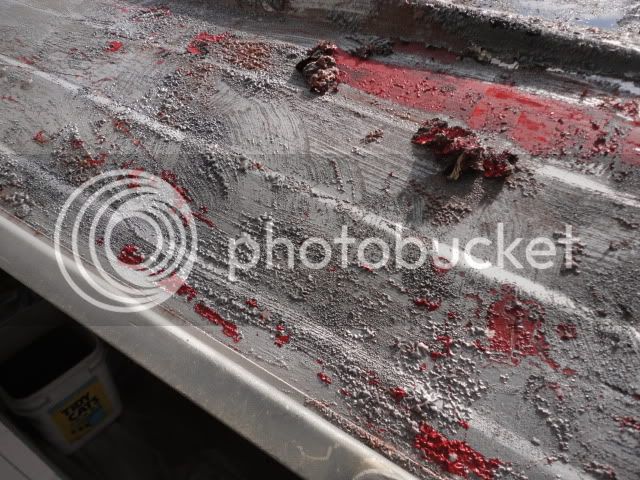
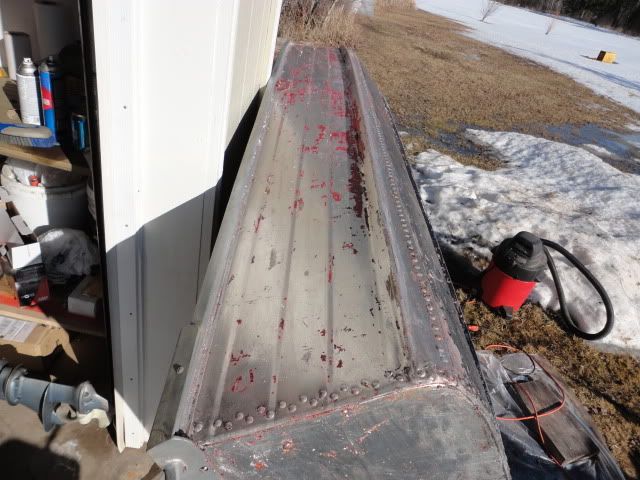
After pondering what to do about all the layers of paint in various stages of flaking off, I decided the best method for me was aircraft stripper. It worked really well even though the "removes 5 layers" claim on the can was a tad optimistic. :---)
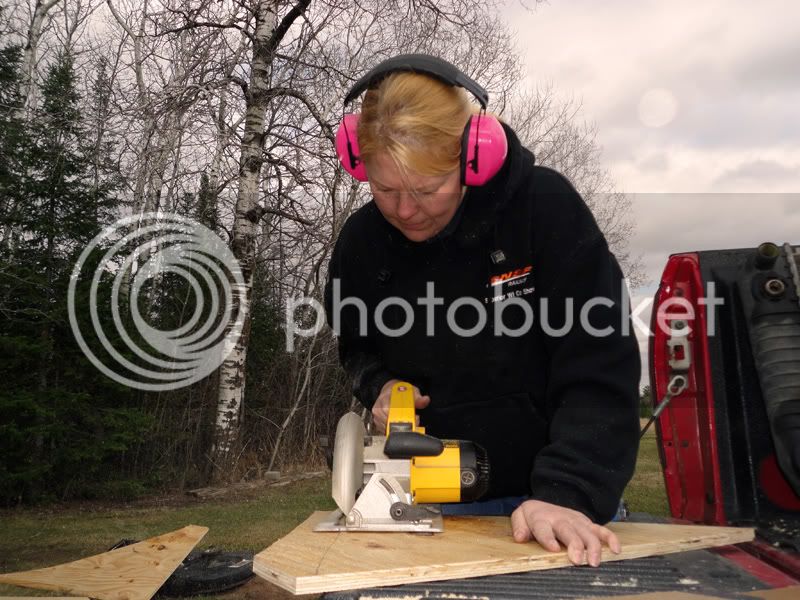
Here is is in action:
82b185af.jpg


768a25f4.jpg


8c842bf5.jpg


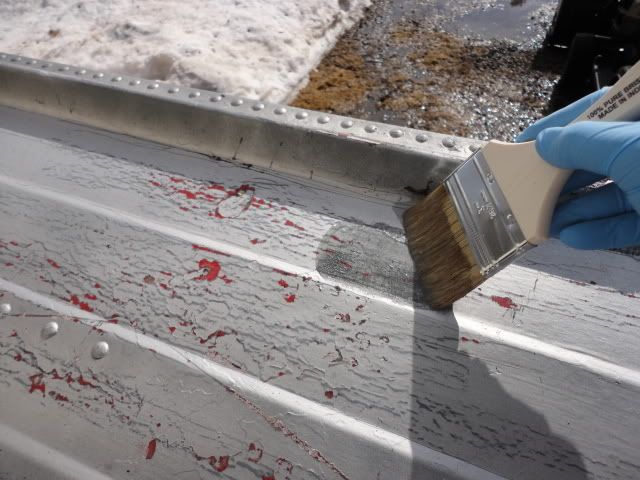
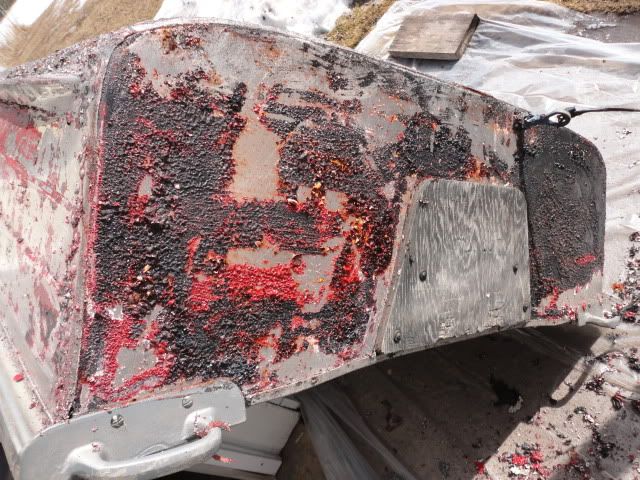
It took me about a half a day to do just about half the outside.
596297bb.jpg


d2e0ed8b.jpg


51e51be1.jpg
 
Here is the cute little motor!
ae1bbb72.jpg


Here it is after I removed the center bench. It looks pretty roomy without it.
c7256509.jpg


This is my prelim layout I did in Illustrator to visualize what I wanted to do. I know I put a pedestal seat mount in the back, but its just to show where a seat will go.
dd7d1022.jpg


I did the ol' cardboard layout trick to see how it would actually look in real scale and so I'd have templates when it was time to put saw to wood.
142badc0.jpg


e782c480.jpg


Before actually building anything in the boat, I had to prime & paint it. I went with cream & silver.
Getting ready for primer:
6a9f6536.jpg


Primer:
4c30c89d.jpg


Cream is done & just a little silver left to cover the primer:
18bcba67.jpg


Paint finished:
94abd994.jpg


5045e061.jpg


91d5ef4a.jpg
 
On to the floors...
More layout:
f3c94b5c.jpg


Starting the front framing:
dc4c9854.jpg


Under the floor:
465e322c.jpg


Front framing:
3096874e.jpg


Rear framing:
d43c39ab.jpg


More Cypherin'...
3f422eb7.jpg


e82715cd.jpg


801bc475.jpg


Me cutting the trolling deck wood:
1f21ea34.jpg


A little progress:
7f9ee12e.jpg


d7baab7b.jpg


Some more head scratching about whether or not to add rod lockers...
ef5b8130.jpg
 
Boy I wish you lived closer to me. I could sure use some of your energy and attitude.
Gook looking job you got going there.

I had a 57 Star Craft Marlin. Riveted 16' of constant repair and change.
But it was a good boat too.

By the way, that little 6 hp will be the best motor you ever had.
 
Thanks! :) Good luck keeping your '57 going. That's awesome you are keeping an older boat alive. Love it!

Starting the carpet. I bought it from Menard's. I know loop pyle isn't ideal, but the price was right. Especially for a project I had no idea would turn out. ;)
90781149.jpg


6d53ae05.jpg


91407d29.jpg


4b65d09e.jpg


3c815373.jpg


Getting the pedestal ready for mounting.
b50963b5.jpg


Here is a little box I made. I wanted a little cubby to put my fish finder on and my tackle boxes in that was easy to reach and use.
9d5cb8f2.jpg


b0569f3f.jpg


8aad552b.jpg


ab2b9200.jpg


Handy spot for forceps, too!
d9a4dbdb.jpg


The switches are for lights & bilge.
d4b7e813.jpg


Time to gussy it up. Here are the decals I made for the sides.
bfda5e85.jpg


e2ff9c7b.jpg
 
One last detail...The cute little motor!

43ad0a56.jpg


3b64100d.jpg


afa59268.jpg


I modeled my decals off the 2012 E-tec. I thought it'd kind of funny; a '68 E-tec. :D
b07705a3.jpg


1f204ec7.jpg


And ready for an evening on the lake at last.
a54cb6ed.jpg


1611cc52.jpg


0135f712.jpg


1c101c14.jpg


7df18f2d.jpg


a7da0803.jpg


Check out my trophy 'gill! lol!
87e2818c.jpg


As you can see, there are still a couple details that need buttoning up. Carpeting the trolling motor deck, making the front deck drop down front, redoing the trailer, etc. I still need to add hinges to the compartments, they just lift off right now.
Wish my husband could swim, then he could enjoy Putt-Putt, too.
 
Very nice work there! I am guessing that your gas tank is below the back deck. It so you may want to add ventilation ports, unless they just don't show in your photos. I really like the open layout you designed! I'm jst starting a modest conversion on my 16DSV.
p.s. ... Nice Bluegill! I catch one like that now and then too! :mrgreen:
 
Thank you!
Yep, the tank is a 3 gallon metal one under the back deck. I'll be putting in the vent dealies this spring. I left the small hatch behind my seat open about 2" or so last summer.

Isn't it the cutest little tank? :D
24b4a0dc.jpg
 
Thanks!
I used Rustoleum Oil based paint and Rustoleum aluminum primer. The hardware guy recommended them, so I thought I'd give them a try. I used a 4" fine foam roller and a quality 2" sash brush to cut in the edges. I hate masking & I'm much better at just cutting the edges in. :)
 
Very nice project and attention to detail. I like the boat decal's, and the E-Tec was a nice touch. :lol: I was going to ask about the brand on the seats since I've never seen any like that but noticed in one of the last pics they are Crestliner. I can't find much in the way of an outlet for that brand. Where did you get those from?

BTW Maybe you're husband would go out with you if you find him a life jacket that he has confidence in. Being confident might require him to get in the water and proving to himself that it will float him face up even if he's unconscious etc. I've known other non swimmers that had no problem going out on the water as long as they had their life jackets on.
 
Thanks guys. :)

Unfortunately, hubby has a phobia of the water. He doesn't go on the ice with me, either. I think he'd go if I had one of the new super wide boats, but I don't think I want one of those quite yet. Its ok, though, we do everything else together, so I can give him a "pass" on boating. ;)

Yep, they're 2012 Crestliner Fish Hawk seats in buff color. I bought them from the Crestliner overstock store on Ebay. They just made more seats than boats. lol! I paid $90 ($130 shipped), for both of them. No bases or pedestals or anything, though. They came in factory wrap & boxes. I LOVE them, they are on-the-water-all-day comfy and very soft. Plus they match! :)
 
You really transformed that boat! =D>

Do you recall the name of the aircraft stripper that you used?
 
Fantastic work.
Both boats.

I like the cubby/gps mount. I will have a grab bar mount for my gps and stuff, but it's a good idea to have a little storage right there.
 
Very nice! You did a really nice job with the layout and forethought to get to where it is now. I thought that storage cubby was a grand idea, and You made it look great. Hope You have plenty of time to enjoy it.
 

Latest posts

Top