mmf
Well-known member
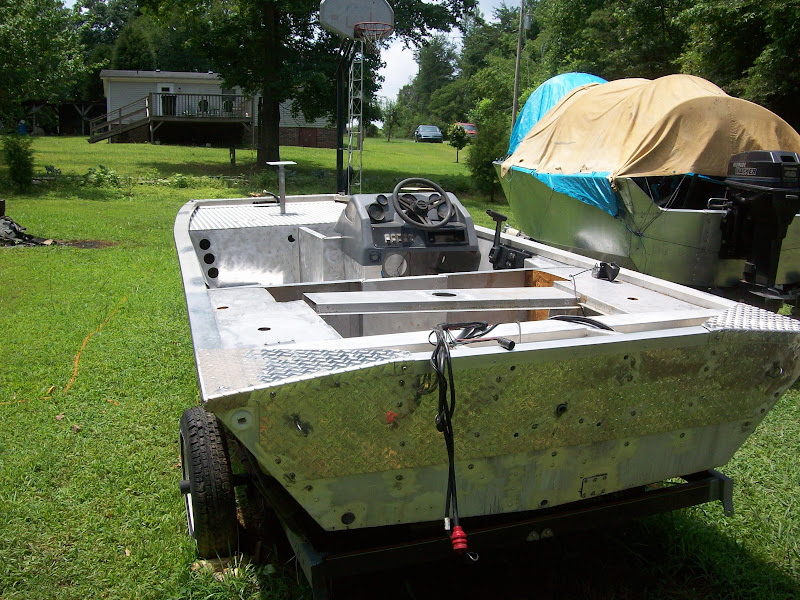
BYOB Fishing said:How are the pool noodles going to support the rear deck? In my tracker the foam is also used to support the all-aluminum rear deck. Do you have to build some sort of structure?
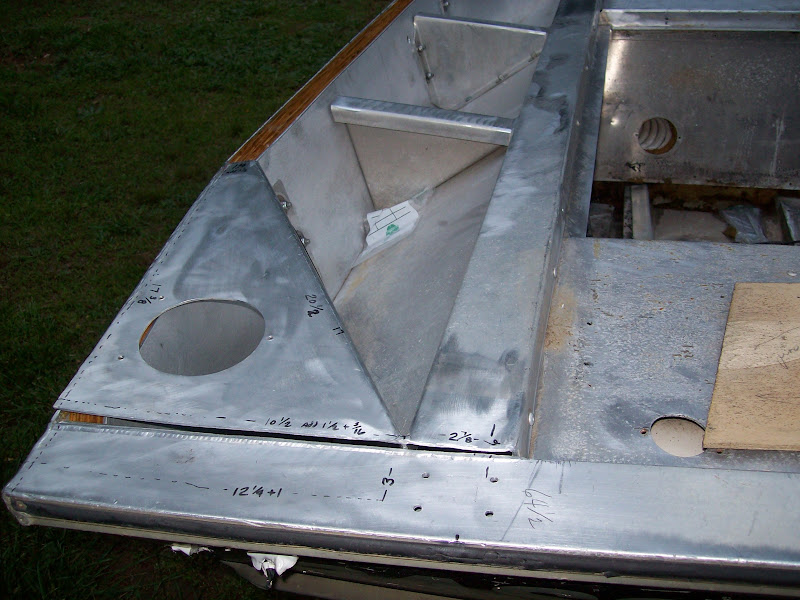
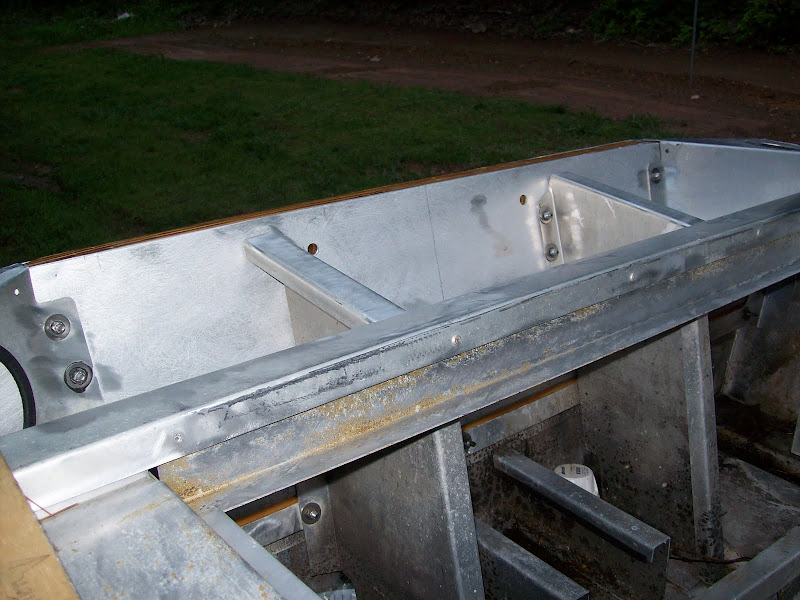
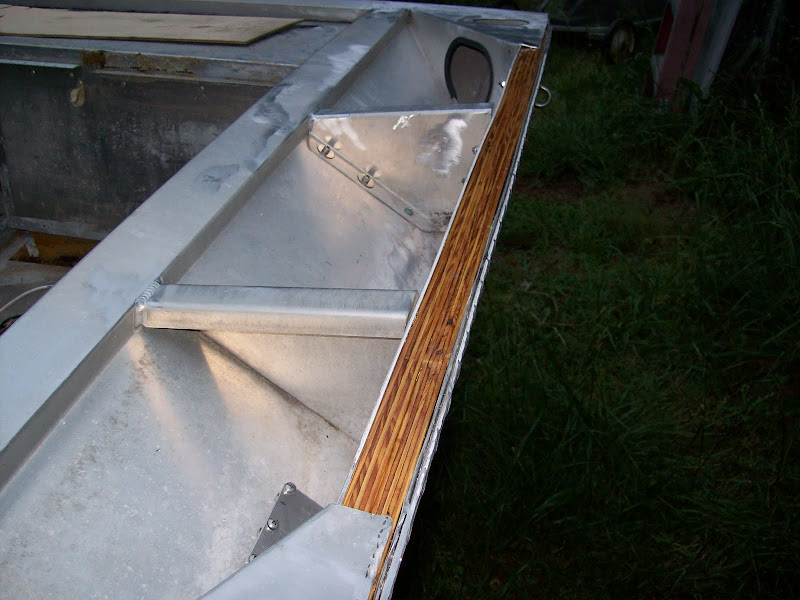
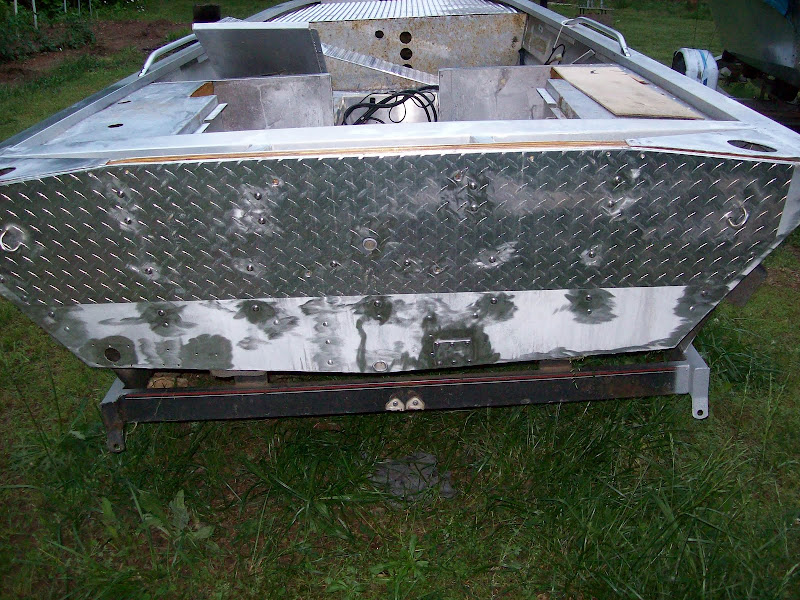
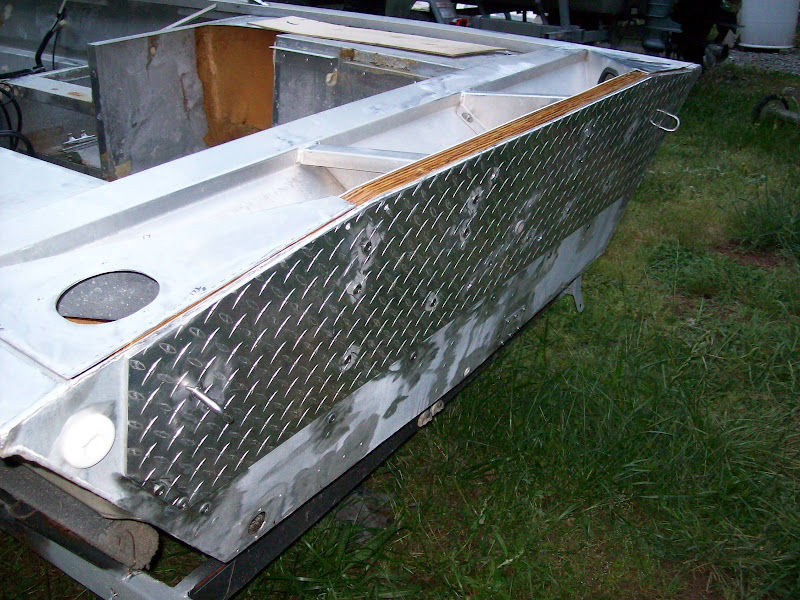
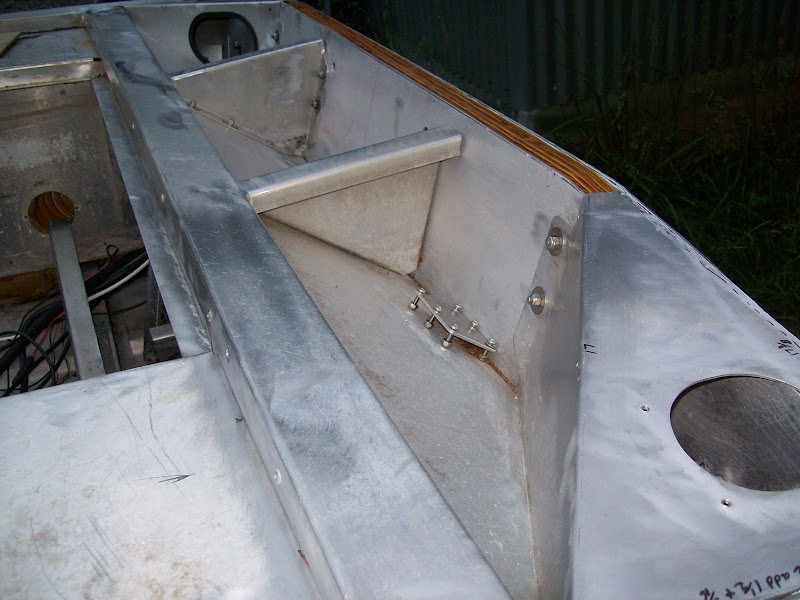
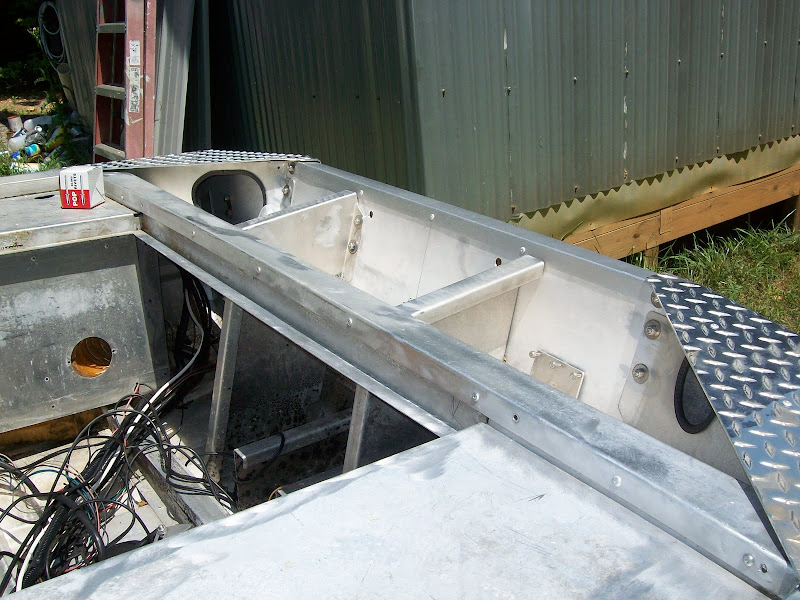
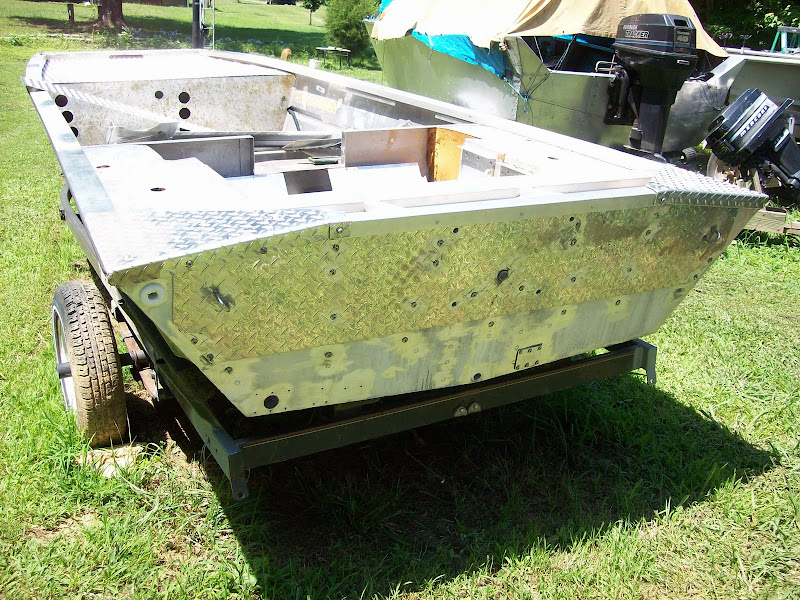
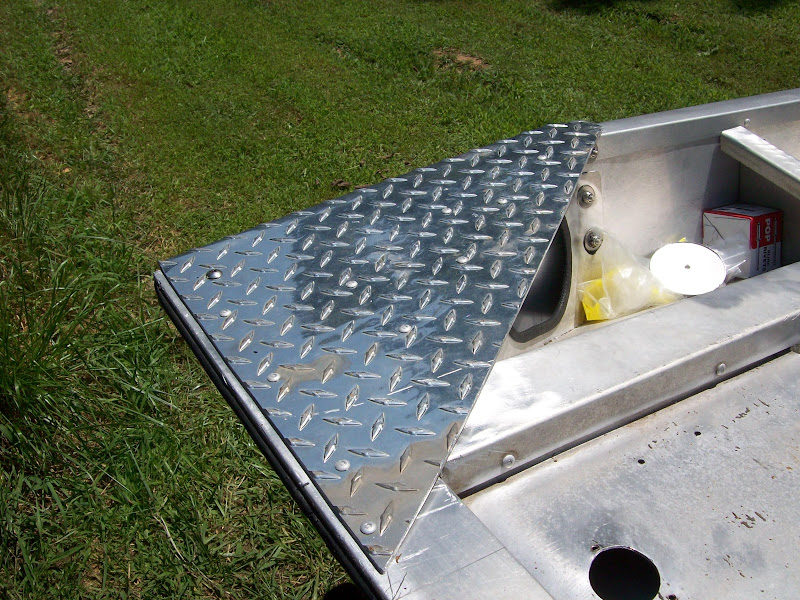
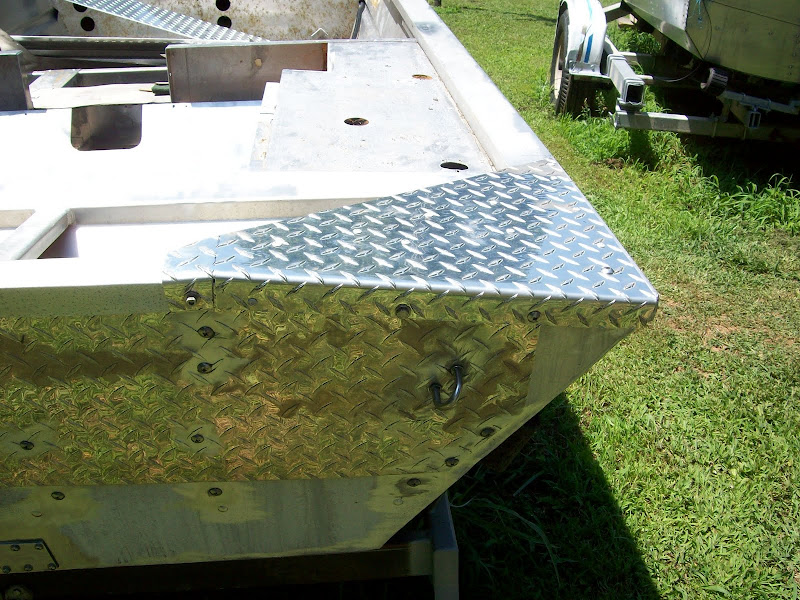
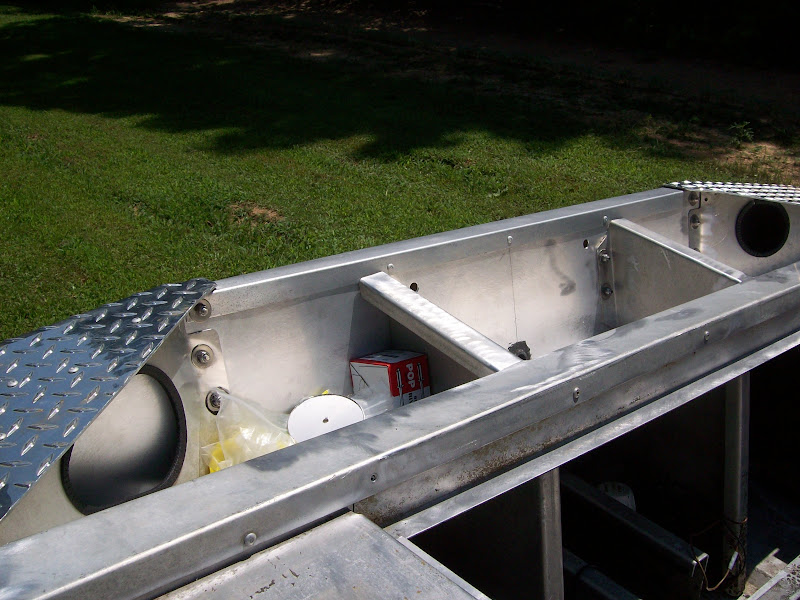
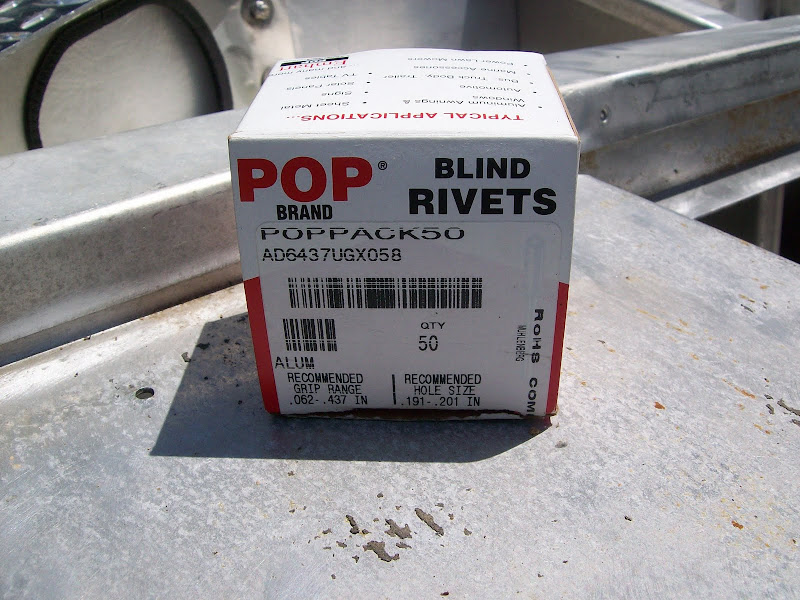
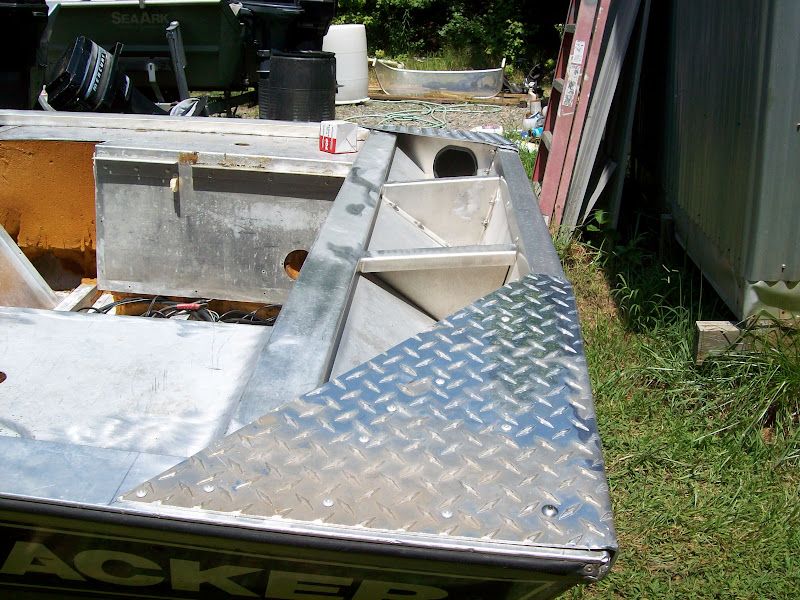
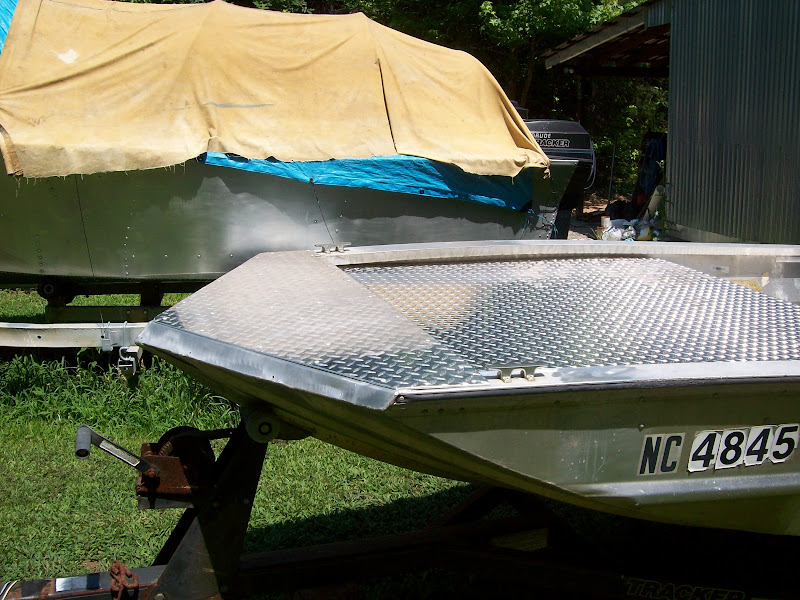
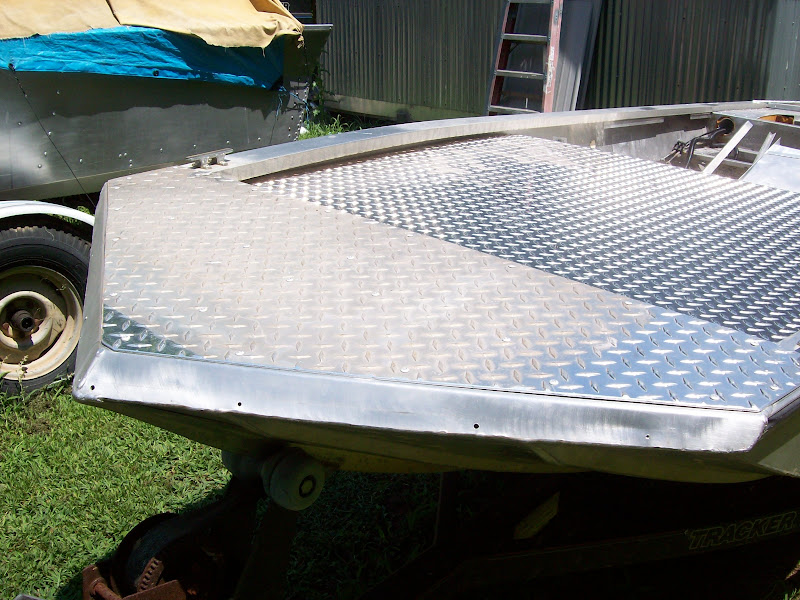
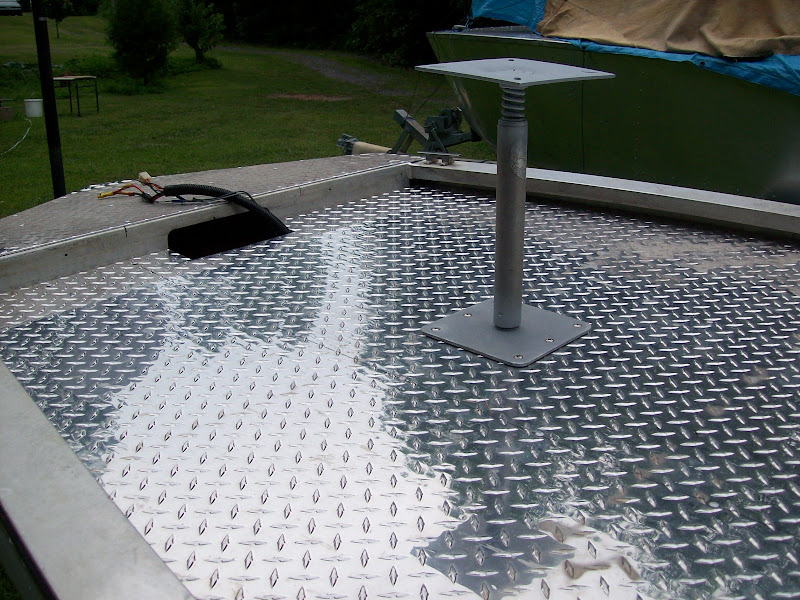
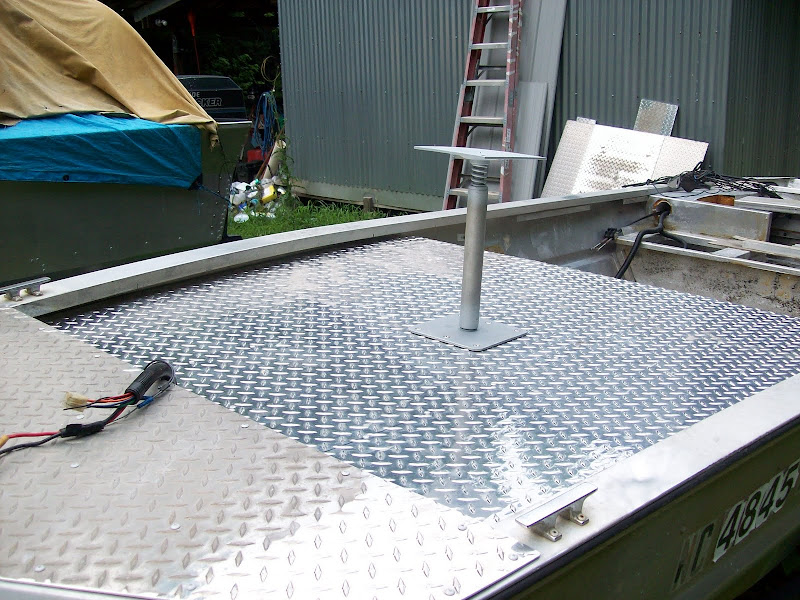
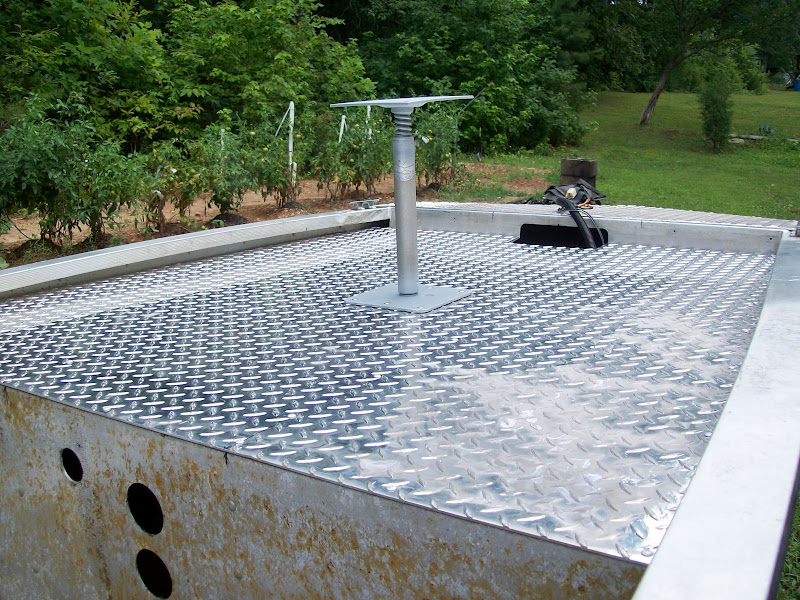
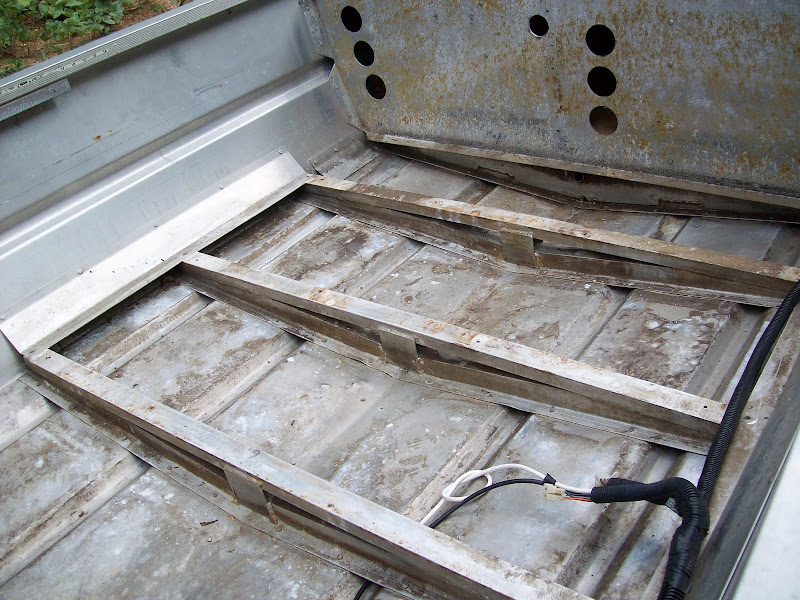
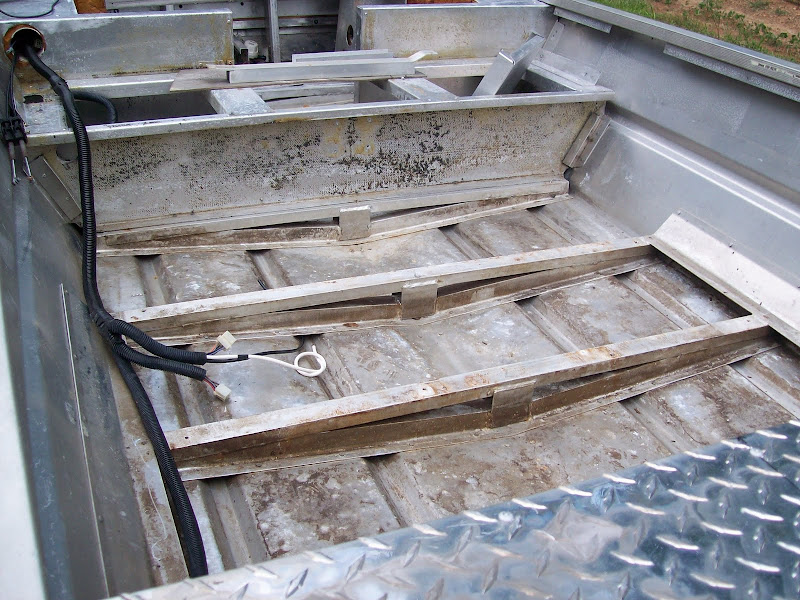
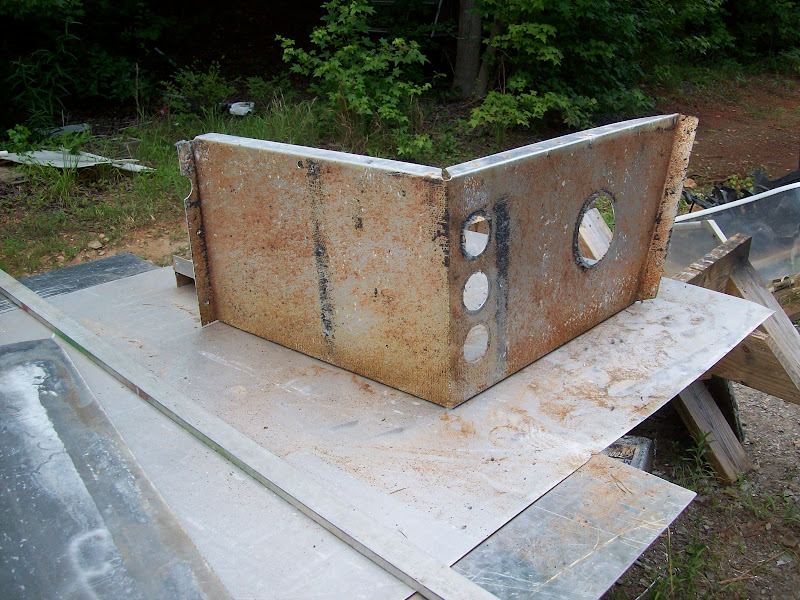
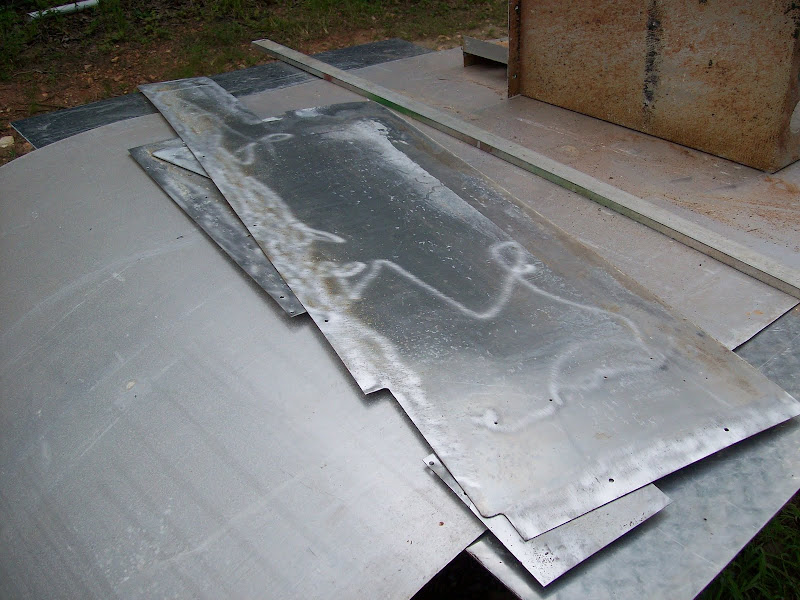
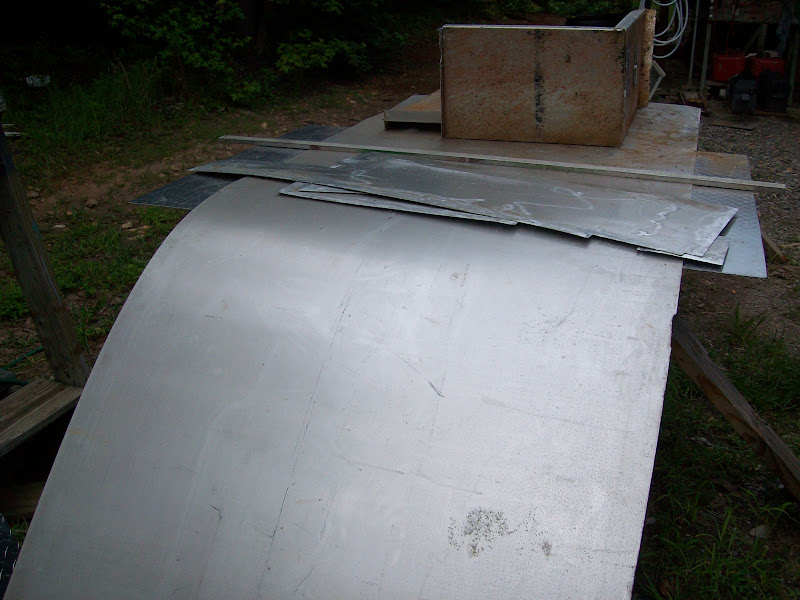
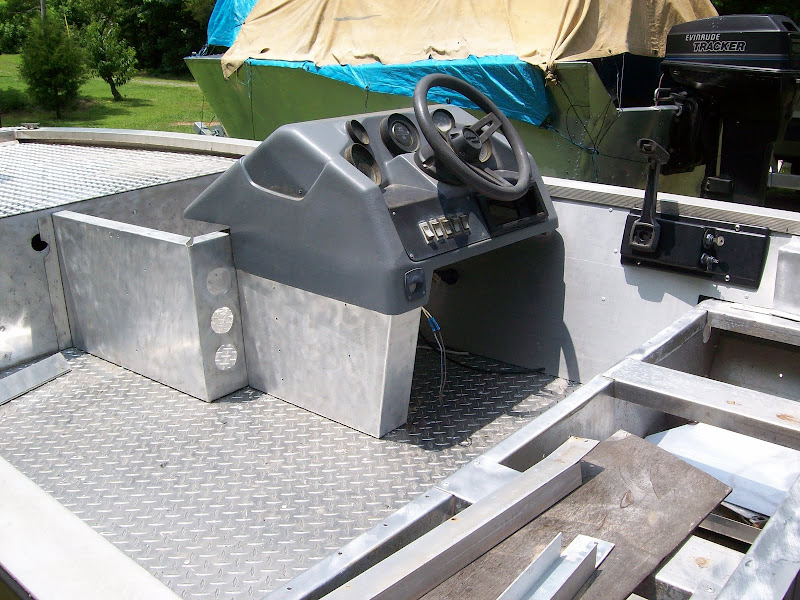
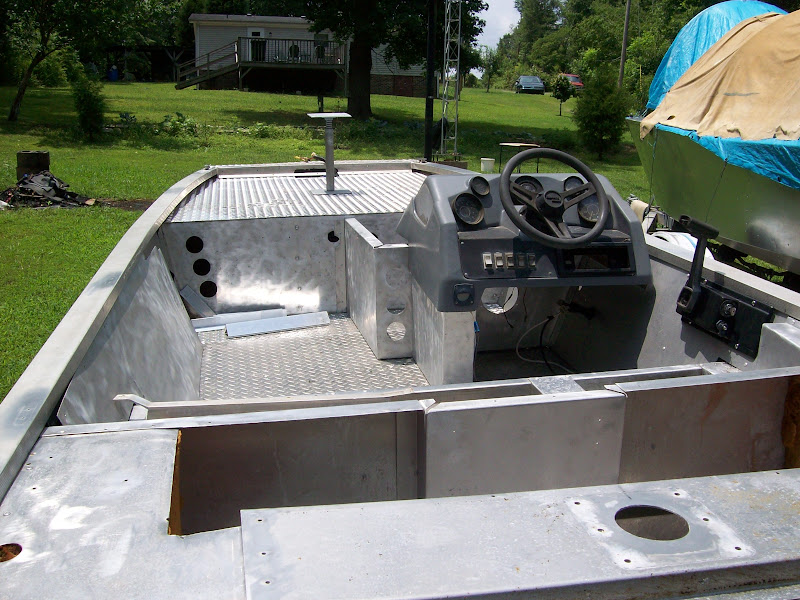
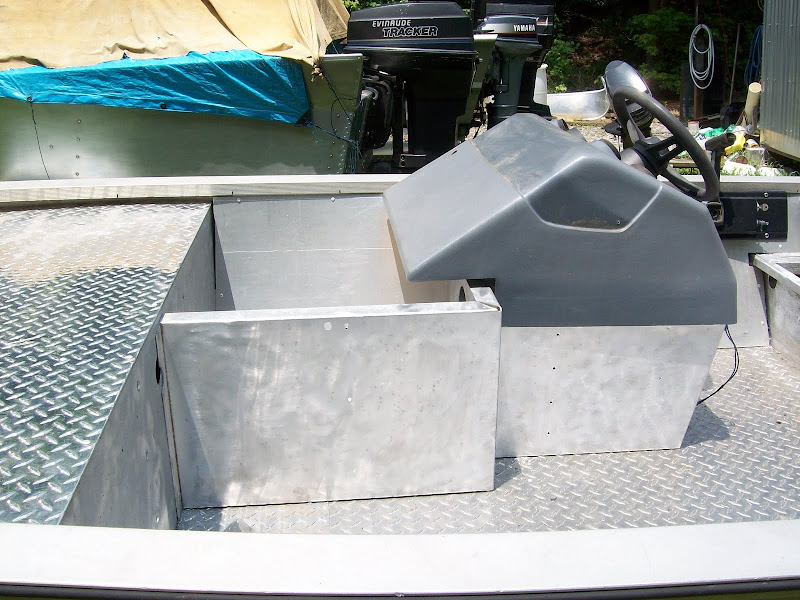
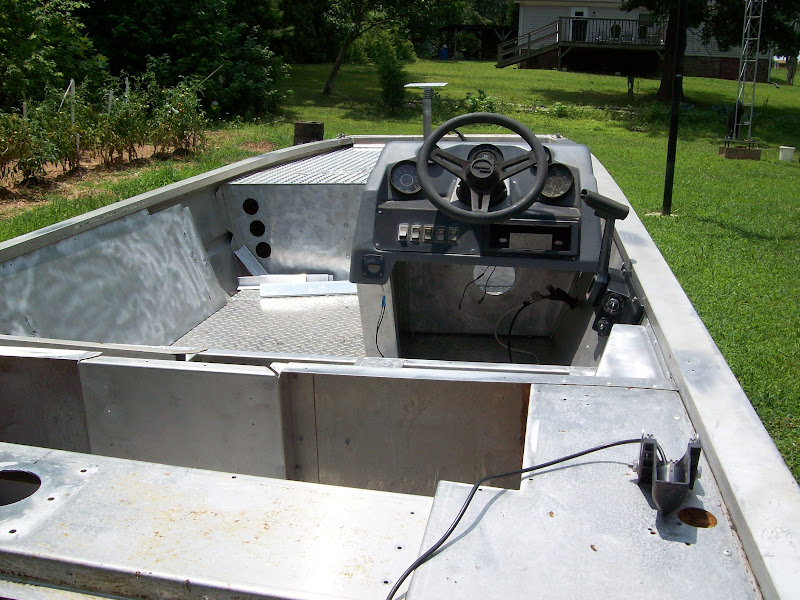
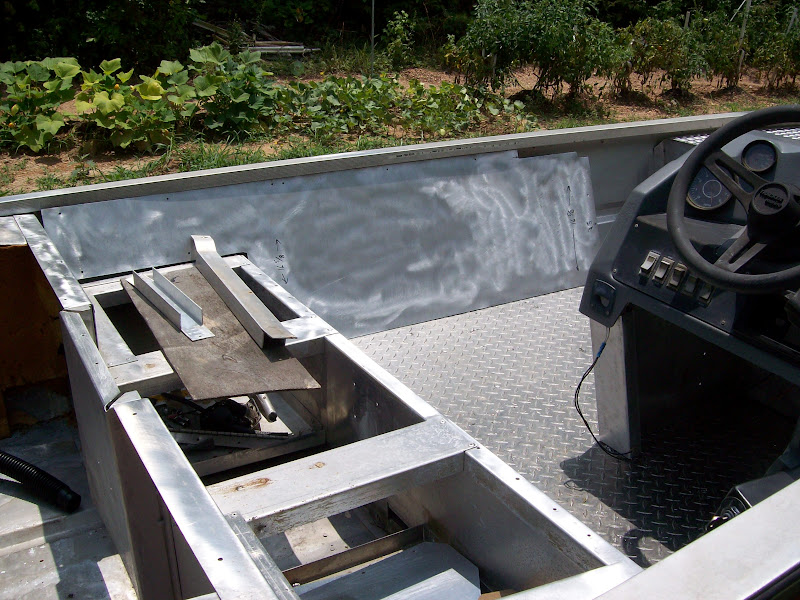
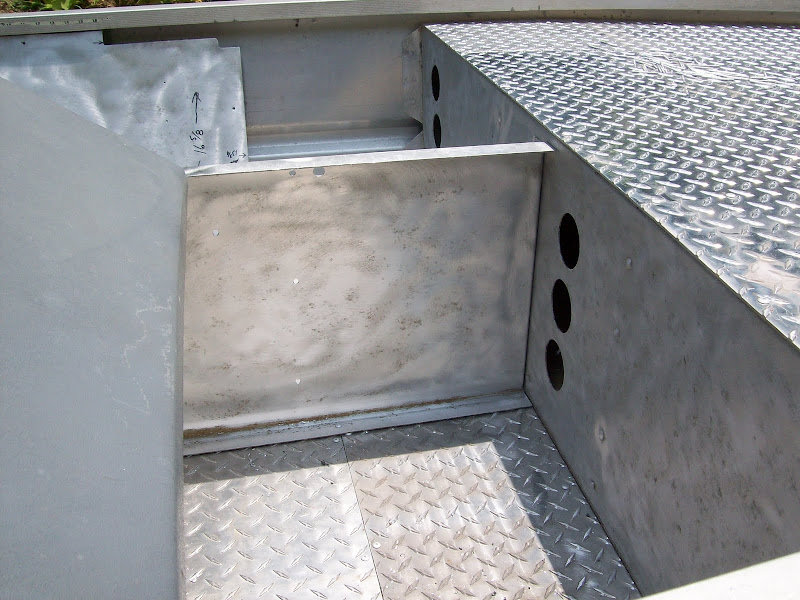
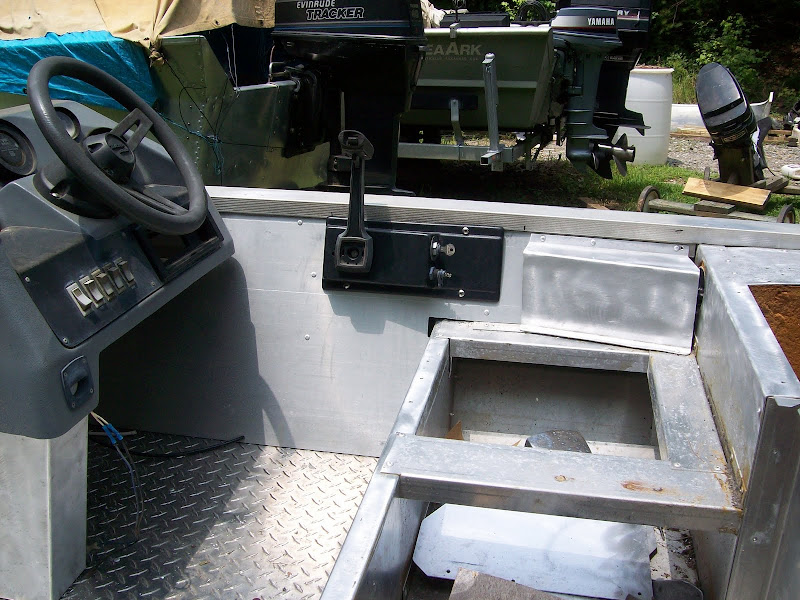
I will be covering mine with 3/16" diamond plate aluminum the full width and length and the vertical walls and side angle supports, along with the bent front lip supports should do the job. I, nor the people I fish with weigh over 180 lbs so strain should be minimum. The big deck lid at the fuel tank/battery compartment did not have any re-inforcement on the back of it from the factory, but I will be covering this and any lids I use with the diamond plate as well.