My duck boat project - 1987 Lowe 14 Delta Jon

TinBoats.net

Help Support TinBoats.net:

This site may earn a commission from merchant affiliate links, including eBay, Amazon, and others.

Shavoc

Member
Joined
Jan 6, 2012
Messages
9
Reaction score
0
Location
Lawrence, KS
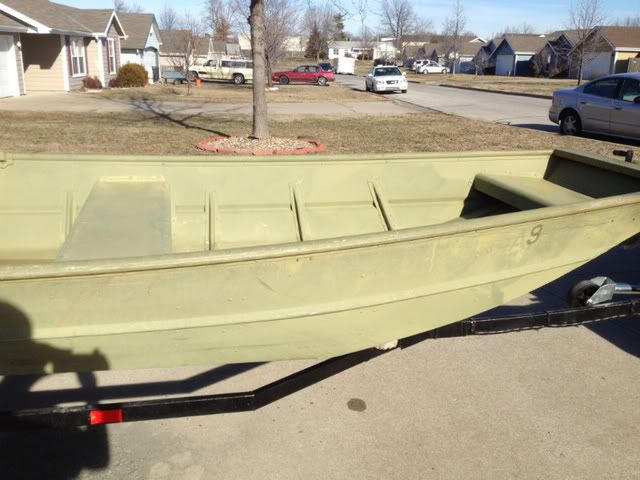
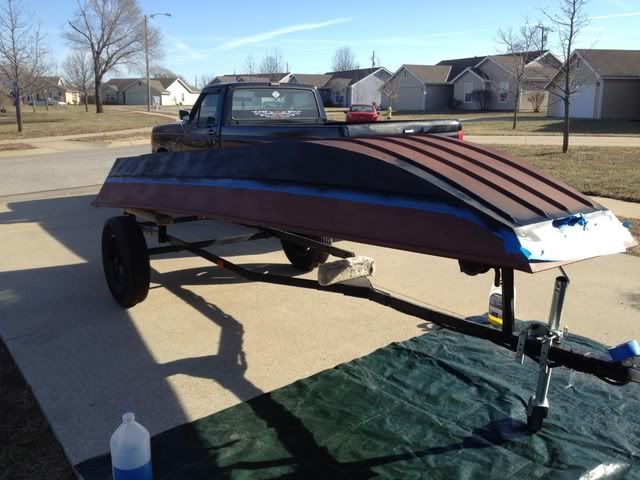
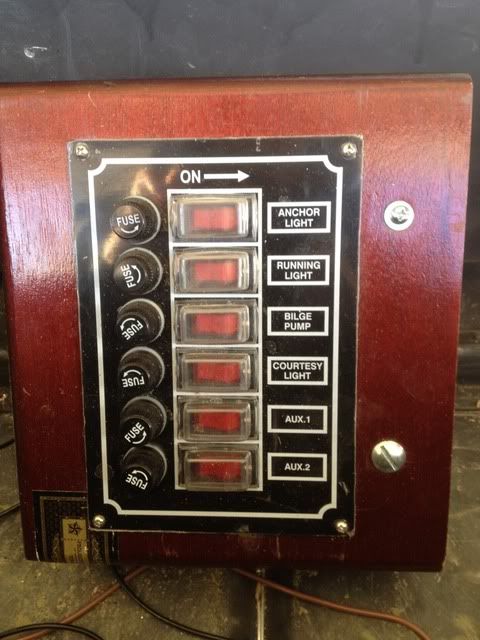
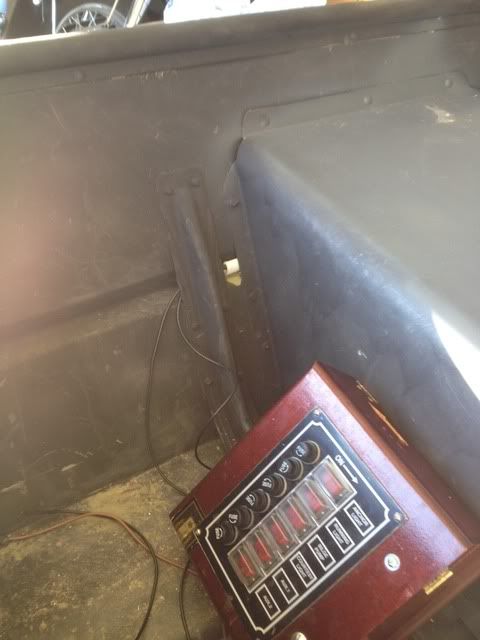
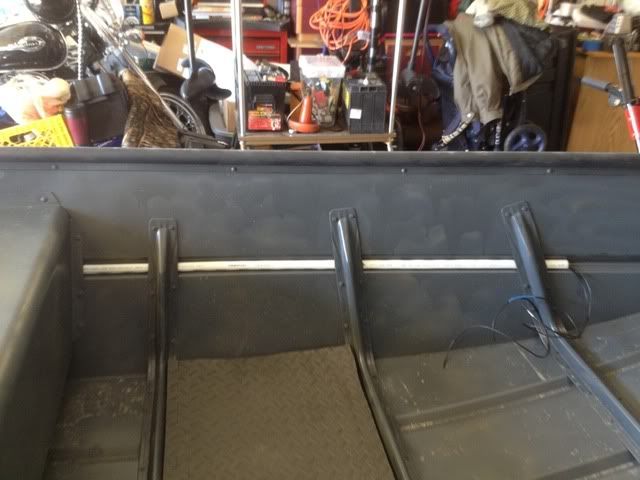
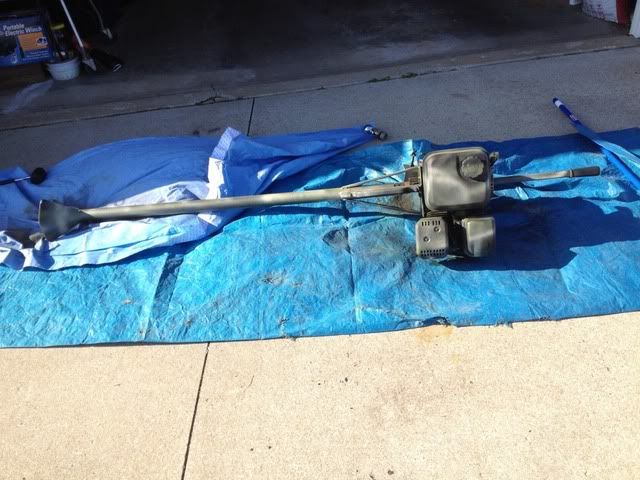
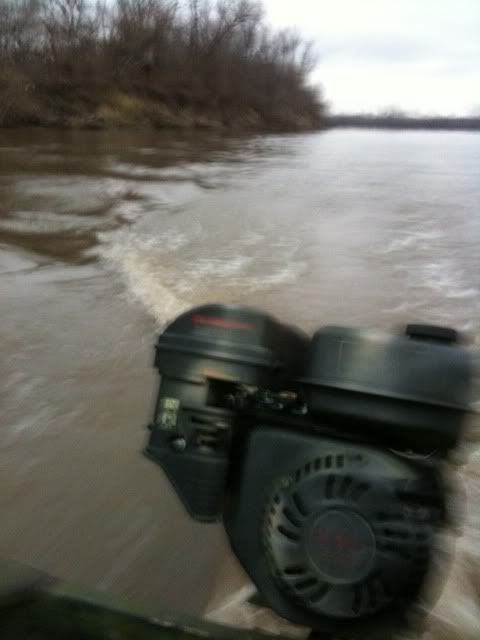
I just bought a 1987 Lowe 14 Delta jon boat last week for $100. I already have a homebuilt (not by me) trailer to put it on, and a 6.5 hp mudmotor. My mudmotor is getting upgraded to a 15 hp in the spring. My plan for the boat is to get it stripped down of the old paint, cleaned up, repainted and then some storage built in that can be lockable for my gear. Since it is a duck boat, and it will be constantly in the marshy mud or river...I don't plan on flooring it, or adding much decking. I will be making a custom duck blind for the boat, along with a small deck for the duck dog possibly.

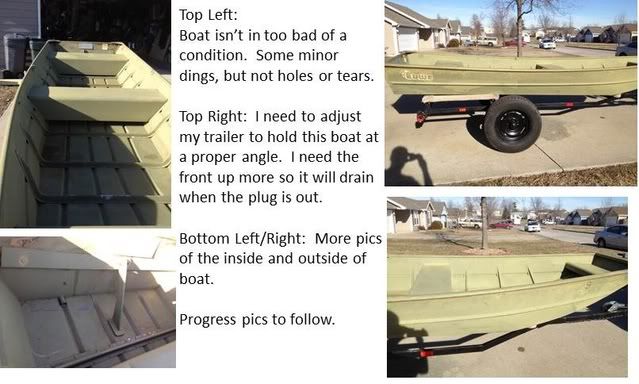
I'll add pictures tomorrow - of the initial views of the boat. Then I'll take pictures along the way to show my progress.

I've read probably a hundred or so of the other mods here, and was pretty excited to finally grab a jon boat worth modding. I am okay with woodwork, and so-so with welding, so I hope to build something that doesn't look too ugly to post here :)

I don't have a huge budget to work with, but I also don't want to add too much weight to the boat either. So, I'm pretty much torn on wood/aluminum storage. I'll also upload some drawings/powerpoint type of what I'd like to do to the boat. With this picture, you all may have some great ideas for me.

-Shavoc
 
Here is a "before" picture of the boat. I will upload more as I start working on the project.

IMG_1397.jpg
 
Well, we had a cold snap come through so my progress has been slowed. I managed to get the primer on - inside and out - but still need to hit it with the outside paint coat. I'm going with OD green - haven't decided whether to use Parkers duck boat paint, or just spray it with stuff from the hardware store. It's been cooler out, but it is supposed to warm up for the weekend.

On a side note, I'm planning out a front deck, with aluminum bracing. Has anyone had trouble with aluminum rivets breaking off when using a hand riveter? I had several break when testing.

I have a compressor, and an air riveter, but sometimes I just use the hand riveter if it's only a few.

Also, what thickness should I use for the front deck if I use aluminum? What thickness would be best if I used plywood? (Not pressure treated of course)

Thanks for any help you can provide.
 
I can't answer your questions, but wanted to say good luck and have fun!

KRS
 
PS - My buddies and I first hunted out of a boat very similar to yours. It was 16ft and maybe a few inches wider. He had a deck up front, but never did put a hatch in it. That is a really good spot for decoys, so I would try to find a large hatch opening.

Also, it was a little unstable if you were not used to it. Anything you can add (pods, etc) might be really nice.

KRS
 
I'm doing similar to mine but mine will be a fishing/duck hunting boat. Extending the front deck 18" for storage...will be for decoys in the fall and fishing stuff in the spring/summer. Livewell will also be storage area in the fall. Don't really need a large hatch for decoys if you are putting them in a couple at a time...but for a whole bag, then yeah a bigger hatch is warranted. I'm going with two smaller hatches at the front. leaving the front existing deck insulation as is for flotation.
Good luck on your build. P.S. I'm going with 1/2" (seemed to be consensus on many boat forums) CDX exterior grade (exterior glue) on the deck treated with poly resin to waterproof then carpeted.
 
Here is a side picture of the boat.

IMG_1403.jpg


I have also put on a base coat of rustoleum primer, plus an inside coating of primer (after much sanding and cleaning of the boat).

I then added a bottom coat of super slick black paint. I'll add pictures of that work when photobucket starts cooperating more.
 
So, here are the pics of the boat after primer course, during first round of bottom paint.

Also, I have added a few pictures of the cigar box switch box and the wiring I ran through PVC and then through the side of the boat braces. The 1/4 inch PVC was too thick to fit at first, so I heated it with a propane torch and hit it with my dead blow hammer, 6 inches at a time, until it was flat enough to fit. 30 minutes of hammering, but it fits, and will keep all the wires safe, and out of the way. It was worth it.

IMG_1424.jpg

IMG_1425.jpg

IMG_1426.jpg

IMG_1630.jpg

IMG_1631.jpg

IMG_1632.jpg


I went back in ran 6 wires through the PVC, just in case I needed more later. I'll be running any extra wires through the opposite side in the same manner.
 
My old 1236 - added: custom camo, trolling motor mount, front deck for storage & place for dog to stand.

Mud motor attached.

IMG_0923.jpg


My home built mud motor

IMG_0734.jpg

IMG_0732.jpg


Mud motor in action

IMG_0916.jpg


Hoping to get back outside today and get more pictures of the mud motor mounted on the Lowe 14 Delta. I think I've decided to add flooring in the center area (where me and my duck dog spend most of our time). I don't want to add flooring to the front, as I don't think it would last as long - guests in duck boats tend to not care as much about getting the floor trashed. I'm thinking about (my area) adding 2 inch closed cell foam, then decking with 1/2 inch marine grade plywood. I would make this floor removable. On top of the plywood, I'm considering astroturf instead of carpeting. This will allow me to take the floor out after a duck hunt, and wash it off with a powerwasher or at the carwash. I just don't see marine carpeting taking the abuse I'll be putting out. Suggestions, or comments to help with this would be appreciated. Maybe someone knows a of a carpet that can take marsh mud and then be sprayed off to make look new/almost new again.

Thanks for any help.
 
Well, I finished wiring the running lights (bow & stern), plus a courtesy light installed at switchbox behind rear seat. My switchbox is made from an old cigar box, but I'll be lining it and covering it with liquid electric tape to waterproof it. I got the switchbox mounted last night as well.

The switchbox mount was a funny/horrible story:

I had been working with a hand riveter to no avail...I was snapping all the rivets. So, I went to HFT and bought an air hydraulic riveter. I had been wanting one anyway, so this was a good excuse to buy. I followed instructions for putting in the hydraulic fluid: turn upside down, remove base cap, remove chamber, fill with fluid.....This is when the trouble began...As the fluid went into the chamber, it flowed right out of the handle onto the garage floor and me. I got this back together, cleaned up and went to connect to the air compressor. Of course, my old air compressor components weren't the same size as the new riveter, so I was off to the store to buy adapters.

Upon returning from the store with the correct adapters, I hooked up the tool. Air ready-check, tool ready-check, I have rivets-check...now for a test squeeze before putting in a rivet. Squeeze..........(now picture a wonderful spray of hydraulic fluid from the gun to about 10 feet in front of me). It looked as if a sniper had shot me from behind...the pink mist was both wonderful and horrifying. I had overfilled the chamber I guess. It's my fault for not being able to read the chinese/english directions they had in the box.

I covered the gun with a plastic bag and gave it 4 or 5 more pulls until it stopped spraying fluid.

Finally, I inserted a rivet and sent it home - SUCCESS!!!

More to follow, with pictures tonight or tomorrow.
 
I built it with the help of a friend. He is a machinist, and has a metal lathe. I just did the design portion and most of the (not so good) welding.
 

Latest posts

Top