1962 Sea King 15hp wont pull

TinBoats.net

Help Support TinBoats.net:

This site may earn a commission from merchant affiliate links, including eBay, Amazon, and others.
Pappy said:
Although rusted a bit the cylinder bores appear to be pretty normal looking. The engine had not been run for several years and has the original ignition coils in it. That is normally a good sign of an engine that is worth putting back into service. Your buddy is not on track with his diagnosis. Having run the engine on 50:1 instead of 24:1 will do a great job of seizing that engine. Your engine has plain bearings in it instead of roller bearings and needs the extra lubrication to survive. However, your cylinder walls look good. Would suggest at this point to remove the powerhead, remove the carb, intake manifold and reeds and have a look in the crank area. You may find your issue. Overheat sticking normally occurs on the exhaust side of a two-stroke piston and the damage is easily visible on the side of the cylinder wall. I cannot see the other side of the cylinder walls from your picture but the side that I can see shows me no reason for the seizure. Keep us in the loop. By the way, all gaskets are still available for your engine as well as all ignition parts, carb rebuild kits and gearcase seals and water pump parts. Everything you need to get that classic back on the water.
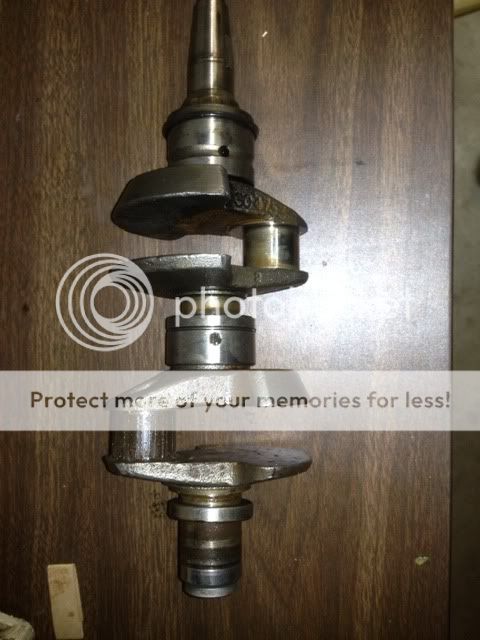
Hey hey thats good to hear all the parts are available. At first I didnt think Id be able to get this running. Im pretty confident I will. This is my first time ever working on a motor, there doesnt seem to be much to them. Just got to follow the book, do things the right way.

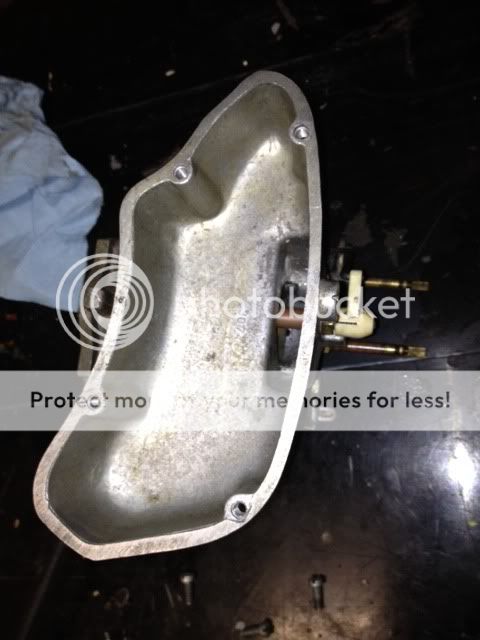
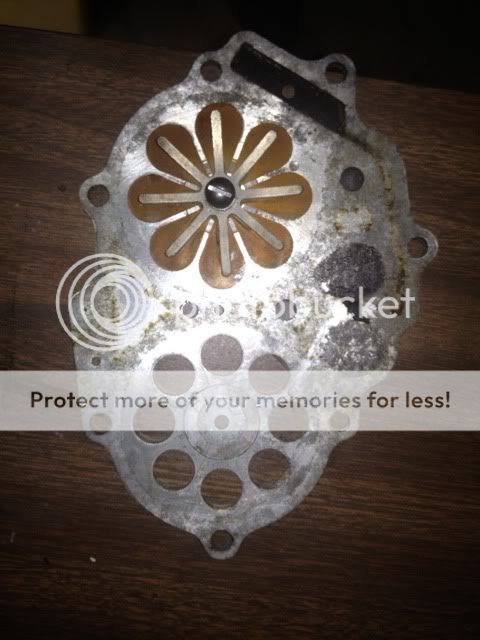
Right now Im working on cleaning things up, I fixed up the shot bearing...it should work like a charm now. After I get some cyl rings and new seals Ill be ready to put her back together.
 
Heres an update...

Here is the internal motor after Ive spend some time freeing it up.

[youtube]https://www.youtube.com/watch?v=-oQBHUxND5Q[/youtube]

The pistons...
[youtube][ttp://www.youtube.com/watch?v=b5rFLXXlrj0[/youtube]

When this motor was given to me the airbox was empty, should there be some kind of filter in here? If so, will marineengine.com have it?

 
Pappy said:
No filter, you don't run into much dirt and dust on the water.....!
Yea, after looking at the parts manual I figured it out. A buddy at work told me he thought it might of needed something in there! Did you get a chance to see the videos?
 
Pappy said:
Just saw the one with you rotating the crank. Didn't tell me much. Rather see the damage in photos to tell me more.
That was quiet an accomplishment for me! Lol...it was seized up bad. I just had to rotate it after rebuilding the bearing, refinishing piston pin, cleanin con rods and pistons. Does it sound right to you?

I got a picture of the crankshaft and reed valve...ive cleaned it up a bit since then.


I got all my parts ordered today...after honing the cylinders, is there anything special required to installing piston rings? Just put em on and call it good?
 
Yes, you have to pay attention to where the gap is located on each ring in relation to the other rings gap. With 2 cycle engines you might also need to be concerned about the ring gap location in relation to the intake/exhaust ports also but I'm not positive on that.

As a guess from a mechanical standpoint, I'd say you need to put the gap of one ring 180° from the other rings gap and position them so both gaps are as far away from the intake and exhaust ports as you can. But it would be best to hear from someone that has rebuilt one of these motors before you proceed.
 
JMichael said:
Yes, you have to pay attention to where the gap is located on each ring in relation to the other rings gap. With 2 cycle engines you might also need to be concerned about the ring gap location in relation to the intake/exhaust ports also but I'm not positive on that.

As a guess from a mechanical standpoint, I'd say you need to put the gap of one ring 180° from the other rings gap and position them so both gaps are as far away from the intake and exhaust ports as you can. But it would be best to hear from someone that has rebuilt one of these motors before you proceed.
Each ring groove has a little nub sticking out which locates the ring respectively. They are 180deg apart.

Can anyone tell me how to tell when the coils need to be replaced? The epoxy coating is chipping off my coils, they look to be original from the 60's. What tests can be done to check if they are still performing top notch?
 
Coils, If the outer shell is cracked or cracking you should replace them. If they are not shorting out now they will be soon and most likely at the worst time.
 
bbstacker1 said:
Coils, If the outer shell is cracked or cracking you should replace them. If they are not shorting out now they will be soon and most likely at the worst time.
Ok i ordered new coils as well thanks!
 
That bottom connecting rod race on the crank does not look too good in the photo, kinda chewed up.
That could be a showstopper.
Tim
 
earl60446 said:
That bottom connecting rod race on the crank does not look too good in the photo, kinda chewed up.
That could be a showstopper.
Tim
I ended up refinishing the surfaces where bearings ride on crankshaft. It's not pitted or irregular just stained. I've gotten it pretty smooth but staining is still there.
 
Heres my new dilemma. The section of the crankshaft, where the connection rods bearings attach needs to be turned down and micro polished. They are a little pitted and I know the amount of material needed to be removed will exceed tolerance. Not sure of my options or if the extra play will really matter. Any suggestions? I am a welder so adding material is a possibility, I've just never done it.
 
JMO so take it for what it's worth (sometimes not much) but I try to do most of my own maintenance on my boats, cars, house, etc. but I do know when I'm in over my head or abilities. After much fussing with older outboards, I went the new and newer route (two motors) as I want reliability. Waiting on the side of the road is one thing, but on the water is totally different.

Most crankshafts are balanced so I wouldn't think just adding material would be wise. Good luck though, at least you've gone farther than I would have.
 
nomowork said:
JMO so take it for what it's worth (sometimes not much) but I try to do most of my own maintenance on my boats, cars, house, etc. but I do know when I'm in over my head or abilities. After much fussing with older outboards, I went the new and newer route (two motors) as I want reliability. Waiting on the side of the road is one thing, but on the water is totally different.

Most crankshafts are balanced so I wouldn't think just adding material would be wise. Good luck though, at least you've gone farther than I would have.
Well I have the 2011 15hp 4 stroke I just bought. This older motor has been mainly for learning. But I aint quittin here Im already $150 dollars and a few days of labor into it!

Just curious if that extra play is going to be a big deal or not. Pitted and more material or no pits and less material?
 
I think that if I were going to try to use it for how ever long it would last, I'd go the "more material with pits" route. I'd try to polish it a little to remove any sharp edges that the pits may have, and give it a go. The excess slack created from having the crank turned and using the same size bearings would have a rod knocking and probably coming through the side of the block with a little time.
 
Remember the website I gave you already? www.aomci.org Put an ad in there for a used crank and I will just about guarantee you will come up with one and for little money as well. Get another rod while you are at it as well. As far as reliabliity goes I would put it right up there with the new ones. These engines are built like tanks and dirt simple in theory and operation. Feed them properly and run them properly and they will be able to be passed on to your grand kids!
 
Top