Goldie's 2013 Tracker Topper 1542 Project

TinBoats.net

Help Support TinBoats.net:

This site may earn a commission from merchant affiliate links, including eBay, Amazon, and others.

Goldiegoo

Member
Joined
Jun 4, 2012
Messages
21
Reaction score
0
Hello guys. Well it has begun I am ready to mod out my new 2013 Tracker Topper 1542. Been reading this awesome forum for many months now and ready to give it a go after seeing so many cool builds. I plan on putting in a front and rear deck and a floor. Also thinking about a livewell in the mid bench (maybe). Trolling motor at front and back with lighting and a fish finder.

Like Johnny949 this boat will be used at Lake Mission Viejo C.A. and will be stored in the garage. This will be an electric only setup. I am about 2 miles drive from the lake and it looks like my Coleman crawdad is finally retired. lol

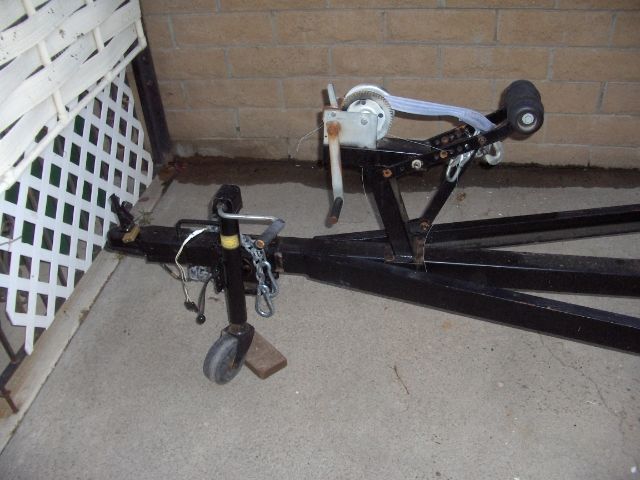
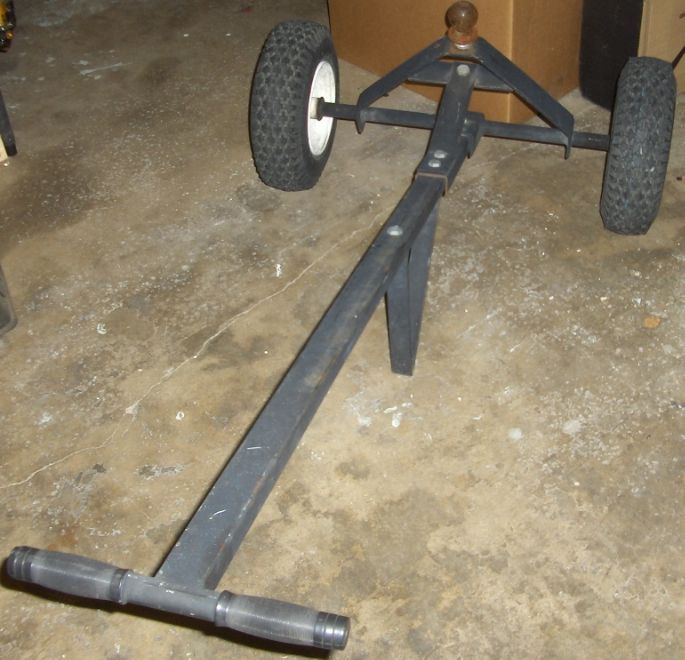
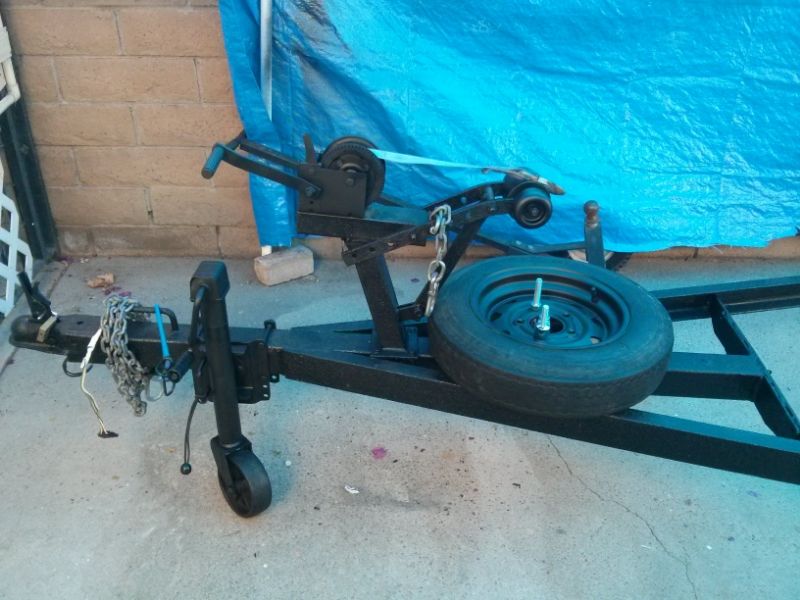
1st thing I purchased was a 1987 17 ½ foot trailer off of craigs list, the seller had a trailer dolly so I got that too. Then I bought a gallon of Herculiner cause Brine recommended it :) Hopefully it will hold up well and I won’t see any type of chipping. So for now I am going to wire brush the entire trailer...
HPIM0702_zps5369ea39.jpg

 
Thanks TMax27 almost a year later :p

I know holy thread revival batman but I am back on the project with a bunch of time on my hands.

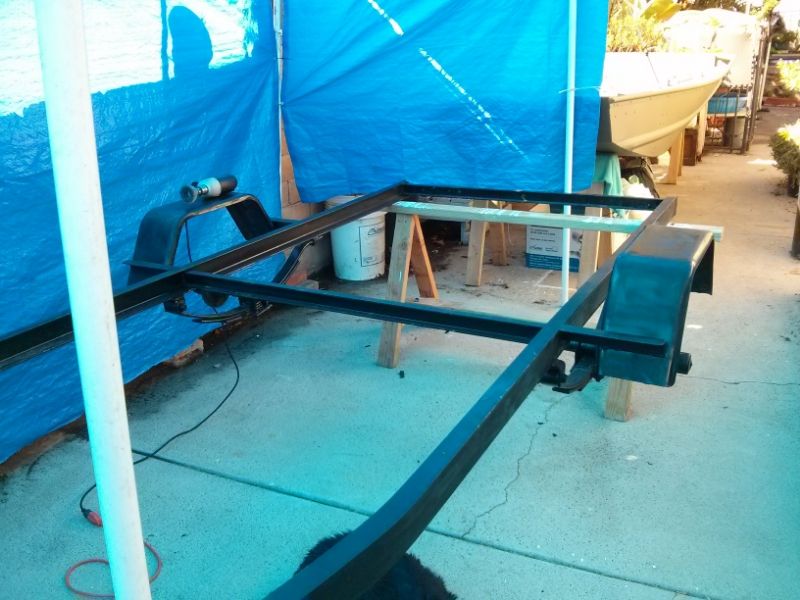
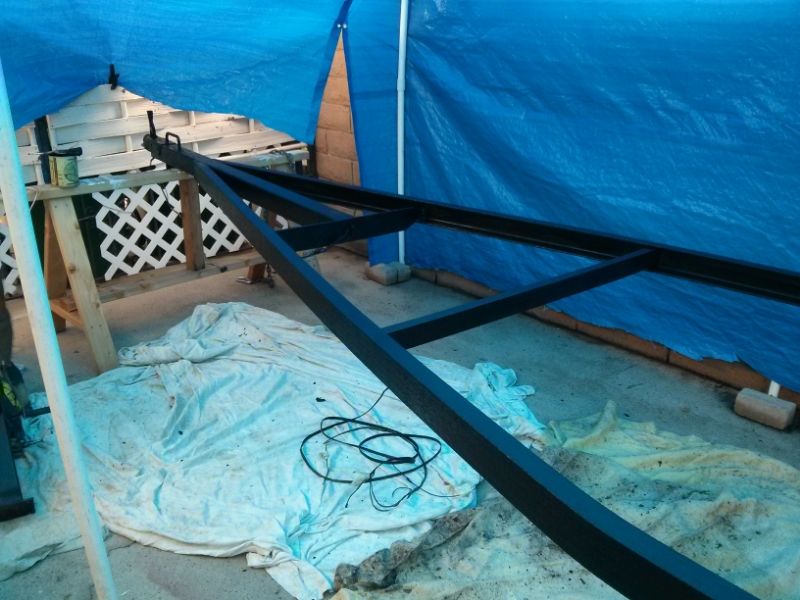
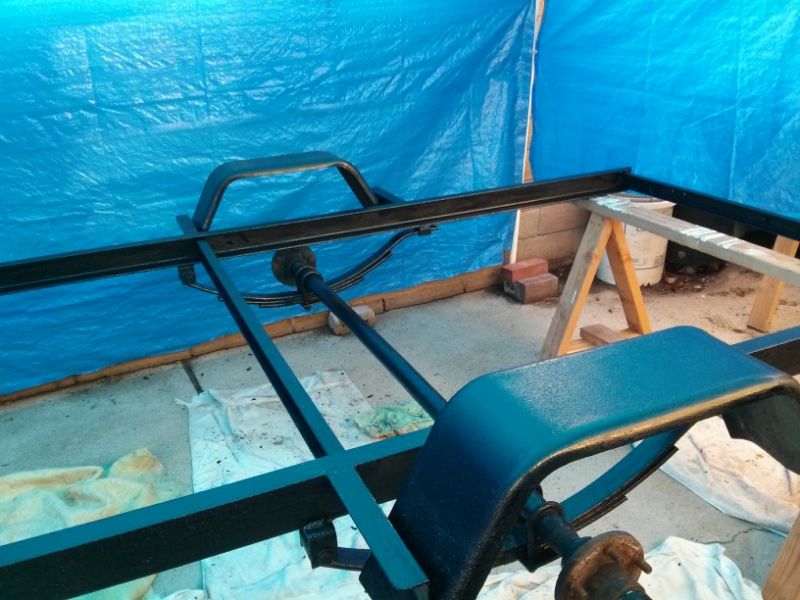
Here is the trailer stripped down with most of the loose old paint wire brushed off. Was then wiped down with either acetone or mineral spirits I can't remember which.


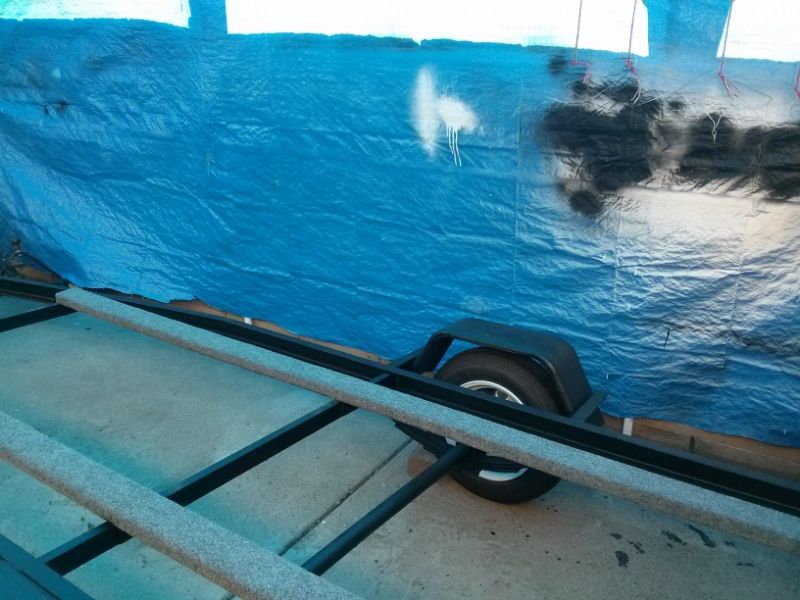
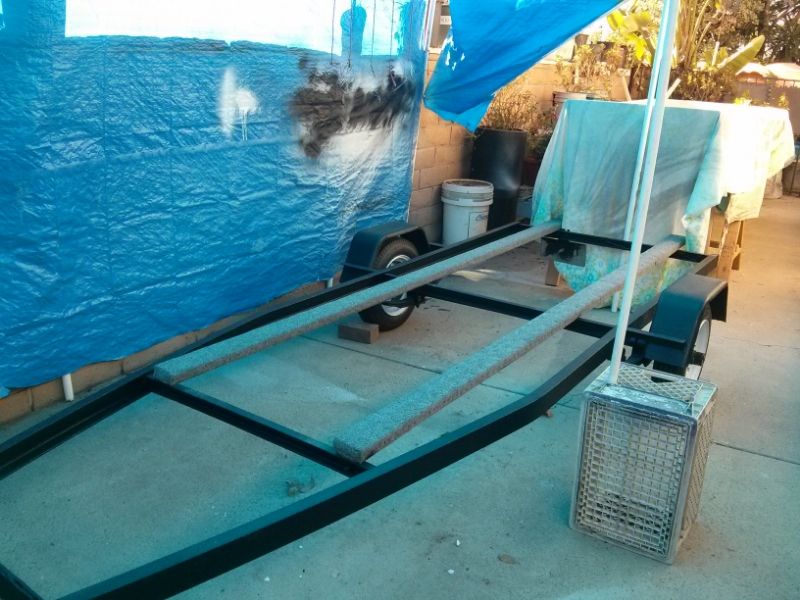
Herculiner went on really easily and looks pretty good.


I removed all the riser hardware for the bunks and drilled new holes into the frame so that I could mount the 2x4s directly to the frame. Hopefully with the bunks being this low it wont create an unforeseen problem in the future. I also bought 2 brand new rims/tires and cleaned up one of the older ones to use as a spare tire.

IMG_20140108_141140_zps4d5bd68f.jpg

IMG_20140108_141147_zps56d963b9.jpg


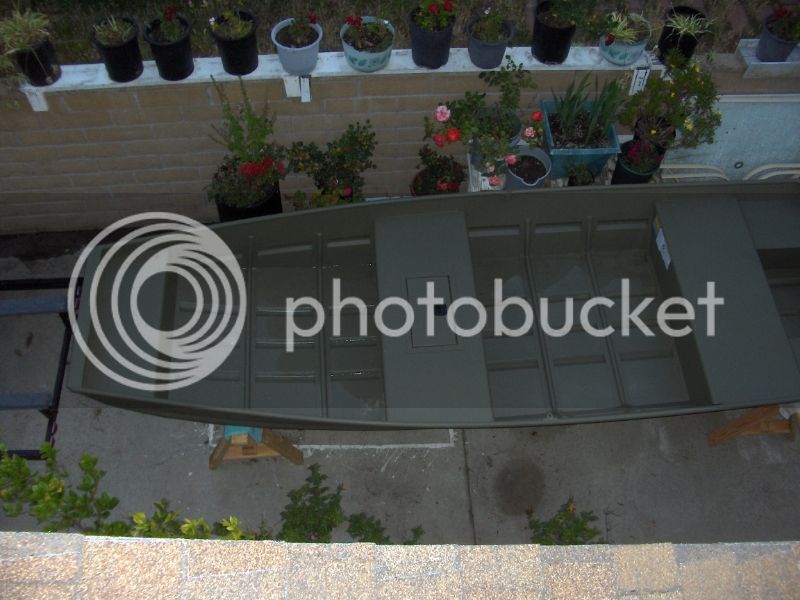
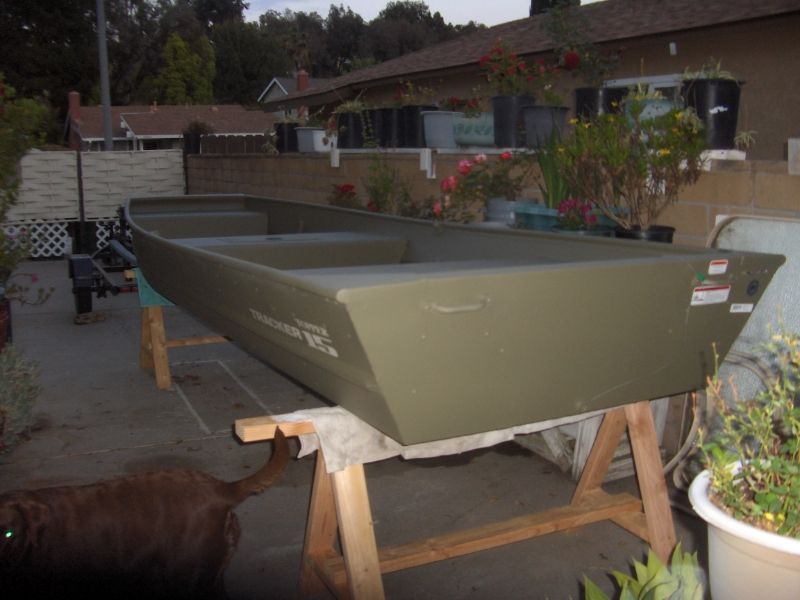
Here is the brand new boat but new last May :p
HPIM0703_zps4eb67e27.jpg

HPIM0704_zps6eac9154.jpg


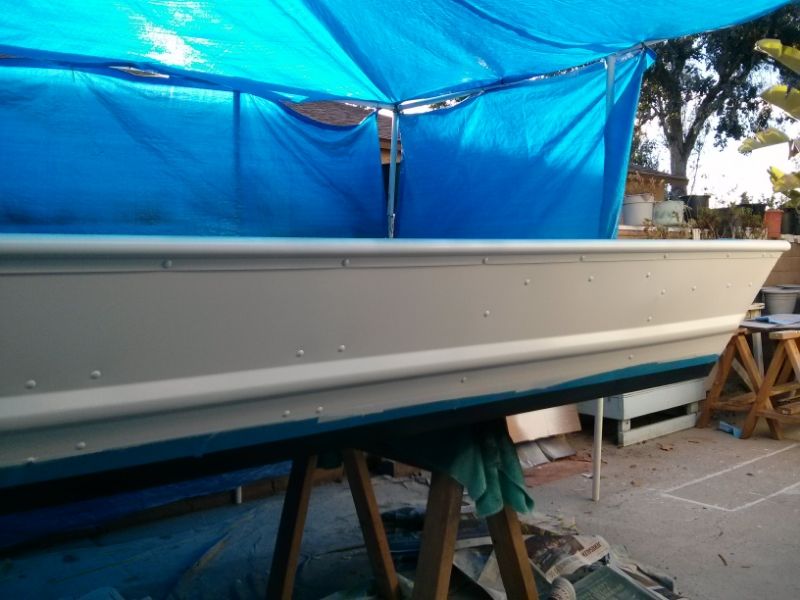
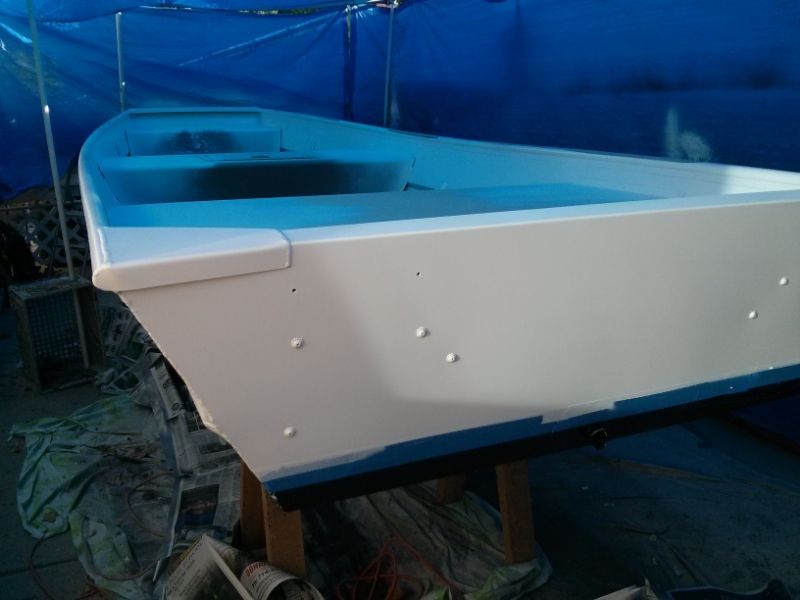
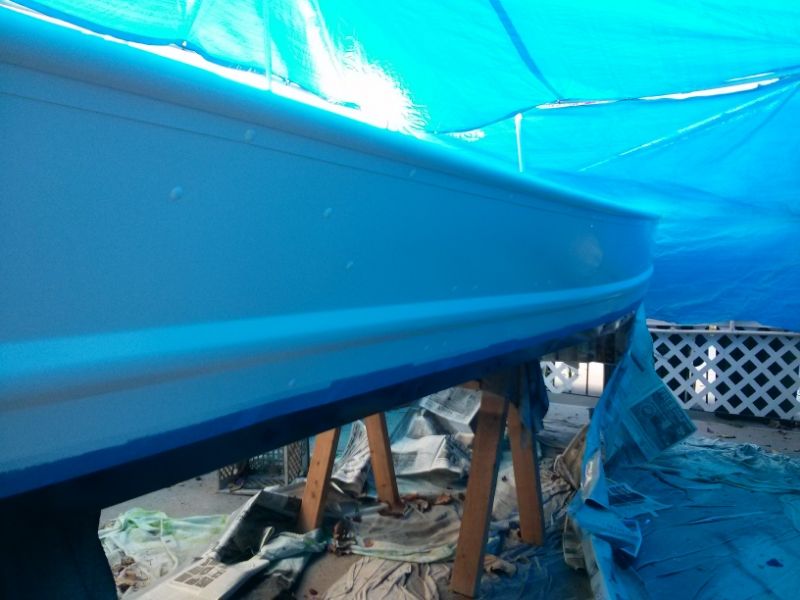
Painted the boat all white and the bottom all black that comes up from the bottom around 3.5 inches.
IMG_20140102_152424_zps1037c64d.jpg

IMG_20140102_152451_zps6de1a3ba.jpg

IMG_20140102_152503_zps3a63719e.jpg


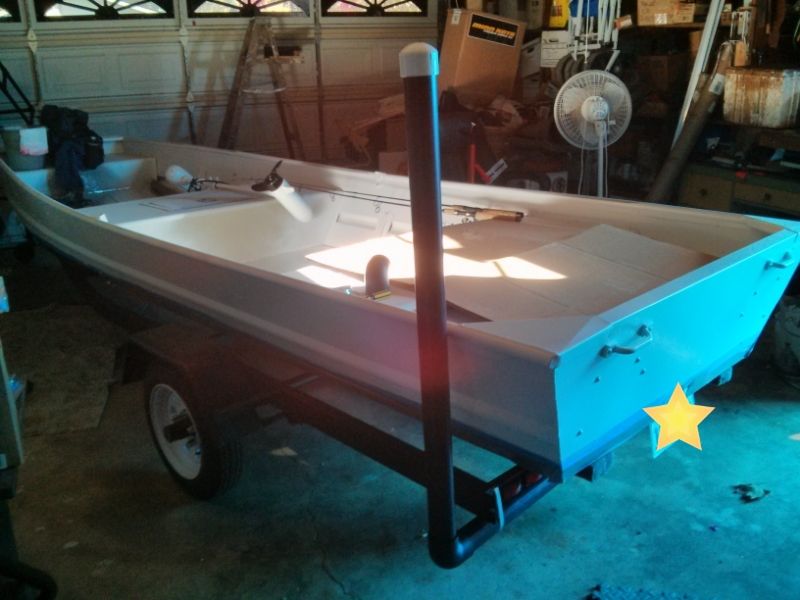
I made some guide posts out of pvc and attached it to the frame with u brackets and large hose clamps.
IMG_20140116_151157_zpsceb0c3e5.jpg

Still thinking it might be better moved forward a few feet or should I just leave them in the back?
 
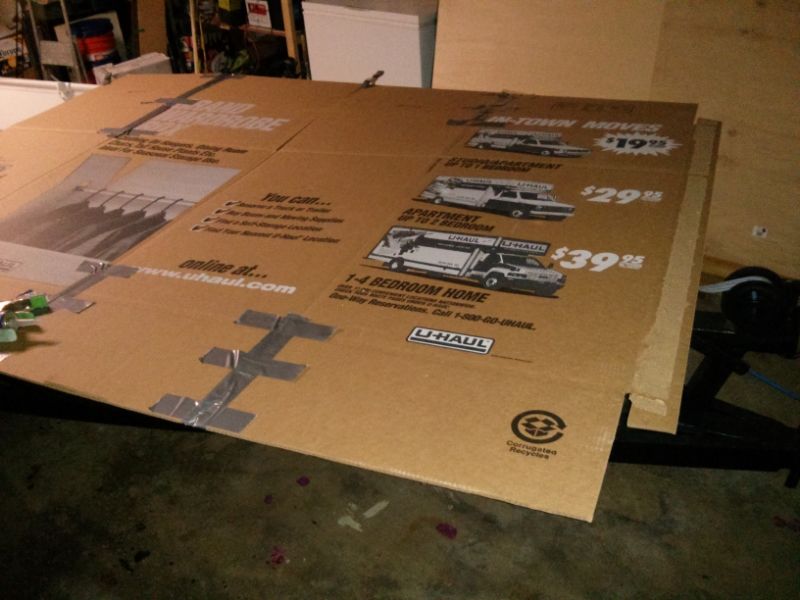
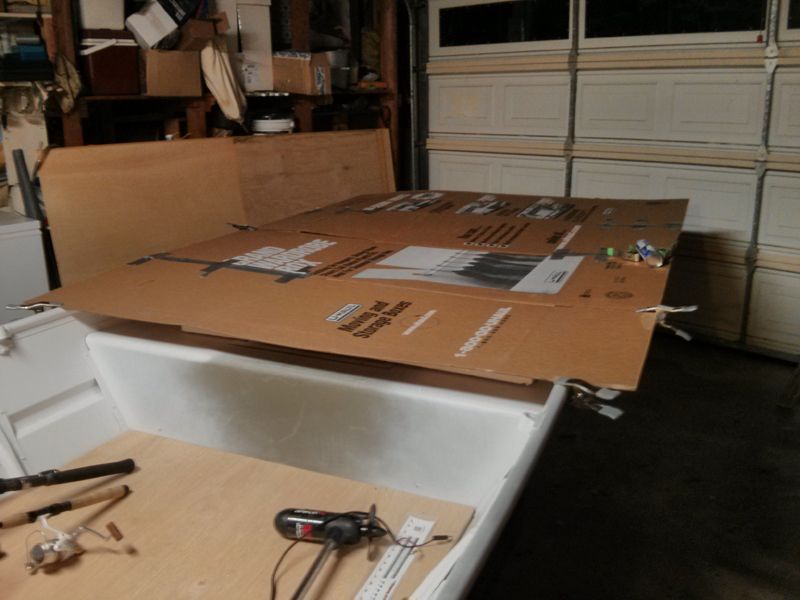
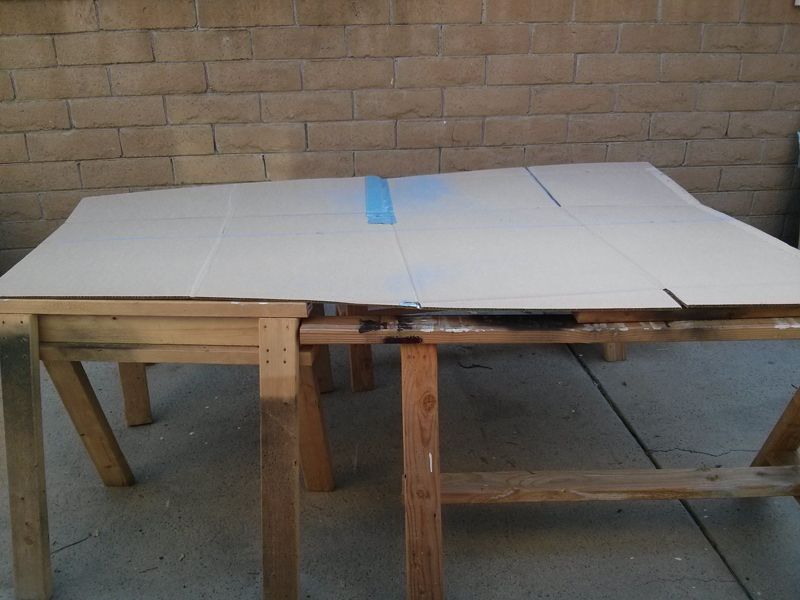
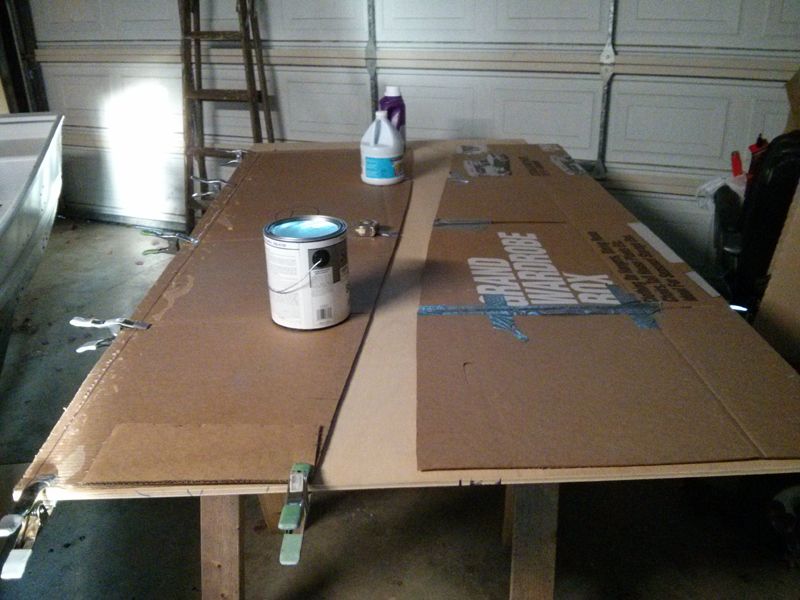
I went to u-haul and bought one of their wardrobe boxes so I could make a template - so happy it was such a huge box and covered the whole deck.

IMG_20140305_222932_zpsbedbc240.jpg

IMG_20140305_222837_zpsce6ca57a.jpg


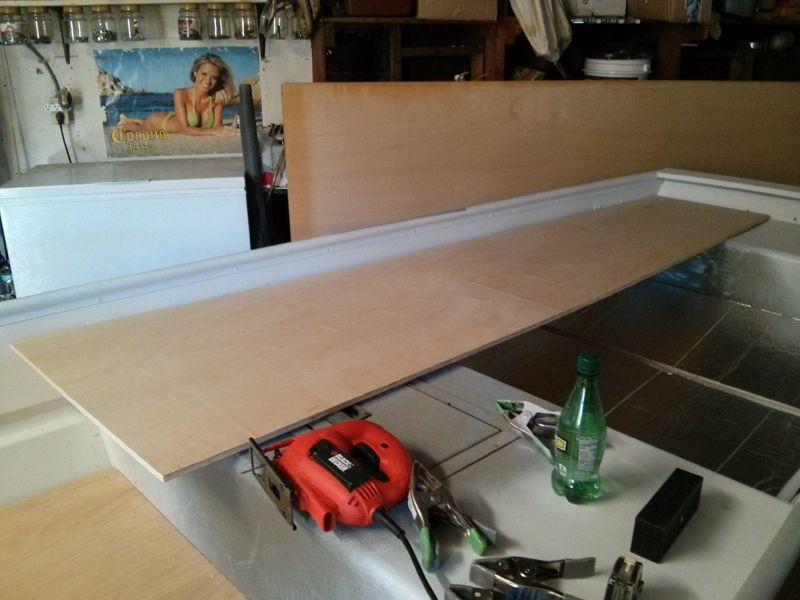
It was easiest for me to just cut the template with a jigsaw.

IMG_20140306_163249_zps5816545f.jpg


I cut it down the middle in the center and then just overlapped on top of the other and it seemed to fit pretty nice, but in some areas it was pulled away from the side of the boat but nothing over 1/4"
IMG_20140306_165646_zpsdf24da36.jpg


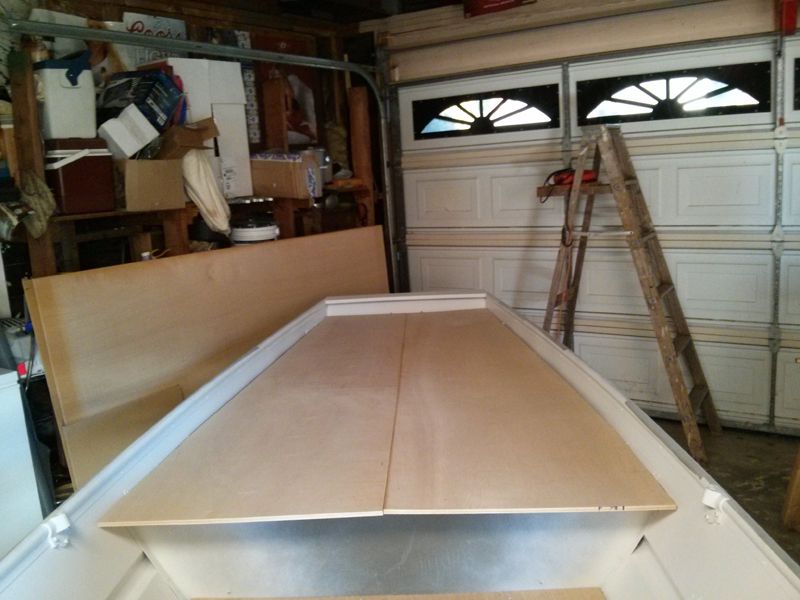
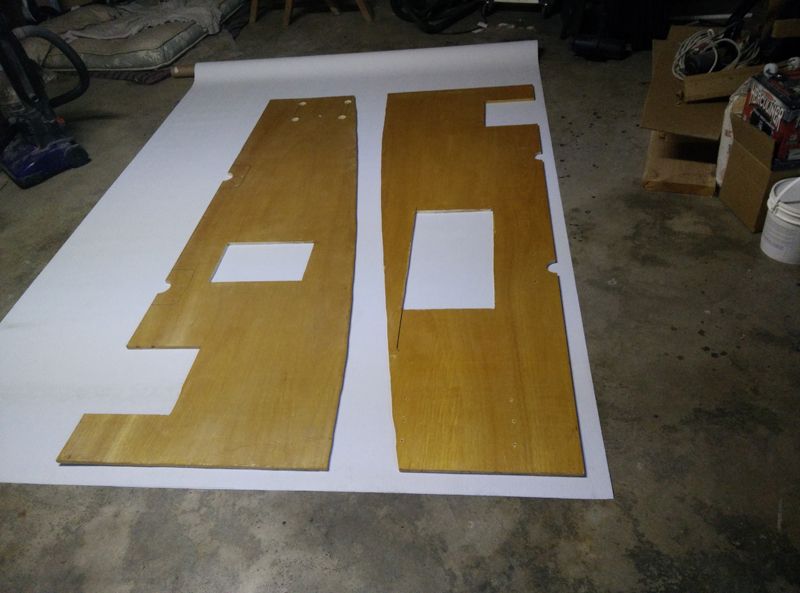
To my amazement I was able to use just one sheet of 8'x4' plywood to do the whole front deck, of course, in 2 halves. In the pic they are pulled apart so I am not demonstrating that but when I pushed them together I had less than a 1/4" between the outlines.

IMG_20140308_170220_zps56f7f880.jpg


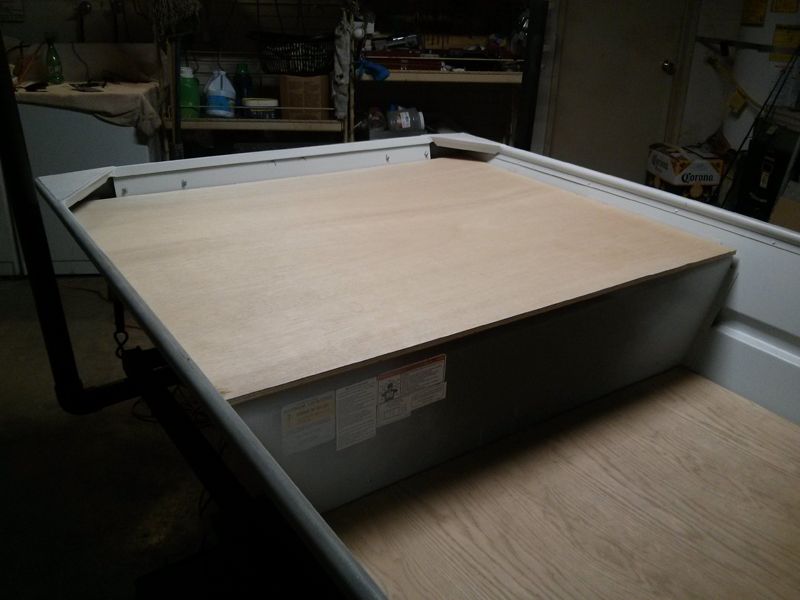
I still need to trim the end/bottom to sit flush with middle bench but I was pleased at how snug it fit especially at the top and bottom of both halves of the deck.
IMG_20140309_154600_zps6502b1d0.jpg


I forgot to show a picture of the foam I put between the ribs so you can see it here - I also did the same foam setup underneath the floor plywood sheet.

IMG_20140309_143357_zps476c6c9e.jpg


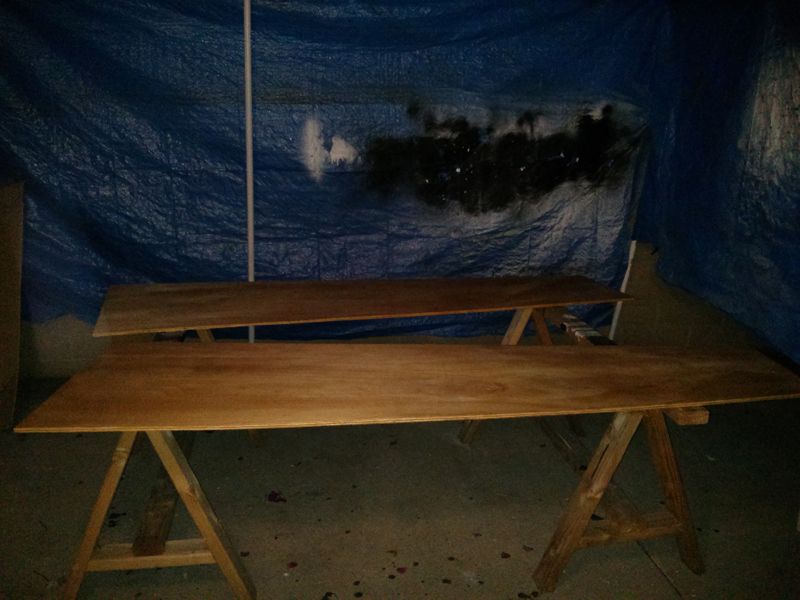
This was a drag but I got through 4 coats of spar urethane. Just on one side the bottom the top coat is going to be tuff coat non- skid I bought from bass pro shop.

IMG_20140319_193607_zpsc5c47267.jpg


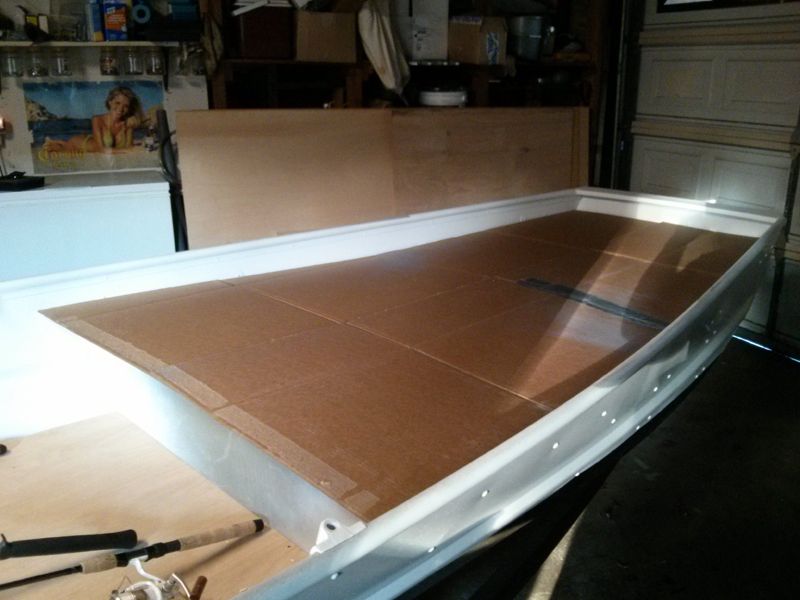
I made a template for both the rear deck and the floor with thin strips of straight edged cardboard glue together with hot glue gun and I also used staples to make it stronger.

IMG_20140310_023957_zpsabeea1ba.jpg

IMG_20140305_223032_zpsf111f738.jpg


I used a great idea from TNfisherman https://www.tinboats.net/forum/viewtopic.php?f=21&t=31638&p=326199&hilit=1542#p326199 one of the members here to attach screws with 1 1/2" angle tube to the bottom ribs.

IMG_20140317_174917_zpsc0f341e2.jpg


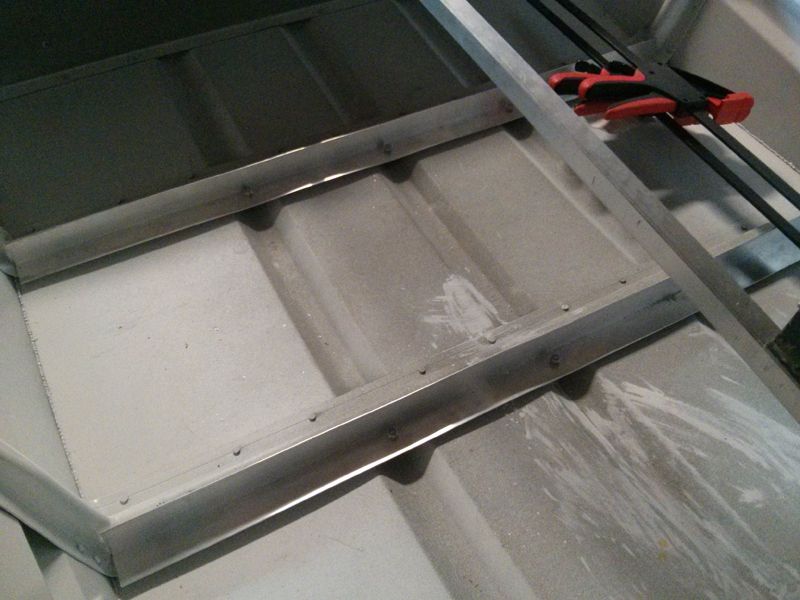
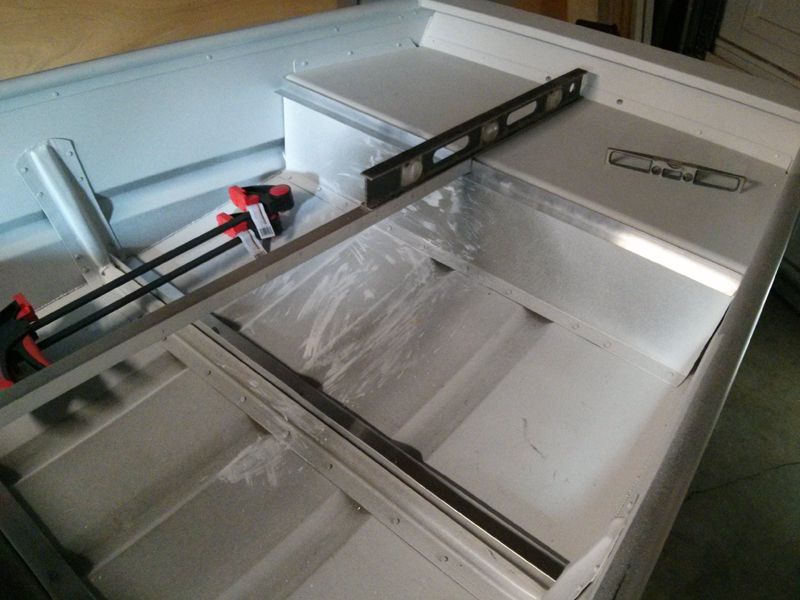
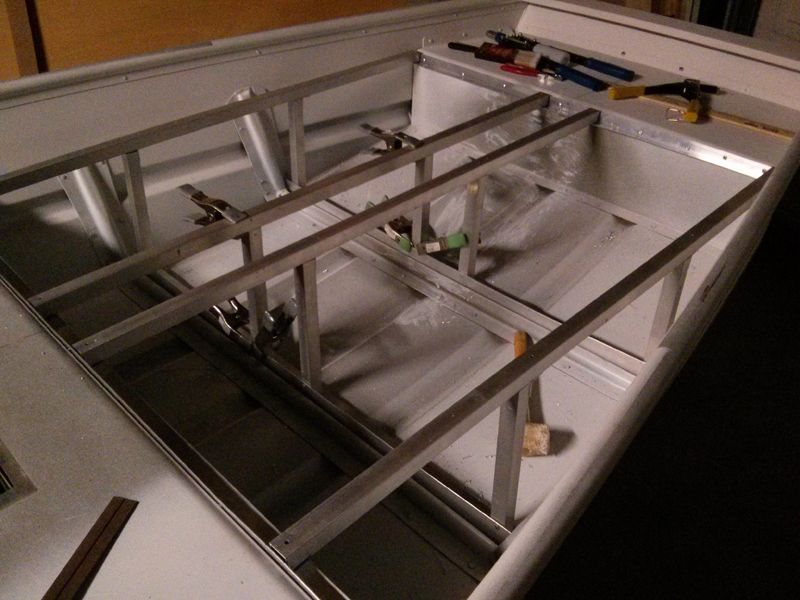
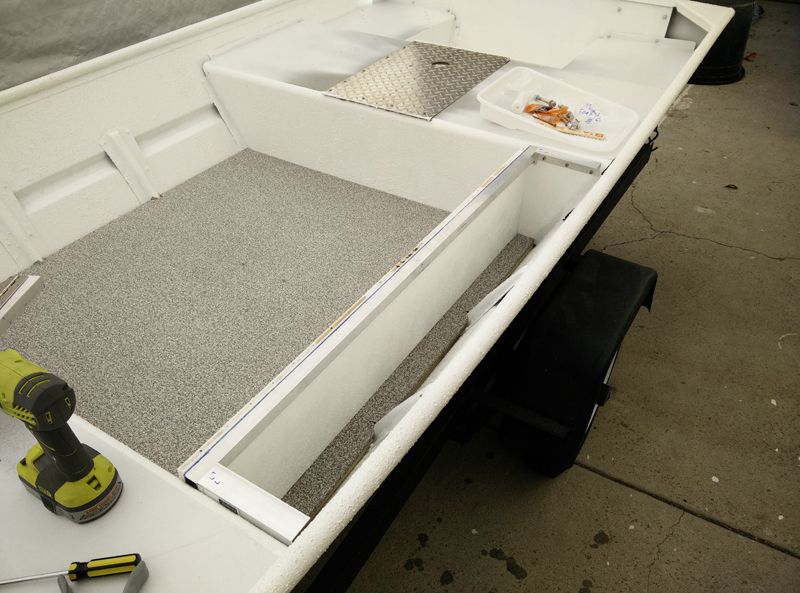
I riveted 1" angle to the small front seat of the boat and another piece to the middle bench seat. Then I used 1" square tube of aluminum for the cross beams.

IMG_20140317_174957_zps4bc85f3b.jpg

IMG_20140321_225902_zpsc97a5bff.jpg


I drilled out the rivets to remove the hatch which was the cover for the small live well built into the center bench. I left the aluminum live well square in tact because I am going to put a single battery in it.

IMG_20140317_193426_zpsc4cbecfe.jpg


till next time...
 
[url=https://www.tinboats.net/forum/viewtopic.php?p=352473#p352473 said:
bobberboy » 16 May 2014, 04:45[/url]"]I like the "holy thread revival". Any more progress?
:D Yes more progress but a very small amount...

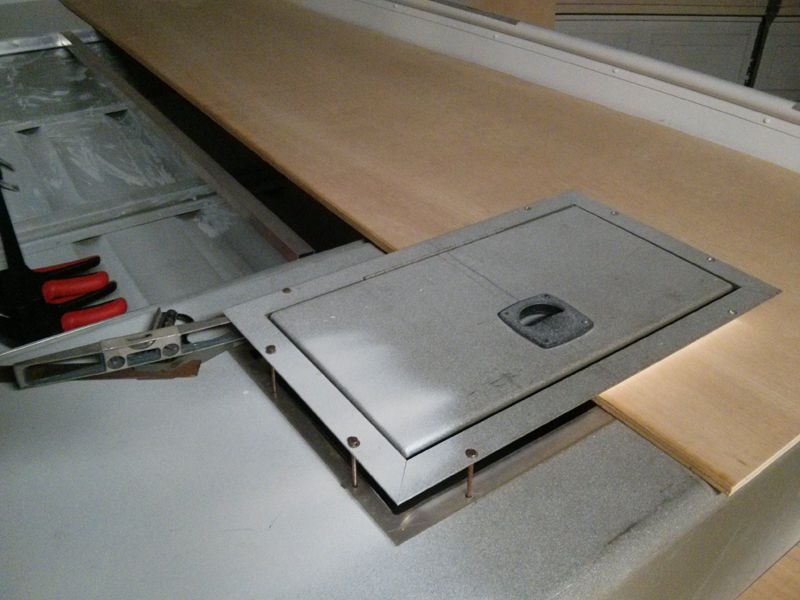
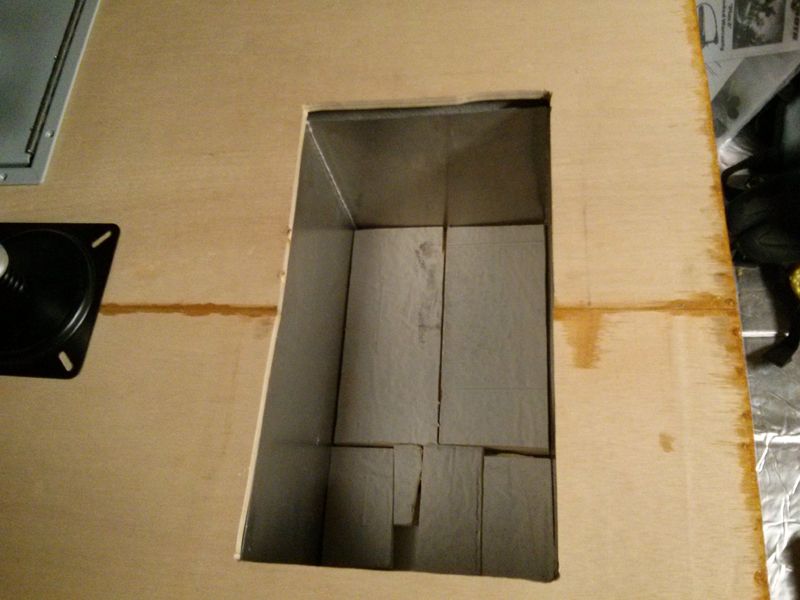
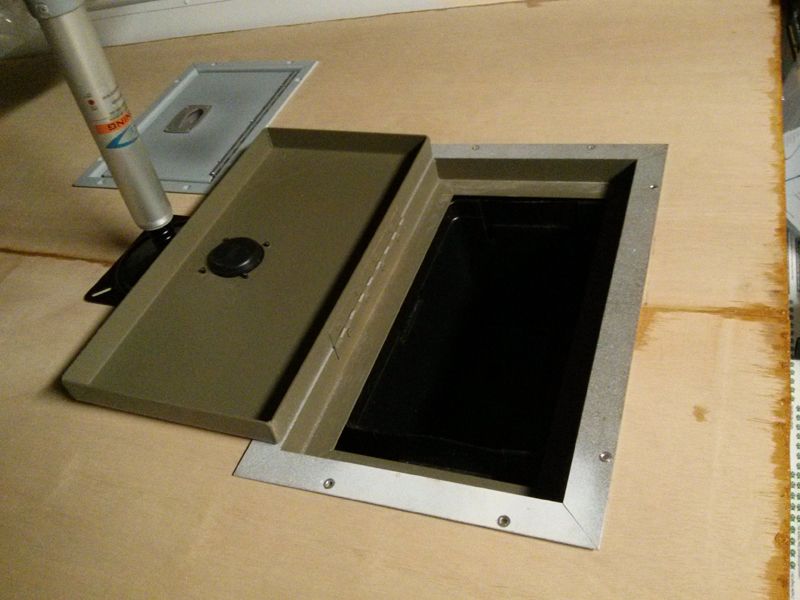
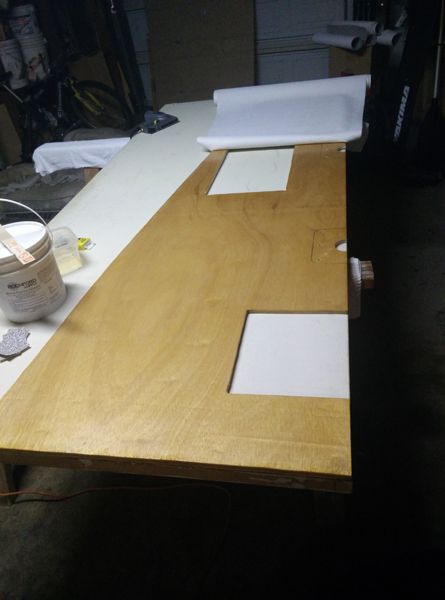
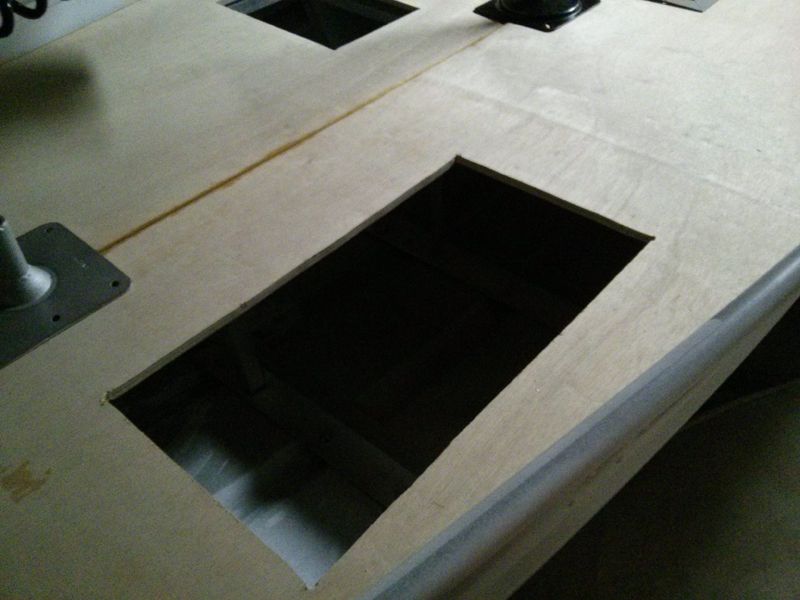
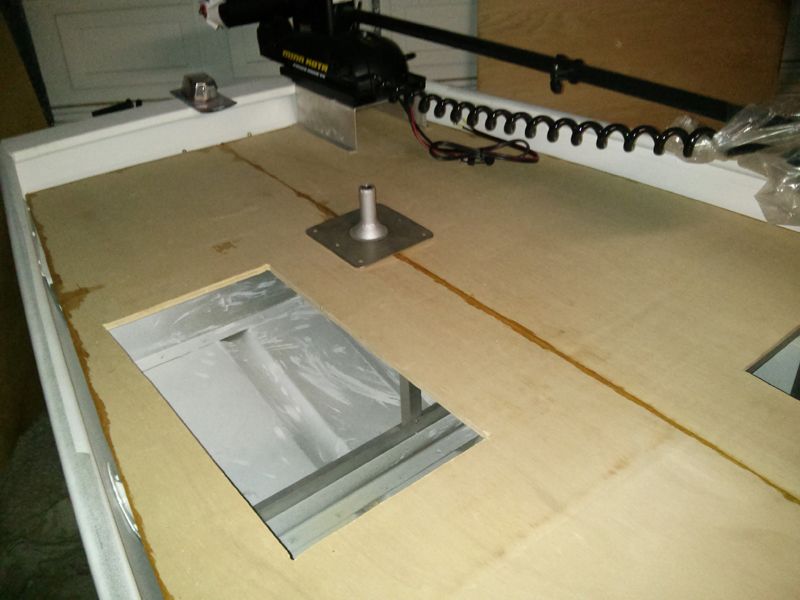
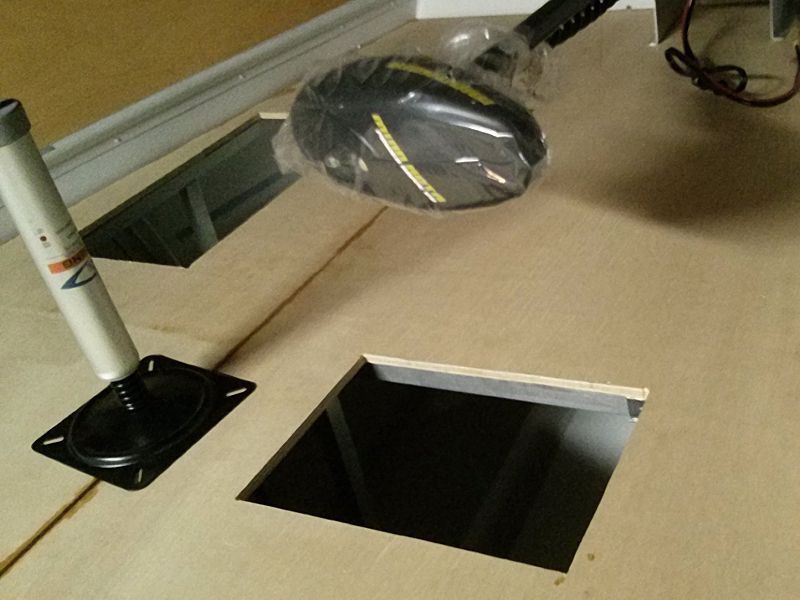
1st I cut a hole in the plywood so that I could re-use the original hatch that was in the middle bench made for the live well. I stacked foam on the bottom because there is a drain plug at the bottom that I do not want to mess with, plus the plastic battery box fit just fine. Now I can get some screws and and attach it to the plywood but I know I am going to need to cut some holes soon for the cables.

IMG_20140518_022248_zps014b798f.jpg


IMG_20140518_022353_zps6b51e542.jpg


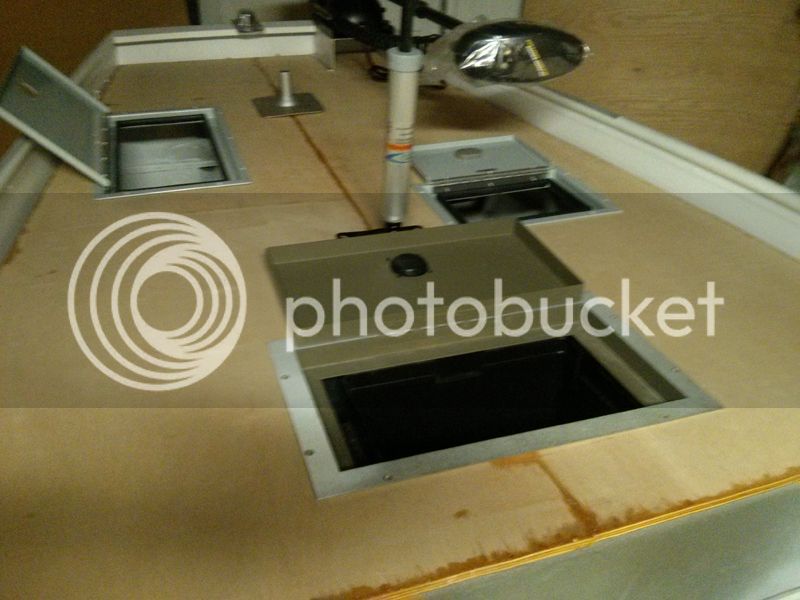
Next I cut a hole for the left side hatch ---- Very snug fit which is great.

IMG_20140518_021442_zpsc1cde86f.jpg


Oh and in the background you can see the sweet custom trolling motor bow mount made by Dawson at his FishOn Fabrications https://www.fishonfabrications.com Really love the quality of work should have got my hatches from him too.

IMG_20140518_021417_zps2a588445.jpg


Here is a little vid of the hatches and tm mount just so you can have a look see. Real happy with them. No loose rivets nice thickness and heavy duty hinges. Also has rubber to I guess help keep water out, not to sure if it will work with that. Oh you need to buy screws for the hatch handles as none came in the box from Cabela's.
[youtube]watch?v=RMCE-dFkMjk&feature=youtu.be[/youtube]

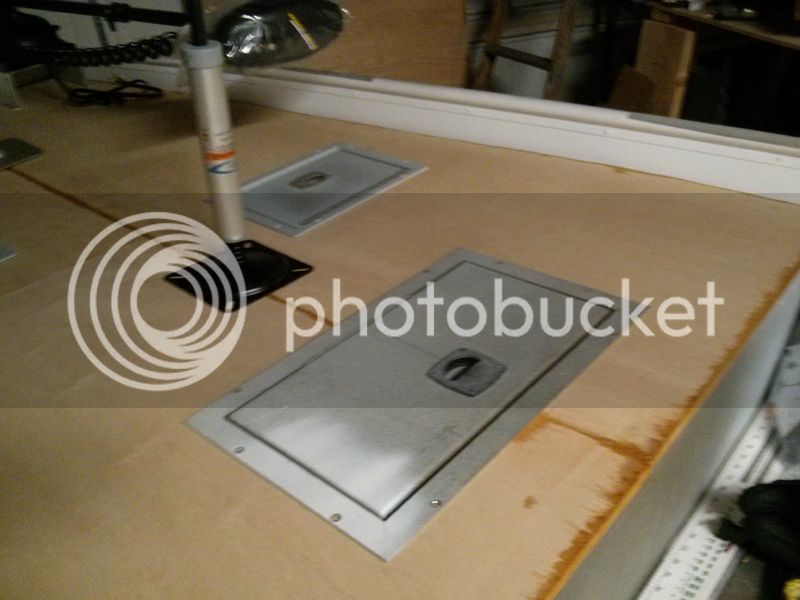
Then I cut a hole on the right side of the deck for the super small hatch. Too bad it wasn't a bit larger but it will have to do... I also put and extra support bar 1" aluminum square tube for support.

IMG_20140518_021529_zps7369afd0.jpg


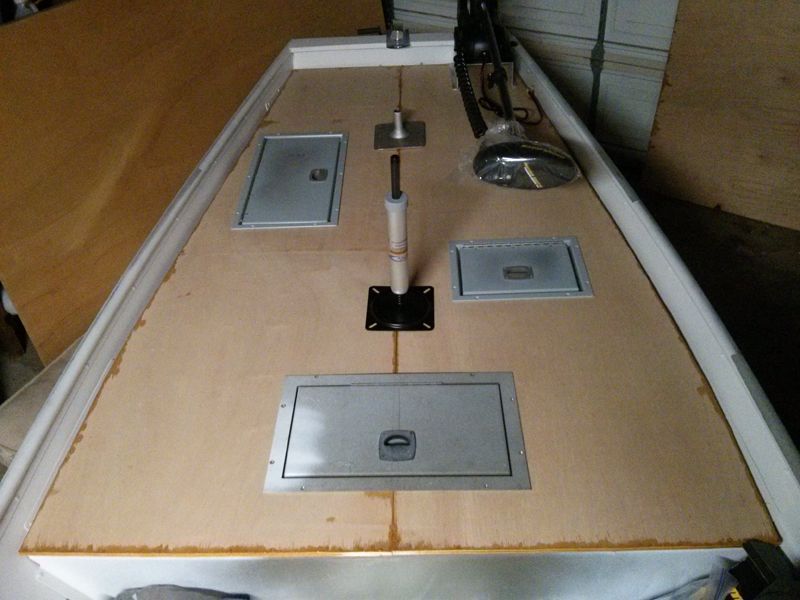
More shots of the layout.

IMG_20140518_022625_zps5aabedac.jpg


IMG_20140518_022335_zpscfd74801.jpg


IMG_20140518_023111_zps16a64a84.jpg
 
Dr. we don't have a pulse...... Charge the defibrillator!! Okay everyone clear!!! Dr. this thread has a pulse!1!11! Thread successfully revived... :shock:

OK I have finished a lot more work on the boat, so here are some picture updates.

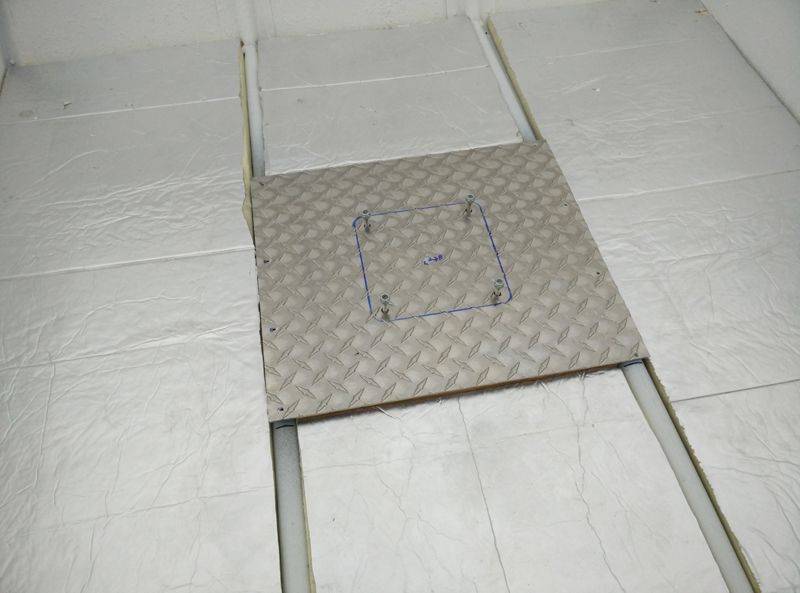
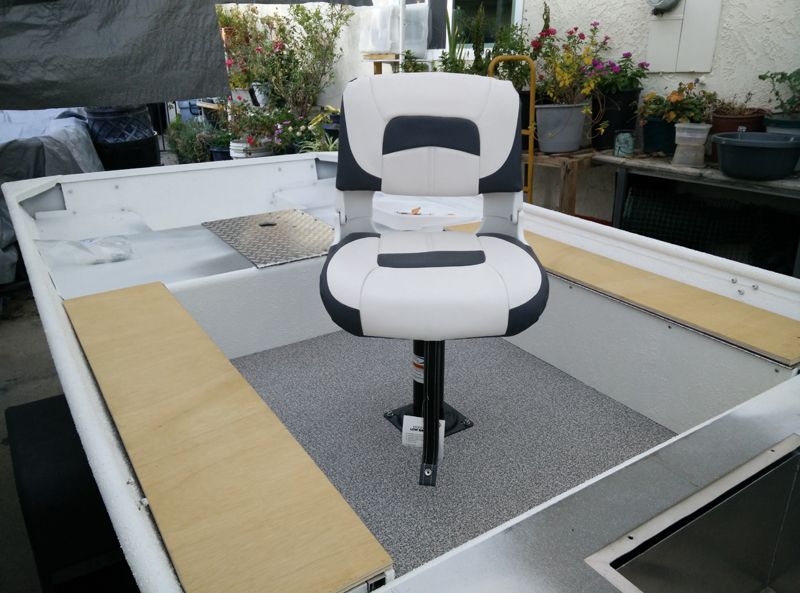
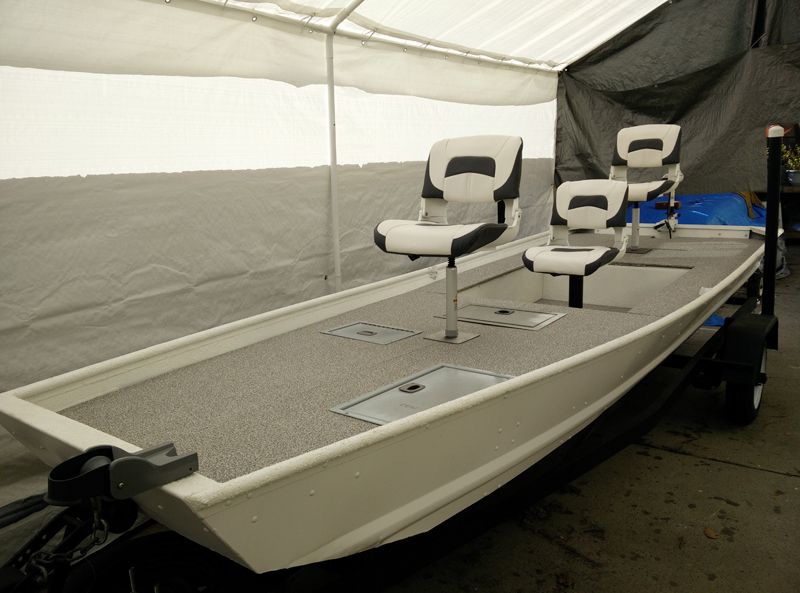
Here I needed to place a 3rd seat in the middle of the floor of the boat. So I needed to strengthen the attachment spot. I didn't take a picture yet but I made a cover for the 4 screw heads so that you won't trip over them.

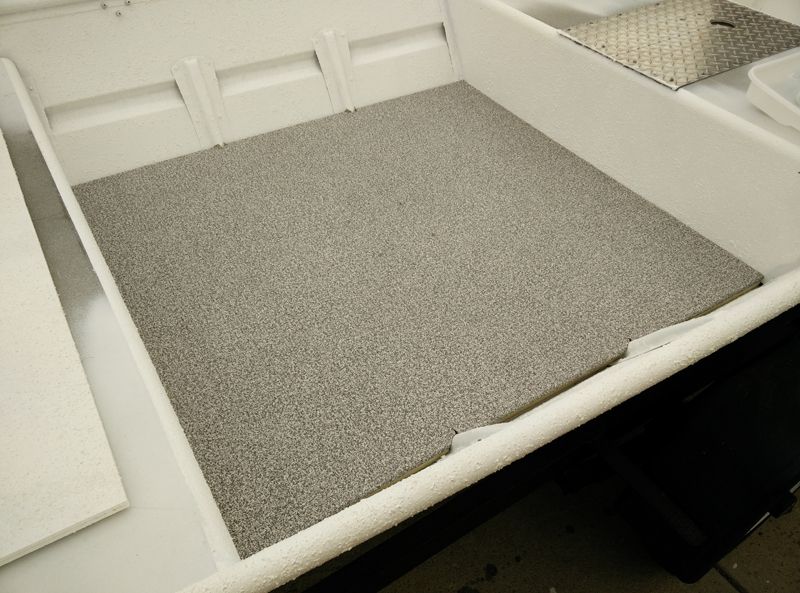
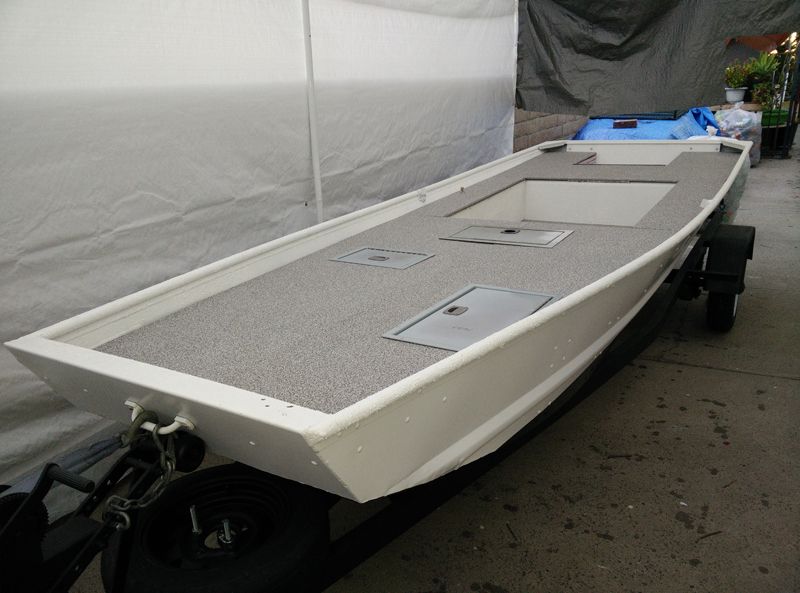
You can barely see it but there are 4 screw heads popping up through the floor to attach the seat base - this 3rd seat will be easily removable and will only be used if I have a 3rd person in the boat. The floor and all decks are wrapped with Nautolex from defender.com, really great pricing.


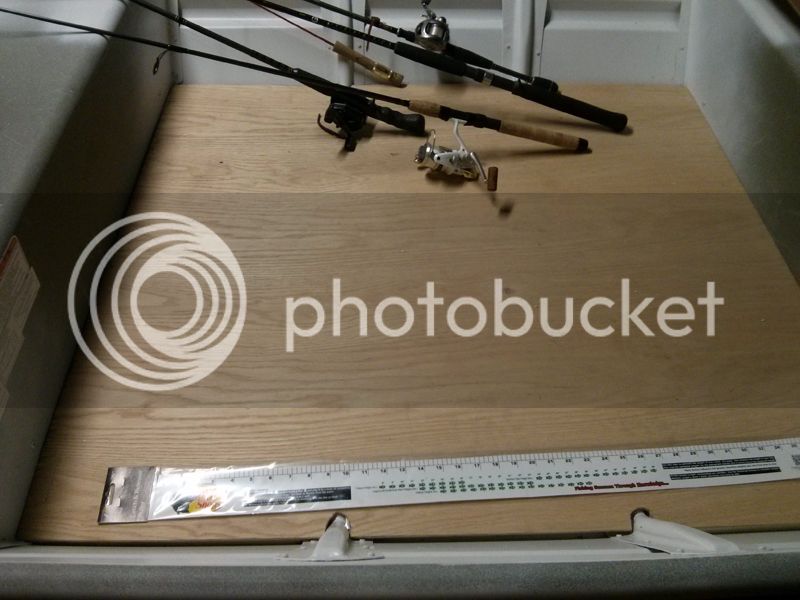
Here is some work on the rod lockers.


3rd seat mounted.


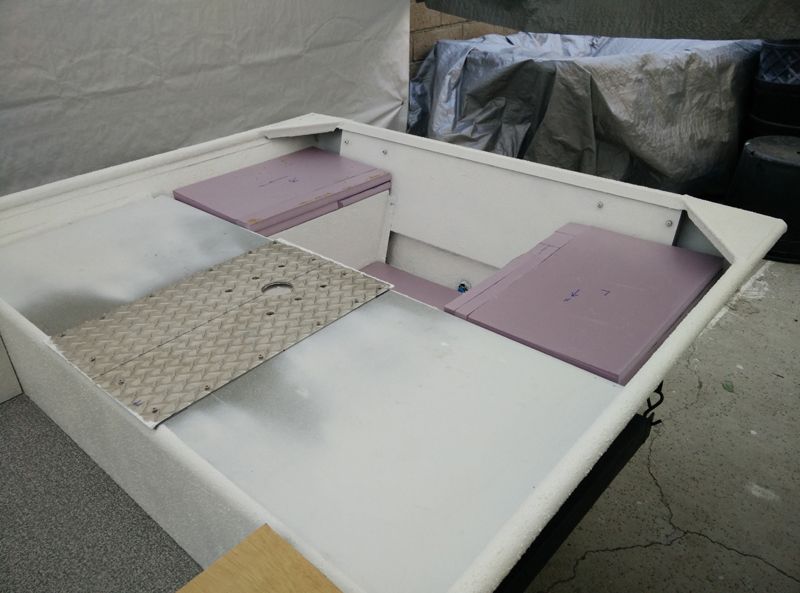
Rear of the boat where the deck is going to cover I added some pink foam to even the level up it is pretty ugly but it worked out great will see if I keep it like that.


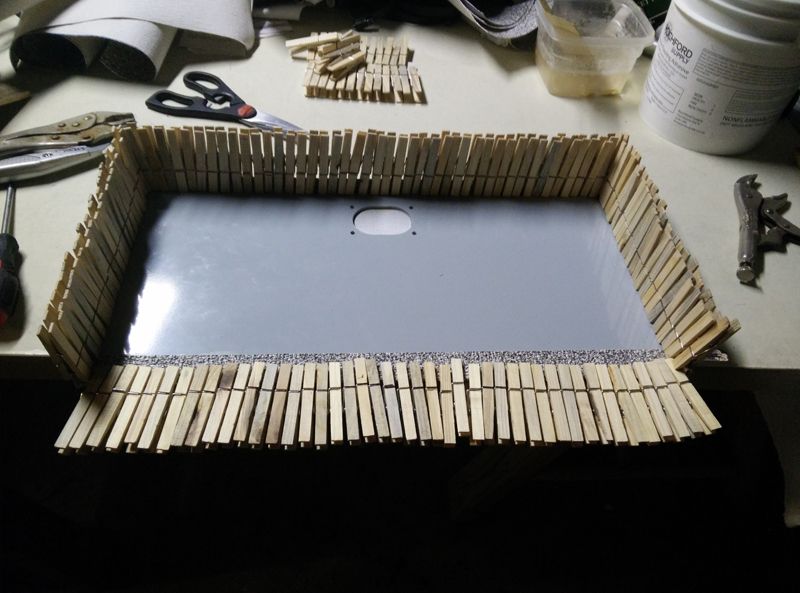
Some pictures of gluing and stapling the Nautolex to the decks and I even put it on all 3 aluminum hatches - that was so labor intensive.


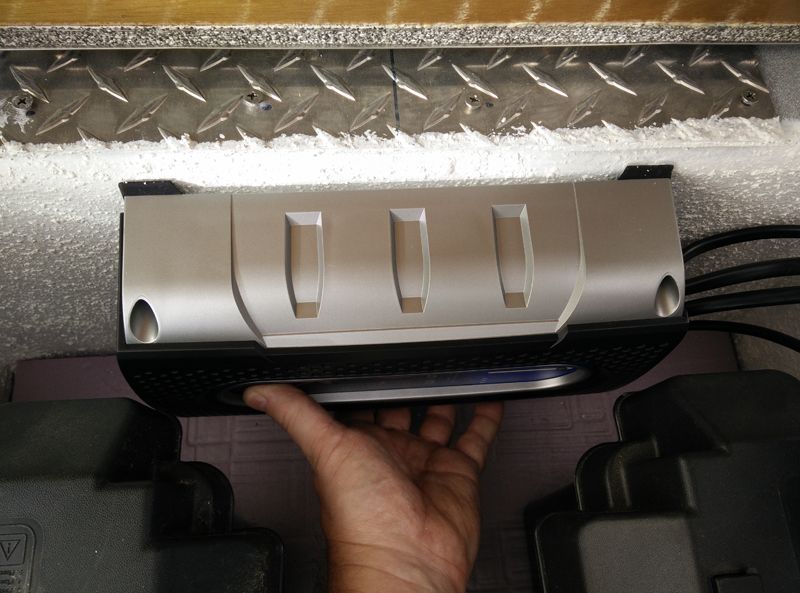
This is where I mounted the 3 battery charger, seems to be enough room for ventilation at least I hope so.


Glad I went with vinyl deck covers :) I also put locks on the rod lockers tops.


All seat post attachments are super solid so I am very pleased with that.


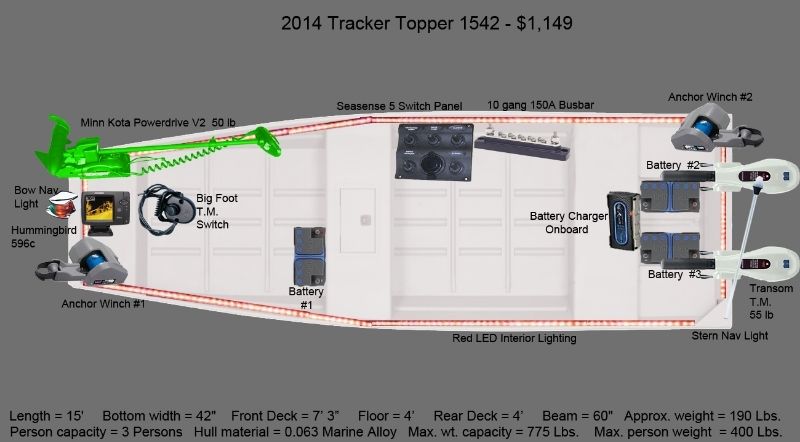
Here is how the boat layout will look with electrical as well.


More pics coming soon looks like I didn't take one with the hatches wrapped in vinyl.
 
Robert Hunt said:
Awsome project you did great job. How much weight did you add to boat ?
I will have to start making a weight list it will be interesting to know, thanks for asking.

61 lbs for each of the 3 batteries = 183 lbs
1/2" plywood approx 40 lbs for a single 4x8' sheet used about 2.5 sheets = 100lbs not counting: sealer, staples, glue, and vinyl
Minn Kota Powerdrive v2 - I think around = 30 lbs

Have to get weight on rear trolling motors. So it will take some time to figure out the rest of the stuff, heh even if I list it all out it will be heavier than the list for sure. Will add to it later when I get more time.
 
Boat is all apart right now because I am ready to start/finish all the electrical stuff. Was able to grab each item and weigh it on a digital scale.

1. Right half front deck w/hatch === 25.7 lbs
2. Left half front deck w/hatch === 28.5 lbs
3. Rear deck with/wood hatch === 29.6 lbs
4. Both Left and Right rod lockers == 8 lbs
5. Center floor w/small base cover == 29.2 lbs
6. Front trolling motor w/mount ==== 35.2 lbs
7. 2x rear trolling motors ======== 44 lbs
8. 2x crab claw anchors ========= 24 lbs
9. 2x auto anchor winches w/bases == 32 lbs
10. 3x seats w/posts and bases ===== 45 lbs
11. 3x batteries w/ plastic cases ===== 183.5 lbs
12. Hummingbird sonar ========== 3.5 lbs
13. Aluminum deck supports ======= .5 lbs
14. Boat paint ================ 12.5 lbs
15. Onboard battery charger======== 3 lbs
16. Bow and Stern lights ========== 1 lb
============================= 505.2 lbs as of now :shock:

This is most of the stuff I can think of right now. Could add fishing gear/tackle, cooler, rivets and screw weight, some wire weight. Luckily I am 5'7" 150 lbs and I primarily fish alone.
 
Apex Predator said:
And your are building this to fish three folks? It's gonna sink! LOL
Yeah I fished 3 people numerous times! With 3 people it doesn't even sit low in the water at all to my surprise. I think the weight limitations on these jon boats are low for ultra safety reasons. But realistically I only fish 3 people in the boat around 10 times a year and it does fish fine but it does move through the water a little bit slower :LOL2: The front 3rd battery is moved over to the left a bit under the deck and that offset makes the boat way more level because of the layout of the stuff on the boat.
 
Top