14' JBoat Fixer Upper

TinBoats.net

Help Support TinBoats.net:

This site may earn a commission from merchant affiliate links, including eBay, Amazon, and others.
Test ride went well. One thing after another after another.

Cant get the tail lights to work. Checked power from truck and got nothing. Found where one of the tow fuses was bypassed with a piece of wire... removed that and replaced with an actual fuse.. rest look good.. still nothing from the connection point. I'll test from wires tomorrow.. its too dang hot out lol
 
GAHunter said:
I got em on. They wouldn't move again so I pulled back off and went in hardcore with sanding. Sprayed some pb blaster and put a little grease and they almost jumped all the way on by themselves. Smh lol. Now to find something I can put around these caps.. they dont want to go on straight at all. Hoping I have a socket I can put over and tap on.

Edit:

Tapped the ridge that runs around the cap with a metal dowel and hammer, tap turn tap turn etc went on first fine.
 
20190809-171230.jpg


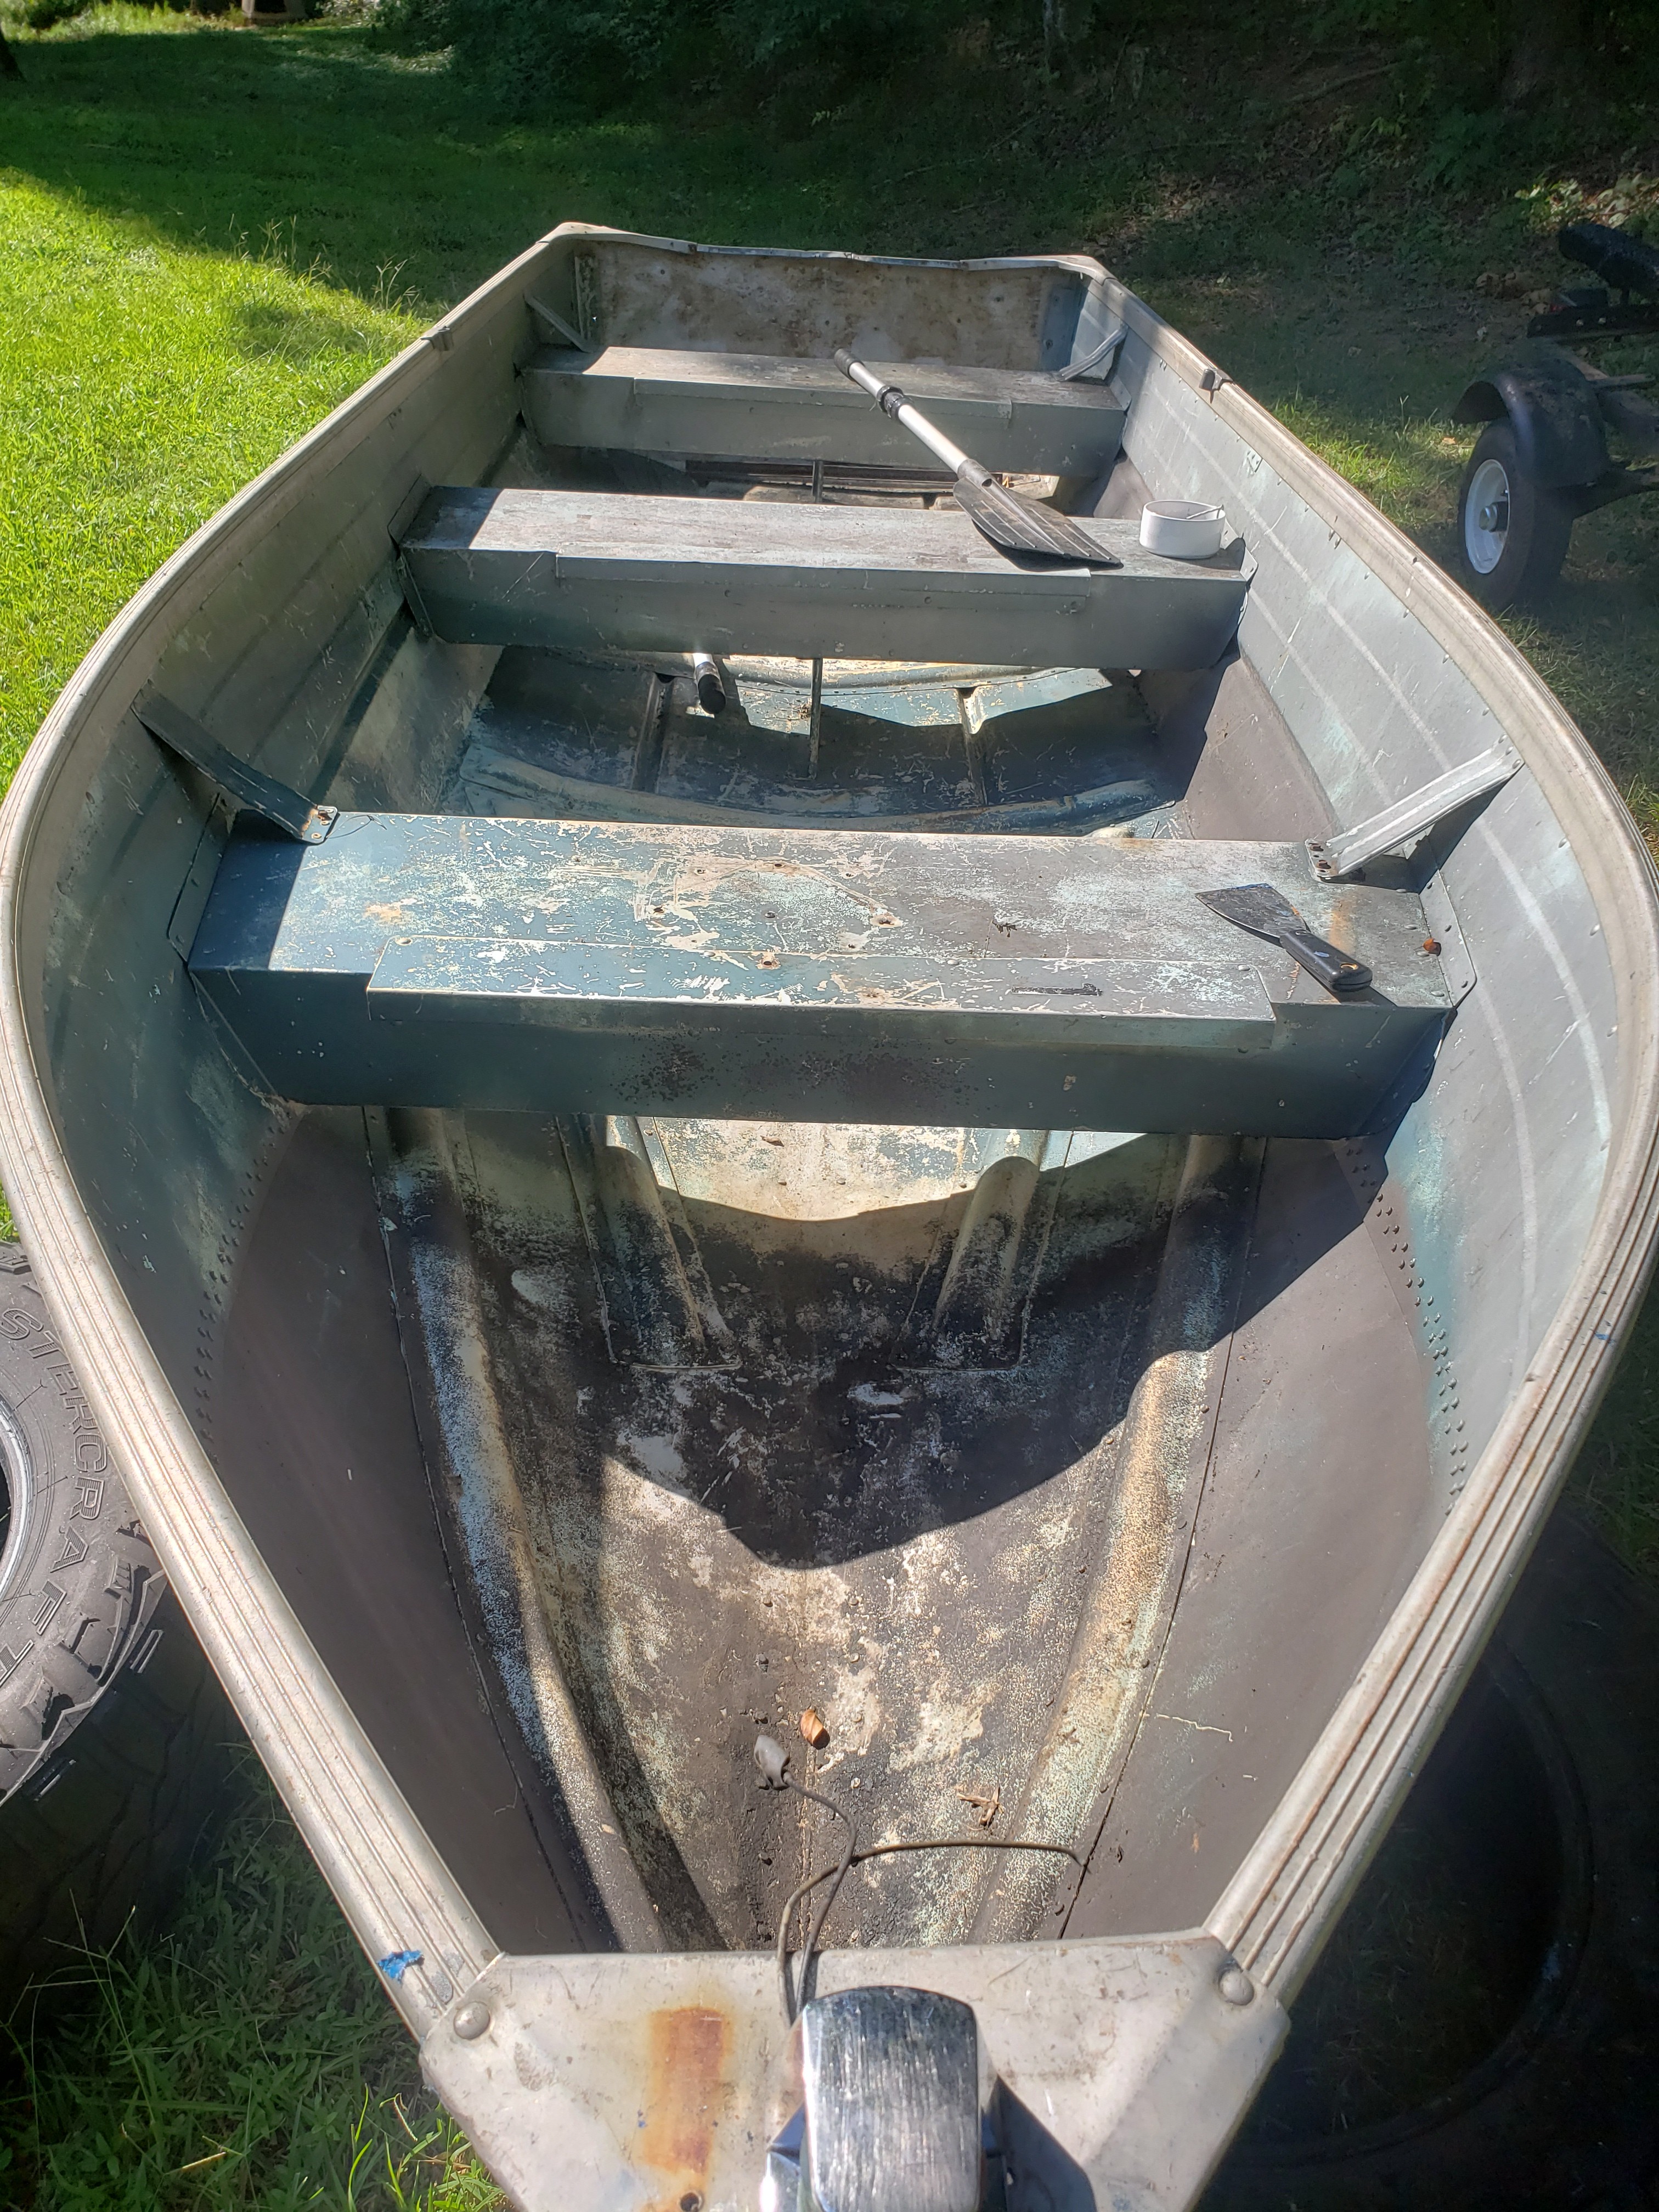
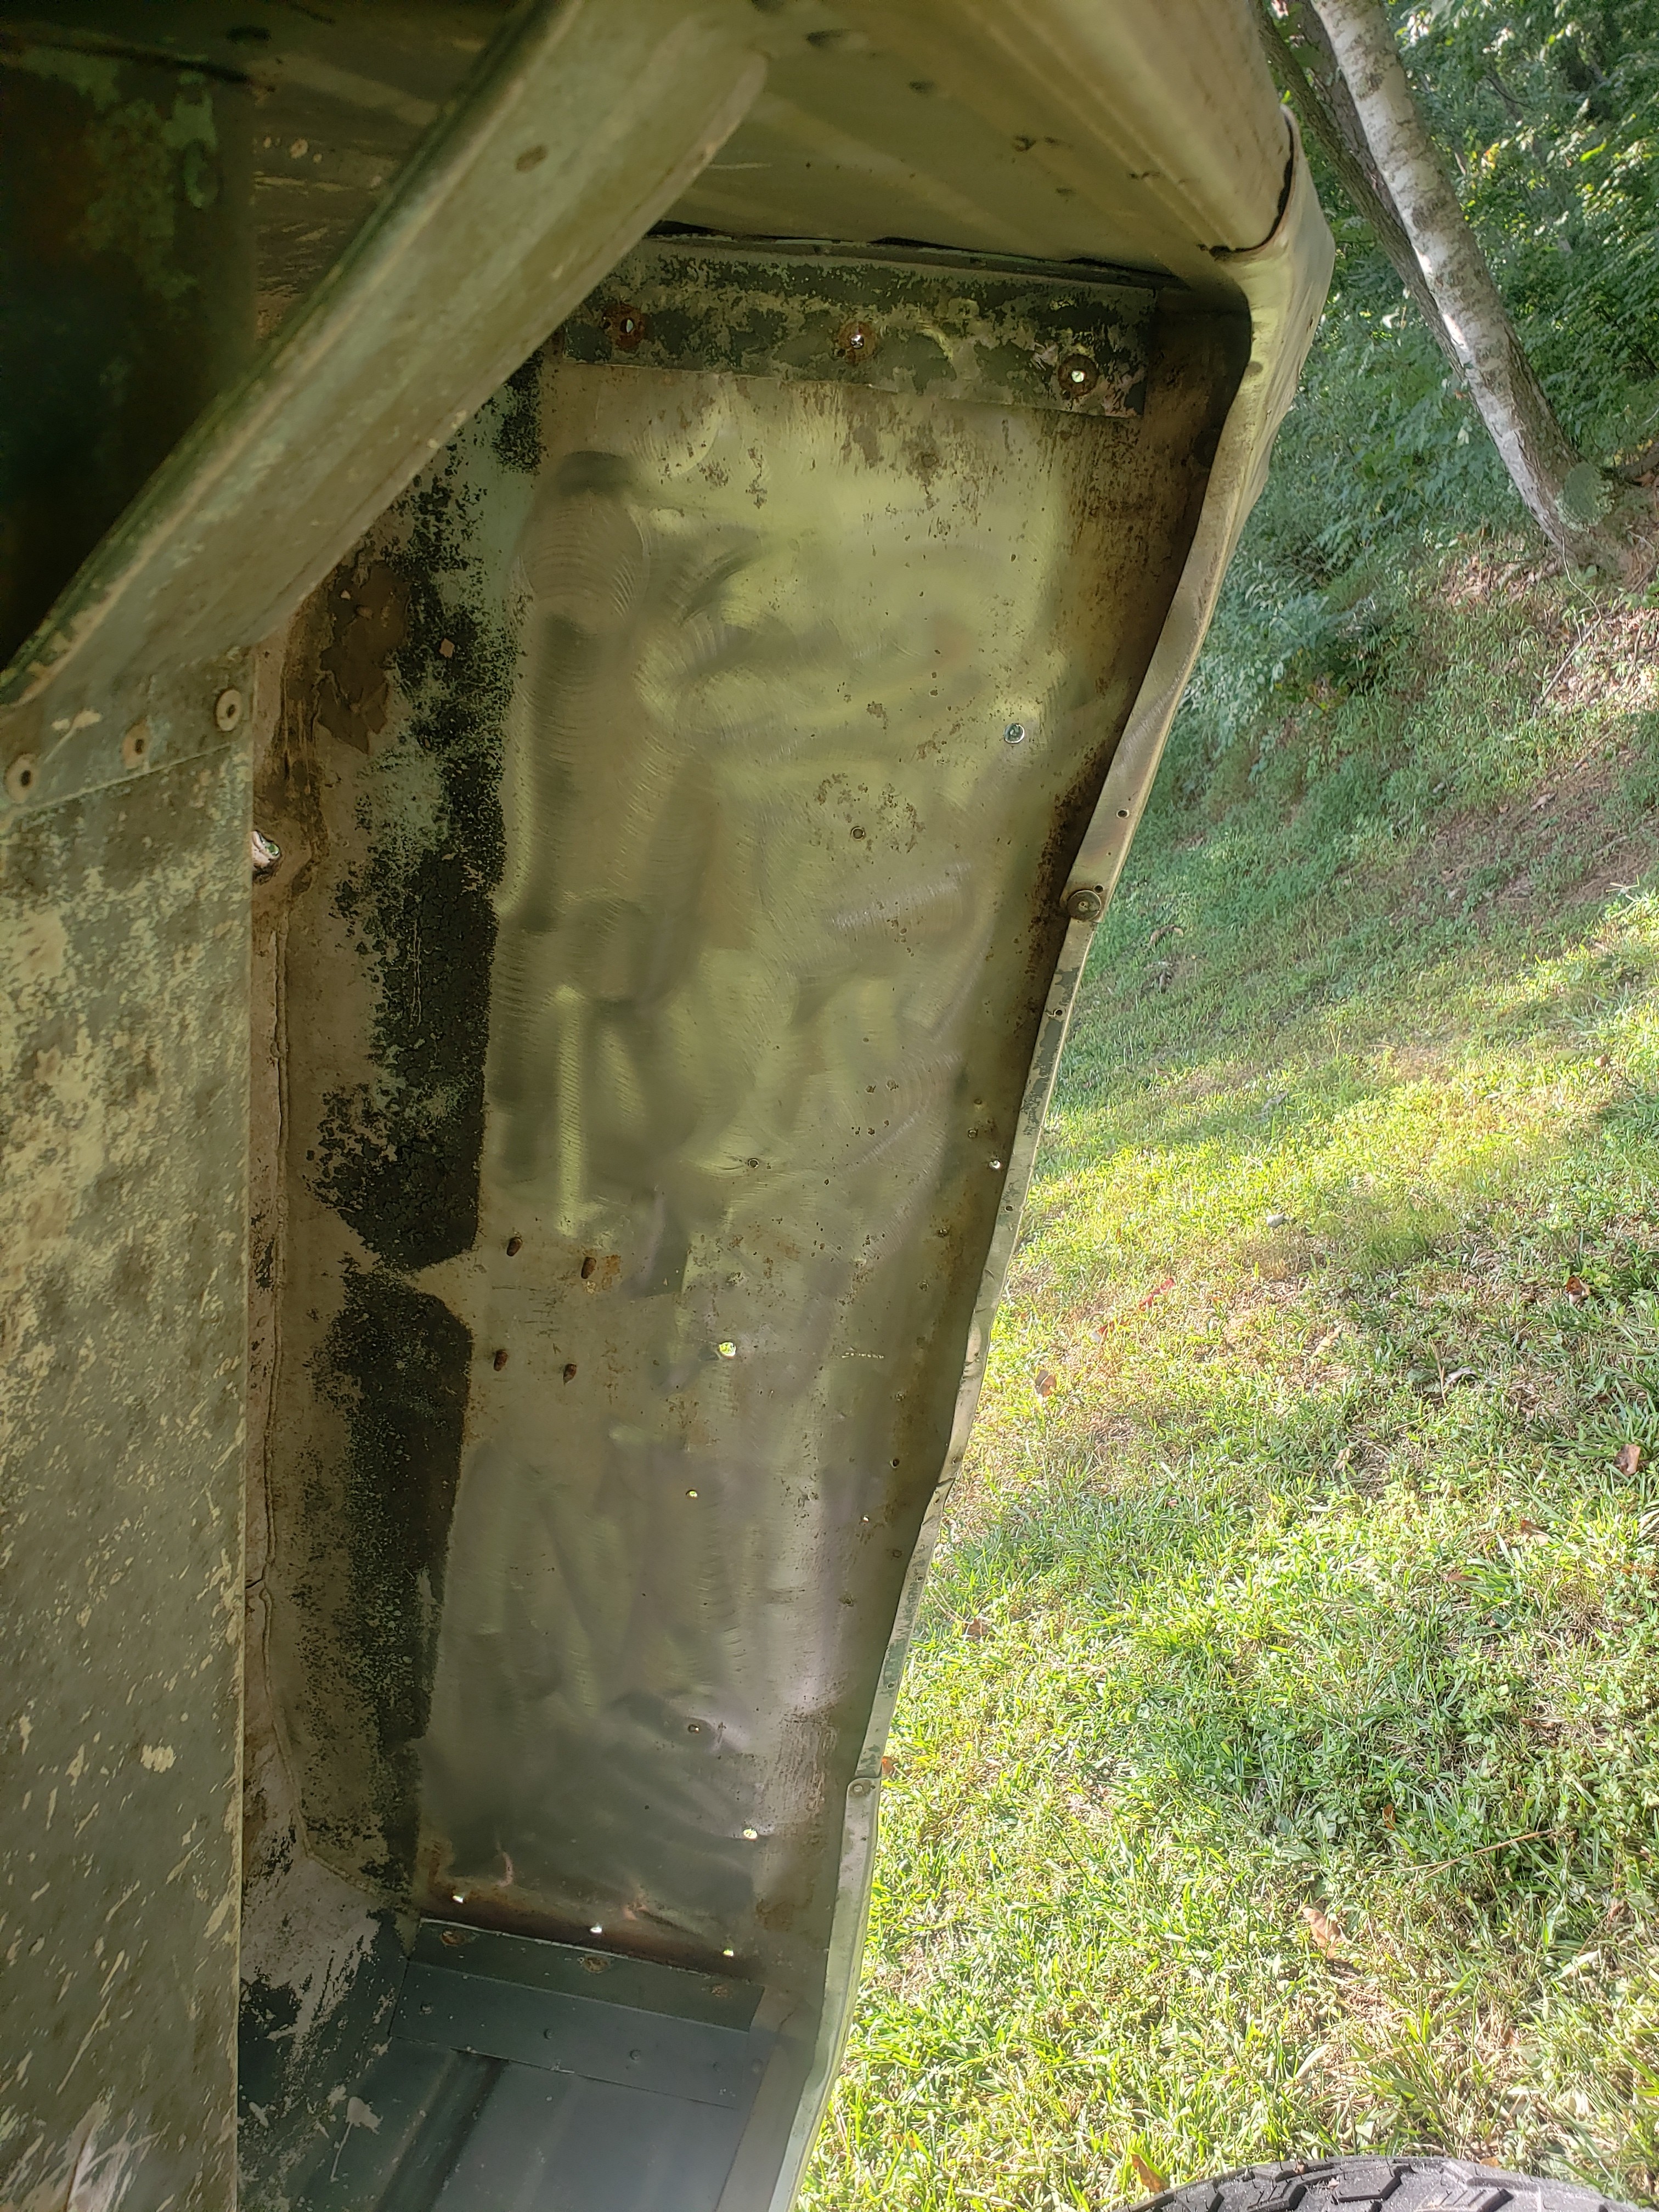
Time to clean up the inside..
 
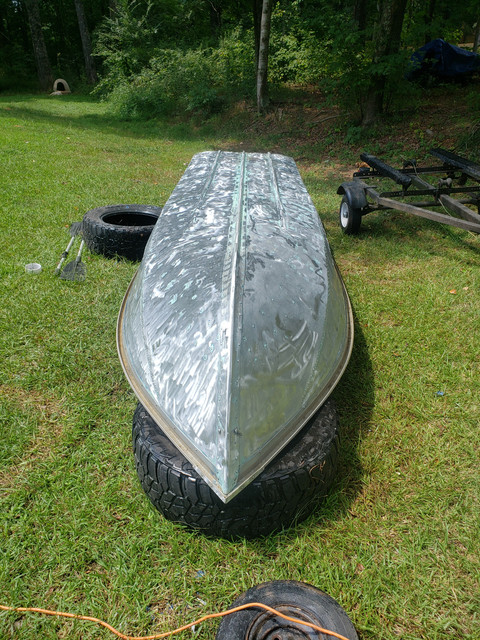
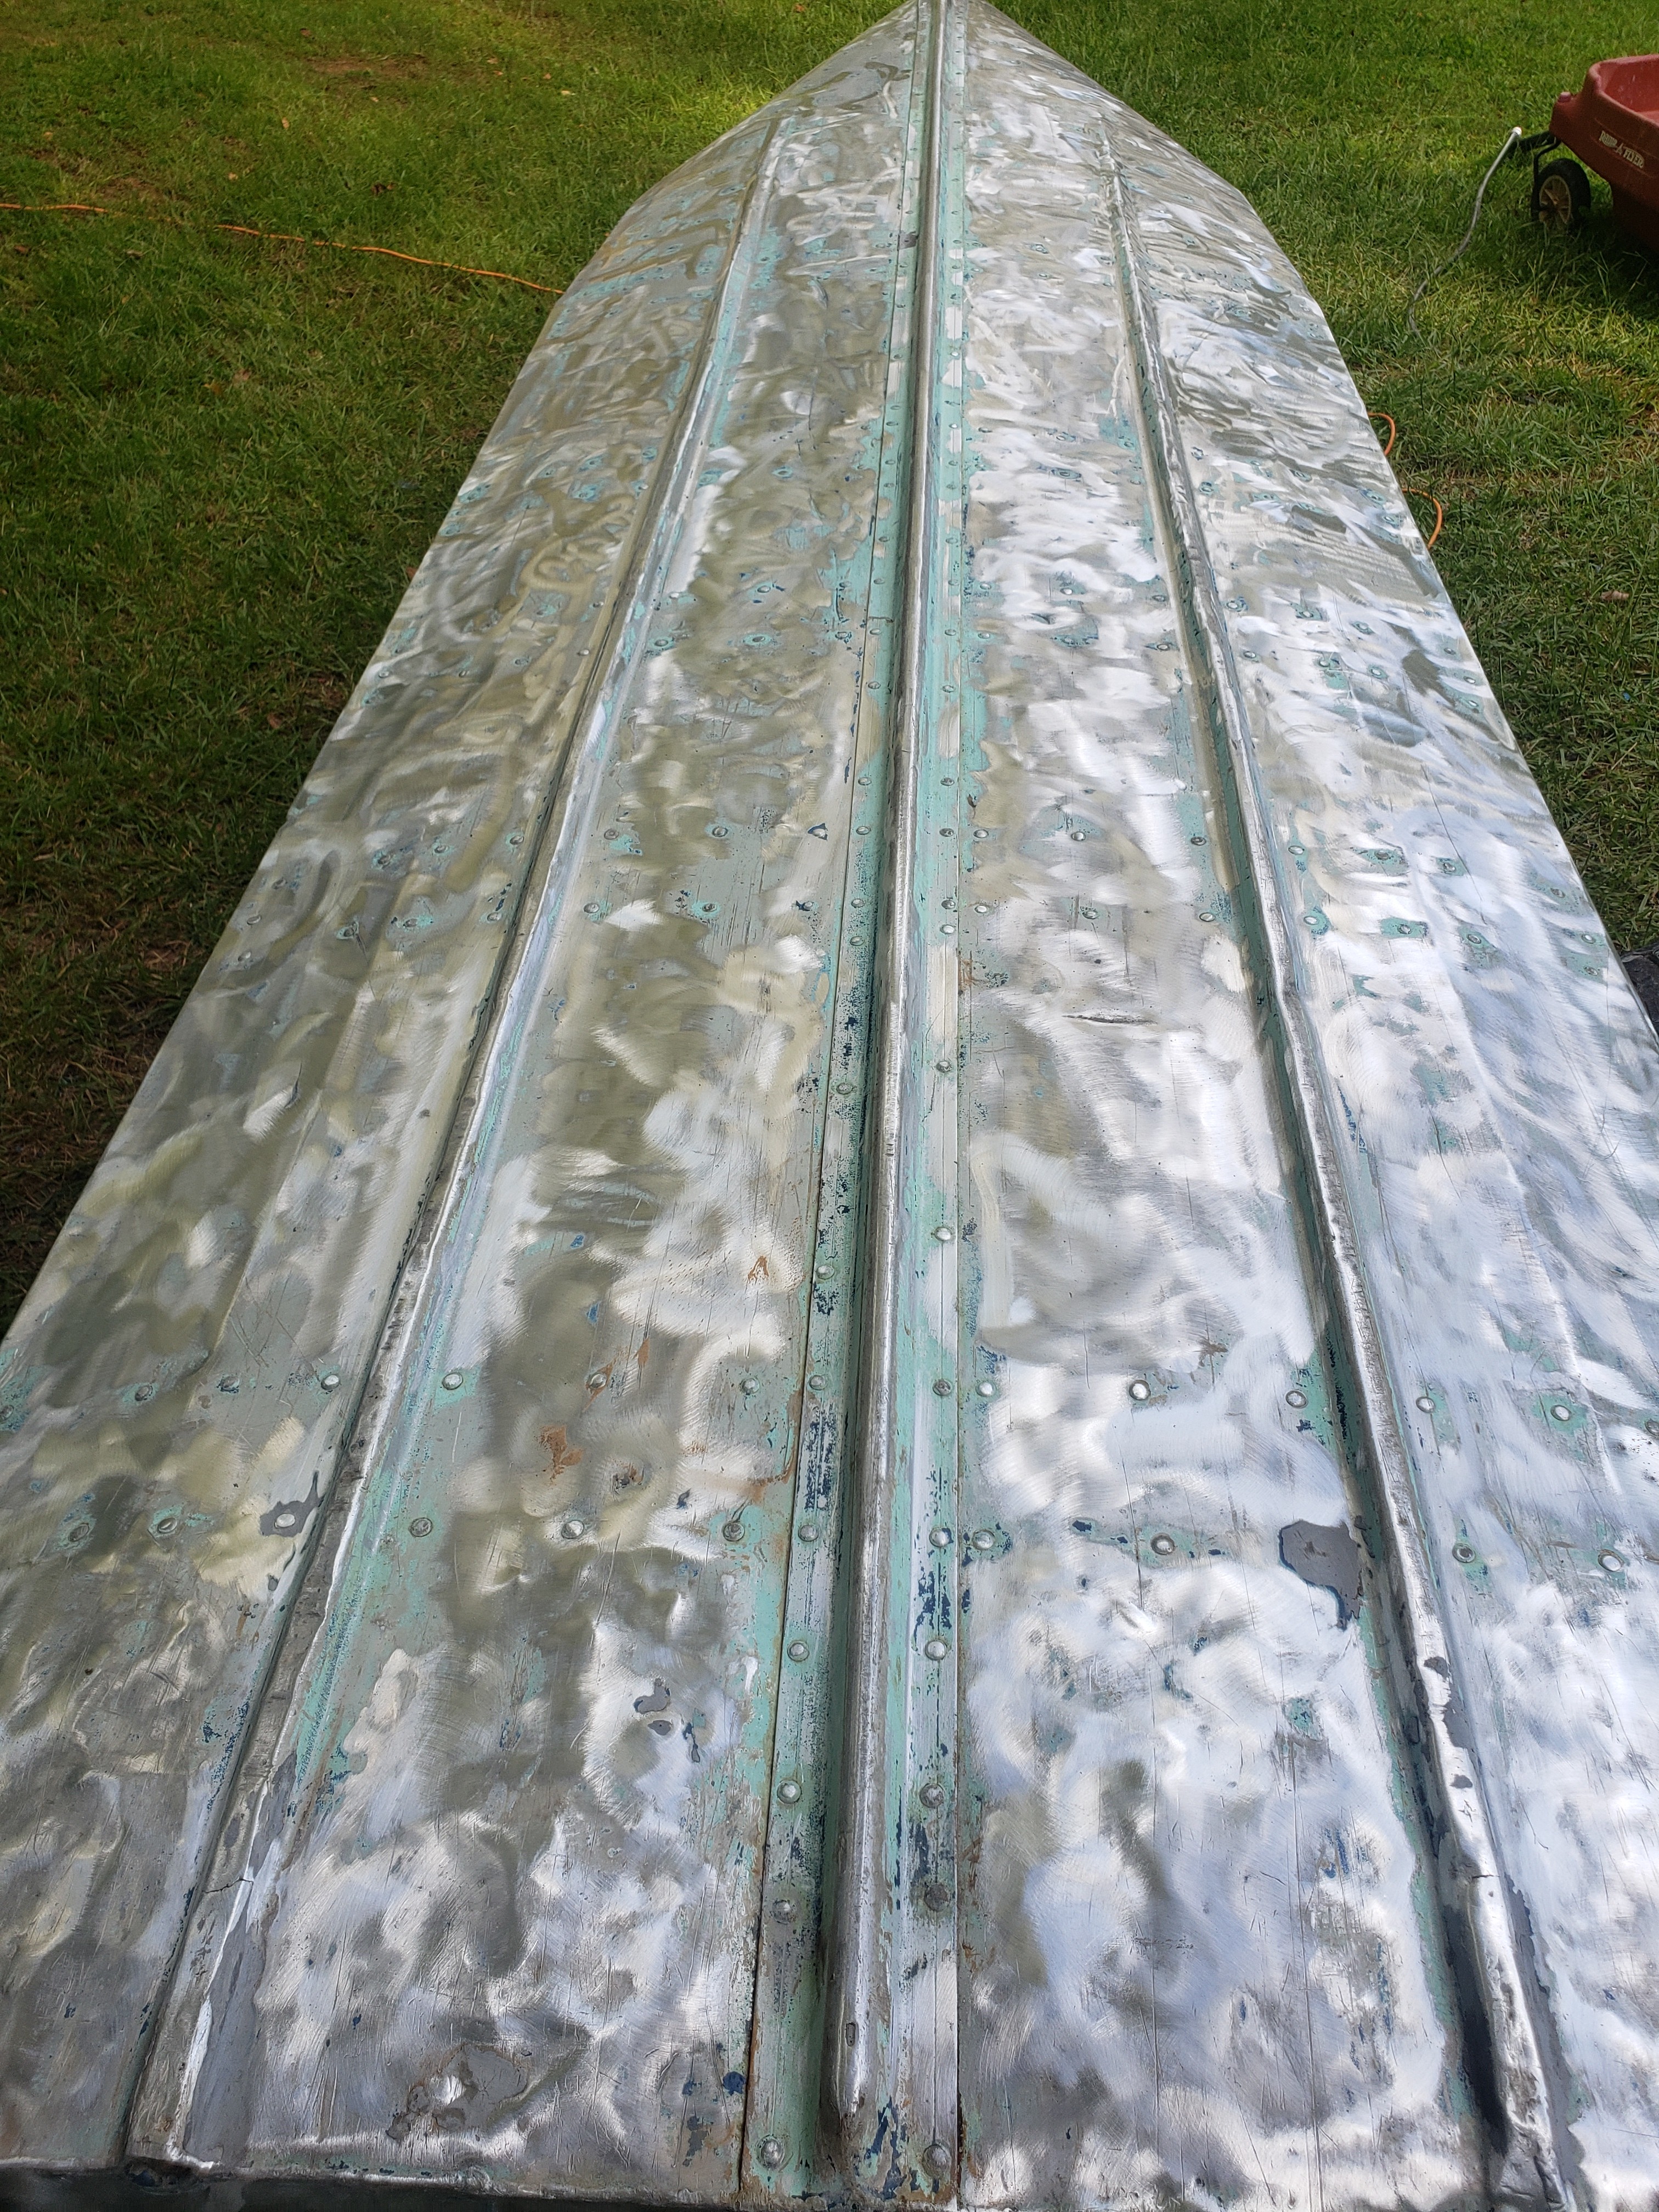
Decided to clear a little more of the outside. Waiting to figure out exactly what I wanna do with the inside. So before I start sanding and cleaning that, I'll think that over some more..

How clean is clean if I plan to use epoxy on the bottom?

20190810-145258.jpg


We talking every spec of paint has to be gone? I got to go over rivets with a brush, and around the rails and it should be done.

There are a few cracks I am going to address before epoxy. I did leave 2 or 3" of water in it over night and it looks like most if not all stayed in there. Couldnt see any leaks right off.
 
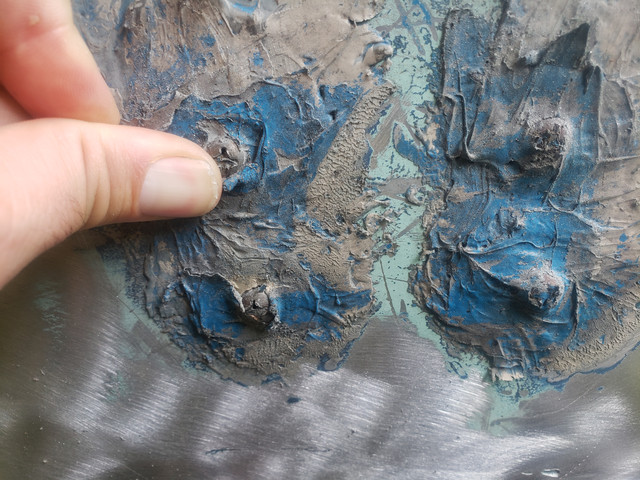
Closer look, need something less aggressive to hit the rivets with if needed. The grinder tends to knock the heads down too much for my liking so I steered clear of those.

20190810-180823.jpg


Got some obvious spots to hit, but hoping I am getting close lol. Tired of sanding:)
 
I used an orbital sander on mine, 220 grit. take your time. don't need every speck of old paint off. Make sure that you prime it first, at least two coats.
I used 3 coats of Rustoleum to finish it. You can get a "hardener" aditive that makes the paint rock hard.GEDC0734.JPG
 

Attachments

  • GEDC0750.JPG
    GEDC0750.JPG
    2.4 MB · Views: 531
Thanks yellow! Good looking boat you got there. Hopefully my paint will look half as good lol.

I'll finish up the sanding this week/weekend, then I'm going to be brazing some holes/small cracks. They dont seem to be leaking, but I'm going to do it anyway before I epoxy the bottom.

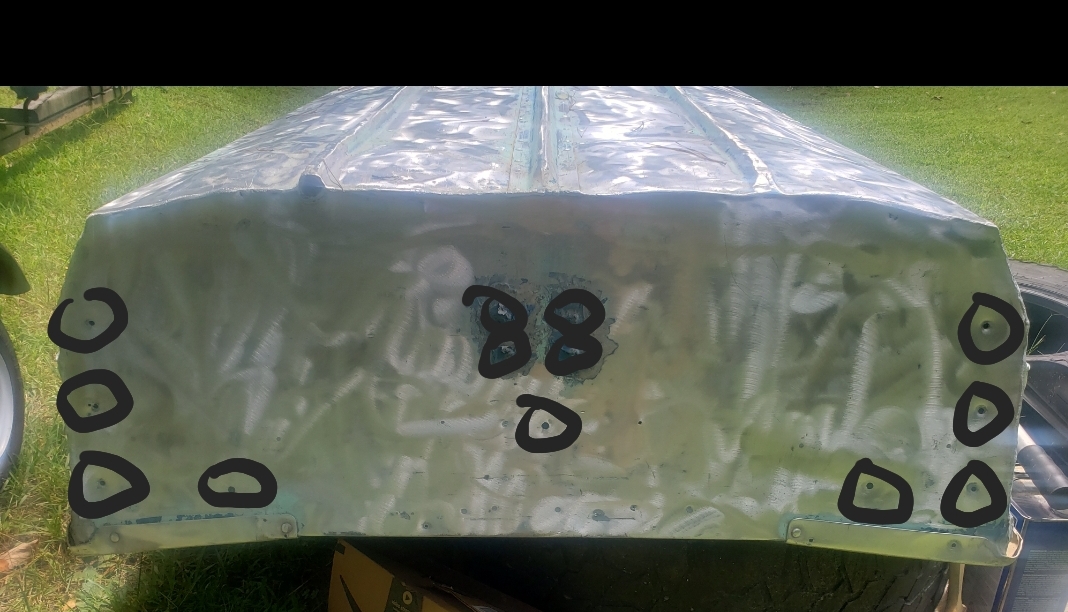
The back I do have a question on. The 4 posts in the center. Should those be removed? I imagine it was for the motor but wasnt exactly sure.. I'd like to clean it up obviously but if not needed I may remove and close them up.

I have quite a few holes in the back.. should I be fine with the main transom bolt holes (one left right and center)or do I need to plan on using all the holes? (The 3 running vertically on the left and right side)
Screenshot-20190814-131242-Gallery.jpg


Thanks!!
 
If the 4 posts are brackets on the back of the boat, NO! those re-enforce the transom.
The holes in the back center are for the wooden outboard mounting plate. The horizontal ones near the top were probably for handles at some time.
The vertical ones on the sides? could be anybody's guess.
By the way, how to you braze aluminum?
I'd just put stainless steel bolts in the hole along with some caulk and not worry
 
Thanks Yellow! I believe they are, as you mentioned, for the mounting plate.. the transom was cut around those so they never passed through the previous transom.

The 3 holes actually line up with the holes in the supports (see below). I guess I could bolt straight through and call it a day. I just want to make it look better than it was lol. I didnt even notice those lined up til I went to get a inside pic :(.

They had dry wall screws going through the back, into the transom, and had like 3 or 4 washers reducing in size and about an inch of sealant piled on top. It was just messy lol. Here is the holes from the other side:

20190814-165734.jpg

As far as brazing aluminum, I'd use map gas and some aluminum brazing rods. I feel pretty confident i could do it, I've adhered stainless flanges to a beer keg with propane and silver solder. Cant be much more difficult:) (outside of it being an even larger heat sink).

On a side note, something I've been worried about was getting this thing registered with no hin.. I called and was told I'd have to submit the registration, pay and then have it inspected by dnr(the old reg#s on it had been reassigned out to another vessel).. well I put in the registration paperwork and paid and 10 mins later I get an successful registration email with my numbers... I'll take it lol.
 
I didn't know that you could braze aluminum, wish I did!
OK back to those vertical holes.
If the two flanges stick out a bit from the aft metal, then the transom board goes under them and the bolts go straight through from the outside through the wood and flanges.
If the flanges are flush, then the wood goes over them. I had the same set up in my boat.
Those flanges and the outer motor support plate is what holds the transom wood to the boat.
A lot of the builders here prefer plywood for transom wood but I like using Oak or Pine boards well sealed.
You got lucky on that registration thing, down here in Florida, they tell you to go fly a kite and you have to buy the kite!
 
Ah ok, yes so the board goes behind the supports, I pulled the old board out. It was screwed in from the back side in all those holes. And then 3 drywall screws through the vertical support into the other side of transom.

The 4 bolts that are close together are straight through the aluminum, just sticking out, the transom was notched so that they didnt touch it, there isnt or wasnt any board on the outside of the boat. Just 4 posts through the aluminum. So most likely can remove those? Or still need to stay? I'm not even sure how they are fastened, gotta dig under the sealant lol. I'll go do that real quick and report back.
 
Good Lord!
Did you get this boat from Jed Clampett?
All aluminum boats have or should have a support board on the back of the transom under the outboard.GEDC0741.JPG
Its the brown part on my boat. Ya gotta have it.
Yes, I'd take those bolts out.
Oh and all the bolts and screws you use should be stainless steel.
Duh, unless ya'll gots a passel of drywall ska-rews LOL
 
GAHunter said:
20190814-165734.jpg

As far as brazing aluminum, I'd use map gas and some aluminum brazing rods. I feel pretty confident i could do it, I've adhered stainless flanges to a beer keg with propane and silver solder. Cant be much more difficult:) (outside of it being an even larger heat sink).

Ah, yeah about that aluminum brazing.

Its going to be a lot harder than you think. The problem is that the brazing rod only melts somewhere around within 100* of the actual aluminum.

Overshoot the temp and you blow a big thin edged hole in the boat that is near impossible to fix.
 
RaisedByWolves said:
GAHunter said:
20190814-165734.jpg

As far as brazing aluminum, I'd use map gas and some aluminum brazing rods. I feel pretty confident i could do it, I've adhered stainless flanges to a beer keg with propane and silver solder. Cant be much more difficult:) (outside of it being an even larger heat sink).

Ah, yeah about that aluminum brazing.

Its going to be a lot harder than you think. The problem is that the brazing rod only melts somewhere around within 100* of the actual aluminum.

Overshoot the temp and you blow a big thin edged hole in the boat that is near impossible to fix.

Wellllll shat. I didnt think about that lol. It is thin... best alternative.. Jbweld? (Primarily for the lil crack in the bottom). I can use stainless screws or maybe rivets to fix the holes in the back.
 
Ahhhhhh so I sandwich the aluminum between the boards? Was thinking it was just needed on inside. I should make it same size on both sides?

:oops:
 
GAHunter said:
Ahhhhhh so I sandwich the aluminum between the boards? Was thinking it was just needed on inside. I should make it same size on both sides?

:oops:

Yes, the aluminum back end of the boat is a very thin piece of metal and in order to support the weight and thrust of an outboard you need it to be sandwiched between two pieces of wood. For the outer plate, I do prefer plywood. At least 1/2 inch thick. 3/4 is better.Seal the hale out of it too.
West marine sells an epoxy for filling holes and cracks in aluminum. You apply it to one side and then heat the reverse side with a propane torch.The heat causes the material to be dawn into the crack by capillary action.
If you use it to fill holes, cut a beer can apart and use a piece of it to cover the hole from the inside.Then epoxy the outside of the hole. The coating on the inside of the can acts as a release agent so you can easily remove it after the epoxy has set.
Make the outer board in a rough triangular shape. See my picture,make it big enough to support the engine and cover as many holes as you can.
By the way, If you don't have an engine yet, MORE IS NOT BETTER, 10 to 15 HP will be tops in my opinion. 6 to 8 is often better. Whats the rush? Ya wanna fish or ski? Down here in green hell the good ole boys overpower everything. 50 hp on a 14 ft jon boat is not unusual at all.
 
Thank you for clearing that up, that helps a lot! Wolves mentioned that's how he did his, I understand what he did now as well. Awesome.

Yeah I'm probably not going to go too big. This is just going to be for taking my kids fishing, and to get me to the harder to reach areas of a wma that surrounds a near by lake. The interior I may do a little something. But don't see me doing carpet etc if I plan on hauling out animals. Could get messy.

Gonna use it to locate/slip up on Turkeys, fish, deer/bear hunt, seemed like a solid reason to buy a jon boat anyway lol.

I'm an over thinker when it comes to fixing or building stuff, I appreciate all the feedback and help. Primary goal is to make this look decent and last a little while.
 
That old 10 horse you have should be plenty.
As far as the inside goes, pressure wash it to get the crud out and then paint it. I used a good grade of exterior house paint on mine. Latex. It worked fine. Just remember to use a flat paint as anything glossy will bounce the sun right into your eyes. I put an anchor pully $7.00 at wal mart on the bow and another on the stern. A clamp on boat seat is nice too, saves the back. A set of oars and a paddle should just about do it. I painted mine flat white and a gal. is enough for many re paints. Make sure you have life jackets for the kiddies.
I'm much the same as overthinking goes. I plan everything out to the last screw and re do everything over in my mind before I act. As time goes on, you will add little things like attachment points for rod holders, stringers, etc. I made guide ons for the trailer out of PVC for super cheap and am in the process of putting a bimini top on that I got for free.
Wood floors and carpeting add to the cost and weigh down a boat not designed for it.
I lived for years with just the basics like an anchor made out of a coffee can filled with concrete and oars instead of a motor.
But that was when I was younger and in much better shape. LOL
Whatever you decide to do, a lot of the fun is making the boat uniqutely yours.
Have fun, think outside the box,and do it on the cheap.
 
Top