Let me first start by saying that I am impressed by the mods that have been posted here! Wow! Great jobs!
I have been lurking the past few months all the while gathering intel (it feels almost like stealing!). I used info here to find out what boat I feel would be perfect for me and I used my sales skills to get my wife to by me a new Alumacraft 1448 flattie for my b-day last Fall (thanks sweetie)!
Now onto the mods - My plan is to have a casting deck up front with a pedestal seat, bow mounted trolling motor, and fish finder up front. Since I have a toddler who I want to take out with me I want to install flooring so he wont trip over ribs, and carpeted seat tops because it is uber hot in the Summer in VA. Probably throw a bilge pump on too!
I figure that since my fat behind will be up front that I will locate my batteries (2 - 27 series in a series circuit) at the stern, for balance, which I will draw power for all of my listed devices above, I may add one battery later for wish list items below.. I will also have an old transom trolling motor deployed for more speed to my secret spots AND in case I need to get home fast.
Items on the wish list:
-livewell in middle seat (already there just need pump and confidence to cut a hole in the bottom of the boat, switches etc.). Anyone have a mod adding livelwell to this middle seat?
-Nav lights
-misc lights
-12V power jack for music, charging cell phone, etc.
-music
Anyway, Here are a few pics, you may recognize some of the layouts as they are blatantly stolen from others on the site. Thanks to all (especially Jay415 & Gillhunter!)! Without this site I would spend this coming Summer tooling around in a bare bones bucket, without all of the tools necessary for catching huge bass and having fun!
You will probably realize while looking at my posts that I am not a woodworker or tradesman of any kind, so when you scratch your head wondering "why the heck did he do that?" remember this! My rule of thumb is to roughly measure, cut twice and go to Home Depot and Lowe's a lot! I know there are more guys out there like me that maybe will give it a shot if they see I could do it (please don't cut off your finger in the process, I cannot be held liable )
)
Finally, I have found that I enjoy working on my "mods" with today's best Country hits playing in the background. I am usually more of an 80's music guy normally, rock, alternative, etc. but strangely I feel am more productive and I get a kick out of some of the songs...."Red Solo Cup! Try it!
Here goes:
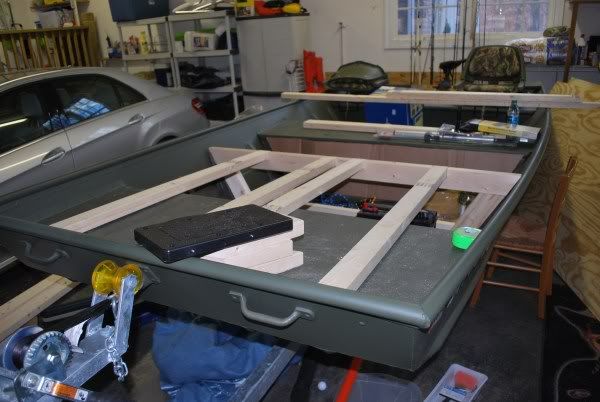
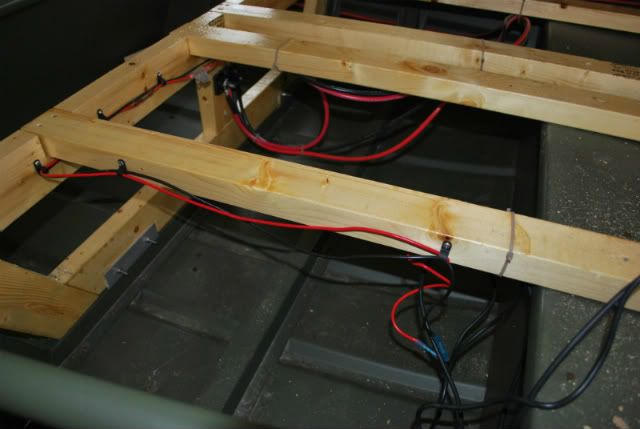
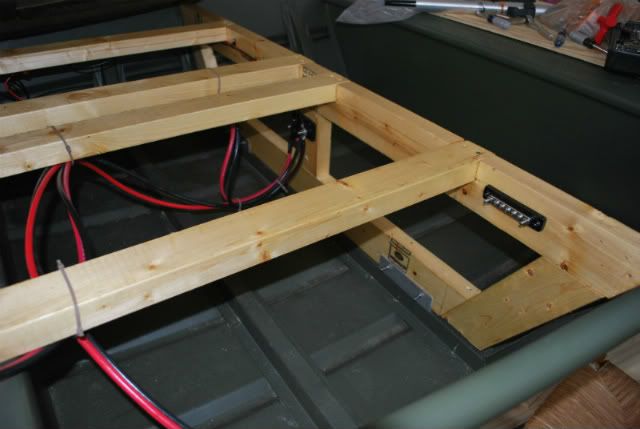
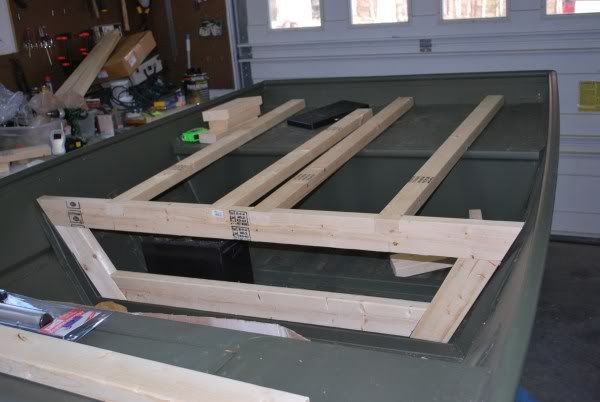
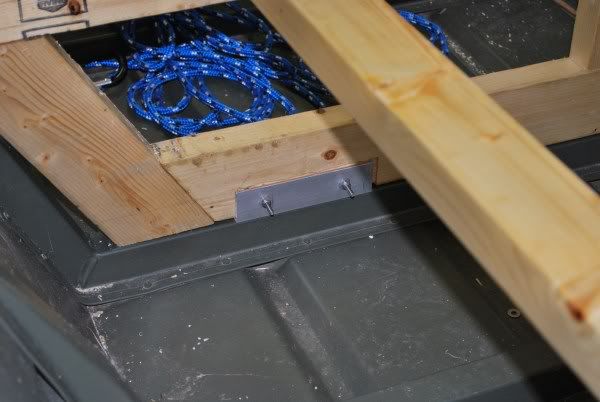
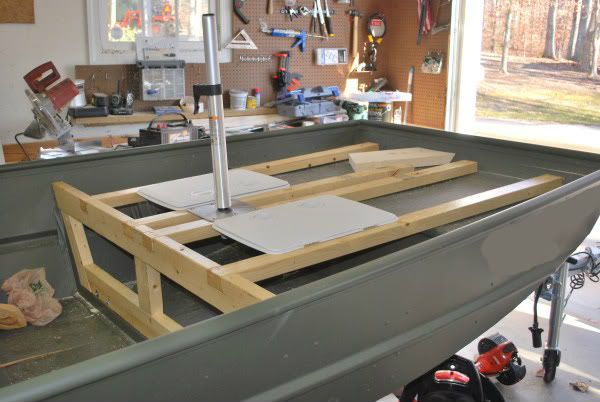
Here is the support structure that will go under the front deck, I made sort of a 2 X 4 trapezoid support structure and attached it to the rib with angle aluminum, adding 2 X 3's attached to the existing bow platform with stainless screws.:
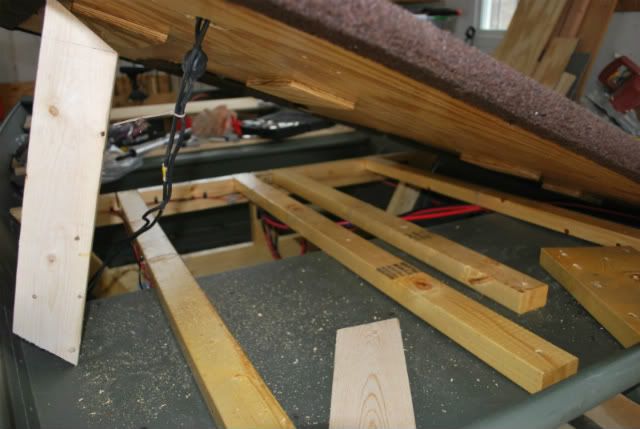
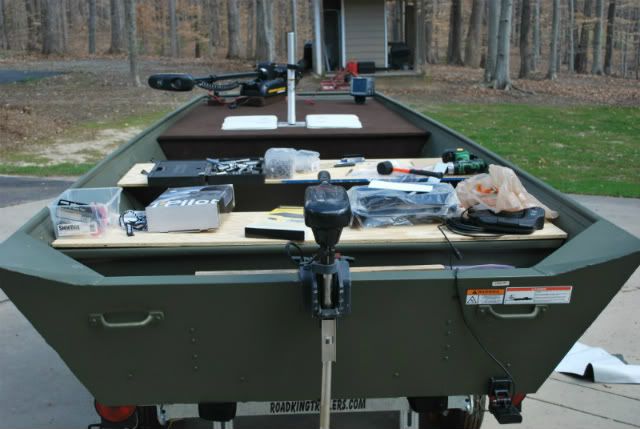
Here are "roughs" of the decking resting on top while for determining seat position, battery moving to rear:
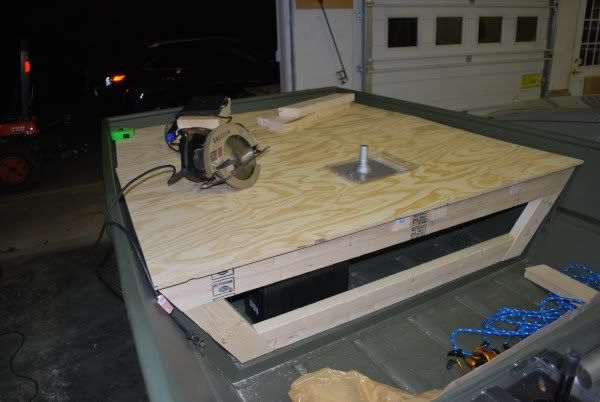
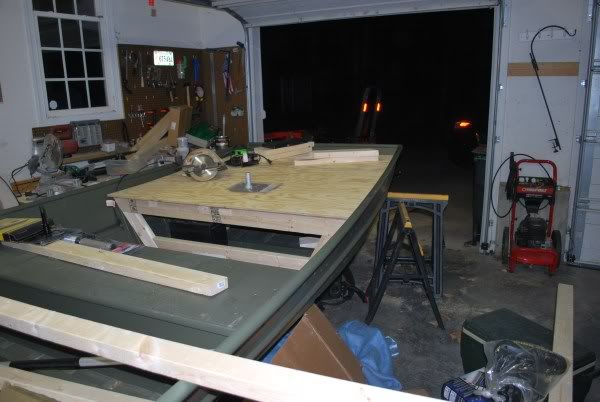
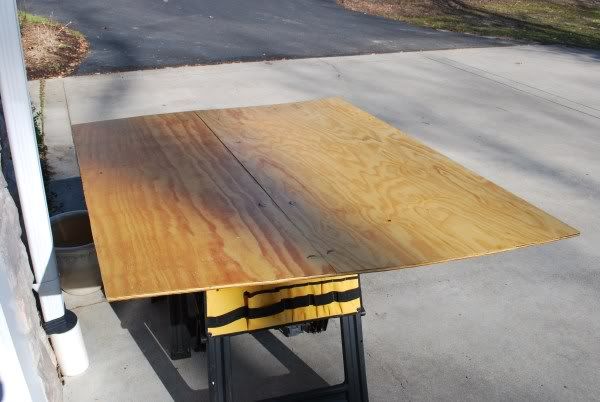
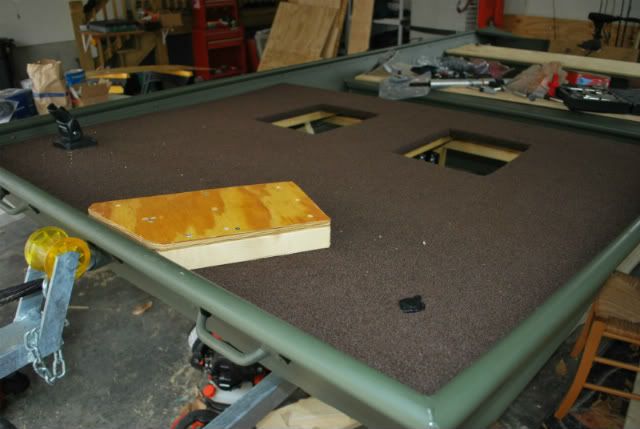
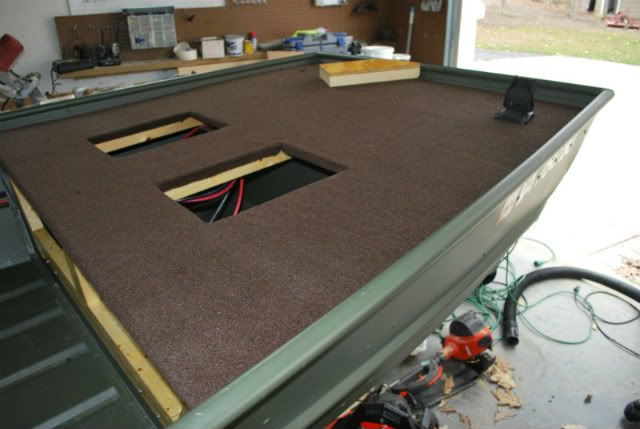
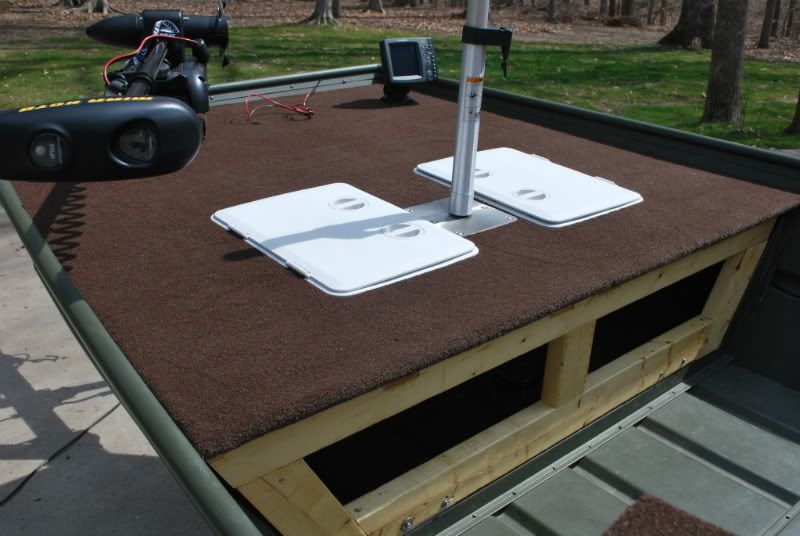
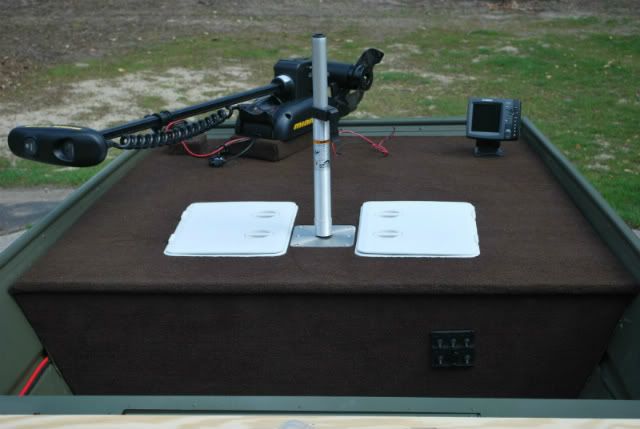
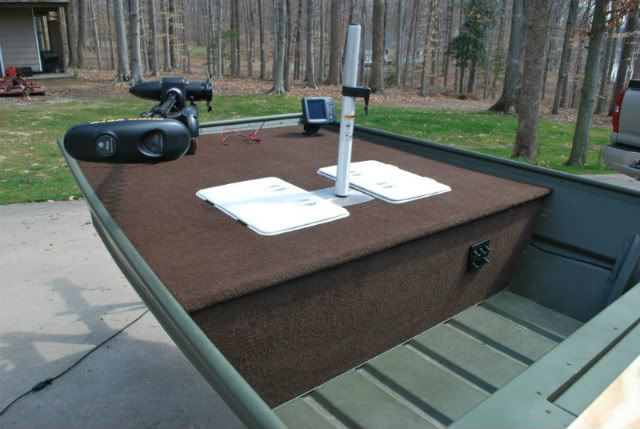
A couple of steps ahead with polyurethane and location for access hatches:
That's it for now - will update changes I have already made and more in a few days when I can take more pics.
I have been lurking the past few months all the while gathering intel (it feels almost like stealing!). I used info here to find out what boat I feel would be perfect for me and I used my sales skills to get my wife to by me a new Alumacraft 1448 flattie for my b-day last Fall (thanks sweetie)!
Now onto the mods - My plan is to have a casting deck up front with a pedestal seat, bow mounted trolling motor, and fish finder up front. Since I have a toddler who I want to take out with me I want to install flooring so he wont trip over ribs, and carpeted seat tops because it is uber hot in the Summer in VA. Probably throw a bilge pump on too!
I figure that since my fat behind will be up front that I will locate my batteries (2 - 27 series in a series circuit) at the stern, for balance, which I will draw power for all of my listed devices above, I may add one battery later for wish list items below.. I will also have an old transom trolling motor deployed for more speed to my secret spots AND in case I need to get home fast.
Items on the wish list:
-livewell in middle seat (already there just need pump and confidence to cut a hole in the bottom of the boat, switches etc.). Anyone have a mod adding livelwell to this middle seat?
-Nav lights
-misc lights
-12V power jack for music, charging cell phone, etc.
-music
Anyway, Here are a few pics, you may recognize some of the layouts as they are blatantly stolen from others on the site. Thanks to all (especially Jay415 & Gillhunter!)! Without this site I would spend this coming Summer tooling around in a bare bones bucket, without all of the tools necessary for catching huge bass and having fun!
You will probably realize while looking at my posts that I am not a woodworker or tradesman of any kind, so when you scratch your head wondering "why the heck did he do that?" remember this! My rule of thumb is to roughly measure, cut twice and go to Home Depot and Lowe's a lot! I know there are more guys out there like me that maybe will give it a shot if they see I could do it (please don't cut off your finger in the process, I cannot be held liable
)Finally, I have found that I enjoy working on my "mods" with today's best Country hits playing in the background. I am usually more of an 80's music guy normally, rock, alternative, etc. but strangely I feel am more productive and I get a kick out of some of the songs...."Red Solo Cup! Try it!
Here goes:
Here is the support structure that will go under the front deck, I made sort of a 2 X 4 trapezoid support structure and attached it to the rib with angle aluminum, adding 2 X 3's attached to the existing bow platform with stainless screws.:
Here are "roughs" of the decking resting on top while for determining seat position, battery moving to rear:
A couple of steps ahead with polyurethane and location for access hatches:
That's it for now - will update changes I have already made and more in a few days when I can take more pics.