Painting my Motor

TinBoats.net

Help Support TinBoats.net:

This site may earn a commission from merchant affiliate links, including eBay, Amazon, and others.
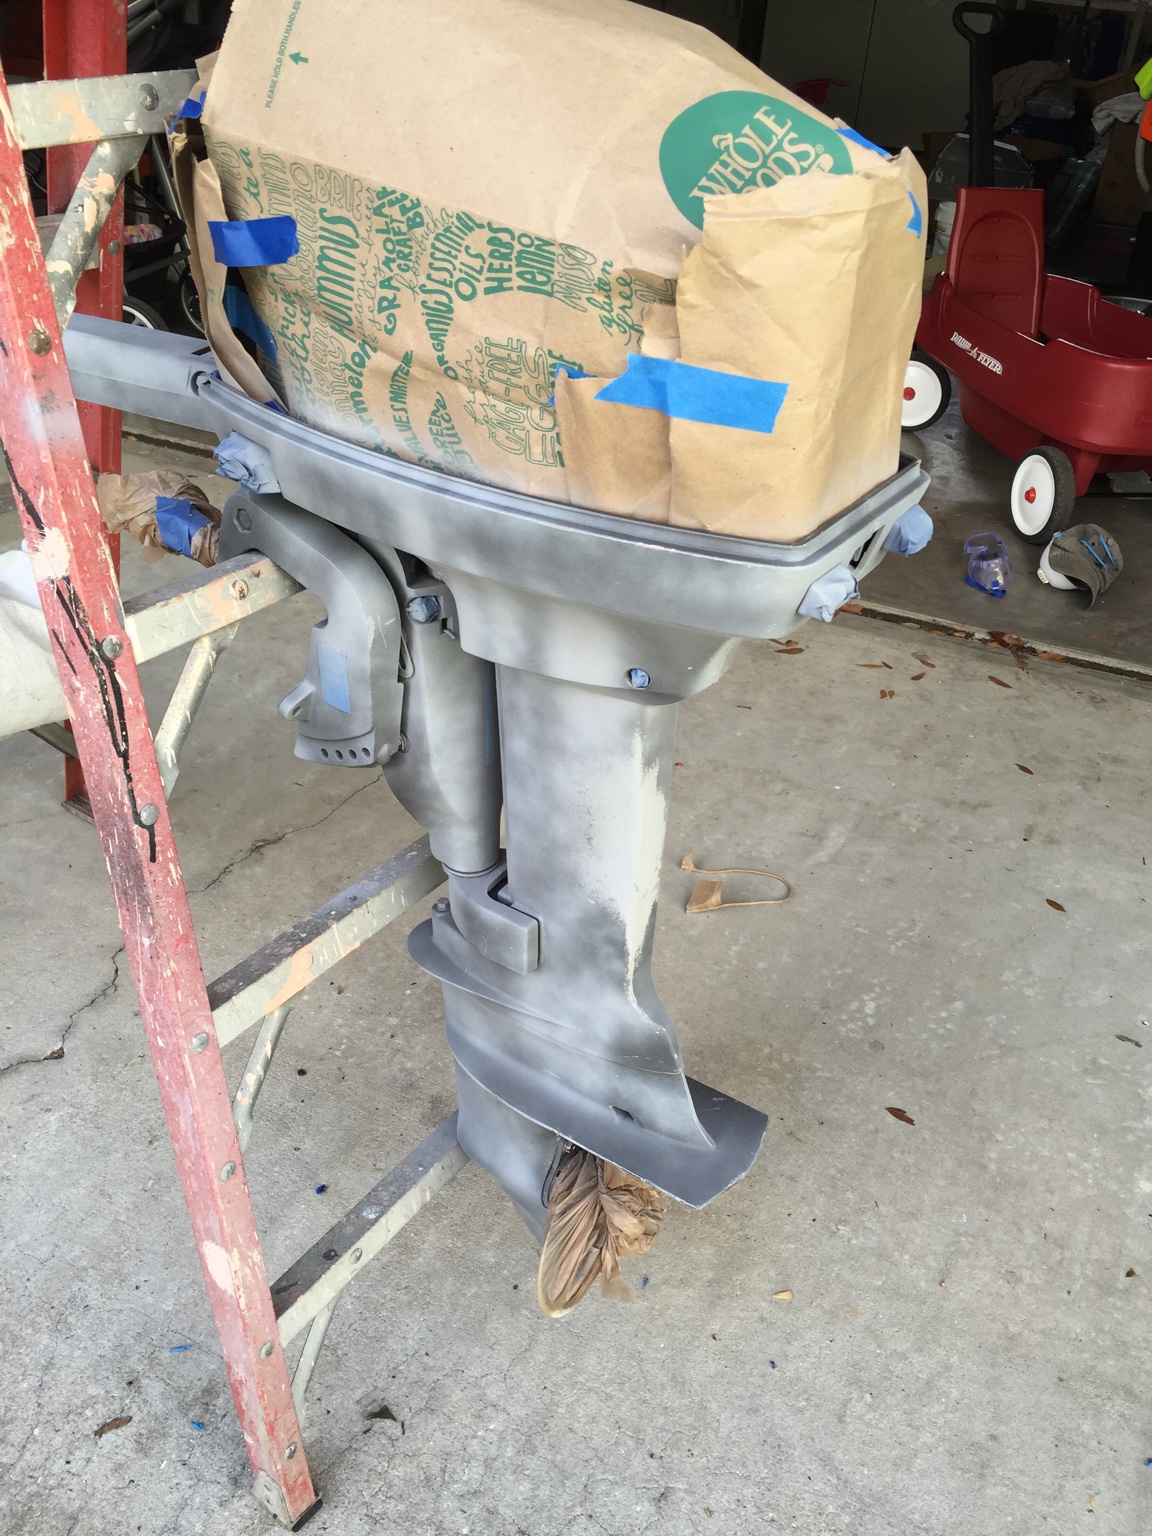
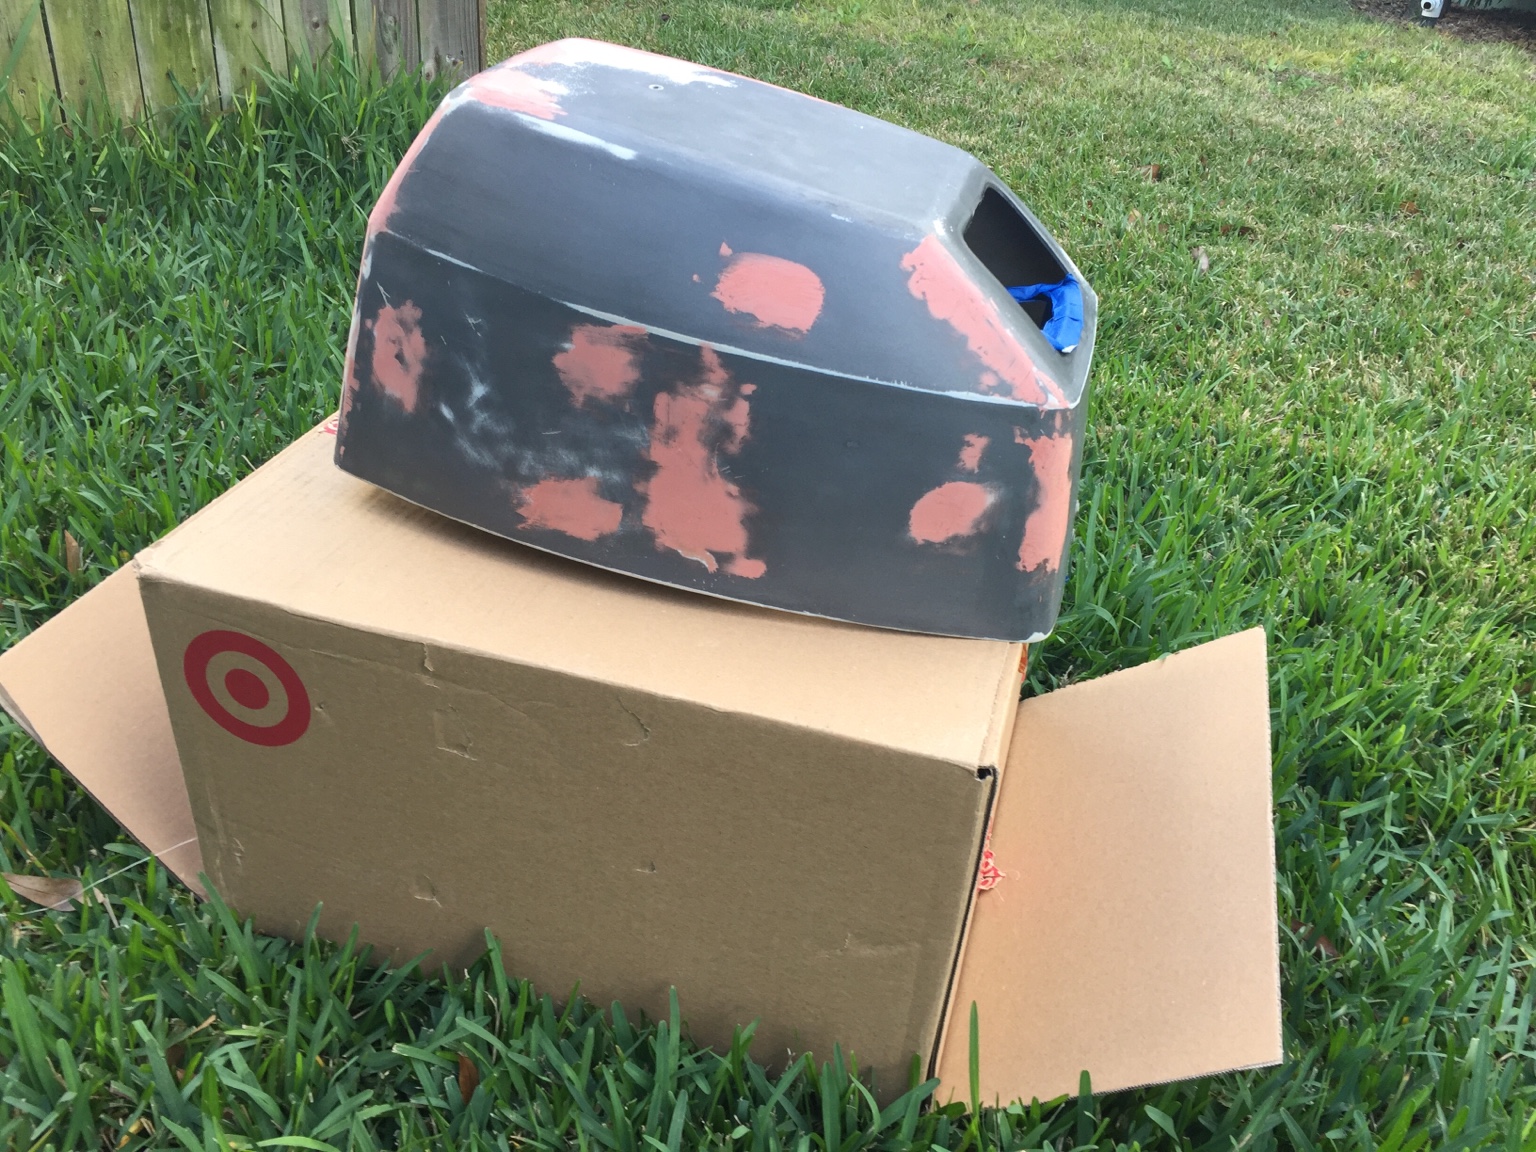
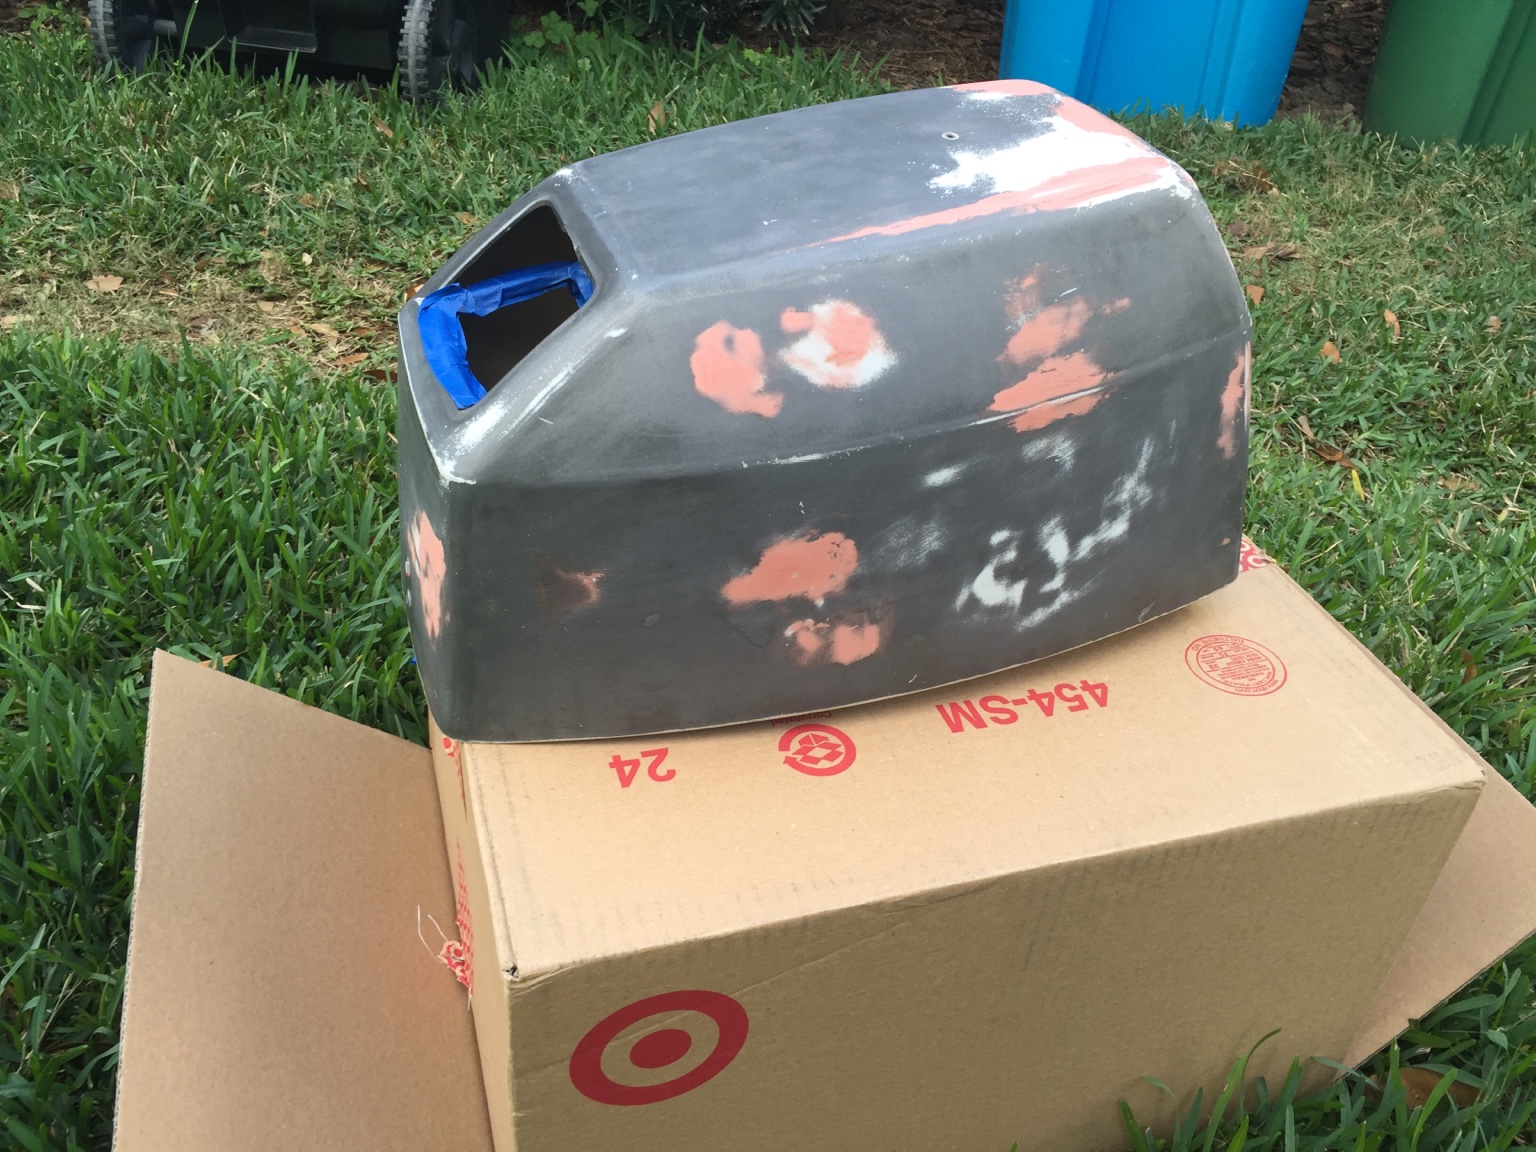
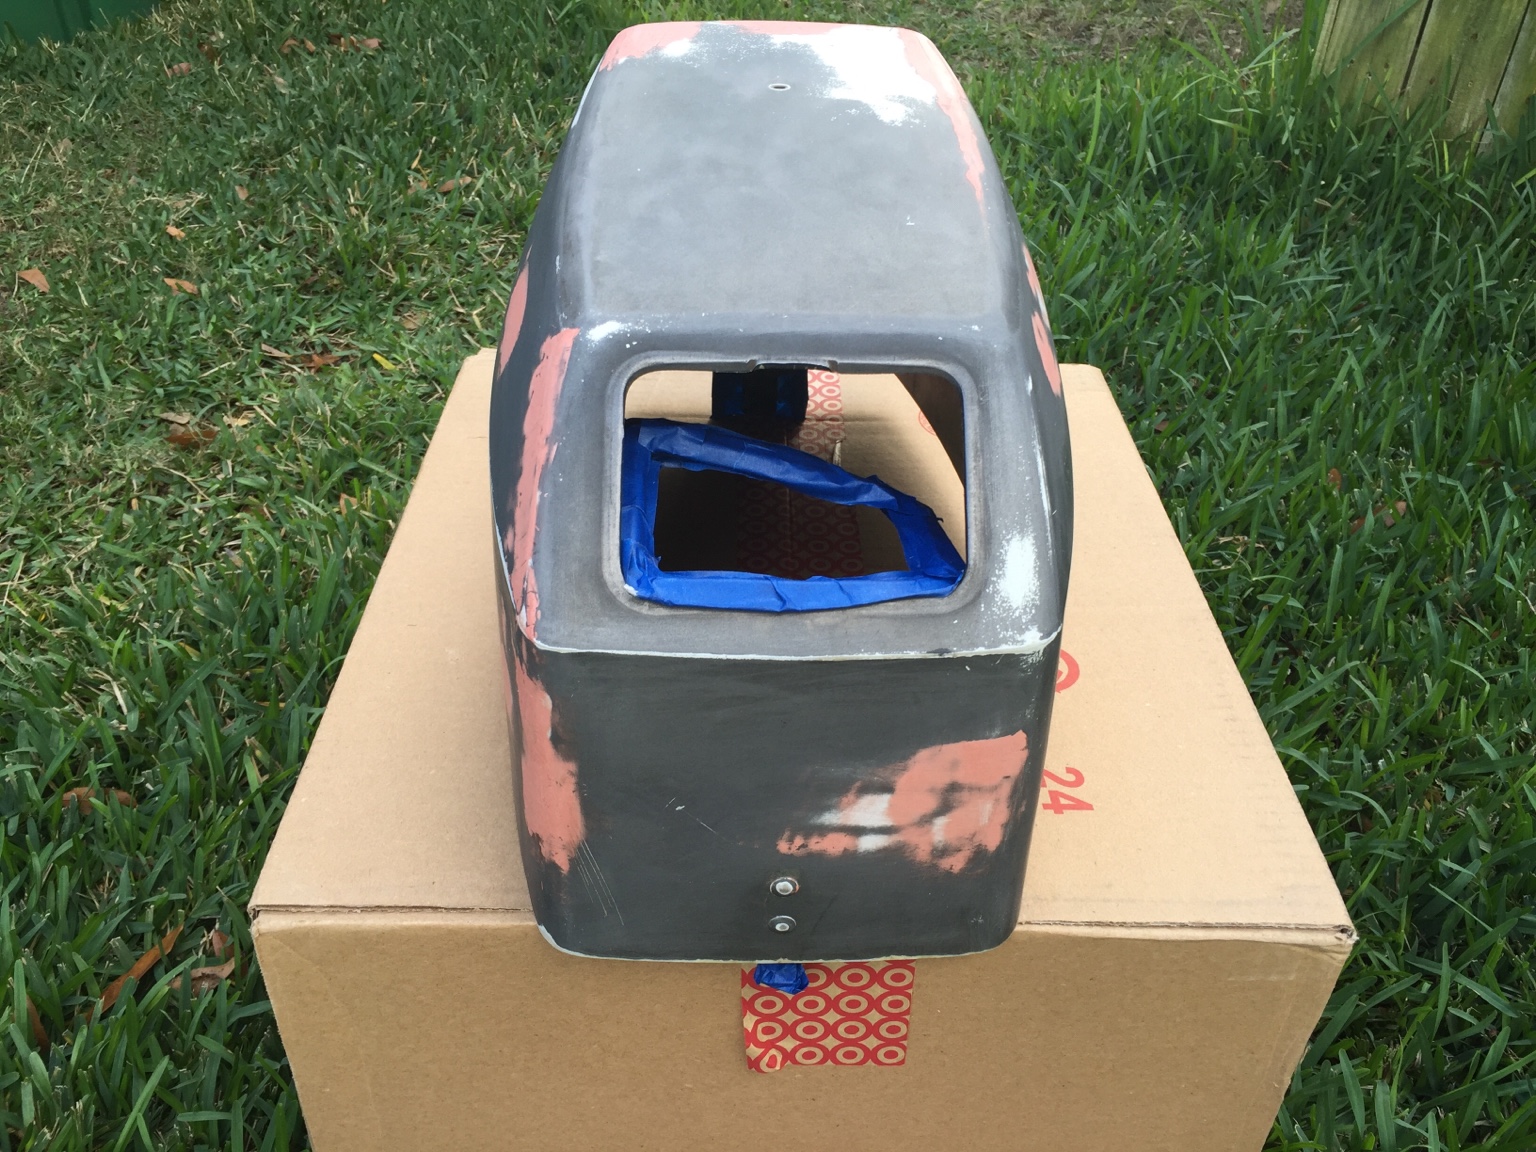
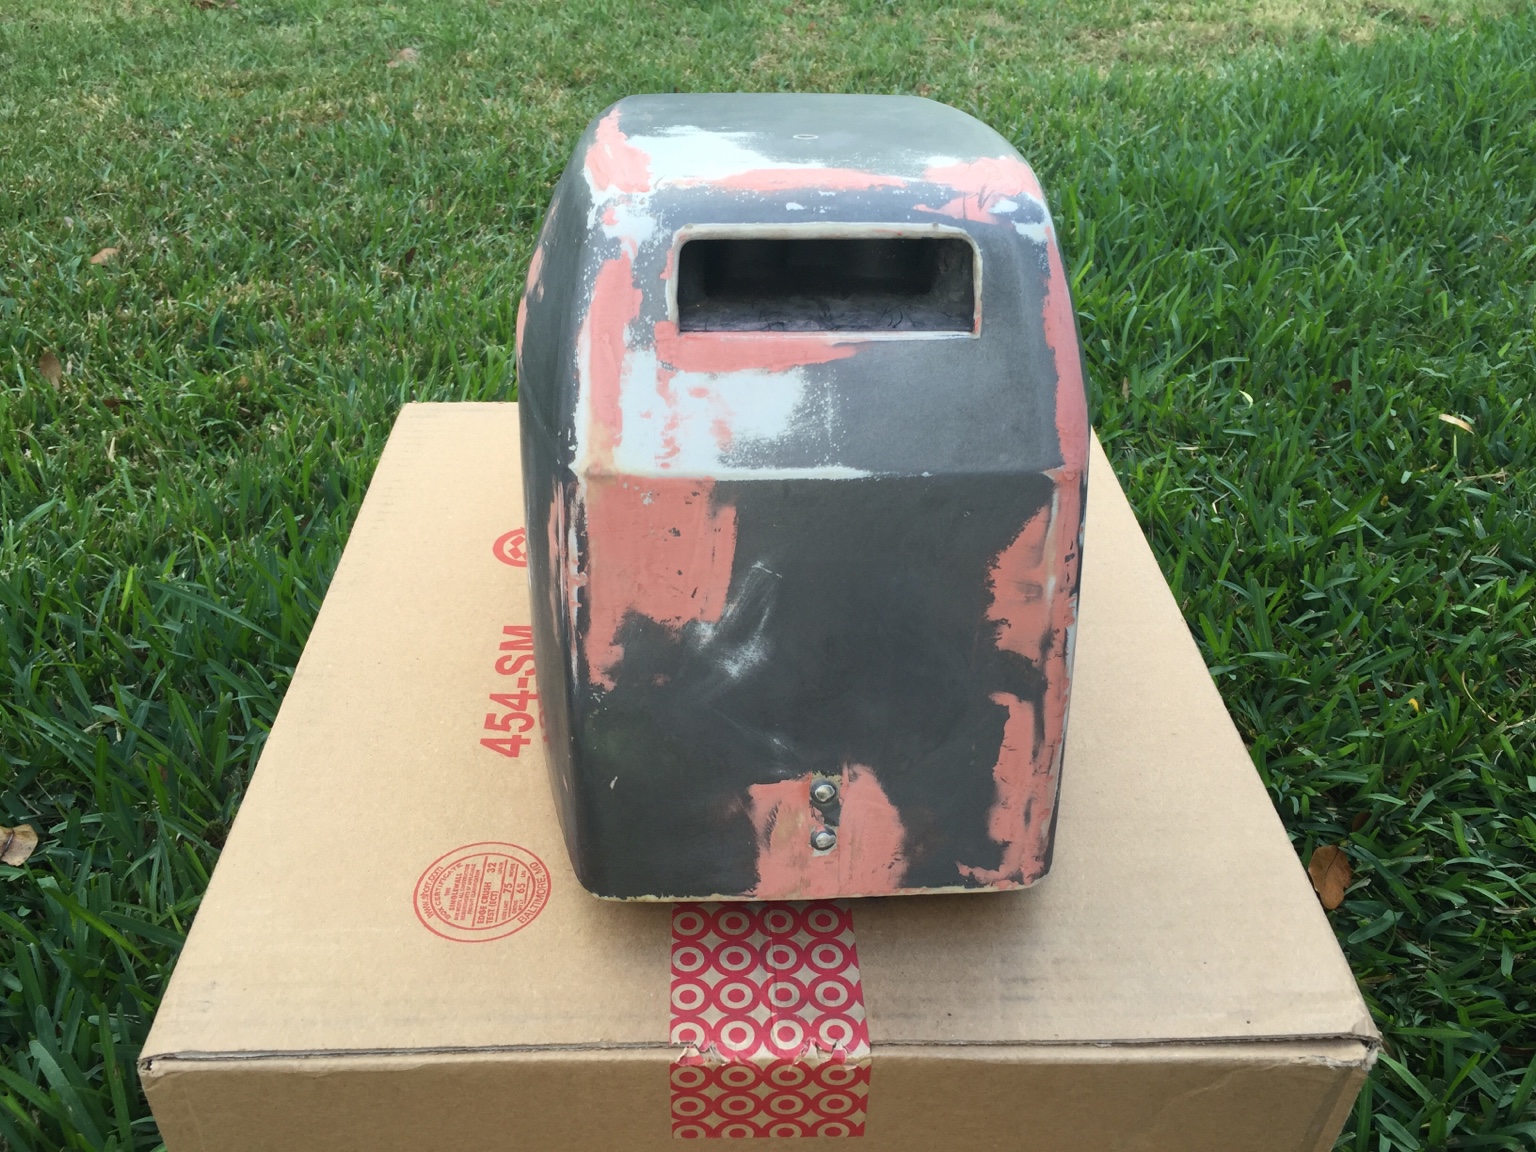
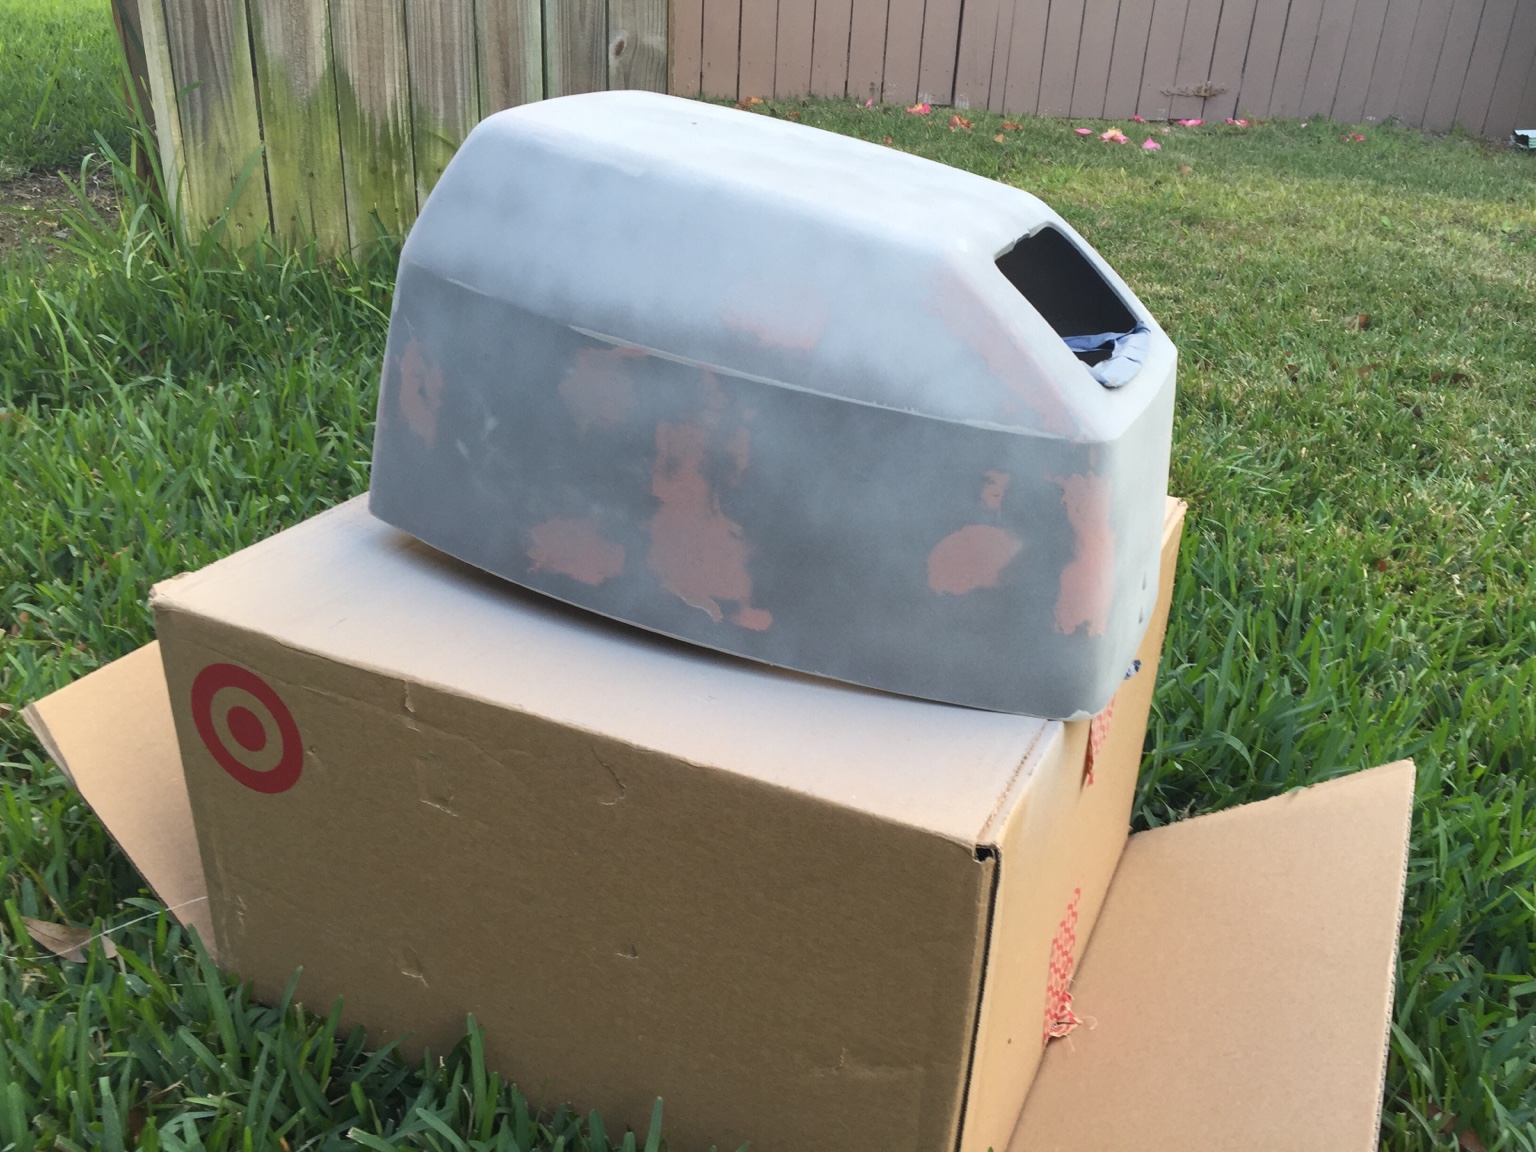
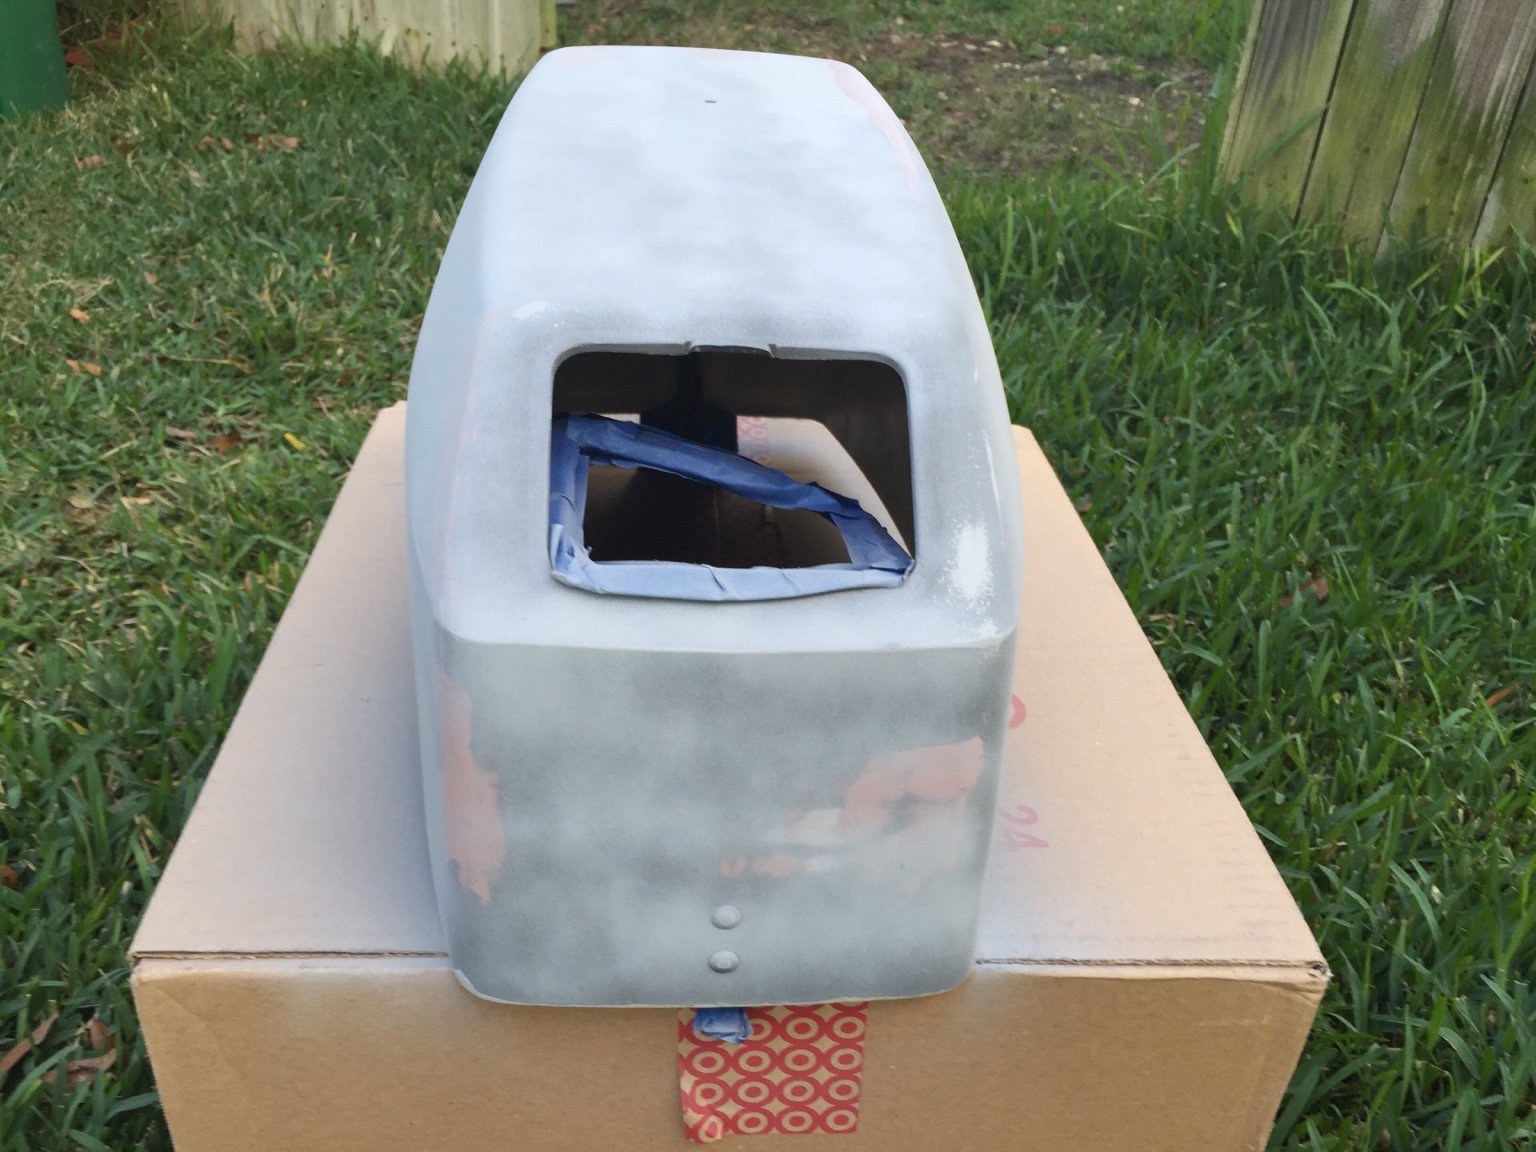
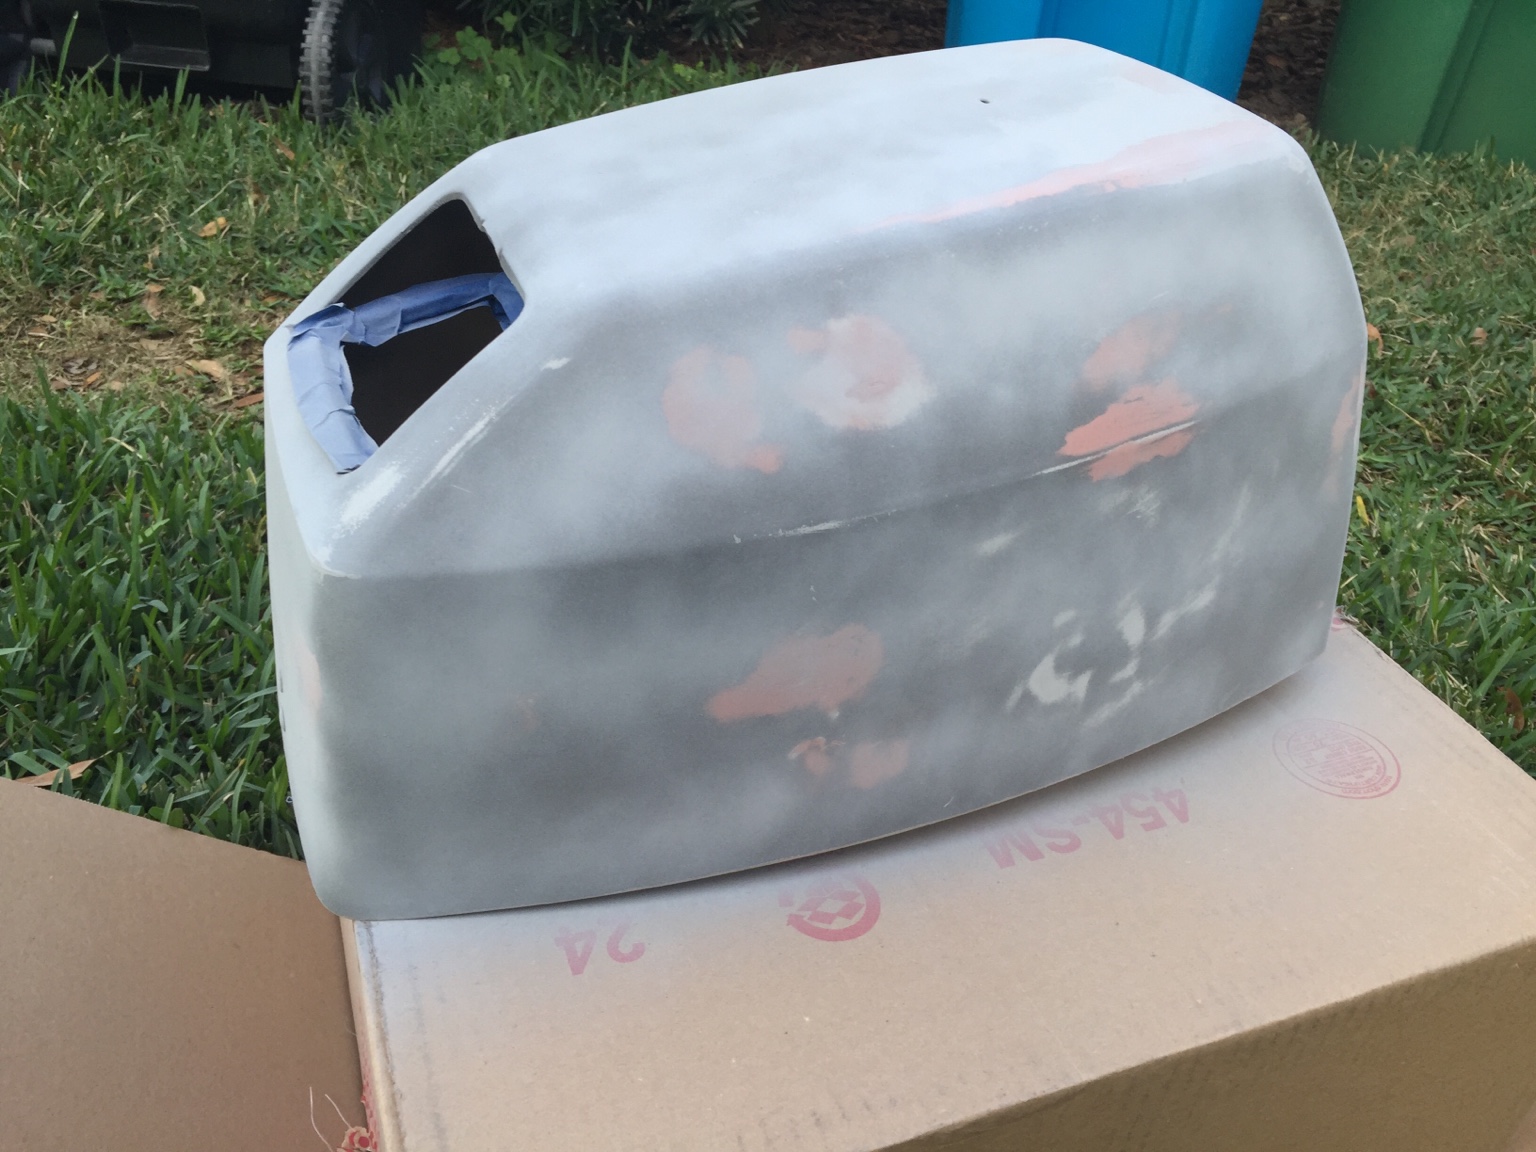
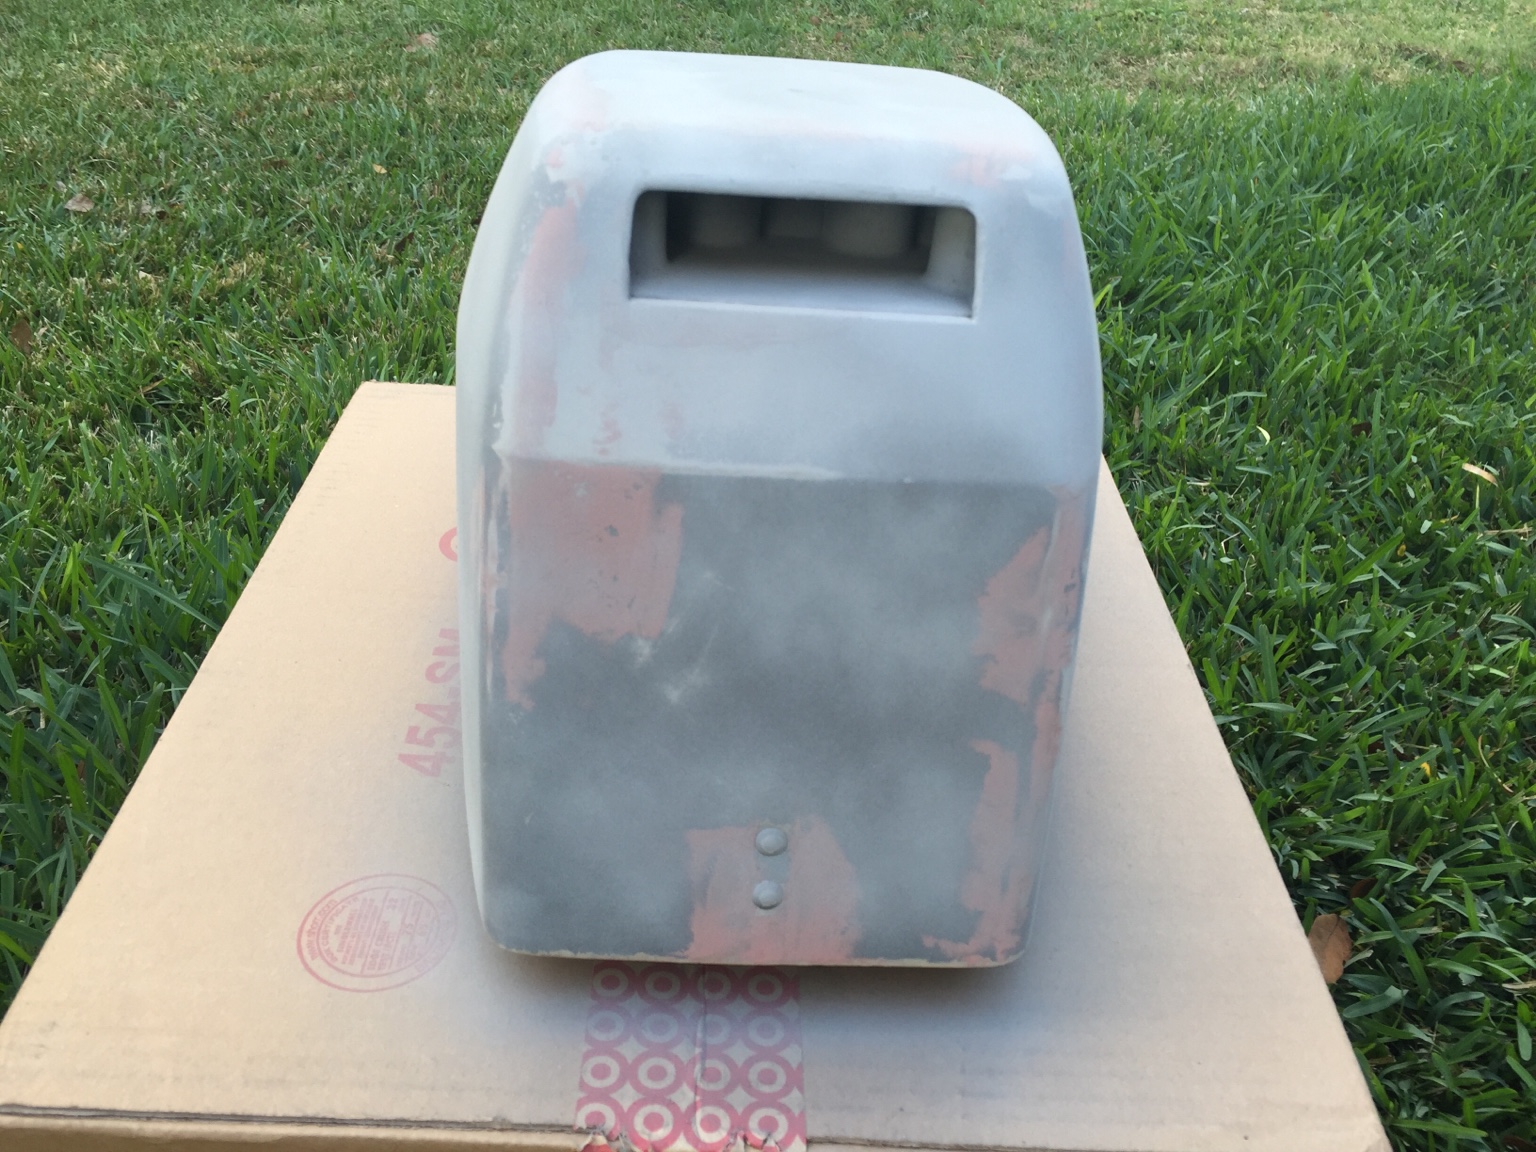
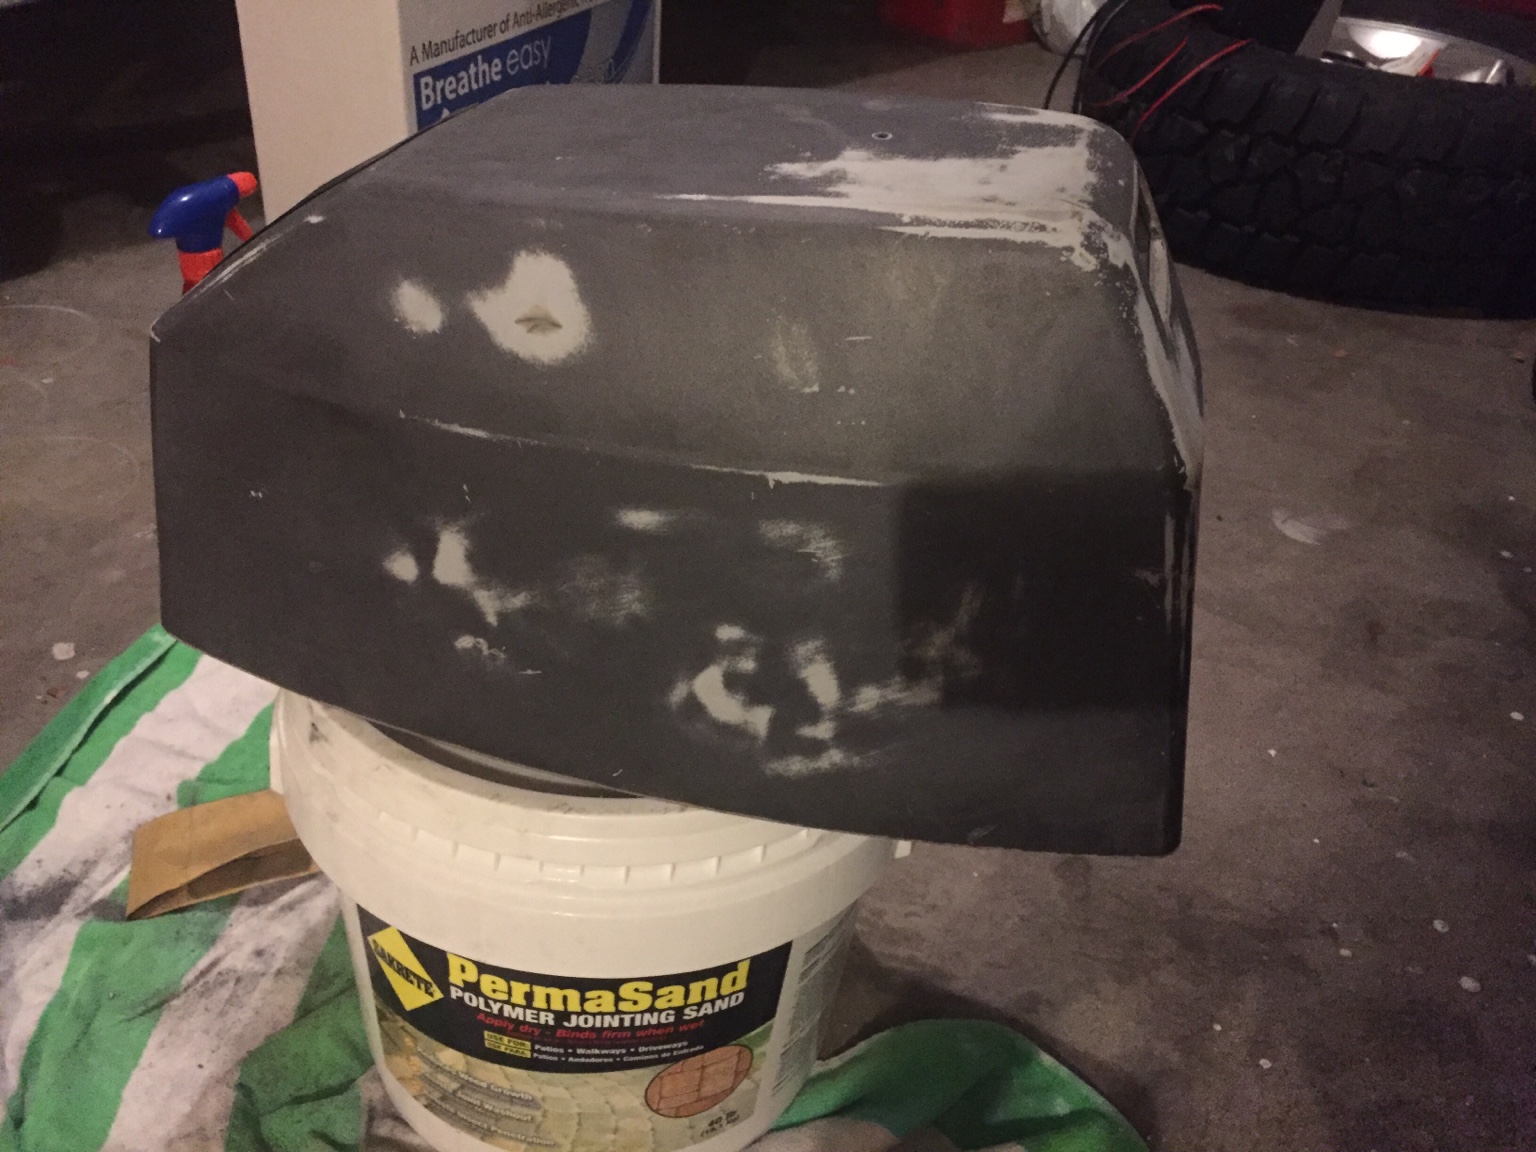
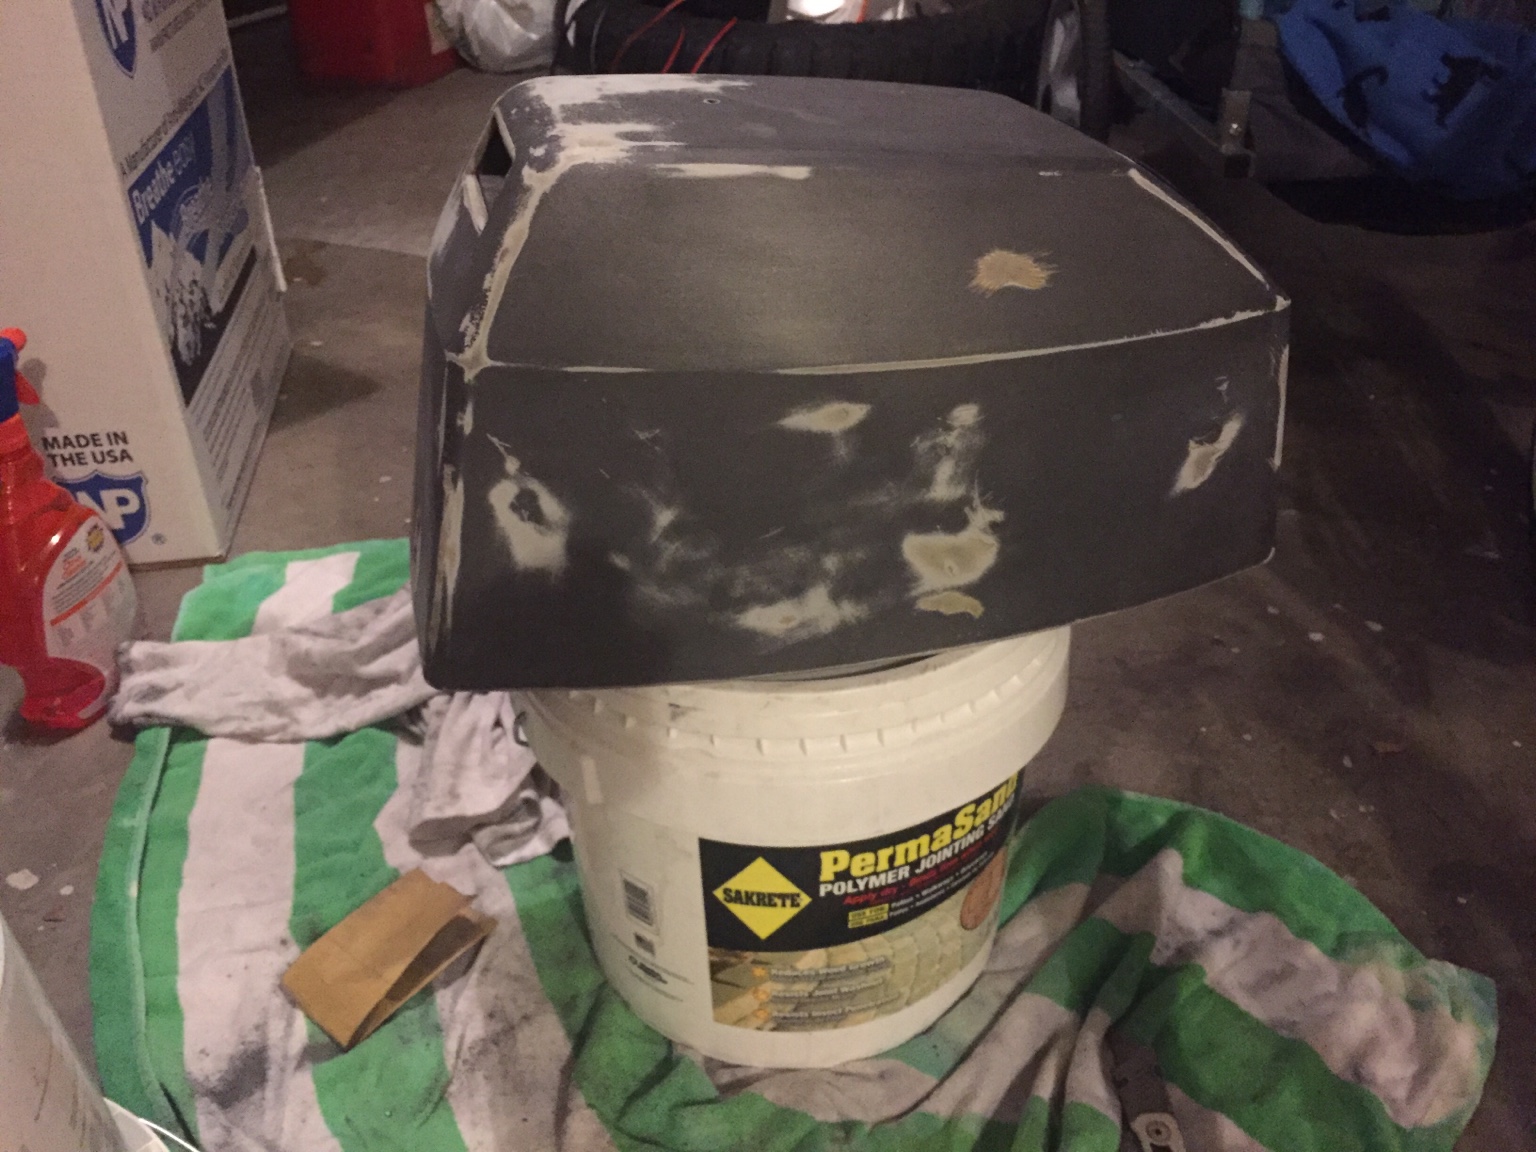
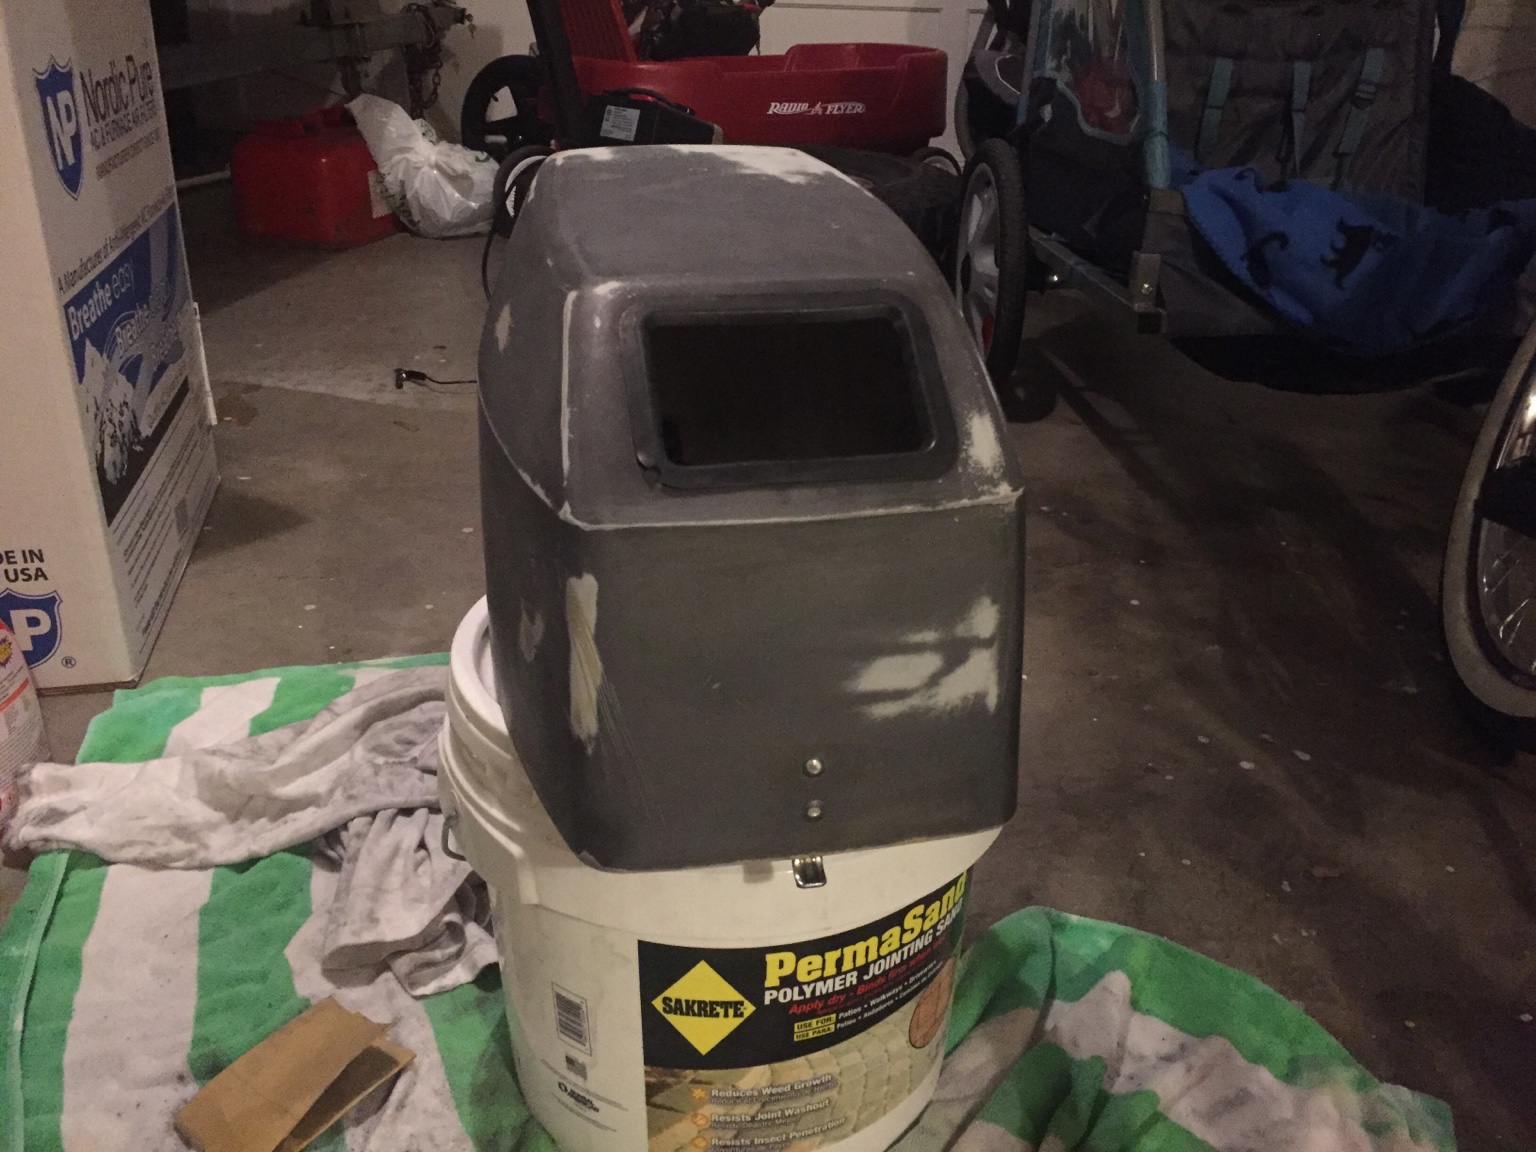
I was able to clean off the cowling and sand it down. I may have sanded it a little too much but I had a really difficult time getting the adhesive from the stickers off and I just decided to take sandpaper to it.

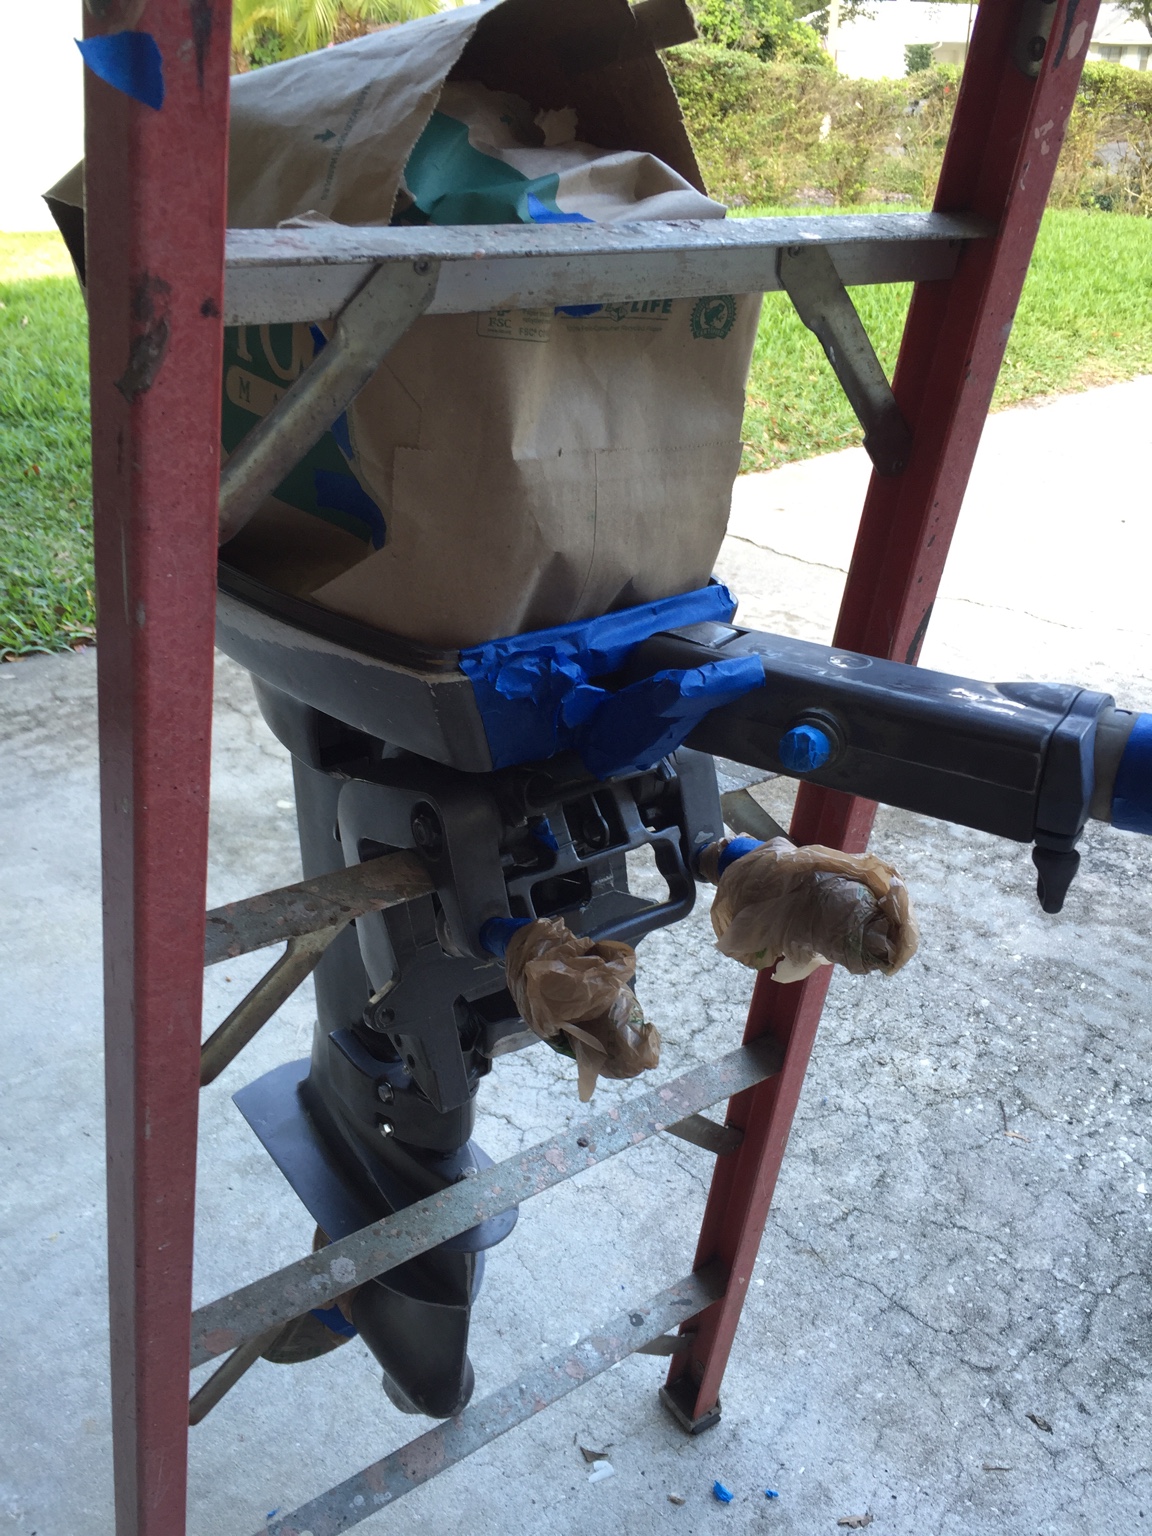
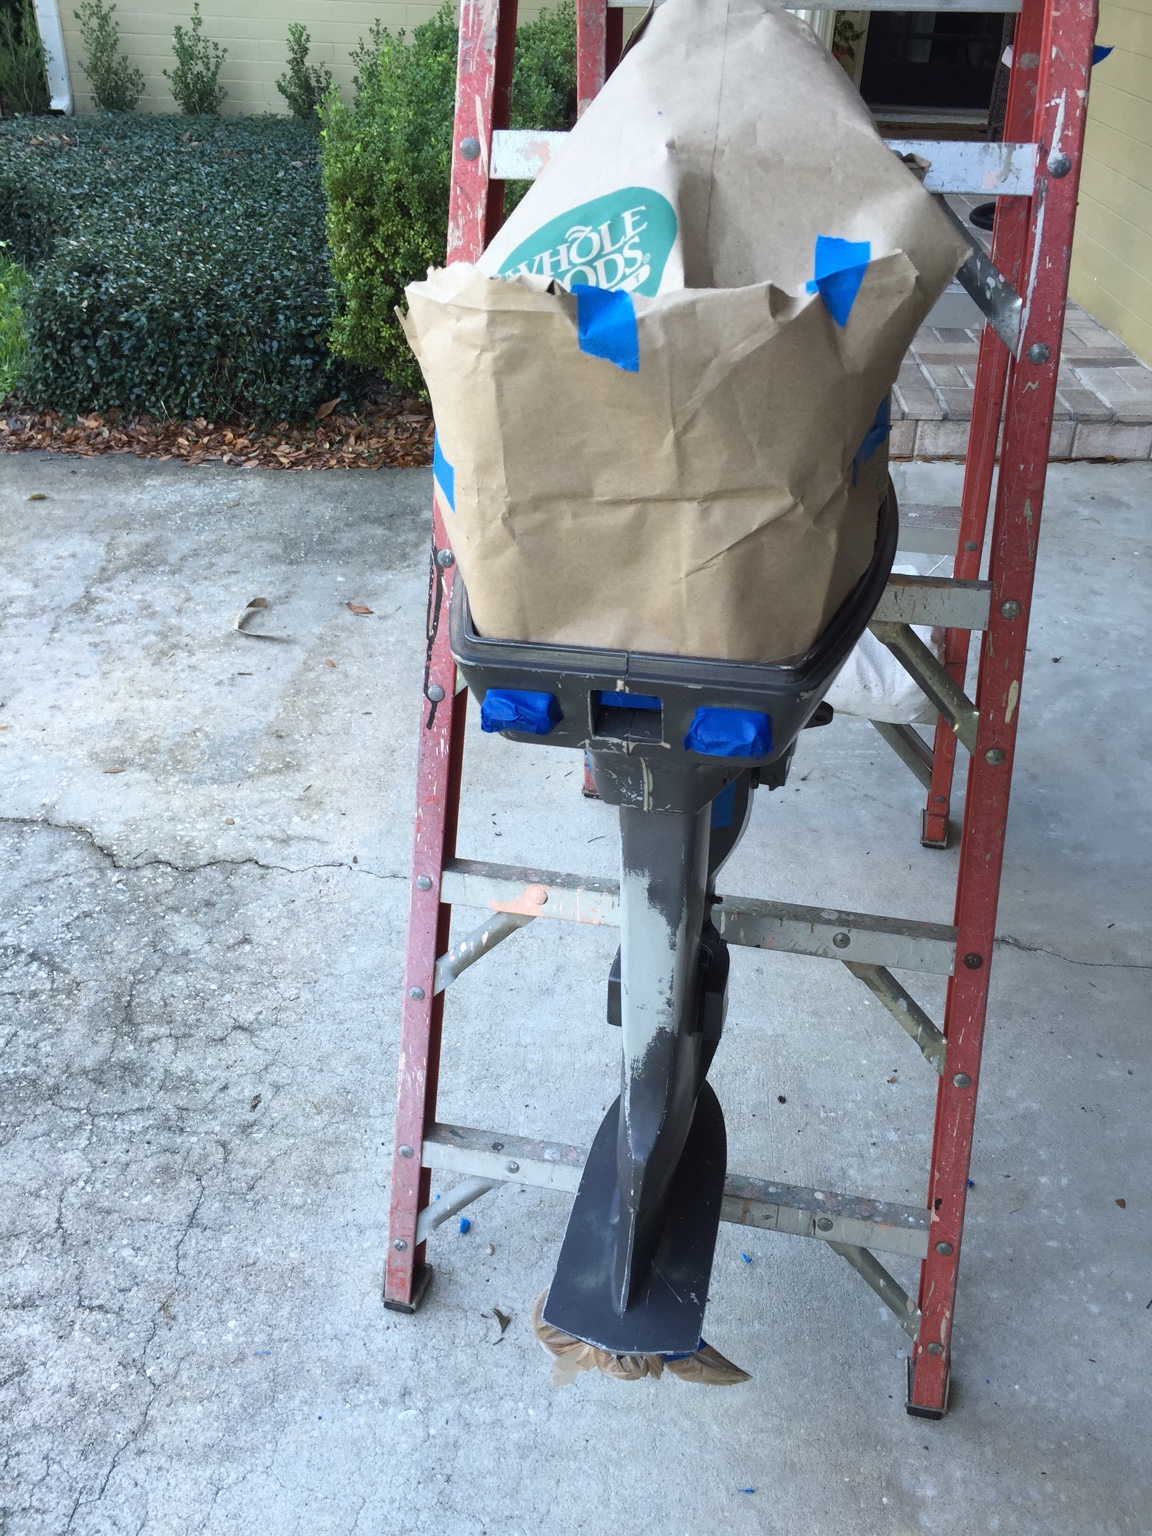
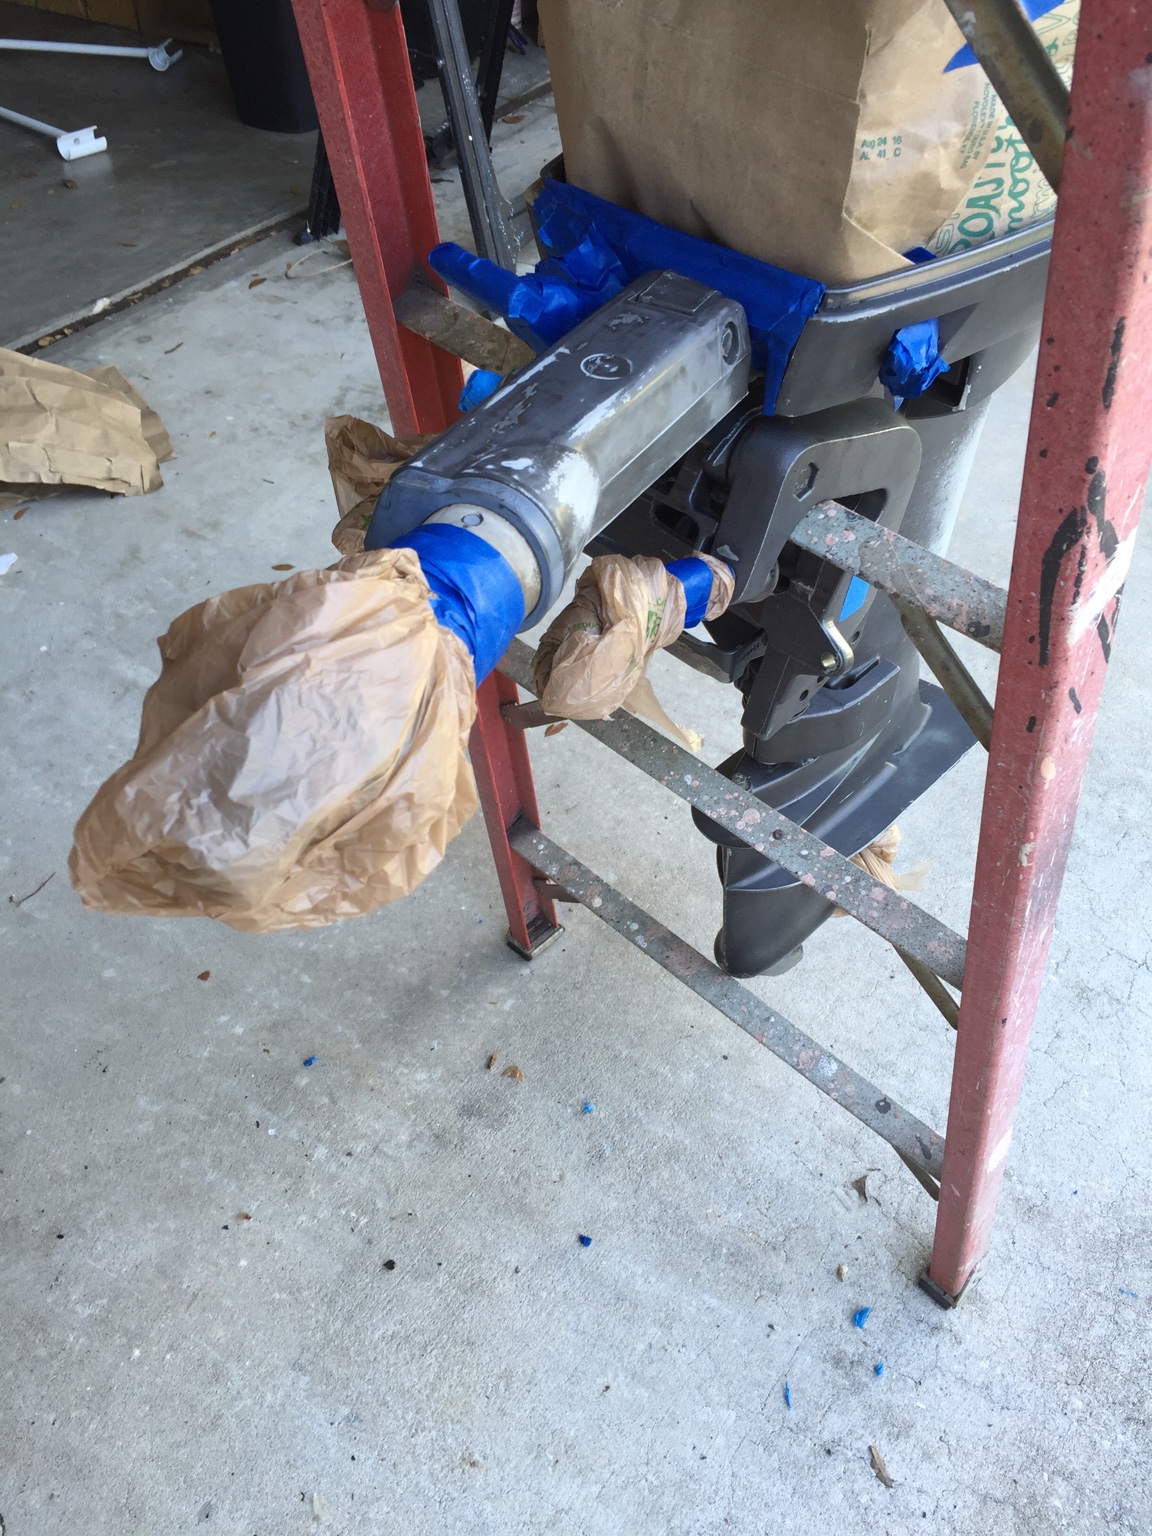
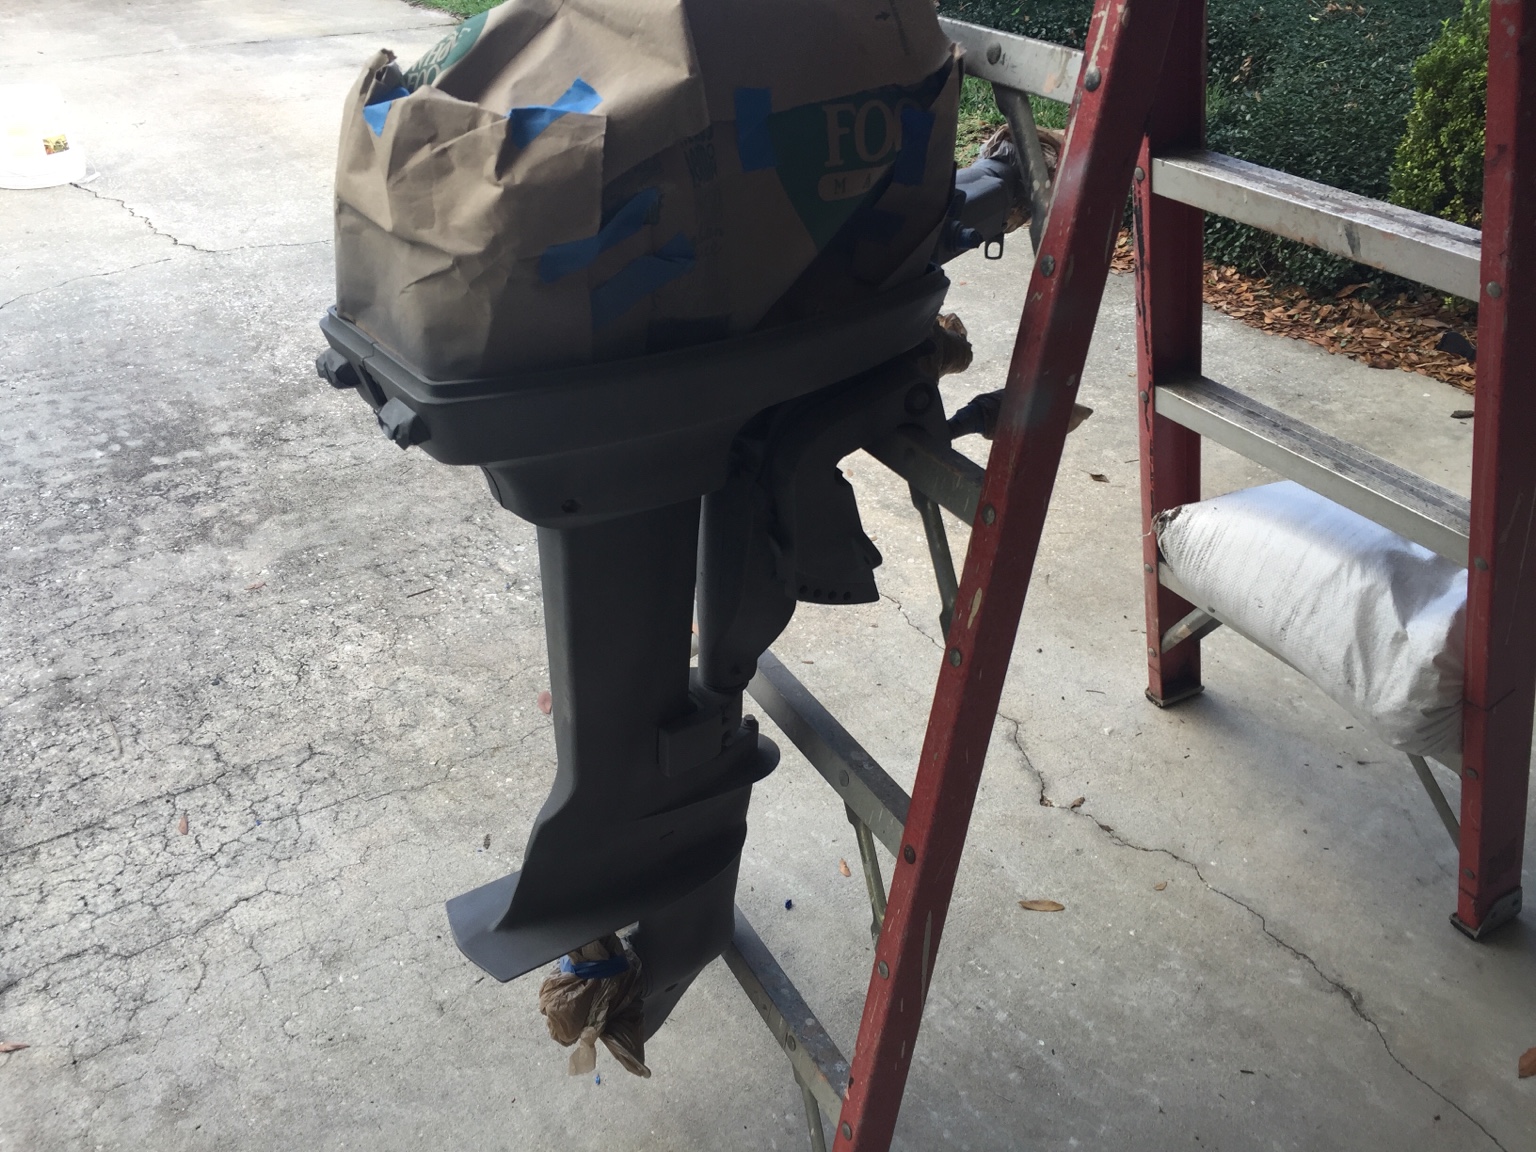
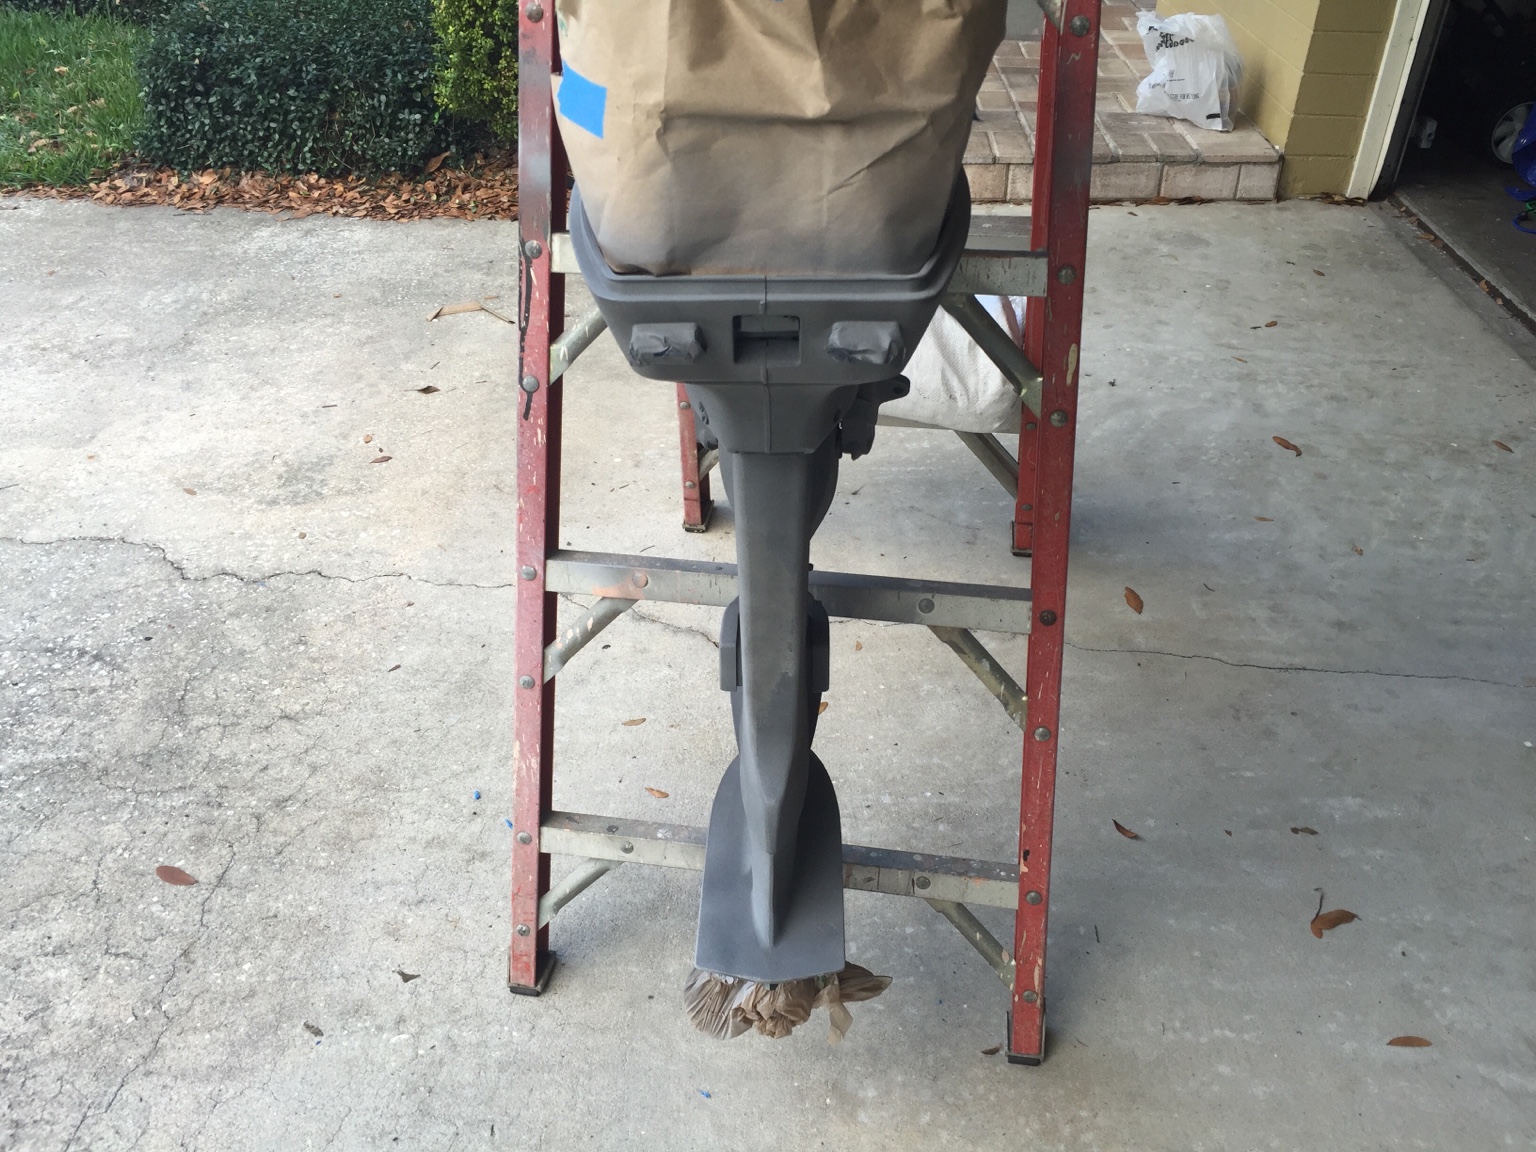
Tomorrow I plan on wiping everything down one last time, applying the spot puffy in a few places on the cowling and then start taping the motor up to be ready for primer.

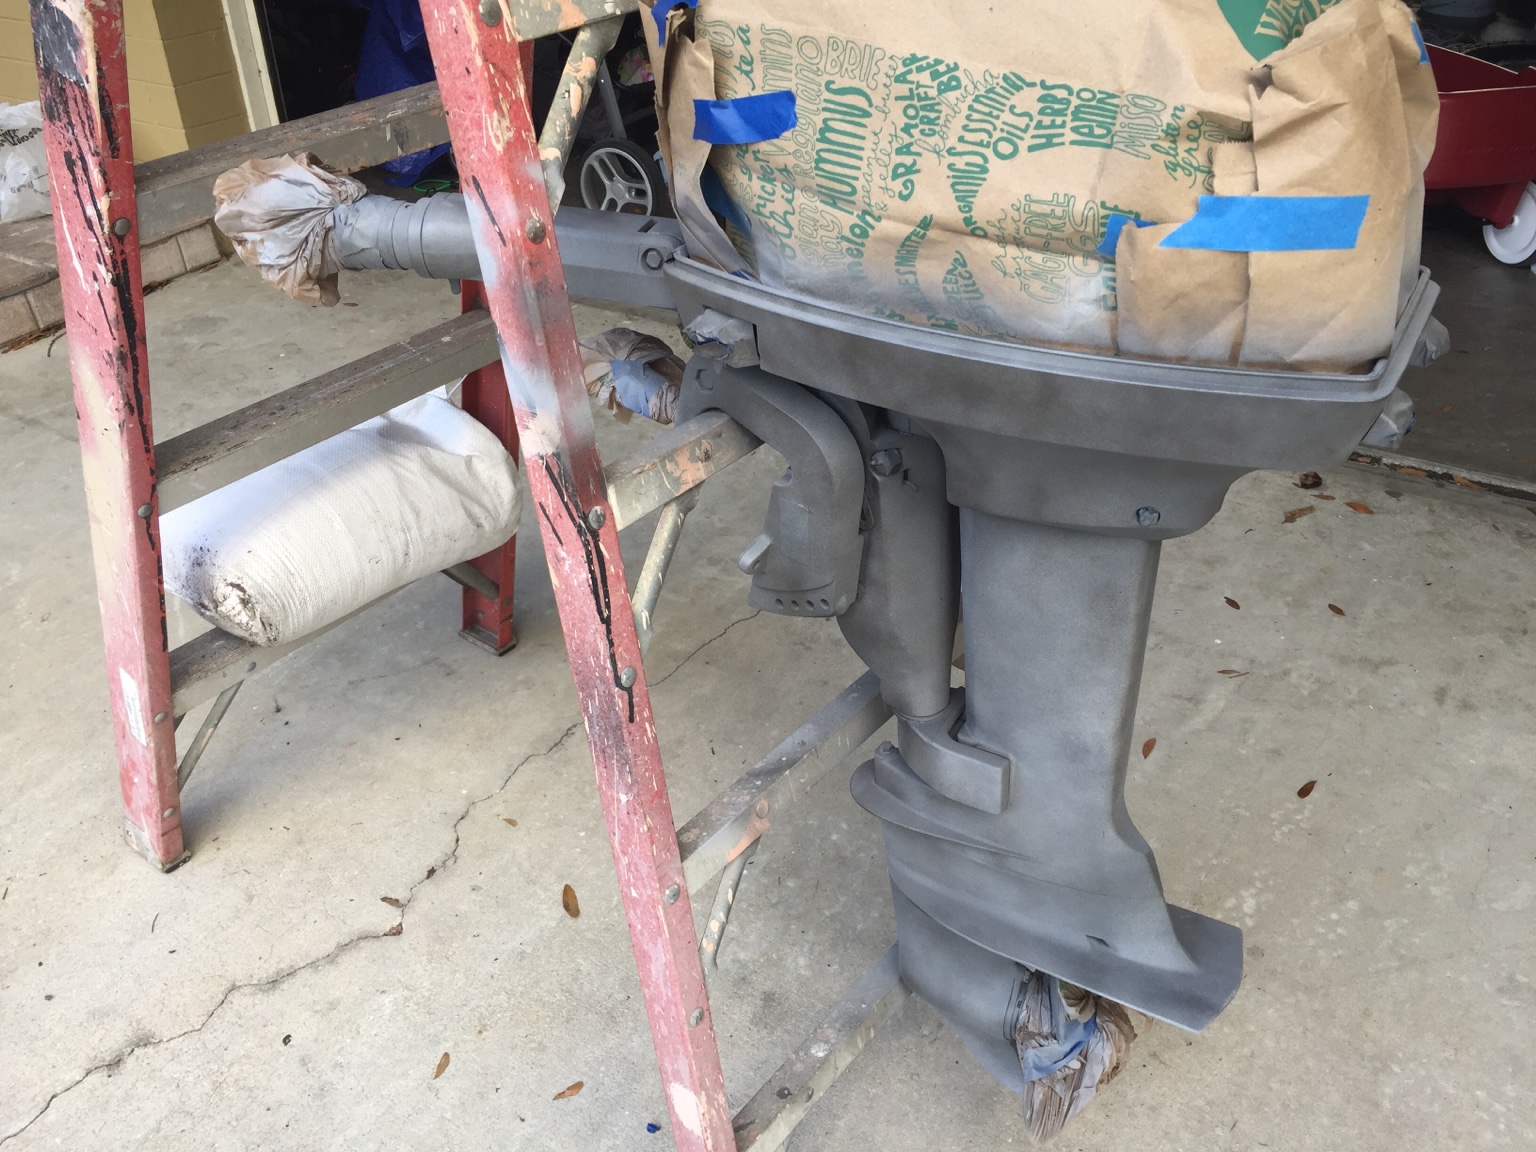
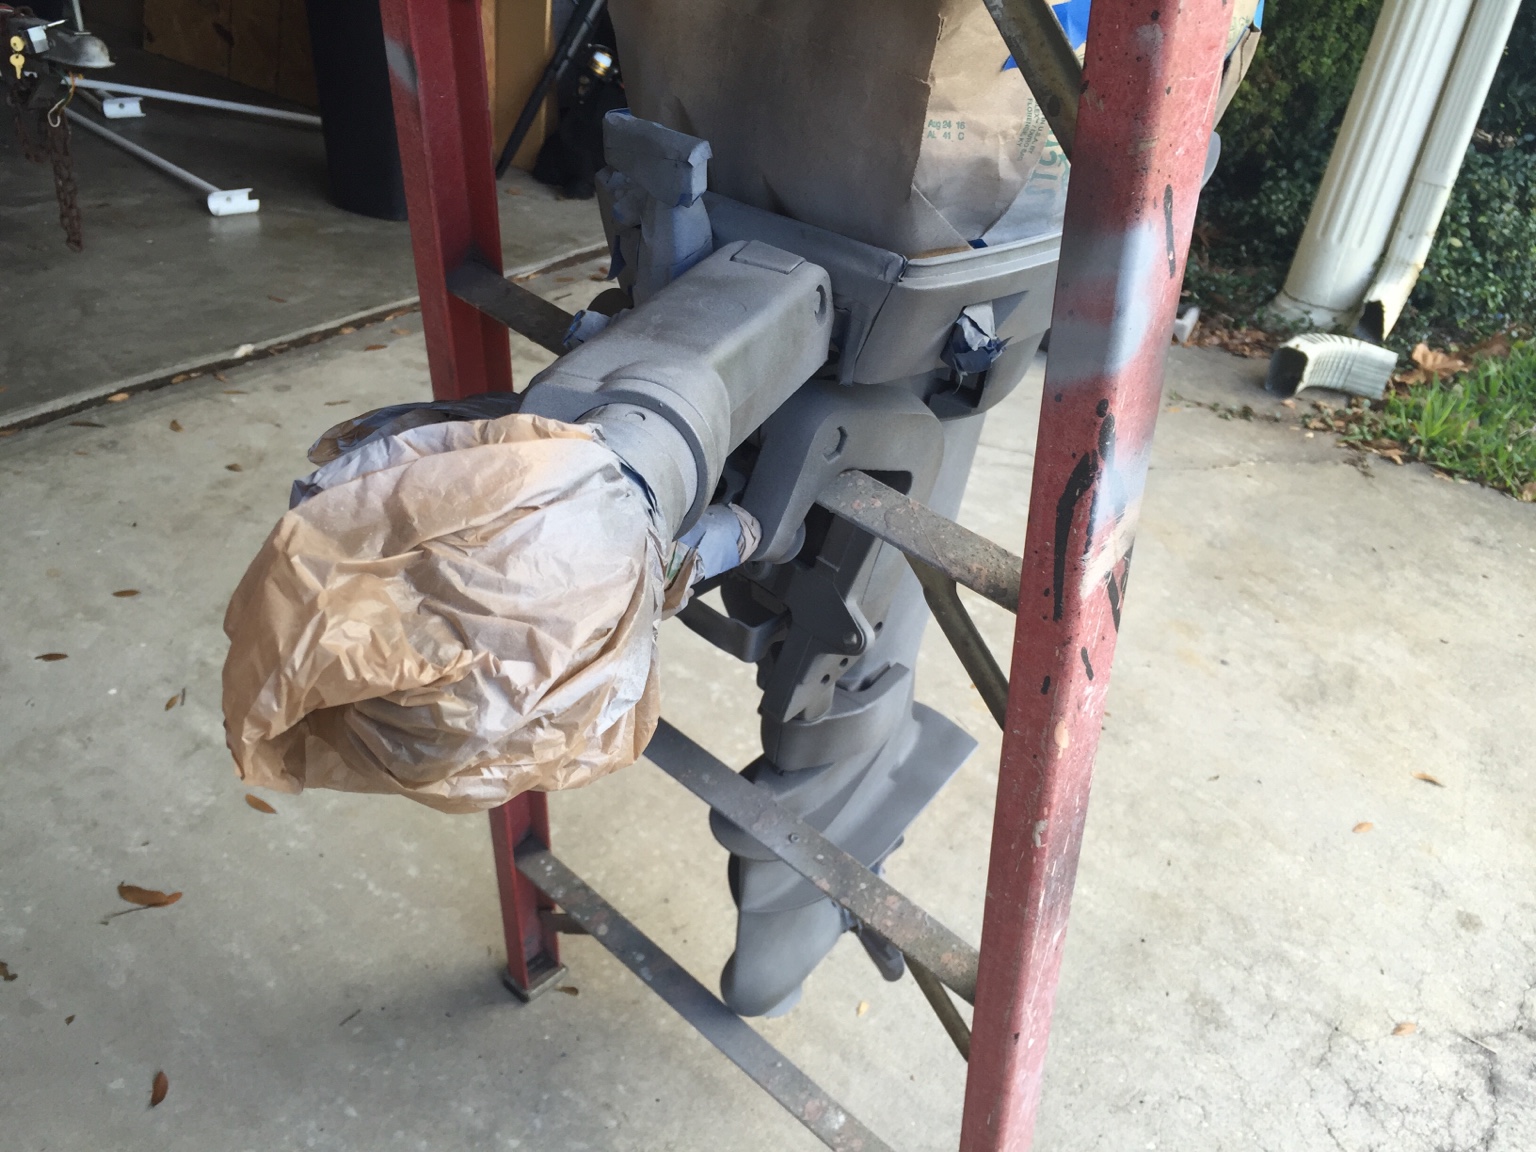
I plan on doing all the priming and painting this weekend and have three days to do it since I have off on Monday. How long should I wait between the first and second coats of primer? How long should I wait between the last coat of primer and the first coat of paint? How long between each coat of paint?

It is going to be high 70s low 80s this weekend with little chance of rain so I plan on doing all the painting/priming outside.

4911da88899b2b31b724287b34e12672.jpg


dd75aae3a701d6052b9501d5e32e1144.jpg


9775f563806ff8603ccf72ffee9ea0bb.jpg


1cb3f157ab5af75f74612eba3f89adc7.jpg
 
Looks good. Spot putty your bad spots and finish sand them real fine with 220 or 320 and prime it. Let it sit in the sun a couple of days and cure out then block it with 320 dry o 400 wet then let it dry and prime it again if you want to turn out real slick and straight. Looks like you feathered it out real good. The more particular you are during this time will give you better results in the end. I have to do my 05 yamahammer soon because the cowling clear is dead and part of it is pealing off. I plan on posting pictures when I do. Good job though!

Sent from my SM-G900R6 using Tapatalk
 
I prefer to paint outside too, less fumes.

Last time, I set up a temp 'booth' to block the wind.

When you are spraying, watch the wetness build on the surface, it lags a bit. Once it starts to flow out, time to quit!

I had plenty of runs from not quitting in time.
 
Thanks for the compliments and encouragement. I picked up some primer today on my lunch break so I'll be priming tomorrow.

Mark, originally I wanted to replace the decals as I thought it would make the motor look new again. Then, when I tried to find the stickers on some of the online boating stores they were listed as out of inventory, and I though my decision was made for me. Thanks to Shaugh, he provided me the link to a set of decals(yes, it is a '99). However, I'm not thrilled about spending $50 for set of stickers, but on the other hand I'm kind of telling myself if I've gone through all the trouble to clean and paint the motor, why not just buy the stickers and make it look like new. I still haven't decided what I'm going to do. I'm open to everyone's opinion and thoughts about the decals as this may help me make up my mind.
 
Yep they rob you for those decals. Why not just paint the hood a color combo to match your boat? There's not much nostalgia to preserve on a 99 motor imo. A nice shiny paint job looks good without decals.

Here's my latest project motor that I was working on tonight. I didn't want to pay for new decals either so I masked the old ones by painting them with Elmers glue. Once I get the clear coat on it they will look just like they did in 1958.

IMG_1062.JPG

IMG_1058.JPG

IMG_1063.JPG
 
I went the "mask the old" route with an '84, but you had very good reasons to take it all off. It's illogical, but when I see a blank repainter outboard, I really miss the graphics. In a similar sit., I color printed a needed design, glued it on, and clear coated the resullt. It lasted abt. 10 years.

Sent from my GT-P3113 using Tapatalk
 
Wow Shaugh that looks gorgeous. How much time do you have in that? Can you describe the "mask the old ones with Elmers glue process"? I don't think it will apply for what I'm doing but I'm just curious about it. I'm not really trying to go for a nostalgic look with this motor or restoring it to be perfect, I'm just trying to make it look better (although that won't be too hard given the state that it was in). I'm with Mark in that whenever I see a motor on a boat that has been redone or the stickers have been pulled off, I always miss the graphics and think that it looks bare or generic. Maybe it has to do with the fact that I'm always curious as to what brand and HP motor is on the back of a given boat.

I got my wife Cricut machine for her birthday, 6 months ago. She hasn't used it much and doesn't have a ton of experience with it, but I was talking with her about it this morning and she said that she can cut vinyl with it. I'm thinking I may make a simple sticker with it and just have a single color of "Johnson", like the image below. What are your guys' thoughts? I was thinking doing the word in white or red, or do something a little more subtle like black or silver.

ee00ebdcdae20e70d4b242da1d310487.gif
 
Very nice work Shaugh!......I like the idea of matching your boat color, I would put a little more script to the letters of the Johnson myself. The color depends on what you settle for on color of the motor itself. Do you want it to stand out from the motor color or blend in with it?
 
Here are some images of the prep work and the first coat of primer.

I went really light on the first primer coat. I'd rather go too light than get too aggressive with it. Temperature outside for painting is 75 degrees so it should dry pretty quickly so I can get a second coat in today.

While the primer is drying I'm applying the spot puddy on the cowling.

1ae57a226a0445e0474f7b046934f4d0.jpg


b8ab164ae5a0820a7db507568a43f5aa.jpg


e9f2716866561b58ca2770454329400d.jpg


eeeb6c93c7bd2a92b276da8dd50b464f.jpg


bb3cee019017b3c69ba0c851dcb480e8.jpg


664439aa871d3bb45fa99bdf6eabc56c.jpg


1dde67f3cd319a2b8257f018cd68963a.jpg
 
Looking good. I know what you mean about a nameless motor I guess... If you're not worried about getting the exact model, just spend some time browsing on EBAY.. there's lots of cheaper emblems available that you could easily modify..

These look like what's on that year motor:

https://www.ebay.com/itm/2-Johnson-Sea-Horse-Outboard-Boat-Motor-Decal-Sticker-/350543304561?hash=item519e025771:m:mouFa2NcqhTwvg7qqNhT8aQ&vxp=mtr

https://www.ebay.com/itm/2-JOHNSON-BOAT-MOTOR-DECAL-STICKER-DECALS-OUTBOARD-NEW-/262204594192?hash=item3d0c9c9810:g:IlgAAOSwpDdVbj6V&vxp=mtr

Masking with Elmers glue is really easy. Just get a fine artist brush and paint the glue over the decals so that you cover them exactly. make a couple coats so it's nice and thick. Then just paint right over the top of them. After your final coat, and when the paint is still a little bit soft, just take a long needle and pick the glue and pull it up. The paint will usually just break off right at the edge of the glue. then do a little touching up with the right color paints and go right over the top with clear coat. once you have a couple coats of clear on you won't even be able to see what you did...

That hood took me 3 days to get it that far... waiting for paint to dry..etc.. hoping to get it clear coated this weekend if it will stop raining for a couple hours...
 
Shaugh good idea on those decals from EBay, I never looked there. That's what I'll most likely be getting, a set from there for $10 - $20. I don't need the decals to match the same as the factory original, just something to make it look not so bare.

That's smart with Elmers glue. I've never thought about doing something that way but it makes a ton of sense. I may be using that technique for future projects.

Today I sanded the bondo spot puddy down after applying it yesterday. That product was a great suggestion and was pretty easy to work with, but yes it dries fast. After sanding it down and wiping it clean, I applied the fist coat of primer on the cowling.

Cowling after sanding

0bdd10ebe2fad095ff53f91c67863658.jpg


91e4049194e0a3d751c92d11468c745d.jpg


5df8b5c96e797052da5d8c6e454e6901.jpg


dcc7d1bda1b5070119d903f5fe1abc72.jpg


Cowling after the first coat of primer.

80d0d7ca1278f90dfb7bef9b5a514c3b.jpg


19093250f5db422dba27df9752c54eca.jpg


f03b1144caddc695afe0bff707ae1d36.jpg


d185f19d77a297c012fd45ac1c8e405b.jpg


I also applied the first coat of paint to the mid and lower sections of the motor.

41536ce48a4a5d12844acbd16d81e3e7.jpg


4f58ed3c5fcc99cf6b0845faedafae8b.jpg


e01d19bc6899c2ae9d94aceb4d6bc0c8.jpg


e852a943c71471e66fbcb9cfe0b0b283.jpg
 
I'm planning on applying a clear coat but forgot to pick some up at the auto parts store when I got the paint, so I'll need to go back. How many coats of clear do you suggest I apply?
 
Ok so you bought the finish 1 enamel ? Which hardener did you get?

Body work looks great.
 
The NAPA by my house was closed today. When I looked them up on Google and it said they were closed, but I called anyway to see if the info was incorrect and nobody ever answered the phone. Next I called Advance Auto, Autozone, and PepBoys and neither of them said they mixed paint or sold it by the pint. Unfortunately, I had to settle for the automotive rattle can dupli-color paint and didn't get the Finish1.

I could have waited to go to NAPA tomorrow but my wife is pregnant and our baby is due any day now, so I'm trying to complete this project before the baby come. I know if I don't finish it this weekend I probably won't finish it for 3-6 months. Also, most of the time that I am working on this is either in the late evening after I put my 2 year old to bed or in the 1.5 hour window I have while my child naps during the weekends. I thought about calling the other NAPA across town but by the time I would have driven there and back I wouldn't have had much time to do any painting.
 
If you go the rattle can route, I've had decent luck with this clear:

https://www.lowes.com/pd/Rust-Oleum-Stops-Rust-Crystal-Clear-Rust-Resistant-Enamel-Spray-Paint-Actual-Net-Contents-12-oz/3544060?cm_mmc=SCE_PLA-_-Paint-_-SprayPaint-_-3544060:Rust-Oleum&CAWELAID=&kpid=3544060&CAGPSPN=pla&store_code=1767&k_clickID=2f3f4898-a04f-48b4-a5eb-2bbf620bef3a

I'd go with 5 coats of that to give the paint some resistance against fuel and oil... The more you can build up as a barrier the better.. The good part about keeping a good clear barrier over the color is that the color will remain as the gas and oil dissolve the clear. Then you just need to do periodic maintenance with the clear and it will keep looking good...
 
Johnny, at this point I haven't gotten set up to create my own decal on my wife's machine. I'm looking to knock this project out today and be done with it or 80% done with it, and make a reverse decal and creating a mask is likely going to take too much time. I'm probably going to just buy an inexpensive decal from EBay.

I've bought the clear coat per your suggestion Shaugh. Applying the clear today.

I'm going to order the decal this afternoon. Do you guys think I put a coat of clear over the decal or just put the decal over top all of the clear and be done with it?
 
Decals should go under the clear. They definitely need the clear coat to stay on and protected...
 

Latest posts

Top