Painting my Motor

TinBoats.net

Help Support TinBoats.net:

This site may earn a commission from merchant affiliate links, including eBay, Amazon, and others.
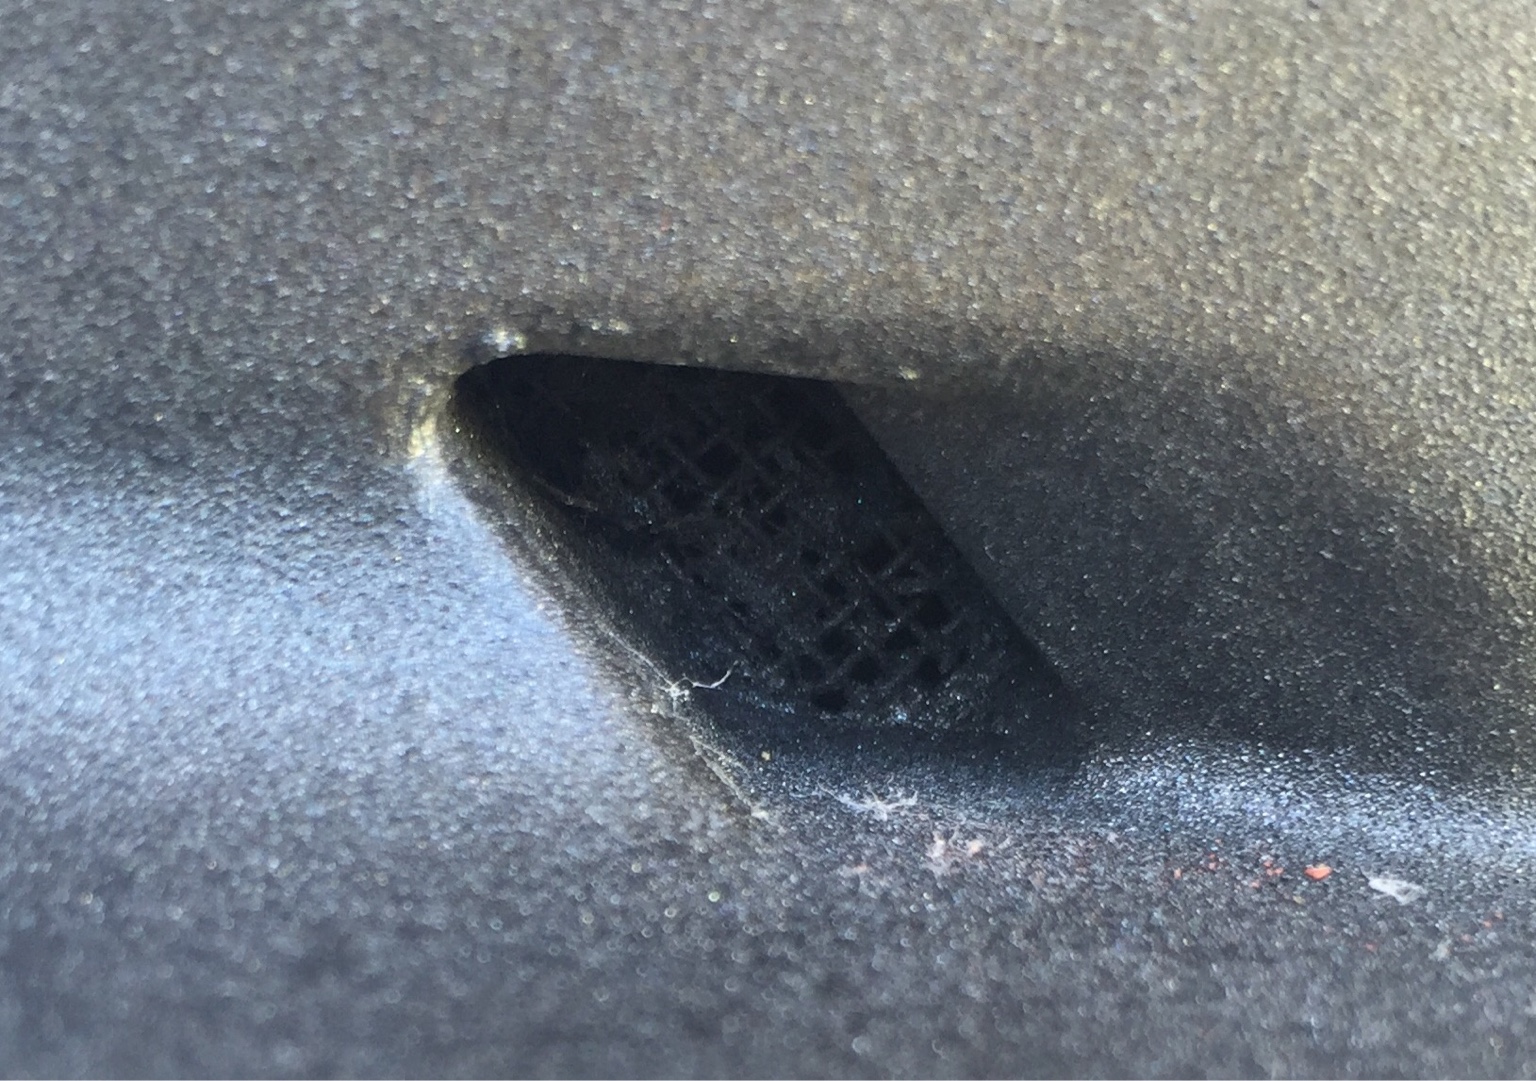
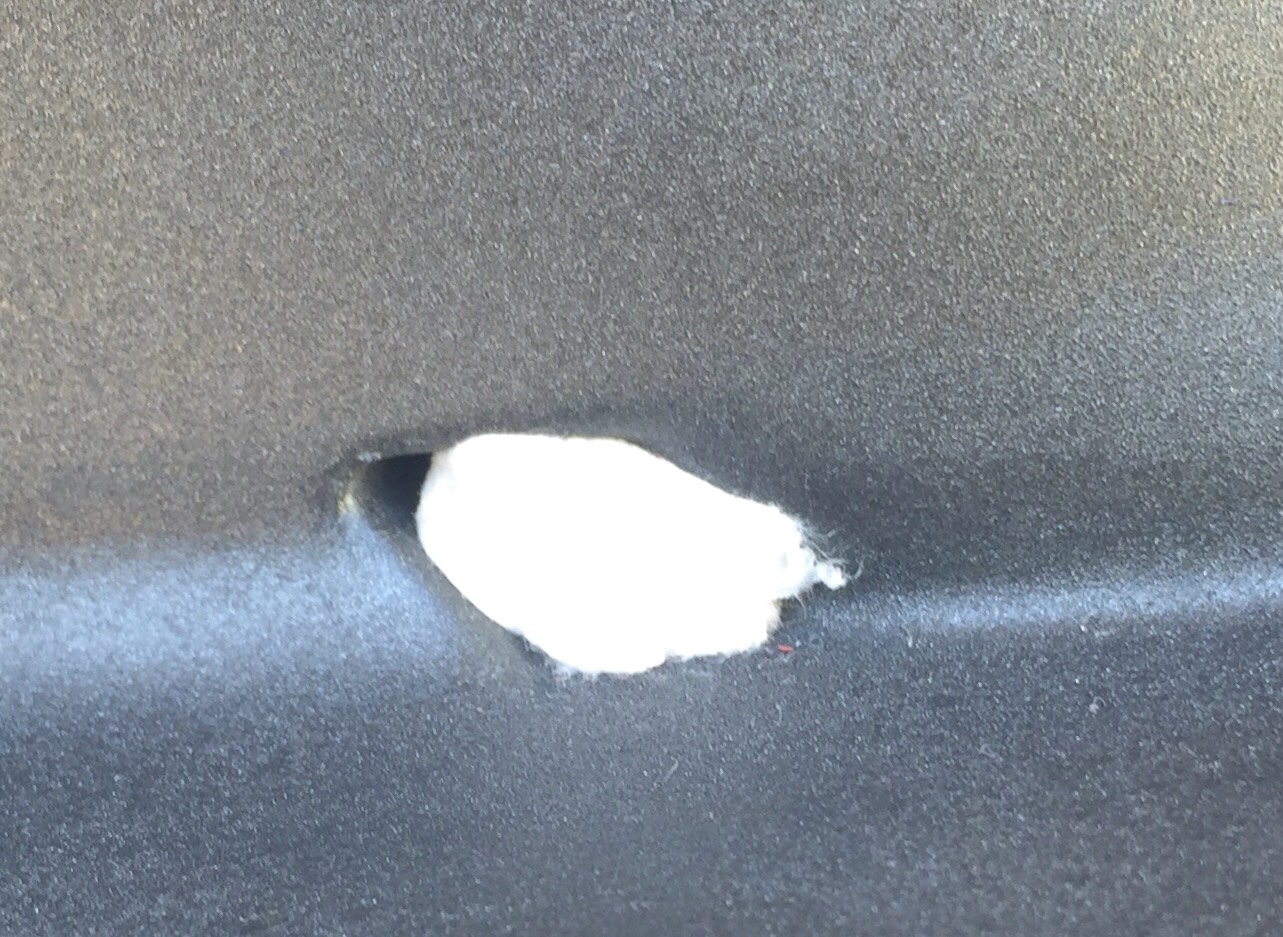
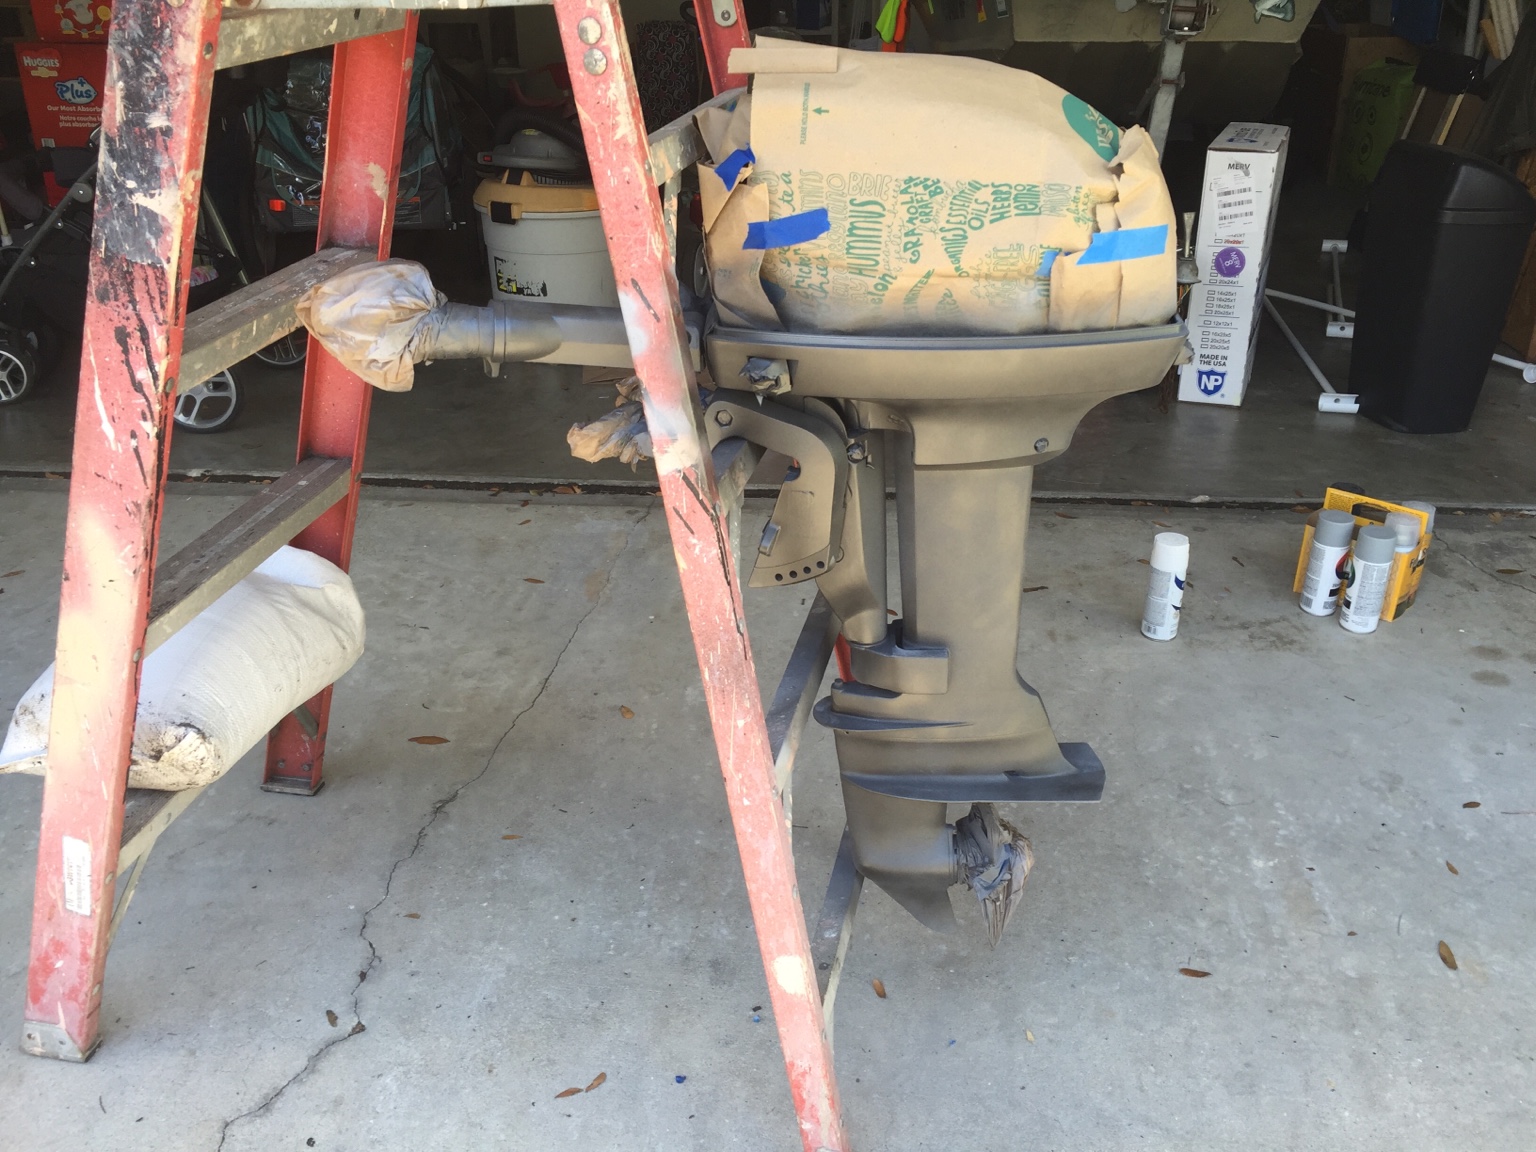
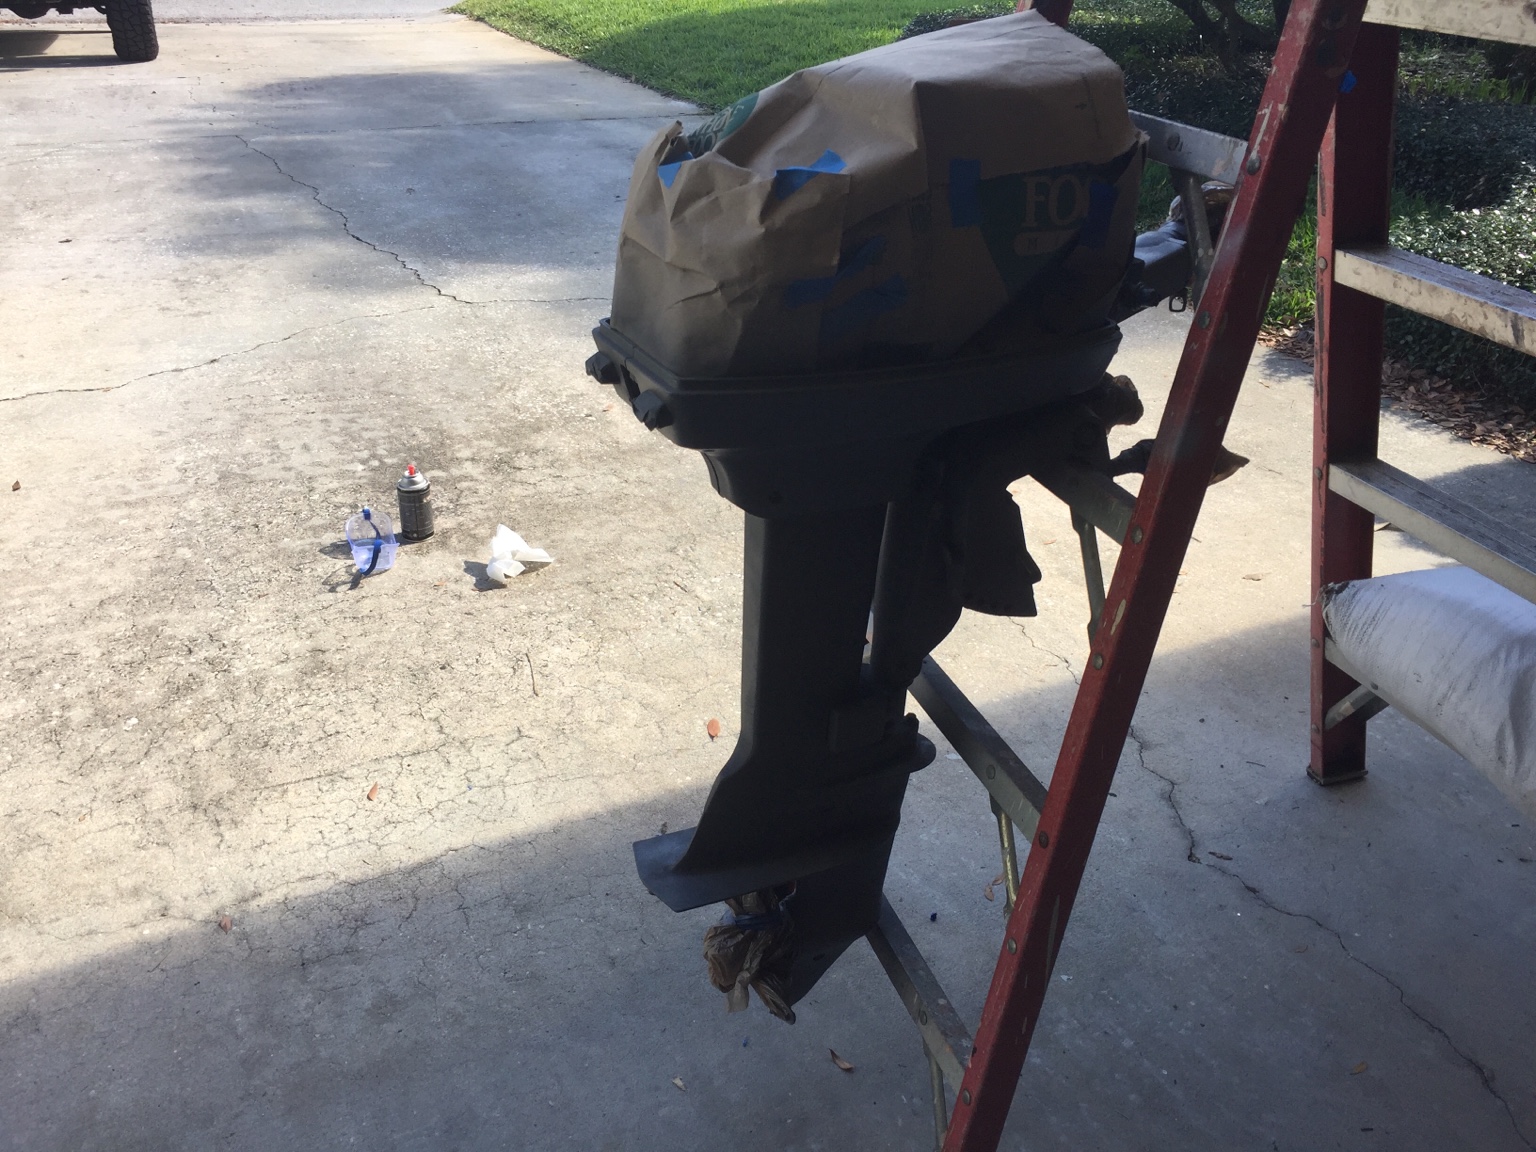
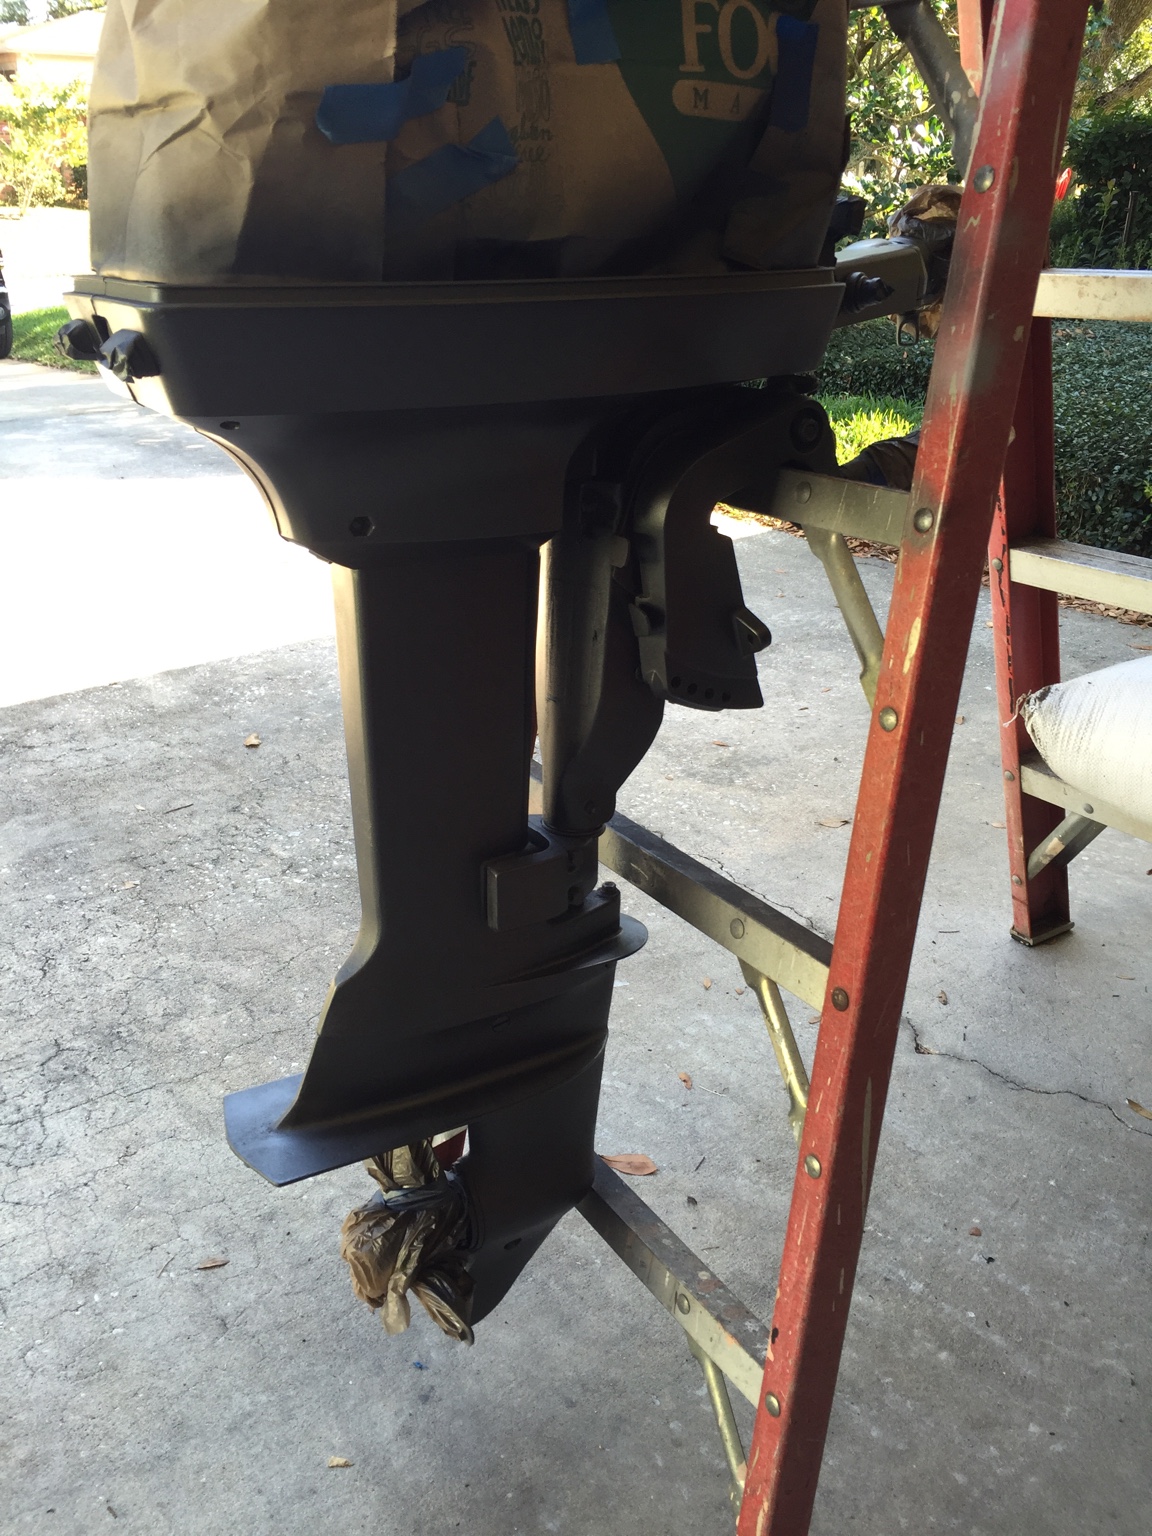
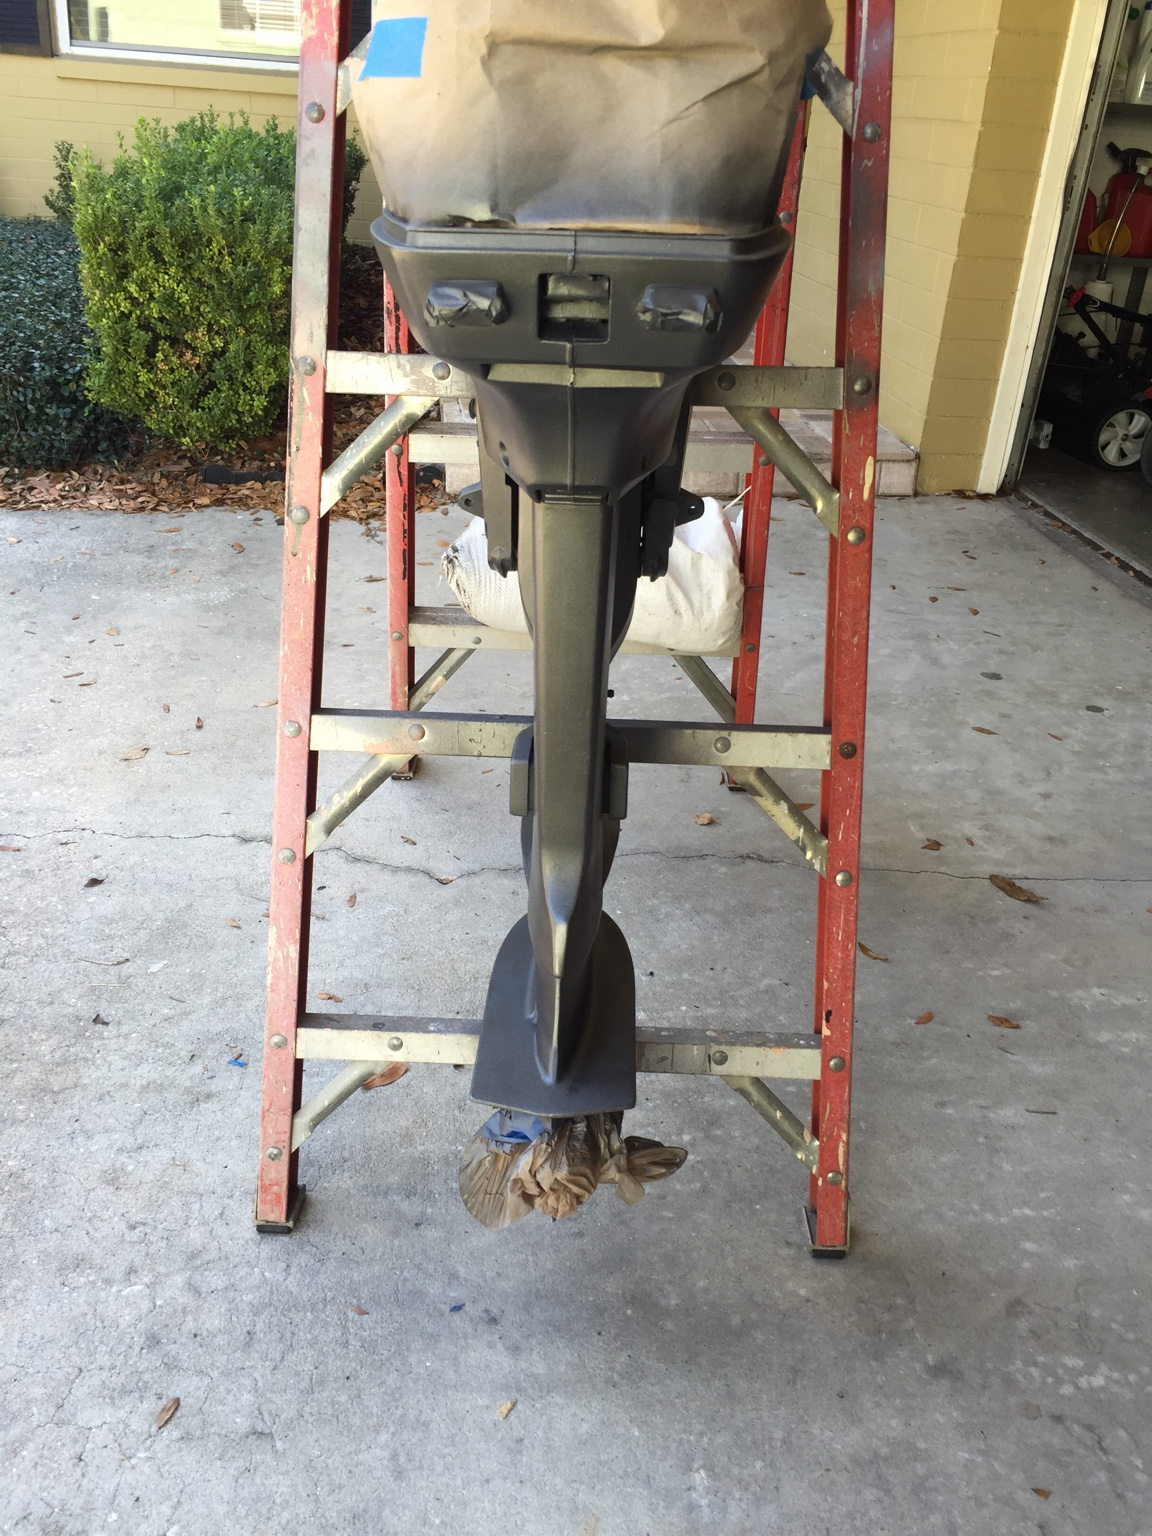
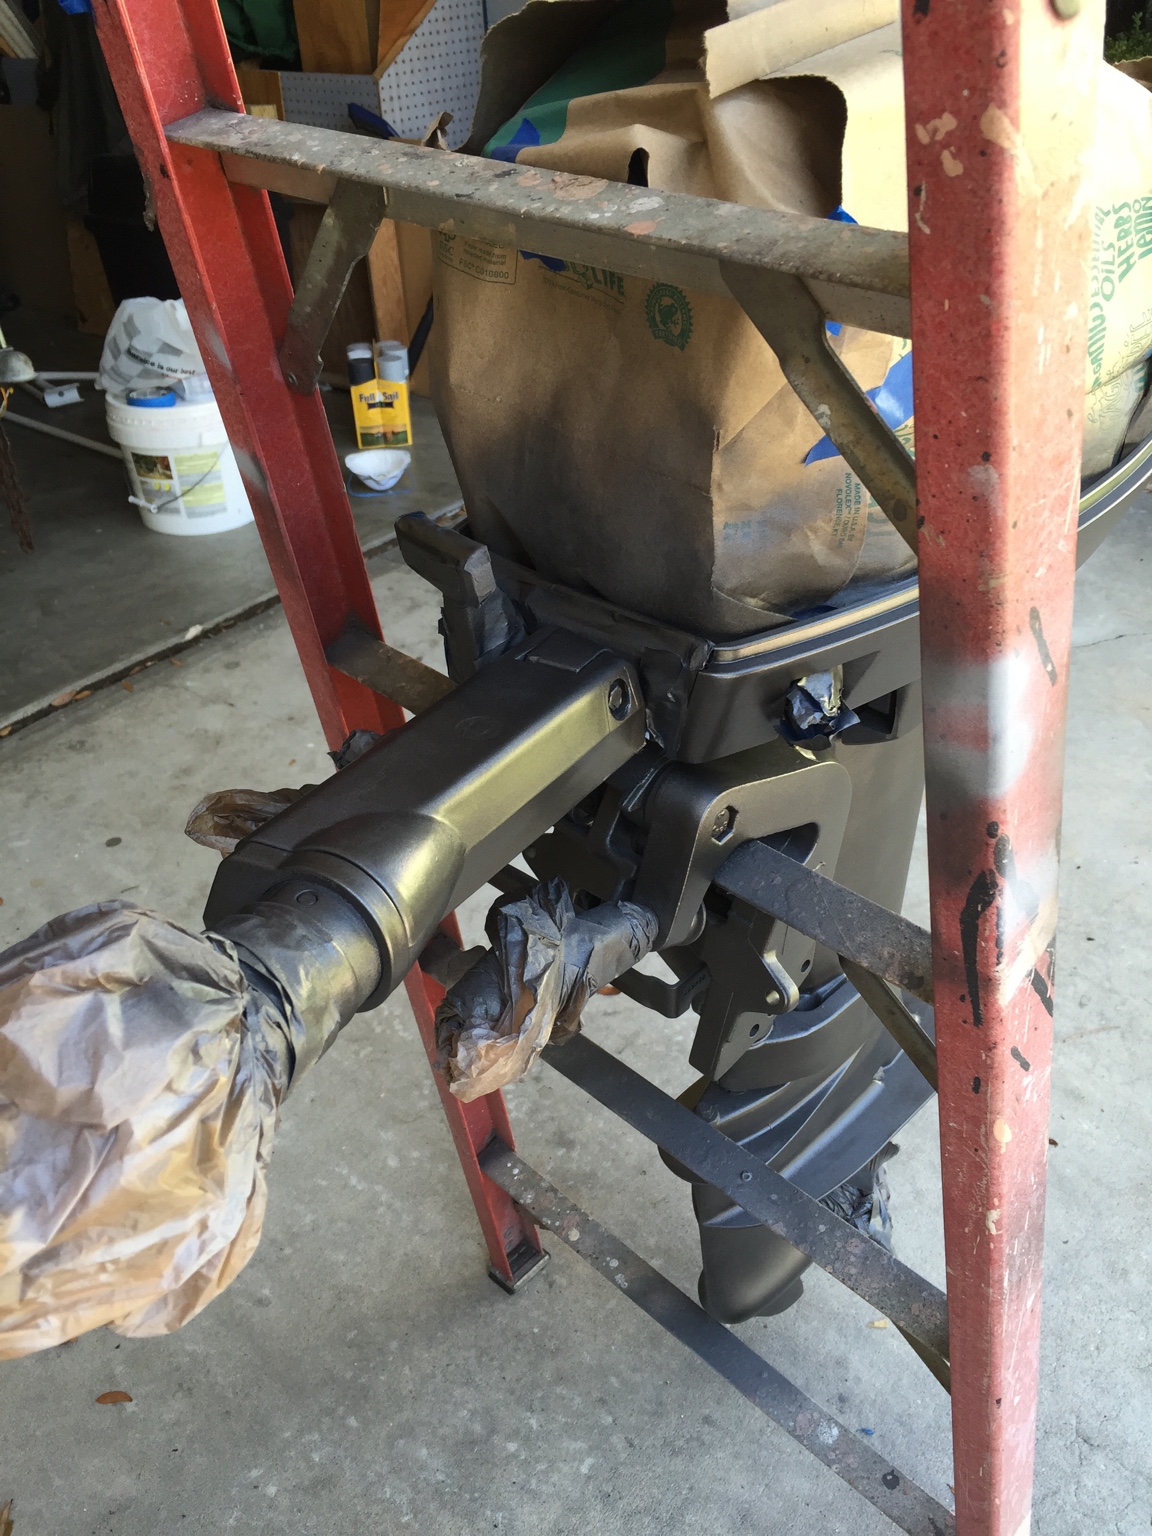
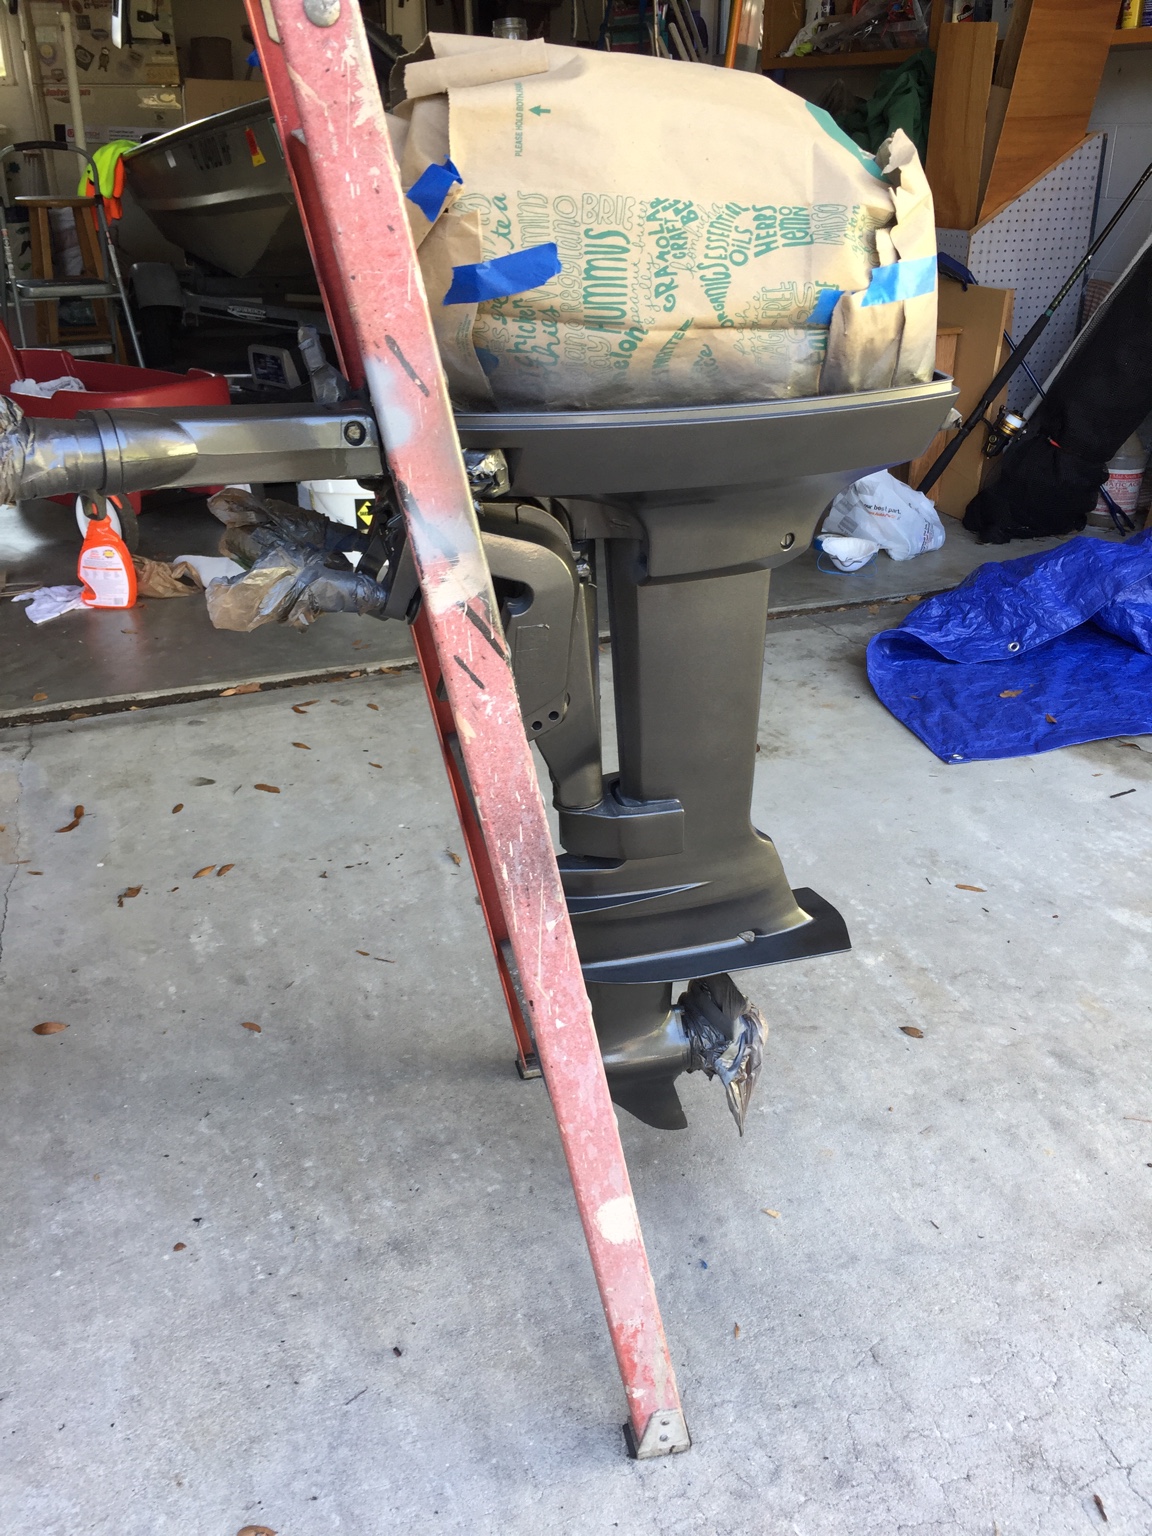
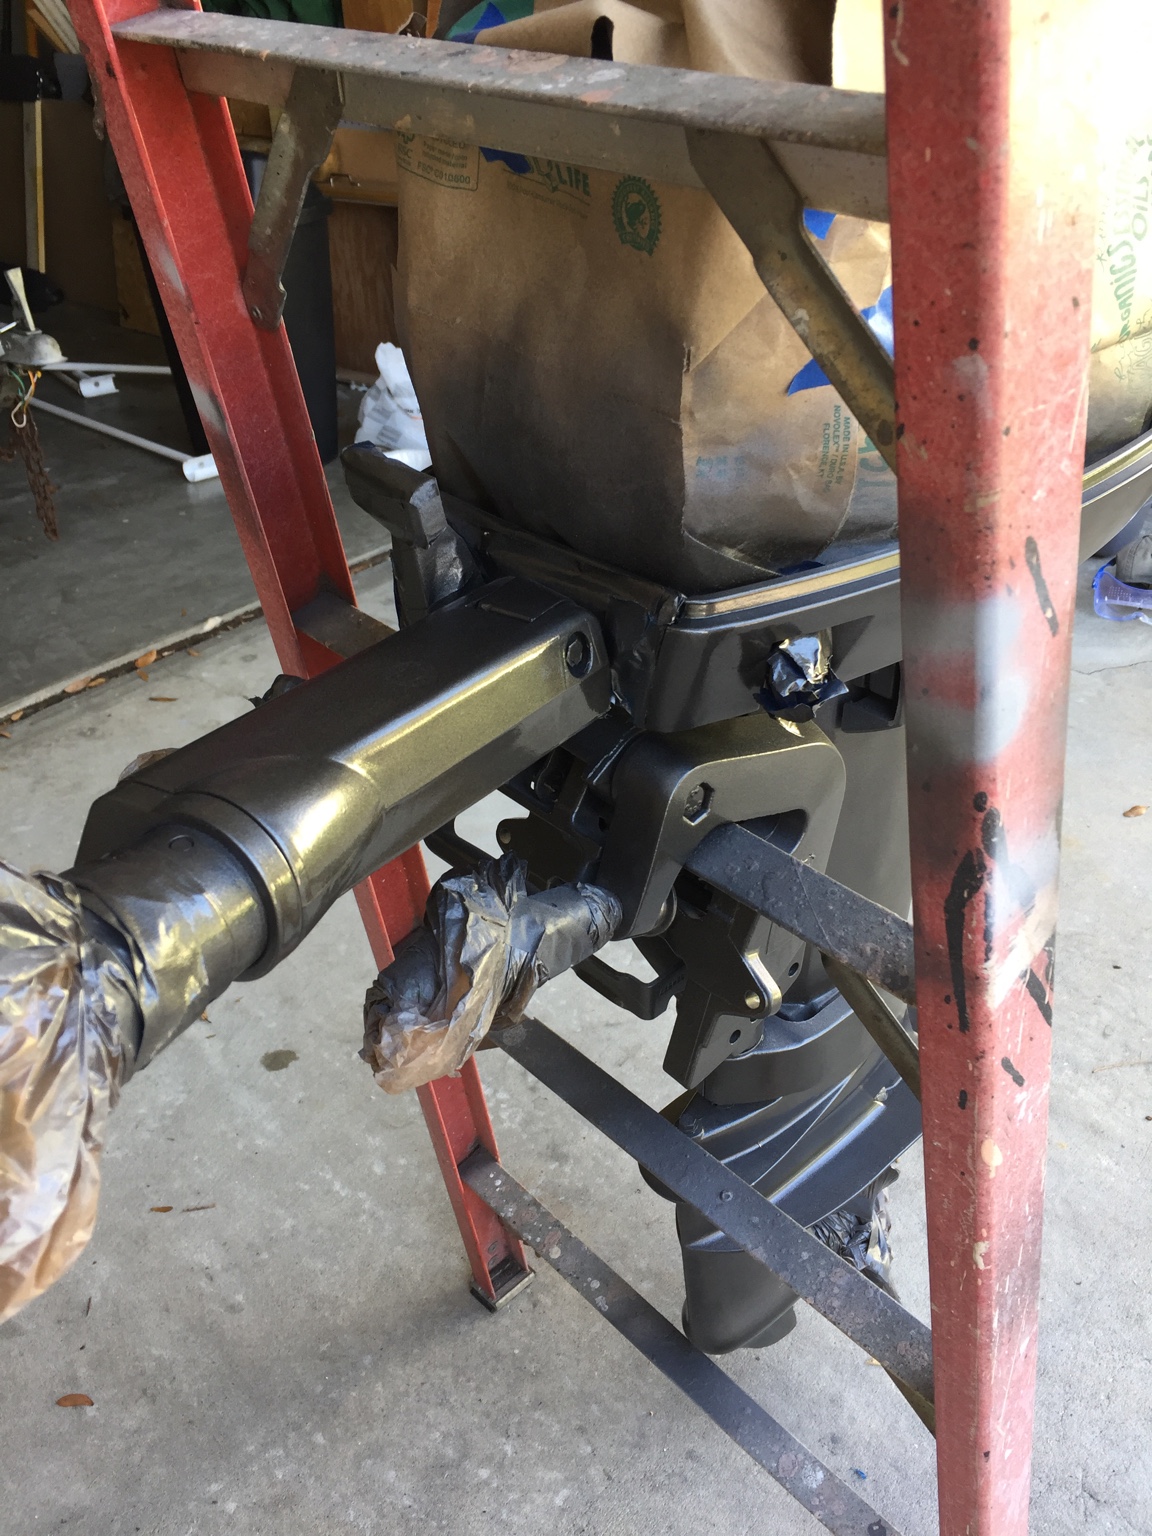
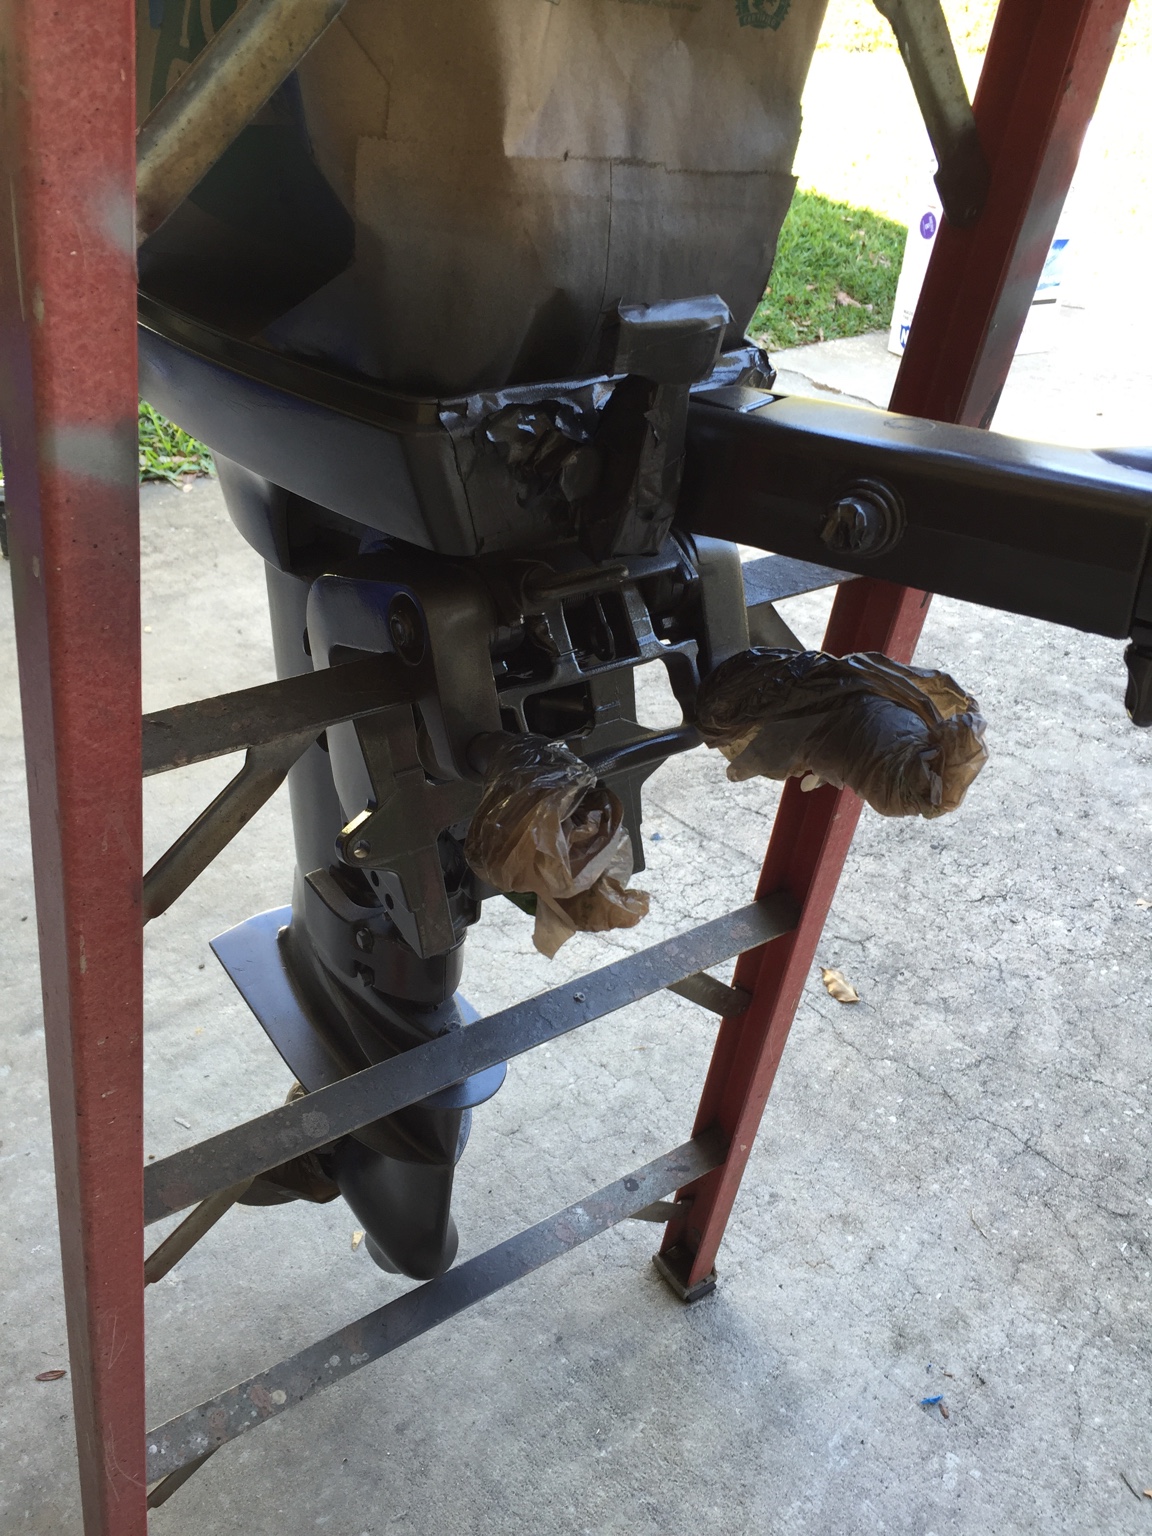
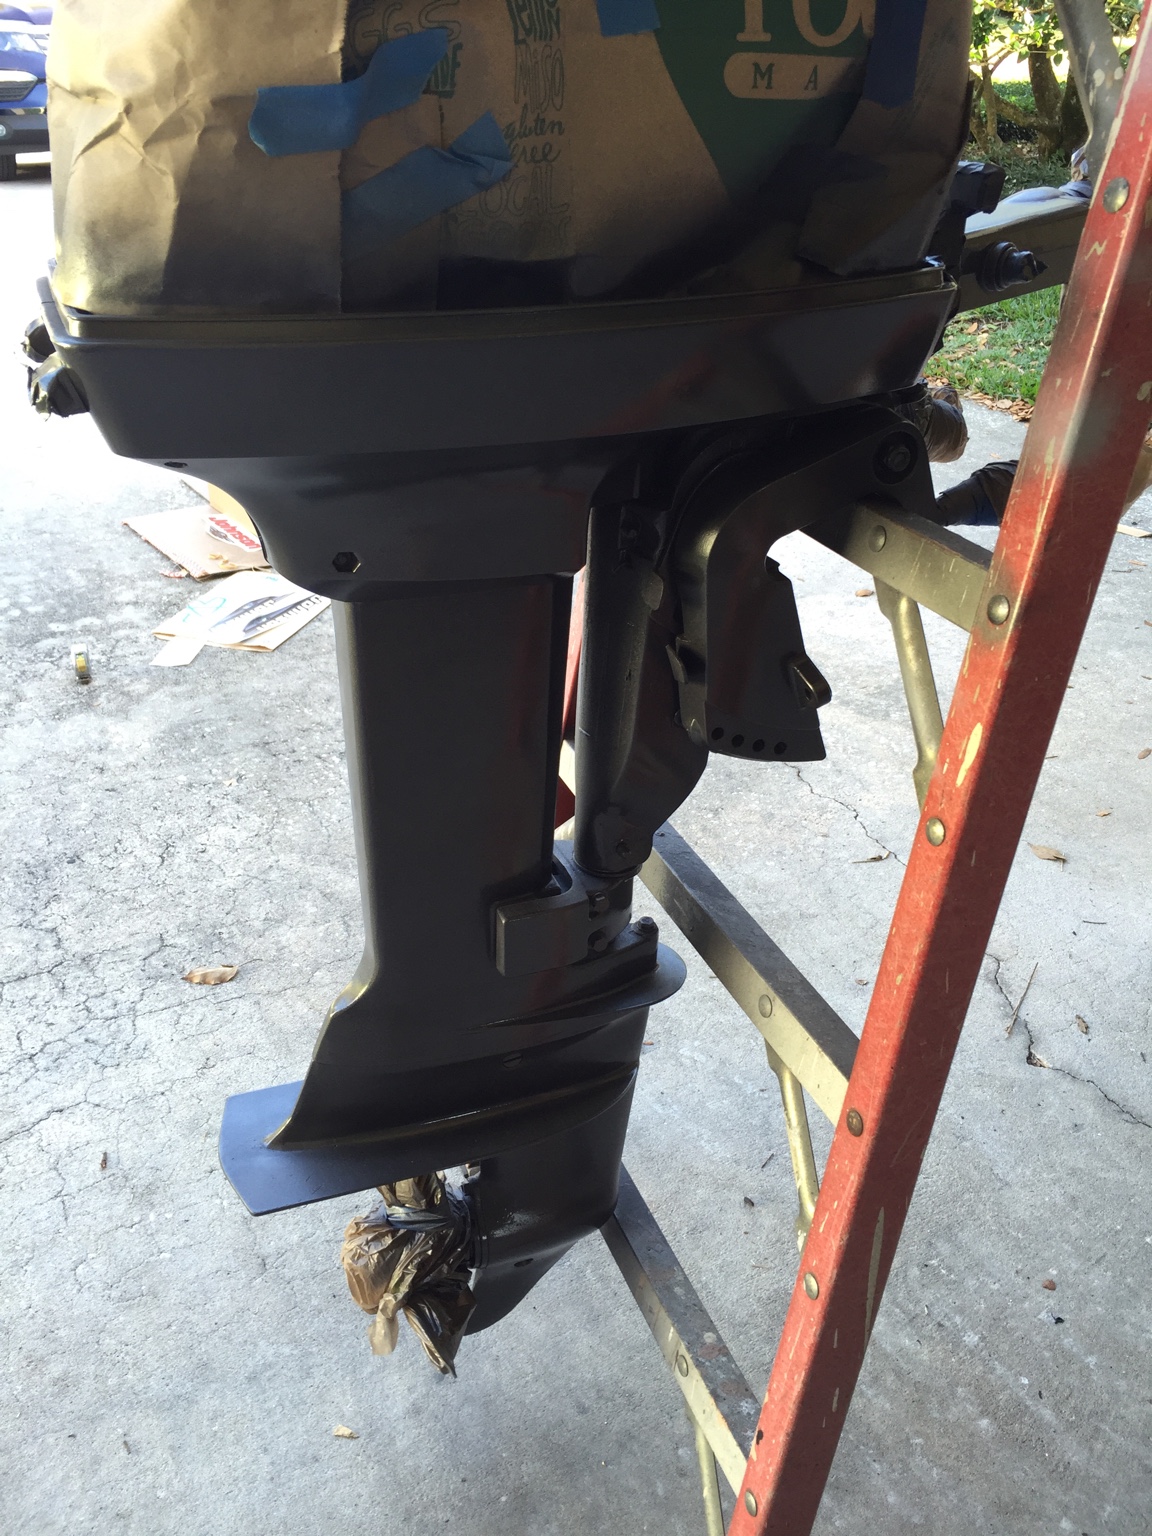
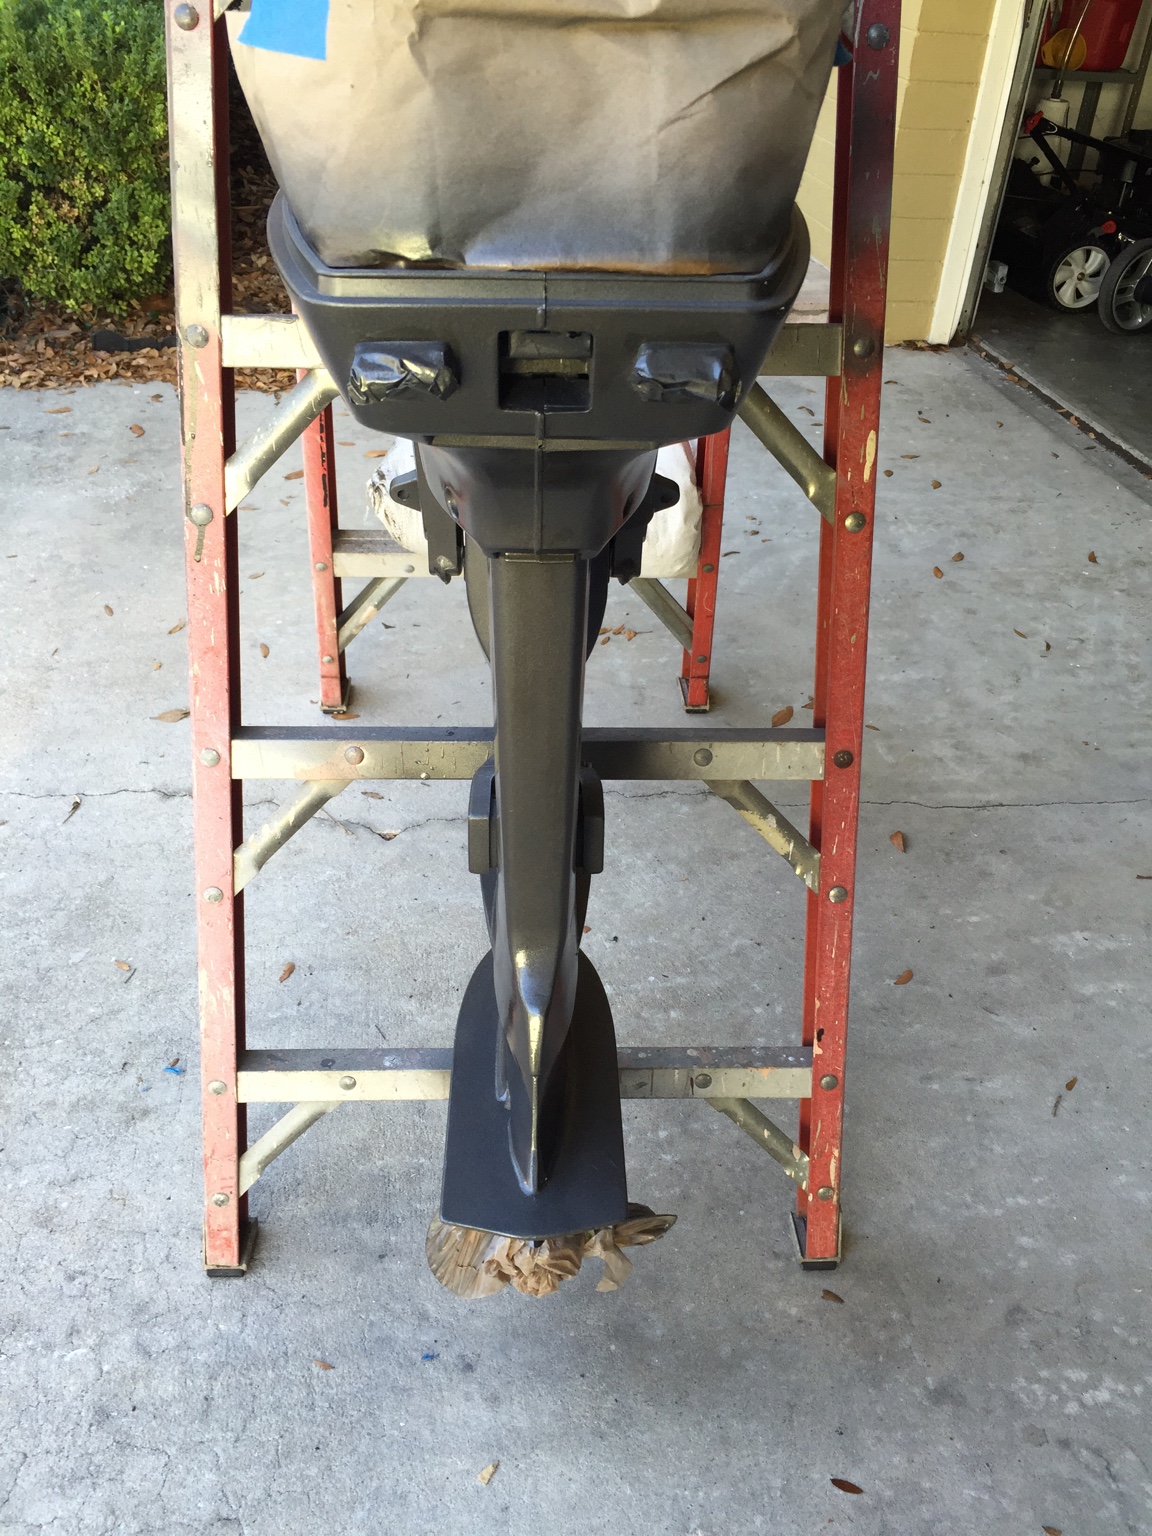
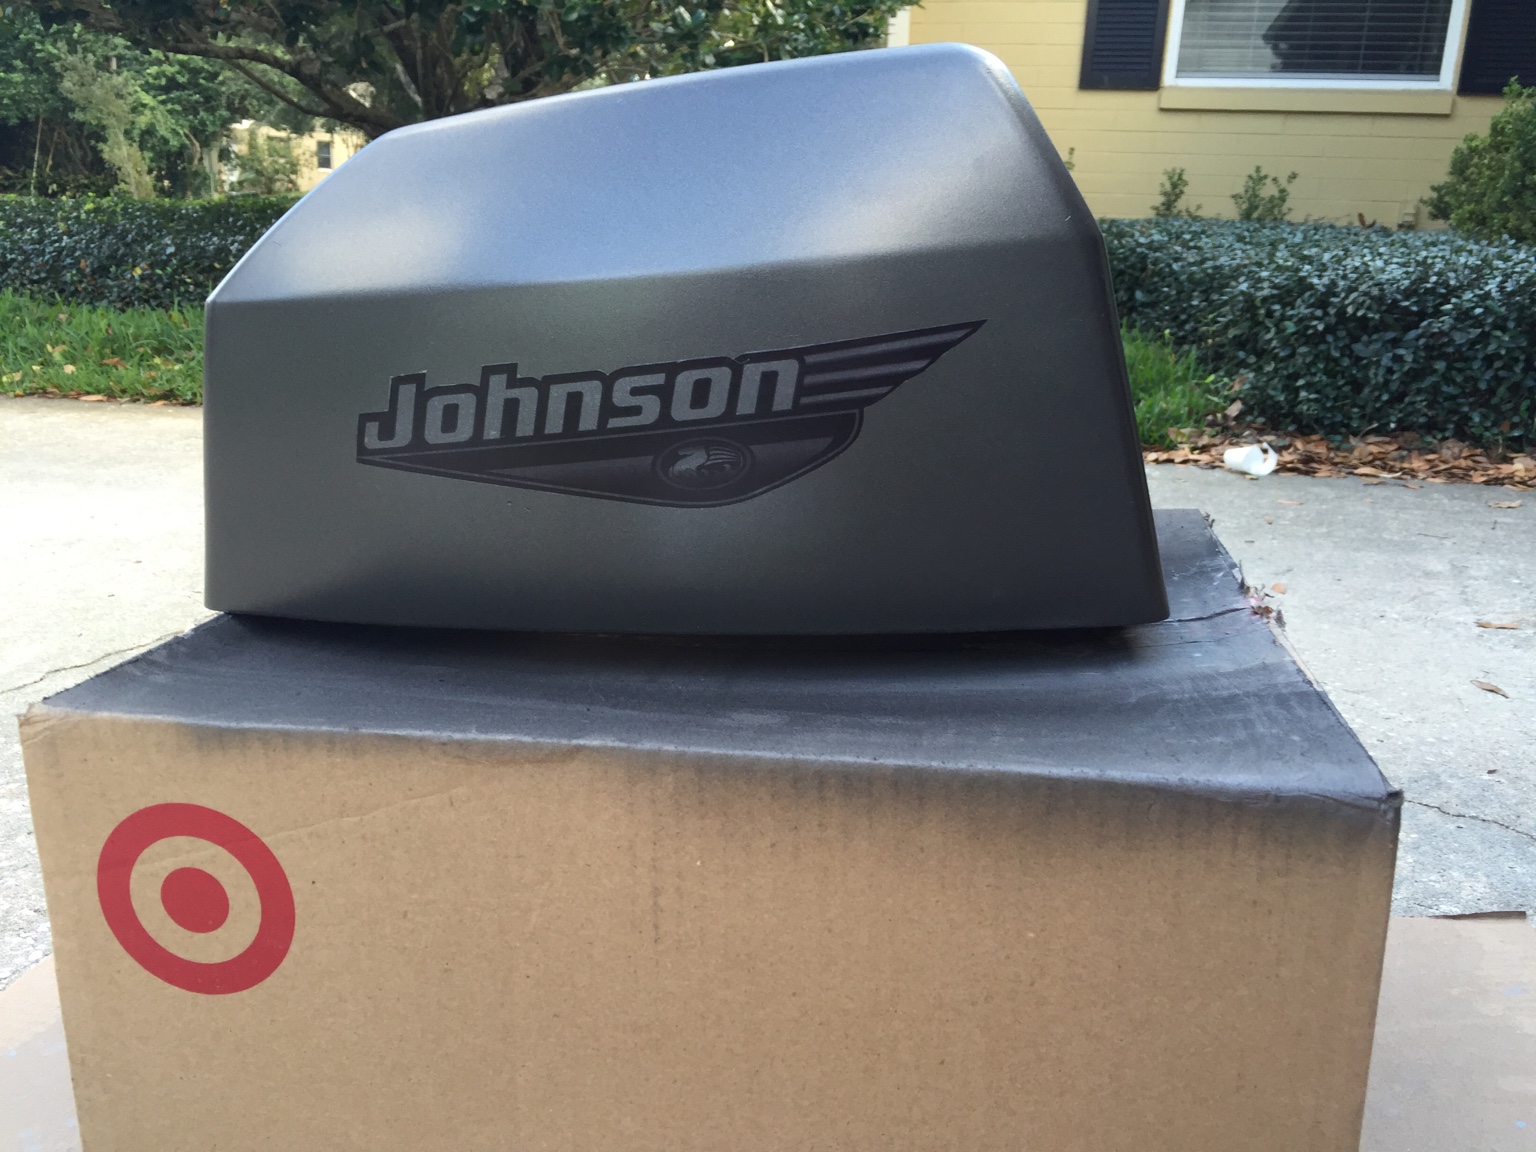
I had a small set back this morning. As I went to go look at the paint on the lower and mid section I noticed that there was some roughness to the paint. At that time I realized that I didn't wet sand the motor after putting the primer on. I wet sanded the cowling but in my haste I didn't sand the main part of the motor. The automotive primer has a good bit of texture to it and that is what caused it to be rough. For a few minutes I thought about leaving it be and just finish painting over it. However, after running my fingers over it it some small particles were coming off on my fingertips. Once this happened I decided that I needed to do the right thing and wet sand the motor. It took me 15 minutes to sand it down and I probably lost half a day or more and some of the existing paint on the motor, but I'm glad I did it. Now it is smooth to the touch and I can have piece of mind that I did it right.

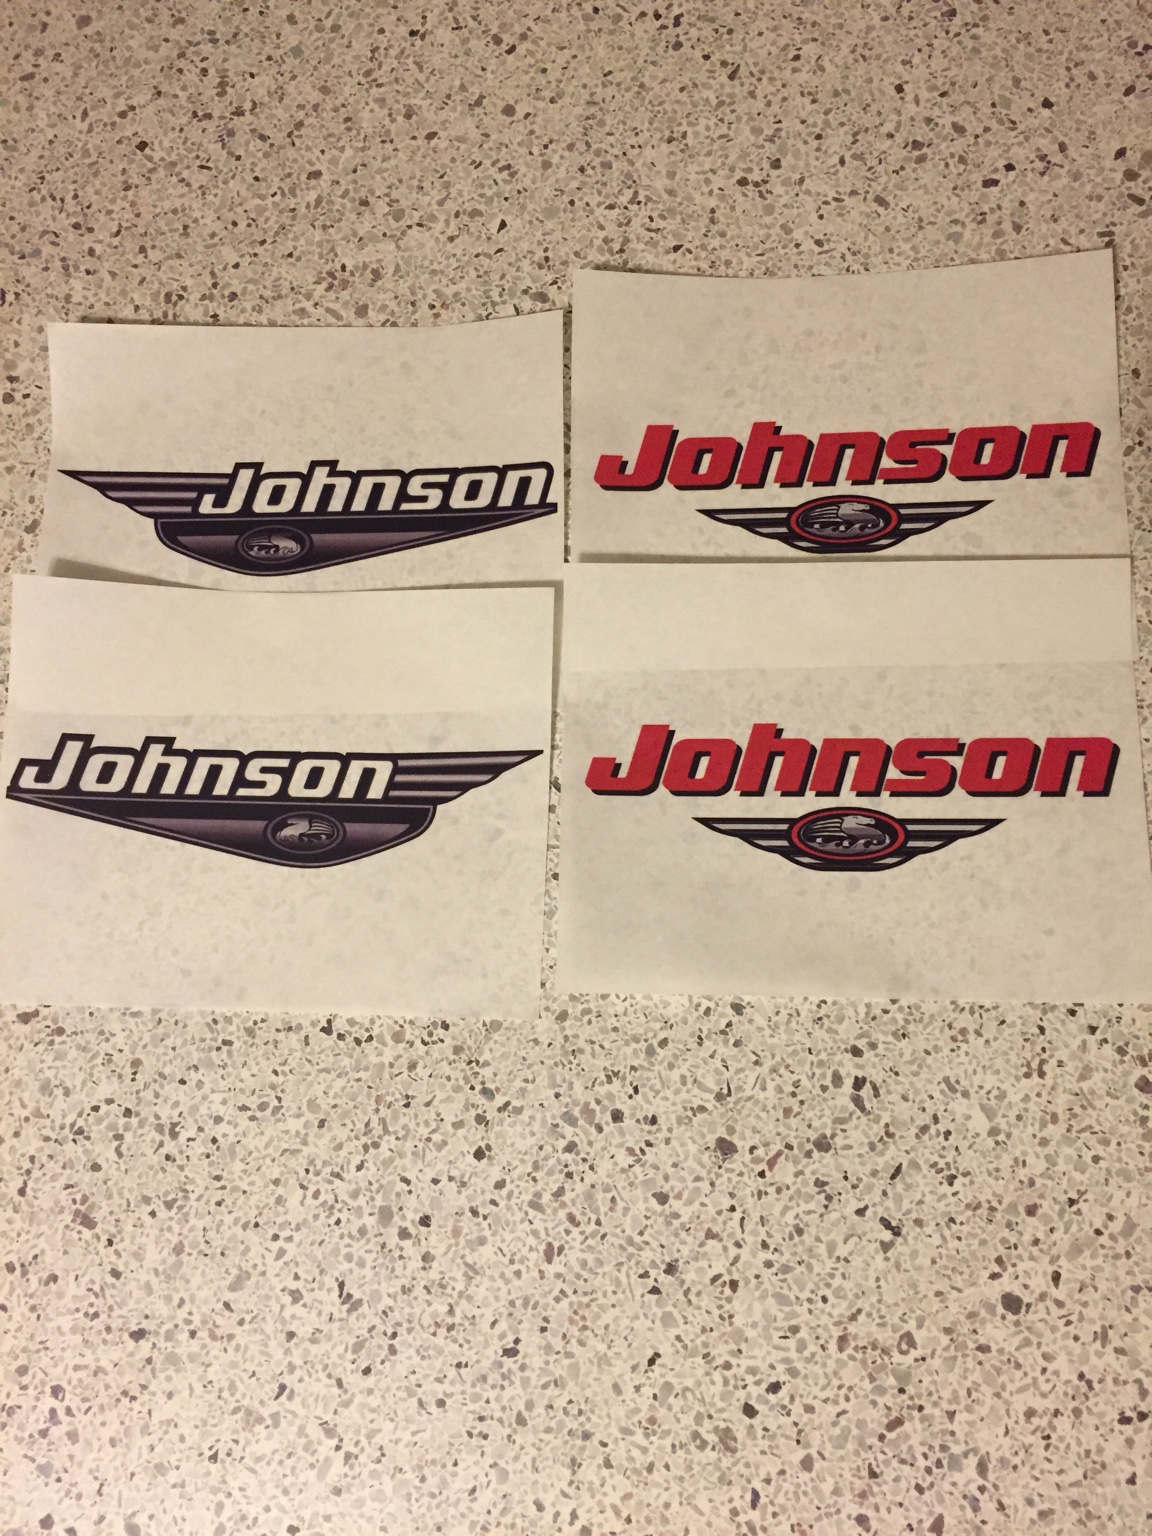
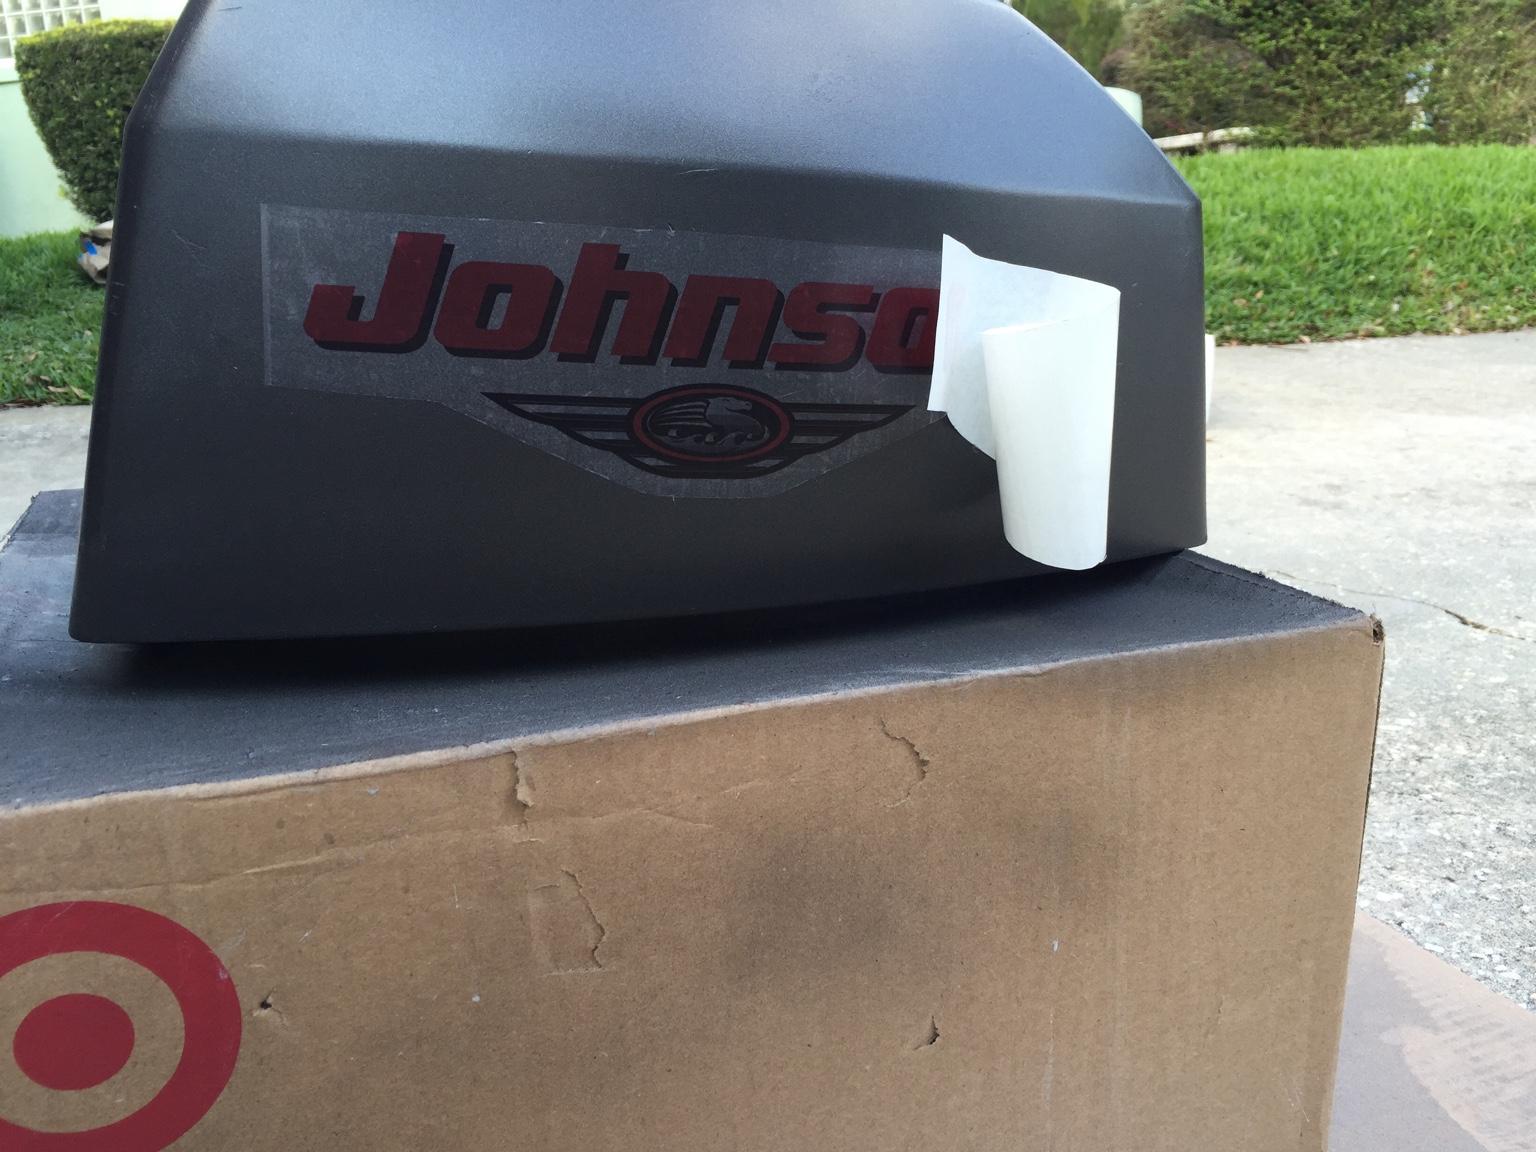
After losing a day or so and now knowing that the decals should go under the clear coat I likely won't finish this project until later this week or next weekend.
 
Tinman - Wishing your family well for the addition.

Keep the boat up so the kids can learn all about water sports with their dad.
 
Thanks Scooter! Yes, I'm looking forward to enjoying many outings with the kids.

My daughter got survival/swim lessons over the summer and my wife and I already talked about enrolling out second one even earlier.


Sent from my iPhone using Tapatalk
 
The trick to painting is to use machine like strokes and make the coverage very even. Start with the underside view and then work to sides and top.

Outboards are tricky because of so many surfaces and angles. The most common mistake is to see a spot you missed because of angle or lack of coverage and then go back and try to pile more paint on that spot... The result of that is almost always a run. Do it this way:

Paint in good even strokes and be sure you don't over paint areas.

Let that dry.. no matter what.. (this is the hard part)...

Then once it's sufficiently dry go back and hit the areas you missed. Repeat process...

Keep doing that until you've got a good thick layer of paint built up.

Remember you're going to do clear as well so don't worry too much about slight imperfections in the base coats.
 
I've rattle-canned a motor before and all the suggestions on this thread are correct. Especially the "many light coats" one. Heavy spray = heavy sanding to get a good final result.
One word of caution: make sure NOT to spray the inlet tube filter screen (behind the prop) or you get to pick the holes out with a sewing needle later (don't ask me how I know).
 
... I try to concentrate on the "nooks & crannies" first and find I get a better result than trying to go back in and touch up those areas. Agreed that patience is needed ...
 
Thanks Dale, Slaugh, and hc803 for the tips and advice. I agree with everything you guys said and it has definitely helped me.

This week I haven't had a ton of time to spend working on the motor. On Wednesday I worked from home and was able to apply another coat of paint to the cowling and mid/lower sections while on my lunch break. Other from that it's been dark or near dark when I got home from work so I didn't apply any other coats.

Before I applied the paint I was thinking about what hc803 said and looked at the filter screen to see if I had sprayed any paint over it steady. Before he mentioned that, it never even crossed my mind to look for it and cover it up. I noticed that there did appear to be some paint on it, but it wasn't completely covered. None the less, I went ahead and covered it up before it got any worse. I've provided a few pictures of it below and will probably need to examine it with a needle at the end to of the project to make sure that it isn't restricted.

70bdf7906a38fdd9c4a21b9fb2ebffb1.jpg


9c46091350b6751bc84a06c326c54b11.jpg
 
Put multiple coats of paint on the cowling and on the lower/mid this weekend.

247206d2aeed1e3934595f8ed8c72a68.jpg


999d5b58231c924c85f159d21a2a836f.jpg


8fd14dbeb1778df8c4a3d6fe522b07ed.jpg


9ffd9816086d84e1face77bfd635397a.jpg


3f3f9db4cd1cb4863a5275858b2d16c8.jpg


38fe1f08db869406c0666df8a7da2044.jpg


11b3333628d2d81978037123f7770880.jpg


Was able to apply the clear coat to main part of the motor.

f00d18418f9104f09585c74179ffd93d.jpg


5d49bb41641373306da63ad612057b13.jpg


929d47e6cddfa6127fde988e24047d81.jpg


43e9a3358773952fcc0dd033dab857c5.jpg


b3be71656a1f22b6c63539aa30ee2d0b.jpg


f64db5c558a4a090276955a98c891776.jpg


Getting real close to finishing!
 
Looking good. Be careful you don't get addicted.... not many things are as satisfying as peeling that tape and paper off a fresh paint job.
 
Shaugh,

Imo, those two OBs are BEAUTIFUL.

My HOPE is that my electric-start 18HP Johnson will look as nice as yours does when it's painted.

yours, satx
 
I was going to buy some decals off of EBay, but it was going to take 10-14 days for them to arrive at my house, so I didn't purchase them. Next I thought I'd do an inverse mask and paint the word Johnson on the cowling like Johnny had suggested but I couldn't get my wife to pull out the Cricut machine and get it set up for me. So I downloaded some high resolution .jpg's and a Johnson logo in vector format from off the internet. Next I jumped in Photoshop and Illustrator and cropped and scaled them to the size I desired. I went to FedEx Office before work and had them print both sets of logos on clear sticker material for only $1.50 a piece ($6 in total). I had them print two different versions because they weren't expensive and I wanted to hold them up to the cowling to see which one I like the most. By having these stickers printed at FedEx I not only got them super cheap but I also got them in quicker than any other option.

556f7d47fbbd0db569af37d54f1761ee.jpg


Before I had them printed I thought I was going to go with the grey and black version. However, after thinking about it and continuing to look at them I thought I'd go with the red version because it pops a little more with the grey motor and wouldn't look so similar to the decal that came with the motor originally.

After putting the final coats of paint on the cowling I decided It was sticker time. I measured out where I wanted to put and began slowly transferring the red decal on the cover. After putting it on just a couple of inches I could tell that it wasn't ideal. Apparently the film that the sticker was printed on wasn't perfectly clear and was more frosted. The graphics on the red decal isn't all one piece and so it would be nearly impossible to cut it out all the letters with scissors and then try to get it aligned straight on the cover. In adoption to that the red didn't stand out enough to my liking and it looked bad on the cover because of this.

003b700590069e83ed18d1cf1a21433c.jpg


Next I cut out the grey/black decal and thought this might be better suited for the cover. This turned out much better and I went ahead and put it on the other side.

a8036a8e9a5e5ab7af3cbe55fb8bd4d7.jpg


48e0df8f8fb946e344670786e9f4d6ac.jpg


If I had a higher quality decal I may have stuck with the red but I'm pretty pleased with the way this turned out and I'm glad I didn't pay $50 for a set of decals.

Next I just need to clear coat the cowling and I'll be set.
 
Thanks Johnny! Actually, I'm in the hospital now. My son should be born soon!


Sent from my iPhone using Tapatalk
 
The10Man said:
Thanks Johnny! Actually, I'm in the hospital now. My son should be born soon!


Sent from my iPhone using Tapatalk
Looks great and congrats on your son! Are you going to call him Johnson? :p
 
Top