Finally happening!!

TinBoats.net

Help Support TinBoats.net:

This site may earn a commission from merchant affiliate links, including eBay, Amazon, and others.
As promised, here's the pics from the past couple days.

102_1236.jpg


102_1237.jpg


102_1238.jpg


102_1239.jpg


102_1240.jpg


102_1241.jpg


102_1242.jpg
 
Made some progress over the past couple of days. The boat is really starting to take shape for me now. I know ther was some other people on the forum looking for ideas to put a floor in a v-hull mirrocraft. The idea I came up with is working out well. Here it is.

Started by cutting some verticlal braces to sturdy up the floor. Added a small pc of carpet to the end againt the boat to hopefully keep any noise down. Made a cardboard cutout to do the layout of the floor, the made a 2 pc floor out of 1/2" exterior plywood.

102_1243.jpg


102_1244.jpg


102_1245.jpg


102_1246.jpg
 
To keep the sides from flexing, I fashioned brace to go from the old seat brackets down to a clete on the floor. Made a template out of 2x2's then transfered it to a 2x6 so that they were one solid pc. In the front end I just ran 2x2's beteen the seat brackets. Worked out very well. There was no flex in the hull between the seat brackets, and the top of the hull only flexed out about 1/4" in the middle.

102_1247.jpg


102_1249.jpg


102_1250.jpg


102_1248.jpg


Started to frame in the side storage areas last night which should keep everything nice and tight. Will hopefully finish them today, and get started framing in the front deck. Once I get everything framed up, I plan on flipping it and painting the hull before adding the rest of the plywood.
 
Thank you for posting all these photos, I'm about to start working on a 14 ft Crestliner and wanted to put in a low floor but instead of using plywood, I thought of using 2" - 3" wood strips spaced about 1/4 or 1/2 inch apart.
What did you find out about the primer? how come you didn't paint on the existing paint?
Thanks
 
zaneroni,
Haven't bought the primer yet, but I think I'm gonna go with the spray bombs from walmart someone had suggested for the etching primer. Coat of rustoleum marine primer over that, and then the rustoleum marine paint. Decided to strip the old paint completely because after loooking at it, it looked like it had a bunch of hairline cracks through it.
 
Nice rig!
Are you using screws or rivets to hold the floor frame in place?
If using screws, any concern about them vibrating loose?
I have that problem with my aluminum floor all the time, I used screws so I can remove it & get the mud & dirt out after duck season. But they do have a tendancy to vibrate loose over time.
 
Thanks! The floor is screwed into the existing supports using stainless sheetmetal screws with a dab of the 5200 on the threads. Was the only sealant I had on hand and figured it would help keep them in place. The supports tied into the seat brackets are stainless screws (from the original seats) with nylock nuts on the back. Went with the nylock nuts because when I took the original seats out, I found that about half of them had rattled the nuts off.
 
Not exactly sure. Work a few hours here and there when I can. Had alot of time in stripping the paint off the trailer and the boat. Probably 40+ hrs. combined. Could have been done faster with the stripper, but decided to do it all by hand. Bet I have another 35-40hrs. into the rest of the work to the trailer and boat. Enjoying every minute of it :D .
 
Got a few more hours in on the boat today. The endcaps and transom cap are back on, and got one of the side storage areas framed in. Hoping to get the other side done tomorrow. Off to lowes this weekend to pick up the paint for the hull.

102_1253.jpg


The storage area turned out better than planned. Riveted three strong ties to the hull with a rubber backing and some 5200 smeared on to seal everything up nice and tight.Then I ran a 2x2 across the top of these and built everything to this level line at the top of the boat. Ended up with a small stoage box where I believe I will put a life vest, and a larger one toward the back which will more than likey be used to hold tackle trays. The other side will be identicle, but I think I'm gonna have a fella at work weld me up a thin gage aluminum livewell for the larger area.

102_1256.jpg


102_1257.jpg


102_1258.jpg
 
Thanks! Went at it again last night and managed to get the other side storage cabinet framed in. The sides of the boat are quite sturdy now, so I think I'll get it flipped and painted now that I have all the rivets in that I needed, before I add any more wood to the inside. Was pretty late when I got finished up, so no pics. Have a great weekend everyone!!
 
Man, this is looking fantastic, I've been following your progress. The whole rig is going to look new when you're done. Great work on the trailer, transom, all of it.
 
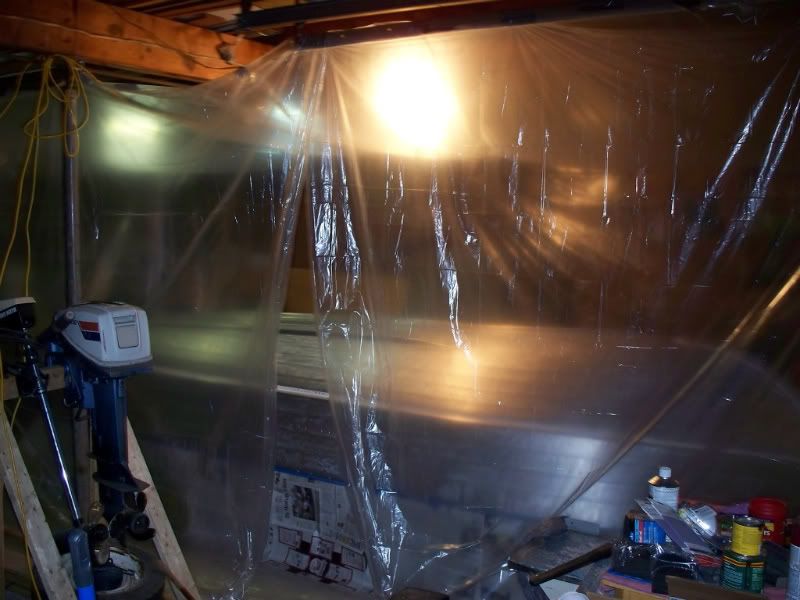
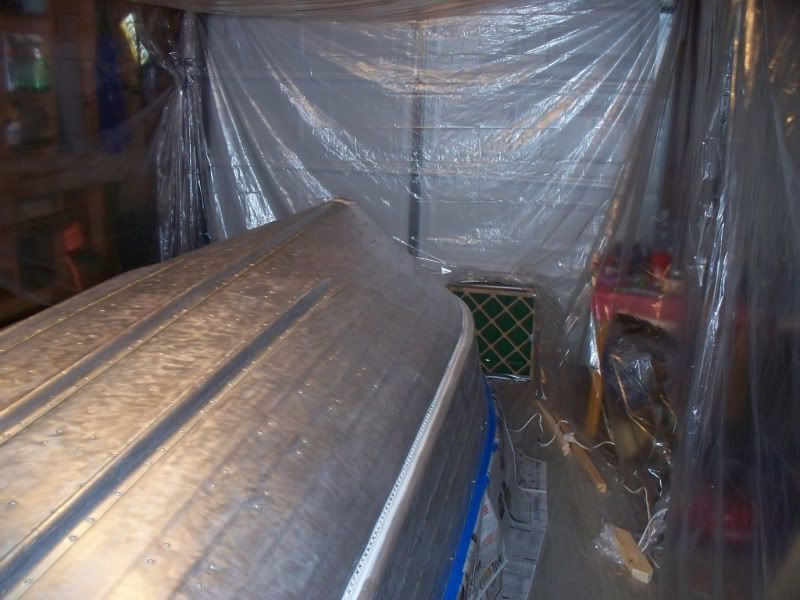
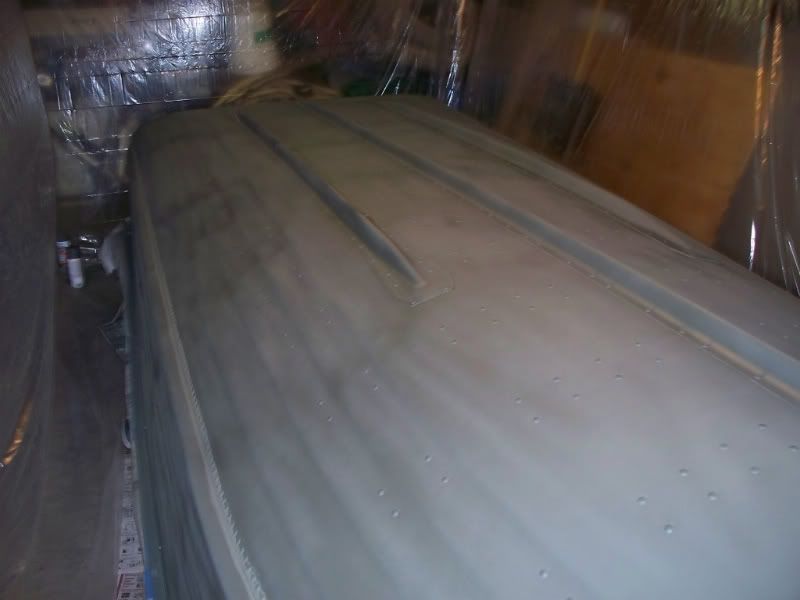
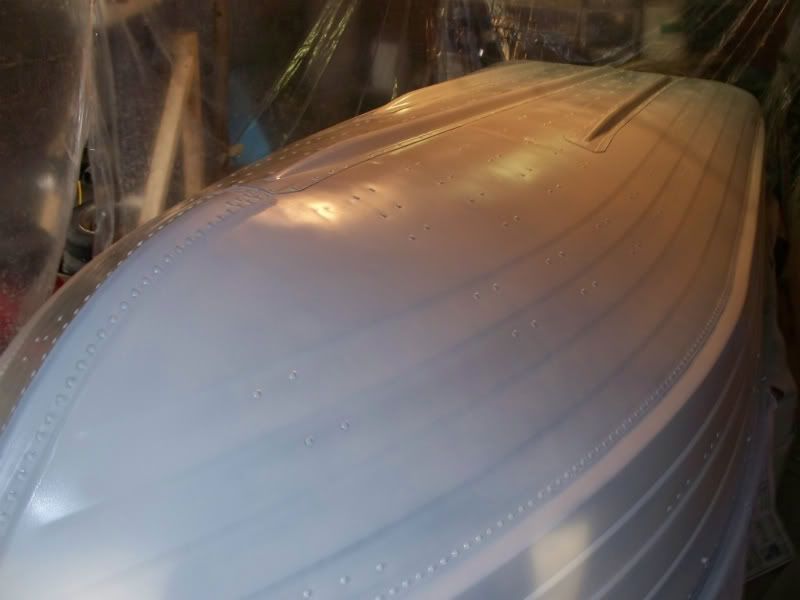
Well after a trip to Florida for my sisters wedding and waiting out the colder temps. here at home, was finally able to get back on track with the boat. Got it flipped back over and masked off for paint yesterday. Once I got my hillbilly paint booth all setup, I managed to get a good coat of rustoleum self etching primer on it. Took 4 cans at a cost of $4.50/ea., so thanks to the fella that suggested the spray bombs from wal-mart. Looks like the next few days are gonna be the warmest I'm gonna see for a while, so I'll be working fast and furious to get all the paint on. The garage gets some heat from the furnace, but I need them higher temps. [-o< . I'm envying you guys down south right now. Sorry, no pics this time, but hopefully tonight.
 
With the warmer temps this afternoon (59° - heatwave right?!?), I was able to get the 2nd coat of primer on. Hit it with a thin coat of rustoleum marine primer. The setup worked awsome!! Was kind of worried because I didn't take a close look at the gun when I bought it, and when I got home I noticed that it was not recommended for use with a 6 gal. compressor (which I have). Decided to chance it anyway. Only thing I noticed was that it didn't spray as heavily when the compressor was actually running. Worked out pretty well the end. Hillbilly paint booth worked well also. Put a box fan with a disposable filter on the back, in the corner of the paint booth blowing out the door. Kept the fumes from building up nicely. Enough rambling, here's the pics!

102_1306.jpg


102_1307.jpg


102_1308.jpg


102_1309.jpg
 
Top